

If you love crafting, you know how easily supplies can turn into a chaotic mess.
Whether it’s yarn, paints, or scrapbooking materials, keeping everything organized is key to staying creative and productive. Mastering your craft supply organization can make your creative space not only functional but also enjoyable to work in.
There are countless ways to tackle the clutter, depending on your space and personal style.
From clever storage hacks to repurposing everyday items, you can create an inviting area that sparks inspiration.
With a few easy strategies, you’ll find yourself reaching for those supplies instead of digging through piles.
Label Makers
Label makers are a game changer for organizing your craft supplies.
With a good label maker, you can easily create labels for everything from bins to drawers.
The Dymo LabelManager 280 is a solid option.
It’s portable, rechargeable, and prints quickly, making it perfect for your busy craft sessions.
You can use various label sizes, which provides flexibility for different storage needs.
Labeling helps you find supplies without digging through everything.
You can quickly create tags for markers, stamps, or even specific projects.
Dry erase bins also work well if you change your organization often.
Just wipe and relabel as needed.
Investing in a quality label maker simplifies your crafting space.
It removes the chaos and adds a touch of professionalism to your setup.
Get ready to enjoy a more streamlined crafting experience!
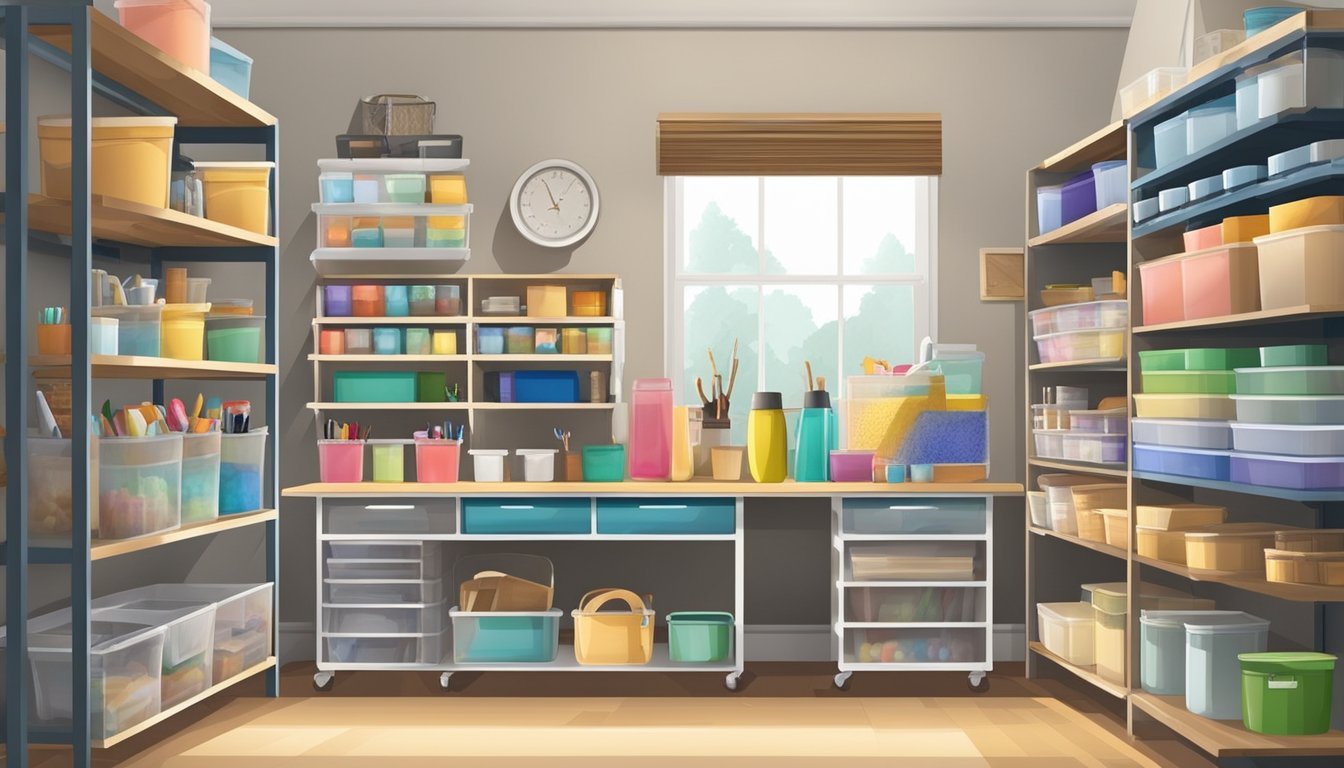
Clear Storage Bins
Clear storage bins are a fantastic way to keep your craft supplies organized and accessible.
You can easily see what’s inside, which saves time when you’re in the middle of a project.
These bins come in various sizes, perfect for everything from stickers to fabric rolls.
Using clear bins allows you to sort items by type, color, or usage, making your crafting space efficient.
Label each bin to streamline the organization further.
Simple labels help you locate things quickly without rummaging through multiple containers.
Stackable clear bins are especially helpful in maximizing vertical space.
This not only keeps your supplies tidy but also helps you make the most of smaller areas.
Don’t forget to consider bins with lids for added protection and dust prevention.
Whether you’re storing paints, papers, or tools, clear storage bins can transform your craft area into a neat and inviting workspace.
3) Pegboards
Pegboards are a game-changer for organizing craft supplies.
They offer a flexible way to display and access your tools, making your workspace more efficient.
Mount your pegboard on the wall, ensuring it’s secure.
You can use long screws and washers for stability, allowing you to load it with various supplies.
Use hooks, bins, or shelves to customize your pegboard.
This way, everything you need is visible and easy to grab when inspiration strikes.
Create designated areas for different categories, like painting supplies on one side and sewing tools on another.
You’ll save time by knowing where everything is.
You can even get creative with colors and designs.
Personalizing your pegboard can make your craft space more inviting.
4) Over-the-Door Organizers
Using over-the-door organizers can transform your craft space.
These handy storage solutions utilize otherwise wasted space, making them smart for organizing supplies.
You can find these organizers filled with pockets, perfect for holding various craft materials.
Store items like yarn, paintbrushes, and markers in easy-to-reach pockets.
They’re not just efficient; they keep your supplies visible.
This makes it easier to grab what you need without rummaging through drawers or bins.
Plus, the creative options available let you personalize your storage.
Choose organizers that match your style or the colors in your craft area.
By keeping everything organized and within sight, you enhance your crafting experience.
Embracing this simple solution can lead to a more efficient and enjoyable craft time.
5) Rolling Carts
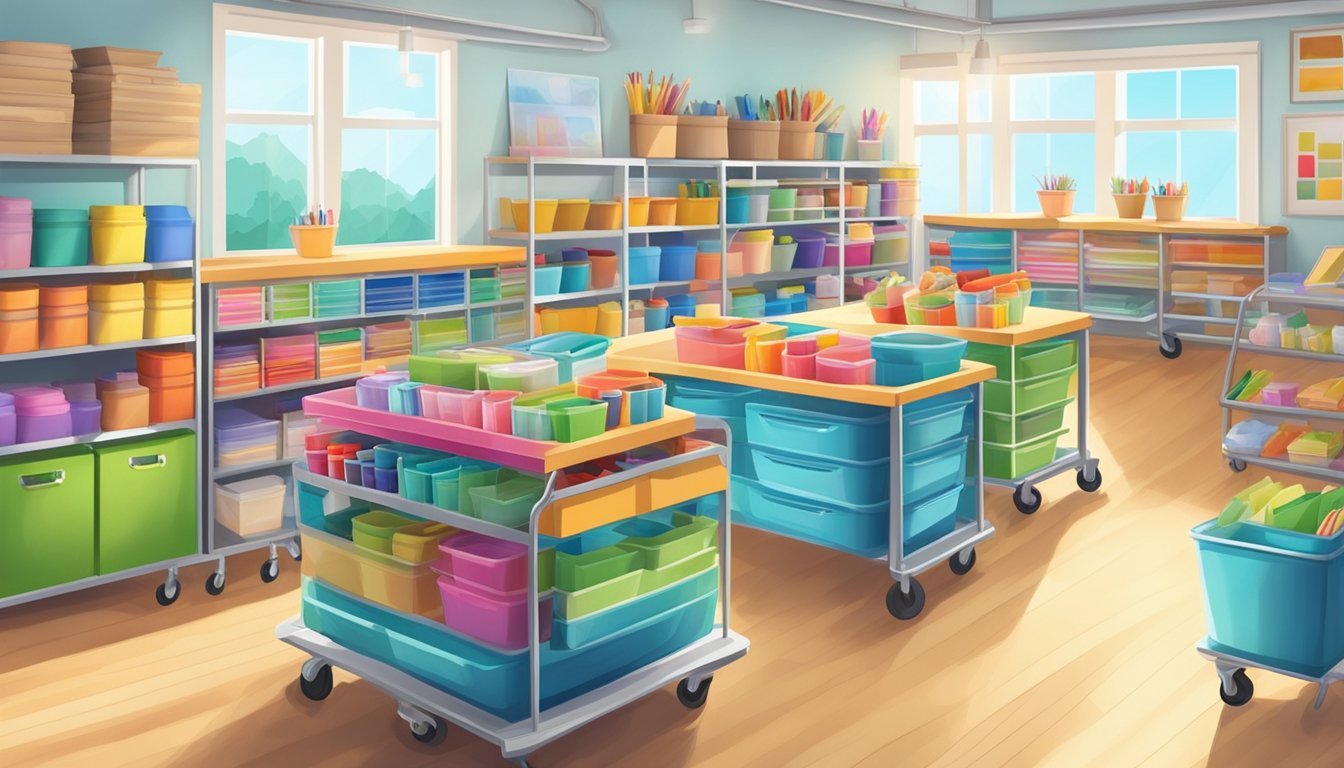
Rolling carts are game-changers when it comes to organizing your craft supplies.
They offer mobility and flexibility, allowing you to move your materials wherever you need them.
Consider a 3-tier rolling cart.
It provides ample space to categorize your supplies, from paints to tools.
You can keep like items together, making it easy to find what you need.
Label each tier or use containers to divide smaller items.
This way, everything has its place, and clutter is minimized.
Plus, many carts come in stylish colors, adding a bit of flair to your workspace.
When you’re ready to work, simply wheel the cart to your chosen spot.
Once you’re done, tuck it away to free up space.
Rolling carts are not just practical; they can enhance your craft area’s aesthetics too.
6) Drawer Dividers
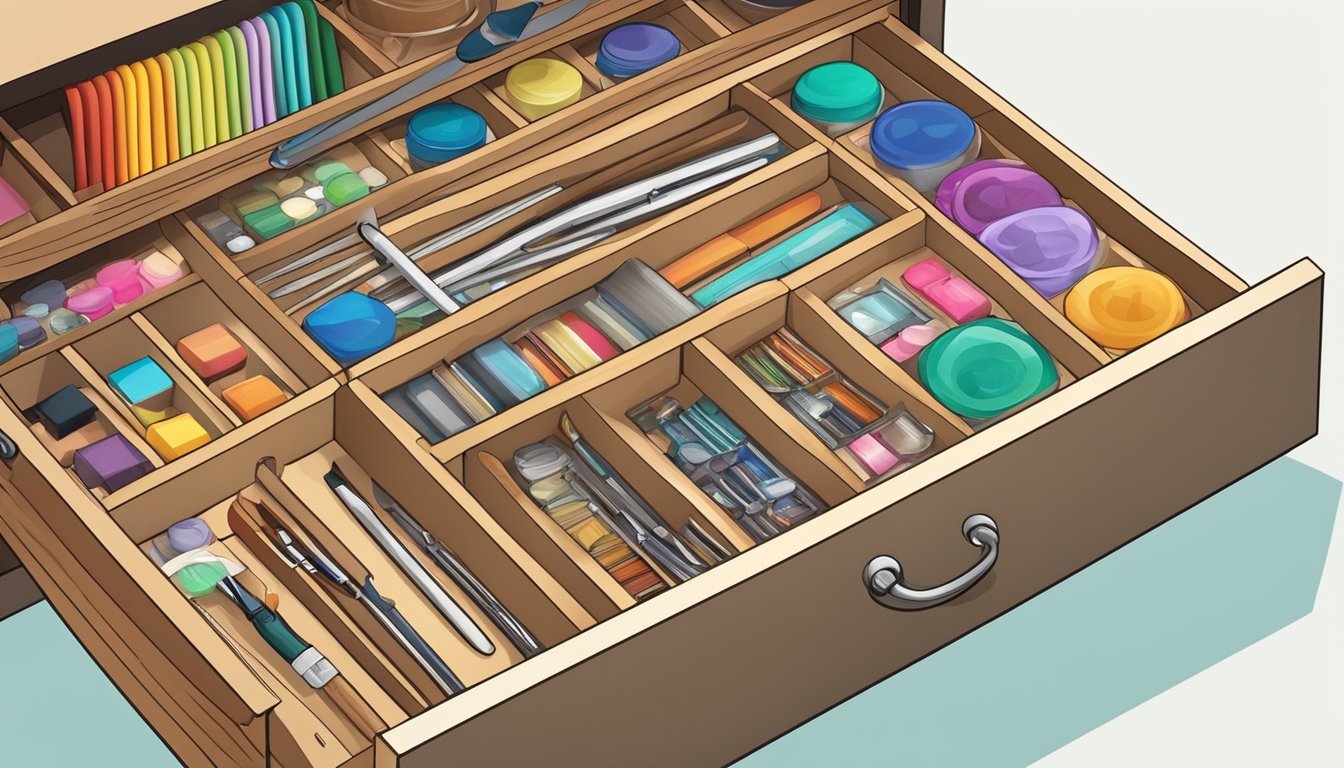
Drawer dividers are a game-changer for organizing your craft supplies.
They help keep everything neatly separated, so you can find what you need in a flash.
Start by measuring your drawers.
Knowing the length, width, and depth will ensure a proper fit.
Use these measurements to create or purchase custom dividers that work for your space.
You can make dividers from materials like cardboard or plastic.
For a DIY option, fold and cut your chosen material to fit snugly inside the drawer.
It’s an easy project that makes a big difference.
Once your dividers are in place, organize your supplies by category.
Use one section for paints, another for brushes, and a third for smaller items like beads or glitter.
With drawer dividers, your craft space will look clean and inviting.
The next time you sit down to create, everything you need will be right at your fingertips.
7) Mason Jars with Lids
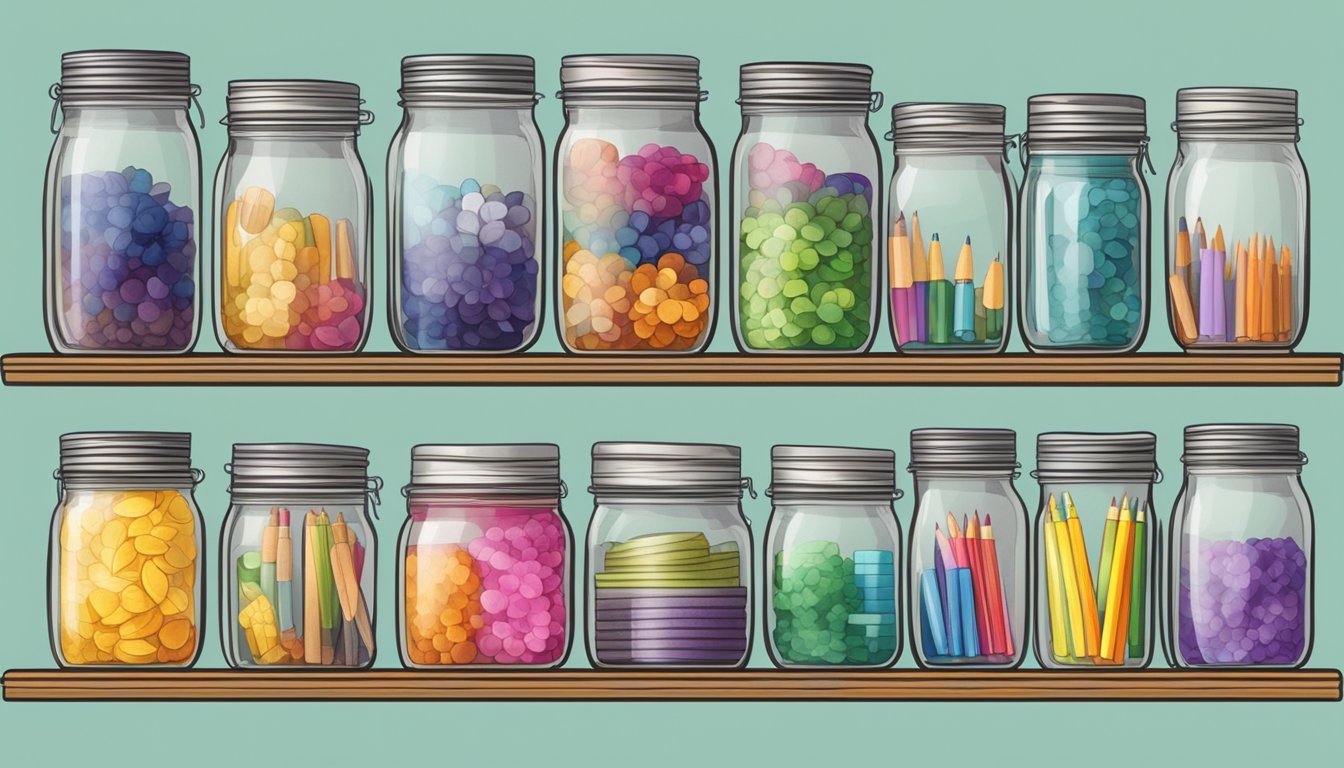
Mason jars with lids are a fantastic option for organizing your craft supplies.
Their clear design allows you to see what’s inside at a glance.
This saves you time when you’re searching for that specific item.
You can use them for small craft essentials like buttons, ribbons, or beads.
Label each jar to make finding supplies even easier.
This simple step helps maintain order in your space.
Consider using a tiered system or a dedicated shelf to display your jars.
This not only looks organized but also makes it accessible.
It’s a practical way to keep your workspace tidy.
For added charm, customize your jars.
You can use paint, fabric, or decorative tape to match your craft room’s style.
This personal touch can make organizing enjoyable.
Washi Tape Dispensers
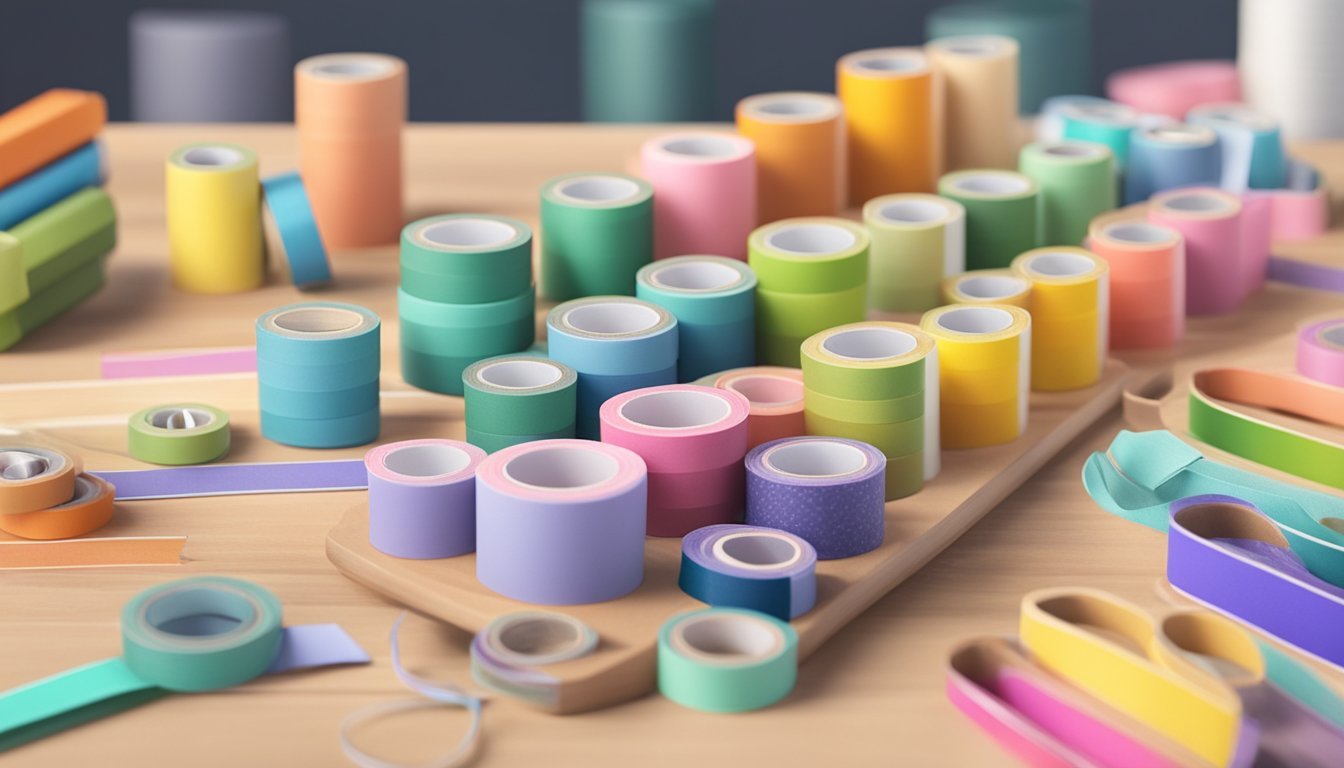
Washi tape dispensers can transform how you store and access your tape collection.
Instead of digging through a box, a dispenser keeps everything organized and within reach.
Consider a desktop dispenser that holds multiple rolls.
This way, you can see your options at a glance and easily grab what you need.
DIY options are also fun.
You can create your own stylish dispenser using a small wooden box or a repurposed item.
Just make sure it can hold several rolls securely.
Another idea is to hang a dowel rod on the wall.
This allows you to slide your rolls onto the rod, making them easy to access while adding a decorative touch to your crafting space.
Remember, the goal is to keep your washi tape visible and organized.
A good dispenser not only saves time but also inspires creativity as you easily discover new designs to use in your projects.
9) Magnetic Knife Strips

Magnetic knife strips aren’t just for kitchens.
They can work wonders in your craft space, too.
These versatile strips allow you to keep tools within easy reach and organized.
You can mount a magnetic strip on the wall to store scissors, sewing tools, or small metal containers filled with buttons and pins.
This keeps your workspace tidy and your essentials close at hand.
If you have kids, consider using magnetic strips in their playroom.
Hang one on the wall for storing metal toys like racecars.
This makes clean-up easy and keeps everything visible.
Using magnetic strips also frees up drawer space for larger items.
Plus, it adds a fun touch to your decor.
It’s an efficient way to display tools while staying organized.
Add a strip beneath a shelf to hang craft bottles.
This not only keeps items handy but also maximizes your vertical space.
Magnetic strips are a simple solution for decluttering your favorite crafting area.
10) Hanging Shoe Organizers
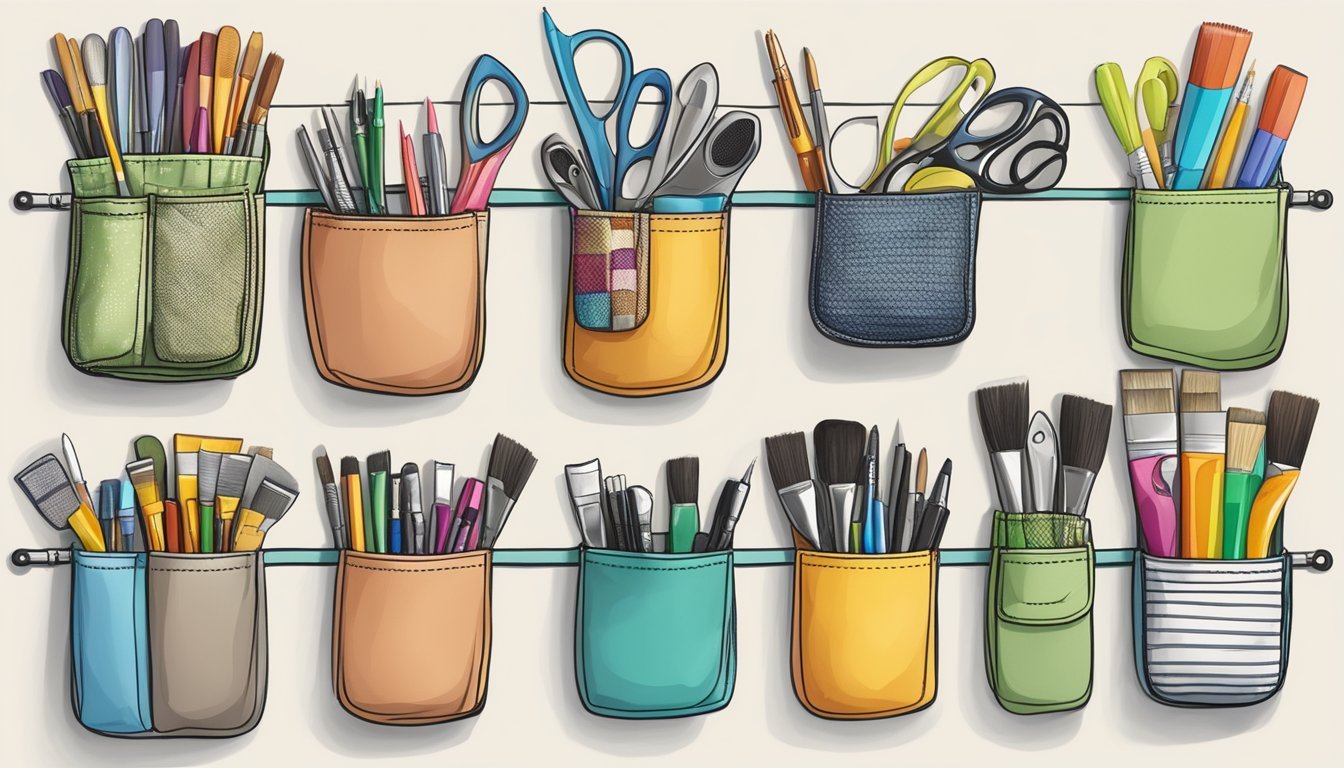
Hanging shoe organizers are a fantastic way to store your craft supplies.
They come with multiple pockets, making it easy to categorize and access your items.
You can use these organizers for various supplies, such as paints, brushes, glue sticks, and washi tape.
Hang one on the back of a door or a closet for quick visibility.
If you’re short on space, consider hanging them in your craft area.
This method keeps everything tidy and easily reachable.
Using a clear plastic organizer allows you to see what you have without rummaging through boxes.
It helps you avoid buying duplicates since everything is visible.
You can also use them for organizing smaller tools, like scissors and glue guns.
Just load the pockets based on your crafting needs to streamline your process.
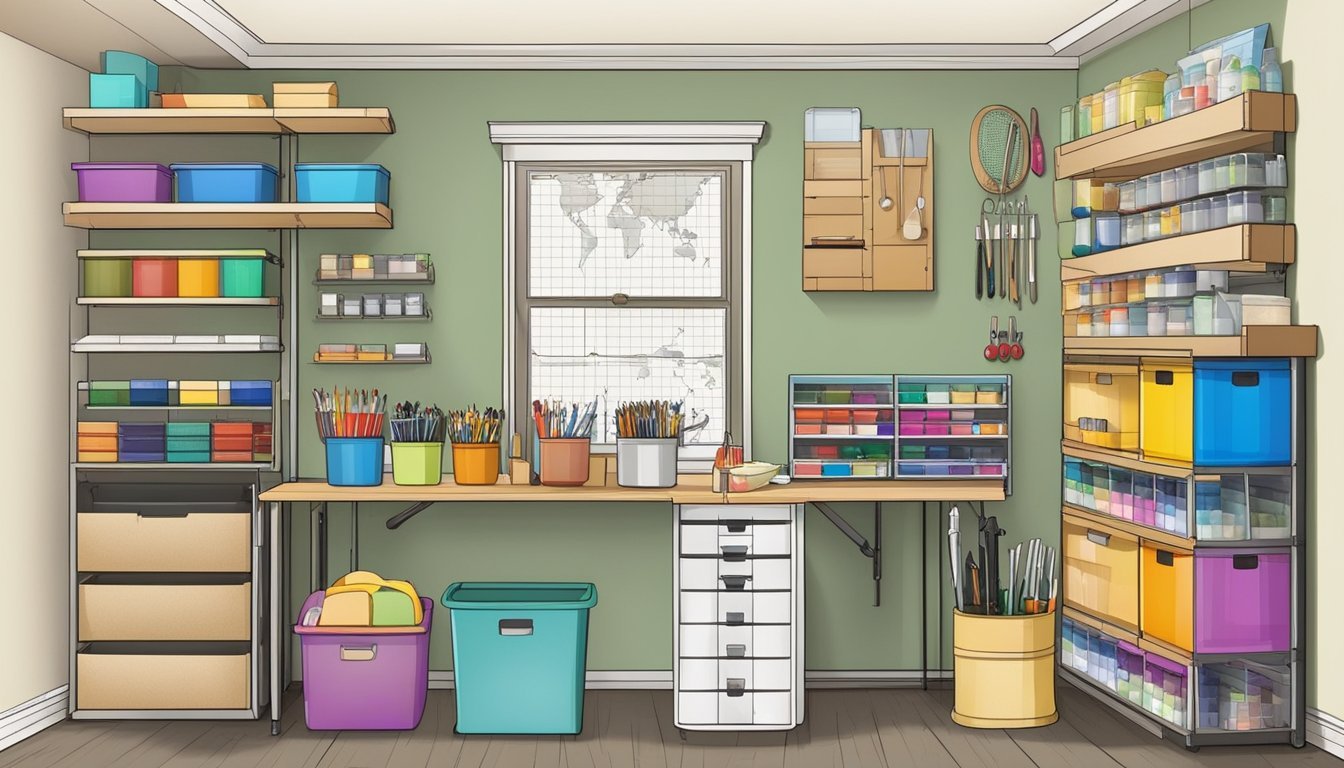
Setting Up Your Craft Space
Creating an organized craft space starts with the right storage solutions and a dedicated area for crafting.
This helps you maintain a clear workspace while keeping supplies easily accessible.
Choosing the Right Storage Solutions
Selecting effective storage solutions is crucial for keeping your craft supplies orderly.
Consider using various types of containers to fit your needs.
Here are some options:
- Clear bins: Perfect for visibility, letting you spot supplies quickly.
- Hanging organizers: Utilize wall space by adding pockets or caddies for tools.
- Drawer units: Store smaller items in labeled drawers for easy access.
Incorporate a mix of vertical and horizontal storage to maximize space.
For example, wall-mounted shelves can hold books and boxes, while a rolling cart allows for mobility.
Don’t forget to use baskets for larger items like fabric or yarn; they add character and keep the mess in check.
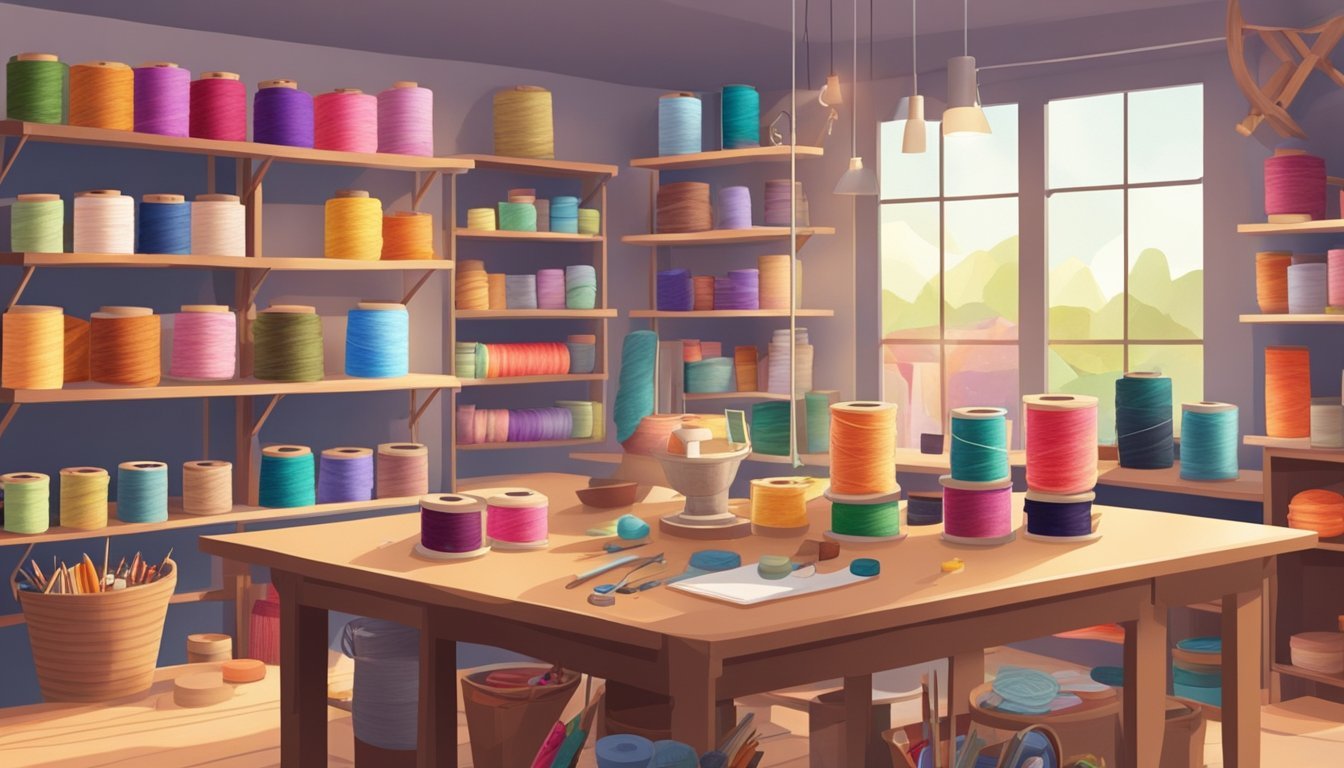
Creating a Dedicated Craft Zone
Establishing a dedicated craft zone can boost your creativity and productivity.
First, choose a spot that’s well-lit and comfortable, whether it’s a spare room, corner of a living room, or even a cozy nook.
Set up a sturdy table or desk that allows ample workspace for projects.
Keep essential tools within arm’s reach, using a pegboard or tool jars for organization.
Create zones for different activities, like sewing or paper crafting, to streamline your process.
Lastly, add personal touches—like mood boards or inspiring artwork—to make the space uniquely yours.
Having an inviting atmosphere encourages creativity and helps you focus on the fun of crafting!
Categorizing Your Supplies
Efficiently organizing your craft supplies starts with effective categorization.
Grouping items by material type and using clear labels can save you time and frustration in the long run.
Grouping by Material Type
Start by sorting your supplies into categories based on their material.
Common categories include:
- Paper: All types like cardstock, scrapbook paper, and printer paper.
- Fabric: Organize cotton, felt, and linen together.
- Beads and Buttons: Keep small embellishments sorted for easy access.
- Tools: Dedicate a space for scissors, glue guns, and cutting tools.
You can use clear bins or drawer organizers to separate these categories.
Consider using transparent containers so you can quickly see what you have.
This method not only helps you find what you need when you need it but also makes it easier to assess your inventory and restock when necessary.
Labeling for Easy Access
Once you’ve grouped your supplies, it’s time for labeling.
Clear labels help you identify contents without digging through bins.
Here’s how to do it effectively:
- Use a Label Maker: This gives a professional look and makes labels easy to read.
- Color-Coding: Use different colors for each category. For example, blue for paper and red for fabric.
- Include Details: Specify the contents on the label, like “cotton fabric” or “acrylic paint.”
Position labels on the front of the containers for visibility.
If you prefer a neater look, consider writing labels on removable tape.
This makes it easy to update as your supplies change.
This way, you can always keep your space organized without the hassle of constant re-labeling.