Creating a hand-made art journal is a fun and rewarding project that allows you to express your creativity with very few supplies.
With just a handful of materials, you can craft a unique journal that reflects your personal style and holds your artistic ideas.
It’s a great way to get started in mixed media art or simply to keep your thoughts and inspirations organized.

You don’t need to spend a fortune on fancy materials to make a beautiful art journal.
In fact, everyday items around your home can be transformed into the pages and cover of your journal.
Embrace the process, and let your imagination guide you as you create something entirely your own.
Gather recycled paper
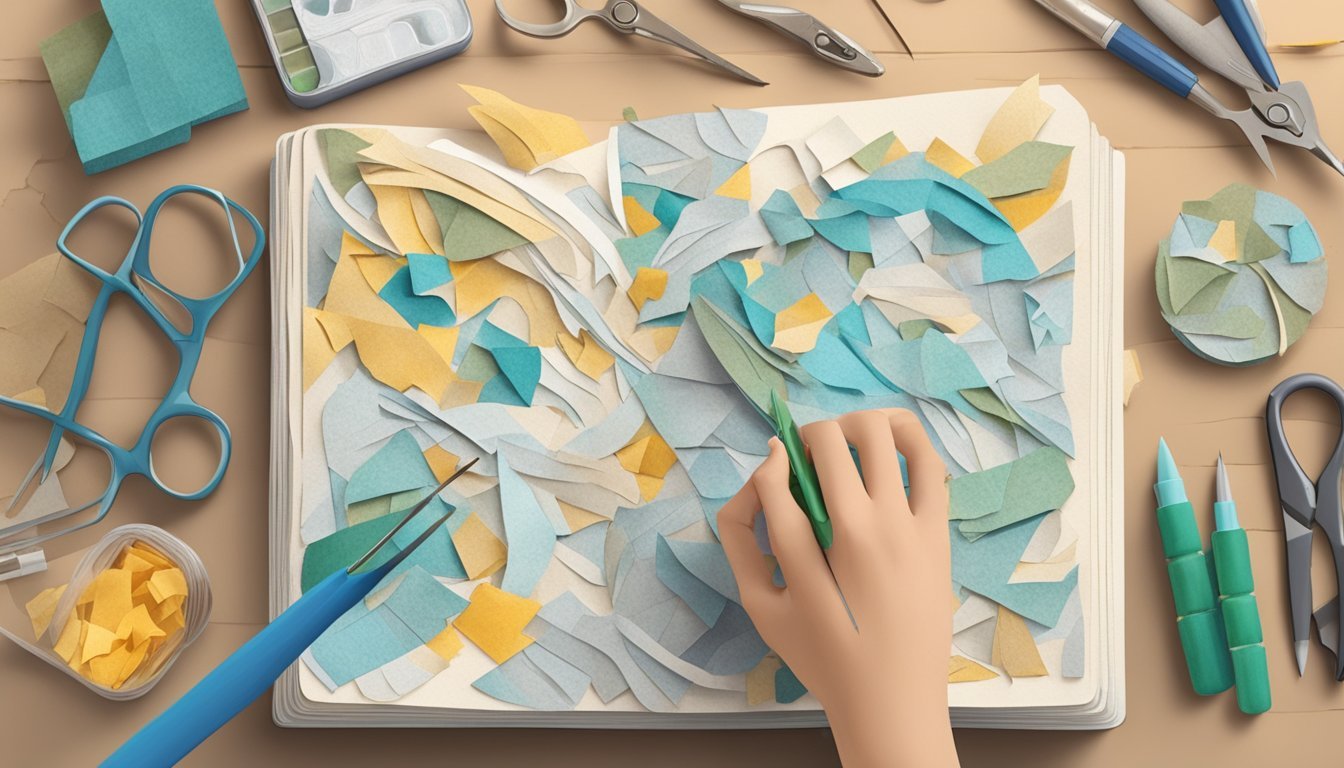
To start your art journal, you can collect recycled paper from items around your home.
This could include old magazines, newspapers, wrappers, and packaging materials.
Mixing different types of paper adds character to your journal.
Look for textures and colors that appeal to you.
Don’t forget to consider used envelopes or leftover printer paper.
These can provide a unique background and give your journal a layered look.
You can also use old book pages if you have any damaged books you’re ready to part with.
They add a vintage feel.
Keep a box or folder to store these materials as you gather them.
This way, you won’t misplace them, and you’ll have everything ready for your journaling session.
Gathering recycled paper is not only eco-friendly but also fun.
It allows you to incorporate a variety of styles into your pages, making your art journal truly unique.
Cut paper to size
Start by selecting the paper for your art journal.
You can use any type of paper that suits your style, like drawing paper, watercolor paper, or even recycled materials.
Next, decide on the size of your journal.
Common dimensions are A4 or A5, but you can choose whatever feels right for you.
Once you have your measurements, take a ruler and a pencil to mark the dimensions on your sheets.
Use the ruler for clean, straight lines.
Carefully cut along the lines with scissors or a craft knife.
If you’re working with thicker paper, a craft knife and cutting mat will give you a smoother edge.
If you like, you can also create different sizes and shapes of pages for added interest.
Just remember to measure and cut consistently so your pages fit in the journal.
Experiment with various textures and colors to make each page unique.
Bind pages with twine
Binding your art journal with twine is a simple and charming option.
It’s perfect if you’re looking for a rustic and handmade feel.
Start by cutting several lengths of twine, ensuring they are at least three times the height of your pages.
This provides enough length to secure a tight knot.
Next, stack your pages neatly.
Use a hole punch to create holes along one edge of the pages, spacing them evenly.
The number of holes will depend on how many pages you have.
Thread the twine through the holes, starting from the bottom.
Leave some excess twine at the bottom to create a tail.
Pull the twine tight as you work your way up.
When you reach the top hole, tie a secure knot.
You can vary your knot style for extra flair or keep it simple for a clean look.
Trim any excess twine, and you’re done! This method not only keeps your pages secure but also lets you easily add or remove pages if needed.
Enjoy the process and let your creativity flow!
Create a fabric cover
Creating a fabric cover for your art journal is a fun way to personalize it.
Start by choosing your favorite fabric.
You can use cotton, linen, or any sturdy material that appeals to you.
Next, cut the fabric to size.
You’ll need two pieces for the front and back covers, plus extra for seams.
Don’t forget to add a little extra for folding over the edges.
Once you have your fabric pieces, place them right sides together.
Sew along the edges, leaving a small opening to turn it inside out.
This keeps your seams neat.
After sewing, turn the cover right side out.
Press the edges to make them crisp.
You can add embellishments like patches or embroidery if you want to get creative.
If you prefer a sturdy cover, consider adding a layer of stabilizer.
This will give your journal extra strength.
Simply glue the stabilizer to the fabric before sewing.
Your fabric cover is now ready! Slip your pages inside and enjoy creating in your new handmade art journal.
5) Decorate cover with stamps
Decorating your art journal cover with stamps can add a personal touch.
You don’t need fancy supplies to get started.
Choose a few rubber or clear stamps that inspire you.
These can be anything from floral designs to abstract patterns.
Next, select an ink pad in your favorite color.
Make sure the ink is suitable for the type of paper you are using.
Start stamping on the cover, mixing and layering your designs.
You can position them randomly or create a patterned look.
If you make a mistake, don’t worry—embrace it! Adding more stamps can help blend any errors into your design.
Consider adding details with markers or metallic pens after stamping.
This can enhance your journal cover further and give it a unique flair.
Allow the ink to dry completely before handling your journal.
This step will help prevent smudges and preserve your artwork.
Enjoy the process and let your creativity shine!
Add pockets inside cover

Adding pockets to the inside cover of your art journal is a simple way to store small items like notes, mementos, or supplies.
This can enhance both functionality and creativity.
You can create pockets using basic materials like paper, fabric, or even washi tape.
Just cut your material to the desired size, ensuring it fits nicely within the cover.
If you’re using fabric, consider adding a bit of glue or stitching to secure the edges.
This will keep your pocket strong and reliable.
A hot glue gun works well for paper pockets, ensuring a quick and easy setup.
For a more decorative touch, you can use patterned paper or lace.
This not only adds visual interest but also allows for personal expression in your journal.
Remember to leave the top open so you can easily slide in your items.
You might want to create multiple pockets, depending on your storage needs.
Enjoy customizing your art journal with pockets that reflect your style!
7) Use watercolor for backgrounds

Watercolors are a fantastic choice for creating beautiful backgrounds in your art journal.
They offer a soft, fluid look that adds depth to your pages with minimal effort.
Start by gathering a few basic supplies: watercolor paints, a brush, and watercolor paper.
Wet your brush, dip it in the paint, and apply it to your paper.
You can create washes of color by blending different shades together.
If you’d like to try something fun, use a sponge to dab watercolor onto your page.
This technique provides a textured effect that can enhance your artwork.
Experiment with layering colors.
Let one layer dry before adding another for a more dynamic background.
This can help you create interesting shapes and transitions.
Feel free to add doodles or journal entries after your background dries.
Watercolors provide a perfect base for your thoughts and creativity to shine through.
Doodle with Fine-Liners

Doodling with fine-liners can transform your art journal pages.
These pens offer precision and control, making it easy to create intricate designs.
Start by selecting a few fine-liners in different thicknesses.
A range gives you versatility for varying line weights, which adds depth to your doodles.
Begin with simple shapes.
Circles, spirals, and zigzags are great foundations.
You can build on these with patterns or fill them in with smaller doodles.
Experiment with different styles, like outlining images or adding whimsical characters.
Fine-liners allow for detail that can really make your designs pop.
Consider using fine-liners to create borders or frames around your journal entries.
This can add a polished look and help organize your content.
Don’t stress about perfection.
The beauty of doodling is that it’s all about expression and creativity.
Let your imagination guide you.
9) Incorporate washi tape
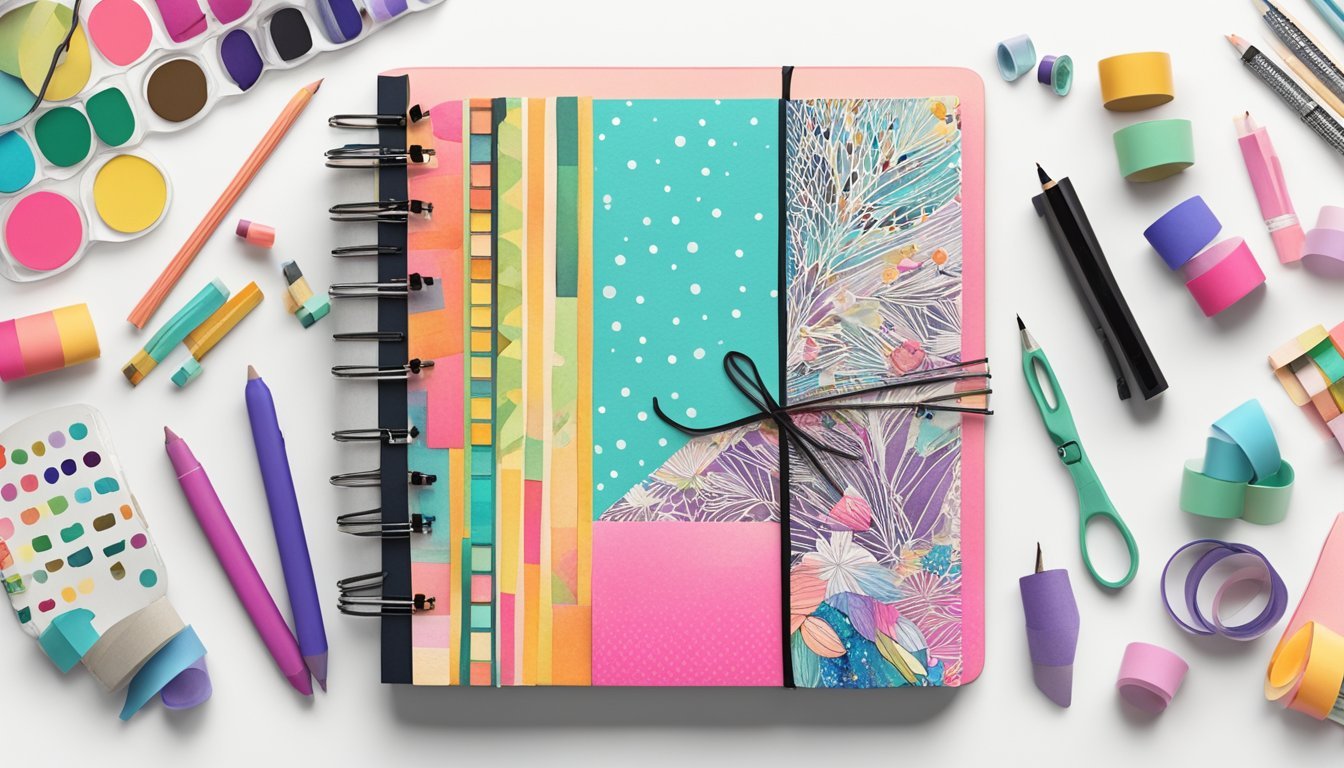
Washi tape is a versatile and fun addition to your handmade art journal.
It comes in various colors and patterns, allowing you to personalize your pages easily.
You can use it as borders or accents on your journal entries.
Try applying strips of washi tape along the edges of the pages for a pop of color.
Another idea is to create section dividers.
Use different styles of washi tape to separate themes or topics throughout your journal.
For added creativity, write directly on the washi tape itself.
This can enhance your notes or serve as a unique way to highlight quotes or ideas.
You can even use washi tape for layering.
Place a few strips down, paint around them, and then peel the tape off to reveal a neat design.
Experiment with different placements, patterns, and combinations.
The possibilities with washi tape are endless, making it a great tool for any art journaler.
10) Write quotes in calligraphy
Writing quotes in calligraphy adds a personal touch to your art journal.
Start by selecting a quote that resonates with you.
Short, meaningful phrases work best for this.
You can create a draft first.
Use a pencil to lightly sketch your quote on the page.
This allows for easy adjustments.
If you prefer, you can use a light box for guidance.
Once you’re satisfied with the layout, trace over the pencil with a calligraphy pen.
Choose a pen that feels comfortable and fits your style.
Take your time to ensure each letter is clear and flowing.
Consider using high-quality, acid-free paper to prevent any bleed-through.
This will keep your journal looking neat and last longer.
Experiment with different styles of calligraphy until you find one that you love.
Your unique flair will make your art journal even more special.
Enjoy the process and let your creativity shine!
Choosing The Right Journal
Finding the perfect journal is key to enhancing your art journaling experience.
You’ll want to focus on the types of paper that suit your creative style and consider what size journal works best for your projects.
Types of Paper for Art Journals
When selecting paper for your art journal, consider the following types:
- Mixed Media Paper: This is a versatile option that can handle various mediums, including watercolor, acrylics, and markers.
- Watercolor Paper: If you plan on using water-based media, this heavyweight paper will prevent warping, allowing you to create with confidence.
- Sketch Paper: Ideal for pencils and ink, sketch paper is lightweight and perfect for quick sketches and layering.
- Bristol Board: This smooth surface is great for detailed work with pens or colored pencils.
Look for paper weights around 200 gsm (grams per square meter) or heavier for more durability.
Choose based on your preferred mediums and techniques.
Considerations for Journal Size
The size of your art journal can greatly influence how you create.
Here are a few factors to think about:
- Portable vs. Studio Size: Small journals (e.g., 5×8 inches) are easy to carry around, while larger ones (e.g., 11×14 inches) give you more space to experiment.
- Format: A landscape orientation can be great for panoramic scenes, while a portrait orientation works well for detailed illustrations.
- Binding Style: Wire-bound journals lie flat and make it easy to create across the entire page. Alternatively, perfect-bound journals are sleek but may not stay open as easily.
Ultimately, choose a size that fits your comfort and artistic needs, whether you’re at home or out and about.
Essential Supplies for Art Journaling
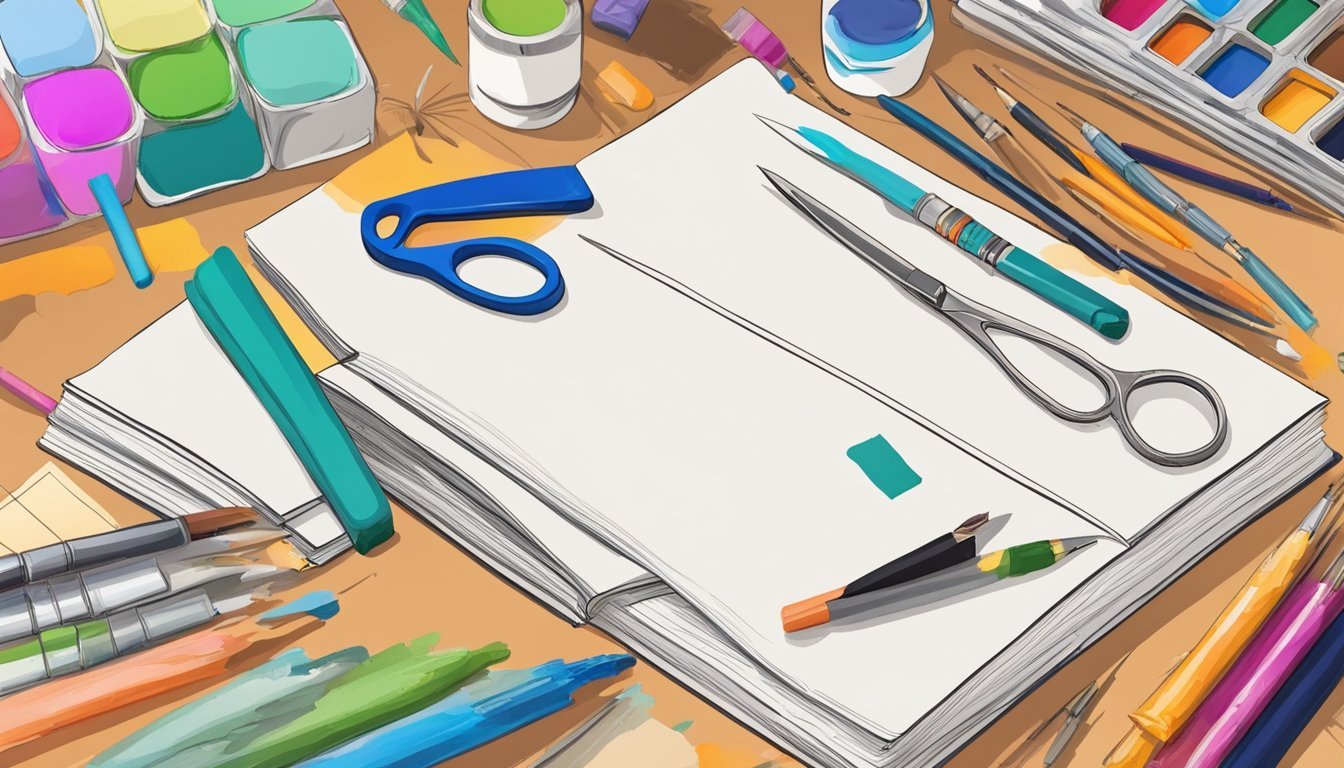
Creating an art journal doesn’t require a trip to the craft store.
You can get started with supplies you likely have at home, plus a few simple DIY alternatives.
Basic Tools You Already Have
Before investing in new supplies, check what you already own.
Many items can serve multiple purposes in your art journal.
- Notebooks: Any old notebook can become an art journal. Look for one with thicker pages to handle mixed media.
- Pens and Pencils: Utilize your regular pens and pencils for sketches, doodles, and notes. Fine liners or ballpoint pens can add flair.
- Markers: Many people have markers lying around. Use them for bold lines and colorful accents.
- Old Magazines: Cut out images and text for collages. This adds a personal touch without spending money.
- Glue: Any kind of glue or glue stick works for adhering elements.
Best DIY Alternatives for Art Supplies
Not all art supplies need to be bought.
You can create DIY versions that are just as effective.
- Paint: Mix flour, water, and food coloring to make your own paint. It’s inexpensive and easy to modify for colors.
- Stamps: Use vegetables like potatoes or sponges to create homemade stamps. Just carve out a design and use paint to stamp.
- Brushes: If you don’t have brushes, try using your fingers or even cotton swabs as tools for painting or applying textures.
- Texture Tools: Items like cardboard, fabric scraps, or even yarn can be used to create interesting textures. Get creative!
Using these basic tools and DIY alternatives, you can easily start your art journaling journey without incurring significant costs.
Personalizing Your Art Journal

Making your art journal uniquely yours is an exciting part of the creative process.
It allows you to express your personality and style.
Here are ways to customize your journal for a truly personal touch.
Tips for Creating Unique Covers
Your cover is the first impression of your journal, so make it count! Start with a sturdy base, like cardboard or an old book cover.
Here are some ideas for personalization:
- Materials: Use fabric, wrapping paper, or even old magazine pages.
- Textures: Incorporate different textures like lace, burlap, or even a piece of your favorite artwork.
- Color: Choose a color palette that resonates with you. Paint or use markers to add splashes of color.
- Embellishments: Consider adding beads, charms, or ribbons for a three-dimensional feel.
Remember, there are no rules.
Your creativity is your limit!
Incorporating Personal Elements
Adding personal elements makes your journal a true reflection of you.
Here are some suggestions to get started:
- Photos: Include printed photos of family, friends, or places that inspire you. You can use them as backgrounds or focal points.
- Quotes: Write down meaningful quotes or affirmations that motivate you. Try using different handwriting styles for variety.
- Memorabilia: Stick in tickets, postcards, or other small items that evoke memories and stories.
- Artwork: Add original sketches or doodles that capture your thoughts and feelings.
Creating a personalized art journal turns it into a visual diary of your life.
This way, each page becomes a memory to cherish.


