

Creating a personal sketchbook can be a rewarding project, especially when you’re working with minimal supplies.
You don’t need a lot of fancy materials to make something special; in fact, simplicity often allows for more creativity. With just a few affordable items, you can tailor a sketchbook that suits your unique style and needs.
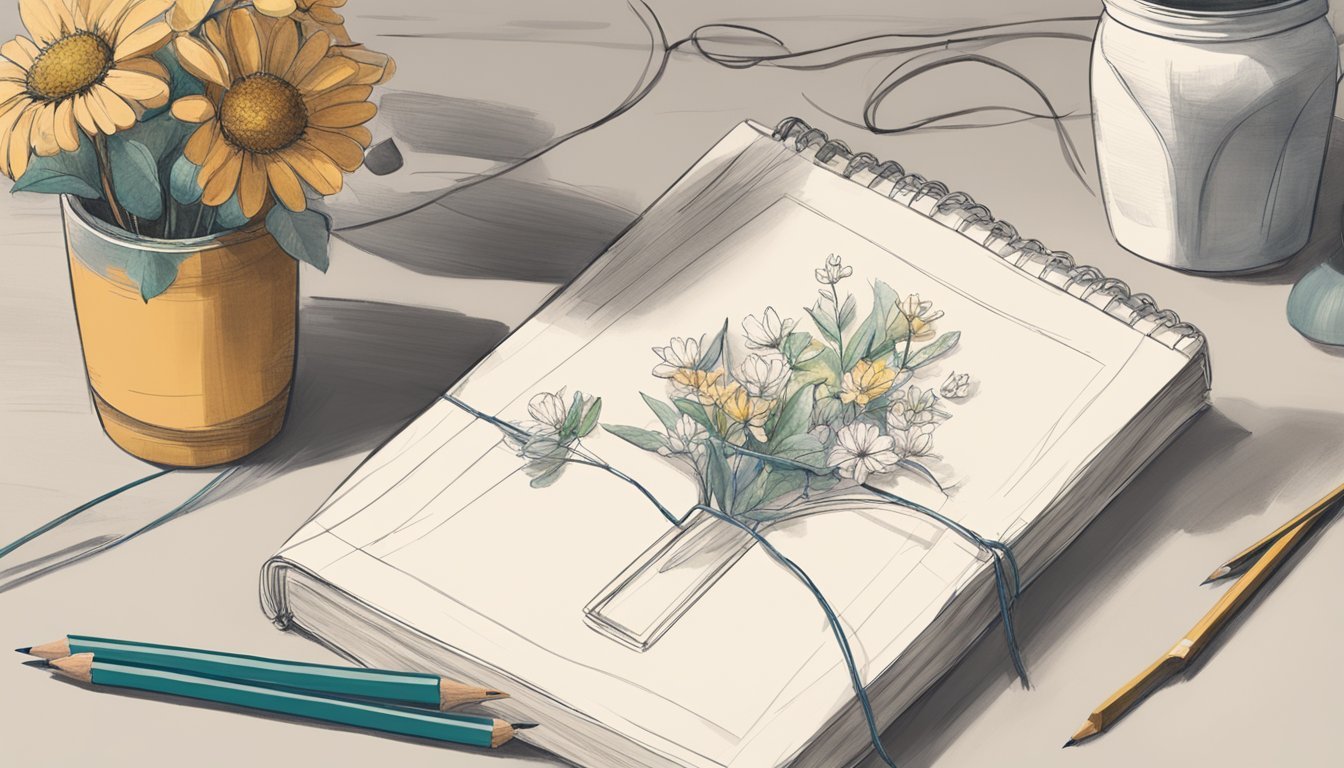
Whether you’re a seasoned artist or just starting out, making your own sketchbook lets you customize everything, from the type of paper to the cover design.
Plus, it’s a fun way to keep all your sketches organized and accessible.
Having a dedicated space for your artistic thoughts can inspire you to explore your creativity even more.
Select a sturdy cardboard for cover
Choosing the right cardboard is crucial for your sketchbook cover.
You want something that can handle wear and tear.
Thick cardboard or mat board works well for durability.
Look for cardboard that is at least 2 millimeters thick.
This thickness provides enough protection while keeping your sketchbook lightweight.
Check old boxes, packaging, or even cereal boxes for suitable options.
If you want a more polished look, consider using chipboard.
It’s sturdier and can give your sketchbook a professional feel.
You can purchase chipboard sheets online or at craft stores.
Make sure to measure your sketches before cutting the cardboard.
A little extra width and height can ensure your pages fit comfortably inside.
This small step can save you time and frustration later.
Finally, think about the color and texture.
Plain brown cardboard is simple, but you can use decorative paper to cover it later.
This adds a personal touch while keeping the necessary strength.
Use watercolor paper for pages
Choosing watercolor paper for your sketchbook pages can make a significant difference in your artwork.
This type of paper is designed to handle water-based media without warping or tearing.
You typically find watercolor paper in various weights and textures.
A heavier weight, like 300 gsm, provides excellent stability and allows for heavy washes.
If you’re looking for something more flexible, 200 gsm might work well for lighter applications.
You can also consider cold-pressed or hot-pressed options.
Cold-pressed paper has a textured surface, which adds dimension to your work.
Hot-pressed paper is smooth and better suited for detailed illustrations.
Cutting your watercolor paper to size for your sketchbook is simple.
Just stack a few sheets, measure your desired dimensions, and use a sharp craft knife for clean edges.
Using watercolor paper not only enhances your painting experience but also gives you the freedom to experiment with techniques like wet-on-wet or layering.
It’s an enjoyable way to elevate your creative process.
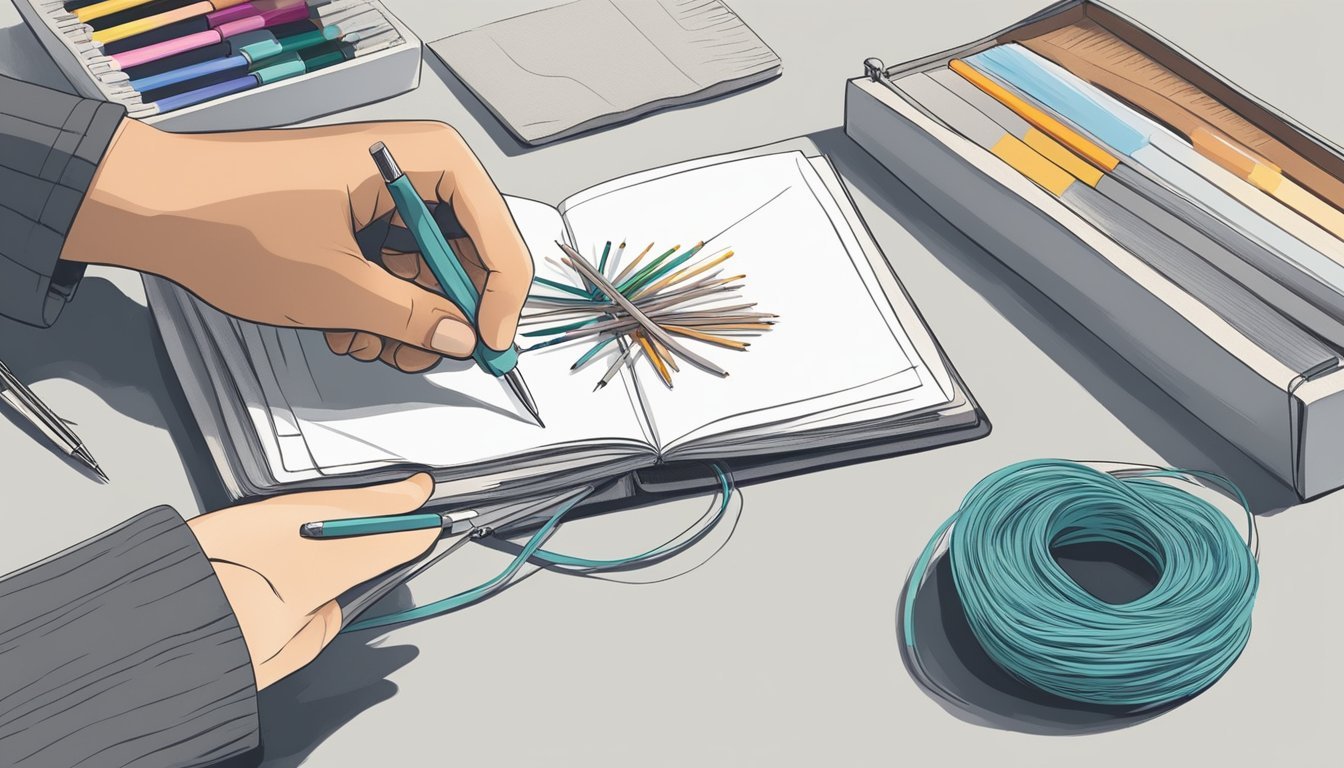
3) Bind with a simple saddle stitch
Binding your sketchbook with a saddle stitch is an easy process that requires minimal supplies.
You’ll need some paper, thread, and a needle.
Start by folding your stack of paper in half to create the spine.
Next, use a ruler to mark evenly spaced holes along the fold.
Typically, three to five holes work well.
Then, using a sharp object, poke through the marked spots.
This will help guide your needle later.
Cut a length of thread that’s about three times the height of your sketchbook.
Thread your needle and start stitching from the outside of the first hole.
Pull it through and leave a tail for later.
Continue stitching in and out through the holes, pulling the thread snug but not too tight.
When you reach the last hole, return to the first hole and sew back through to create a secure bind.
Once finished, tie a knot with the tail and excess thread.
You’ve now made a sturdy sketchbook! This method not only looks great but also allows your book to lay flat when open.
Enjoy creating in your new personal sketchbook.
4) Decorate the cover with washi tape
Decorating your sketchbook cover with washi tape is a fun and easy way to personalize it.
Choose a few rolls in colors or patterns that you love.
Start by laying out your design on the cover without sticking anything down yet.
This lets you see how the colors and patterns work together.
Once you’re happy with the layout, begin applying the washi tape.
You can create stripes, shapes, or even wrap it around the edges for a neat finish.
If you want to add more details, consider layering different tapes.
Mix and match designs for a unique look.
It’s an excellent way to make your sketchbook stand out.
Don’t be afraid to overlap the tape for added texture.
You can also cut it into shapes or use it to create borders.
The possibilities are endless!
Washi tape is removable, so if you don’t like something, you can simply peel it off and try again.
Enjoy the process and let your creativity shine through!
Include tracing paper between pages
Adding tracing paper between your sketchbook pages can enhance your drawing experience.
It provides a smooth surface to work on and protects your sketches.
You can use tracing paper to sketch ideas without committing to the final page.
It allows you to play with design, leaving ink or pencil marks on the tracing paper instead.
When you include tracing paper, make sure to cut it to the same size as your other pages.
This keeps everything neat and organized.
Use a simple method to attach it.
You can either leave the edges unglued so that you can flip it easily or use glue along the spine for a more permanent option.
This extra layer can also help you refine your concepts.
You can trace over your existing work to create variations or improve certain elements without damaging the original sketch.
Incorporating tracing paper into your sketchbook adds versatility and encourages experimentation.
It’s a practical way to explore your creativity while keeping your main sketches intact.
6) Use colored pencils for sketches
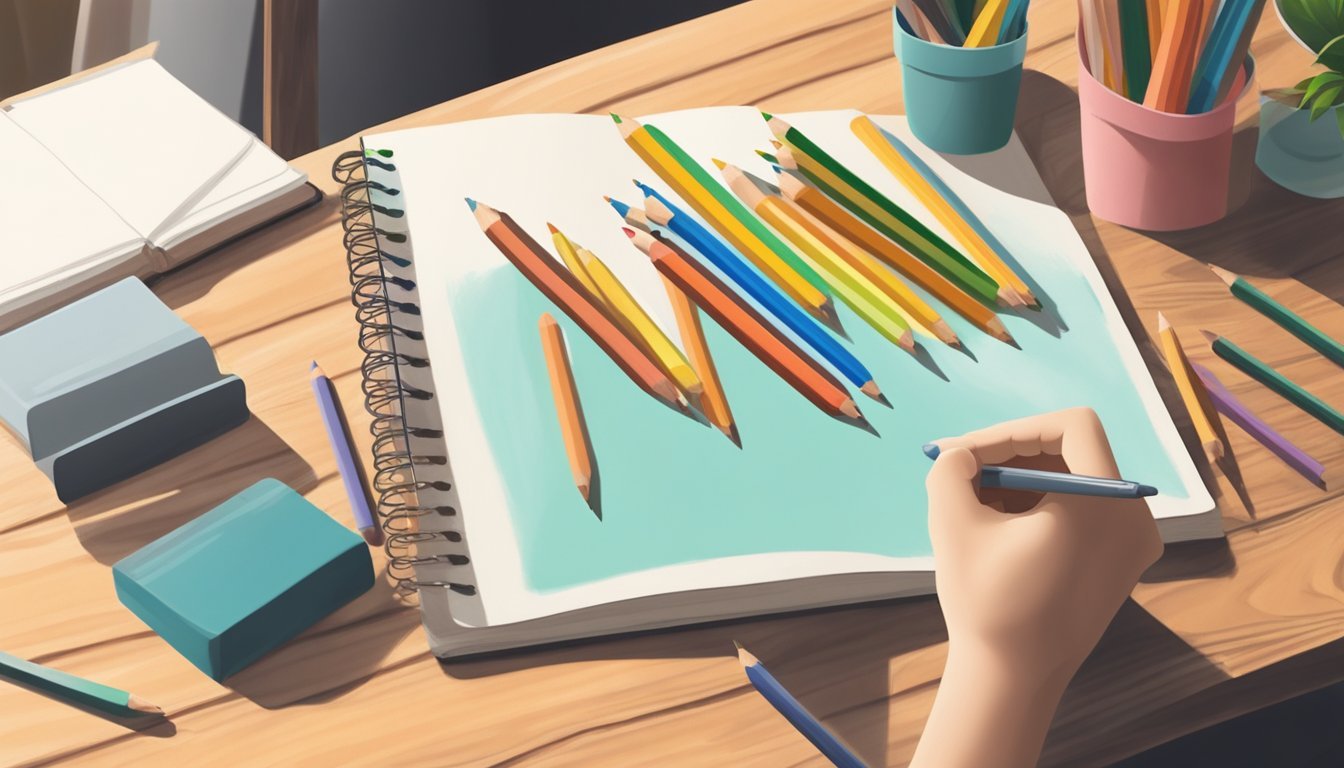
Colored pencils are a great tool for adding vibrancy to your sketches.
They allow for blending and layering, which can enhance the depth of your artwork.
You don’t need a huge set—just a few quality pencils can go a long way.
Start with simple shapes and outlines.
Once you have your base, you can build up color gradually.
Experiment with pressure to create different shades.
Light pressure gives you softer hues, while pressing harder will yield brighter, more vivid colors.
Mixing colored pencils with other media, like watercolor, can also produce interesting effects.
This combination allows you to add texture and unique details to your sketches.
Remember to choose a suitable paper.
A heavier paper helps prevent damaging your sketches and allows for multiple layers of color.
Test your pencils on different types of paper to see what works best for your style.
Using colored pencils in your sketchbook opens up new artistic possibilities.
Enjoy the process and let your creativity flow!
7) Add a pocket with an envelope
Adding a pocket to your sketchbook using an envelope is a quick and easy project.
You only need an envelope, scissors, and glue.
Start by choosing the envelope size that works for your sketchbook.
A 4×6 inch envelope is a good option.
Cut the envelope to fit inside your sketchbook, leaving a little room for movement.
Next, fold the envelope so it forms a pocket.
Apply glue to the back and attach it to a page inside your sketchbook.
You can place it at the back or front, depending on your preference.
If you want a more decorative touch, consider using patterned envelopes or adding stickers.
This helps to personalize your sketchbook while keeping your loose sketches safe.
Now you have a functional pocket to store loose papers, sketches, or even small tools.
Making this addition helps keep your sketchbook organized and handy when inspiration strikes.
8) Make a pen holder with elastic band
Creating a pen holder using an elastic band is a simple and practical addition to your sketchbook.
You need just a few supplies, including elastic, fabric, and a sewing machine or needle and thread.
Start by measuring a piece of elastic about 9 inches long.
You can adjust the length based on your needs.
Cut the elastic to size.
Then, cut a piece of fabric long enough to cover the elastic and add some extra length for folding.
Next, place the fabric strip in the center of the elastic.
Use sewing pins to keep it in place, making sure the fabric is not too tight.
Leave some space between the pins for flexibility.
Sew along the edges of the fabric to secure it to the elastic.
After stitching, you can attach one end of the elastic to the back cover of your sketchbook, creating a nice little holder for your pens or pencils.
Now, you’ll always have your writing tools close at hand.
This quick project is a great way to personalize your sketchbook while keeping it functional.
Enjoy your creative space!
Secure pages with binder clips
Using binder clips is a quick and effective way to secure your sketchbook pages.
They keep everything in place, making it easy for you to work without worrying about loose sheets.
To start, decide how many pages you want to bind.
Stack them neatly and place binder clips on both ends.
This will hold the pages tightly together while you prepare for the next step.
You can also use binder clips to create a simple cover for your sketchbook.
Just clip the edges of your chosen cover material around the pages.
This helps add a bit of flair to your design and keeps everything together.
If you want to get creative, consider using decorative clips.
They can enhance your sketchbook’s look while still serving a practical purpose.
Plus, it’s fun to mix and match different colors and styles to reflect your personality.
10) Personalize with a Hand-Lettered Title
Personalizing your sketchbook with a hand-lettered title can really make it feel unique.
Choose a font style that resonates with you.
You can copy existing lettering by hand or use downloadable fonts.
If you opt for a specific style, start with a simple sketch of how you want it to look.
Use pencil to lightly outline your letters before going over them with markers or pens.
Try adding some doodles or embellishments around the title.
This can give your sketchbook a more artistic flair.
You can also record the date or a quote that inspires you near the title.
Making your title personal sets the tone for what’s inside.
It can inspire your creativity each time you open to a new page.
Each time you see it, you’ll be reminded of your artistic journey.
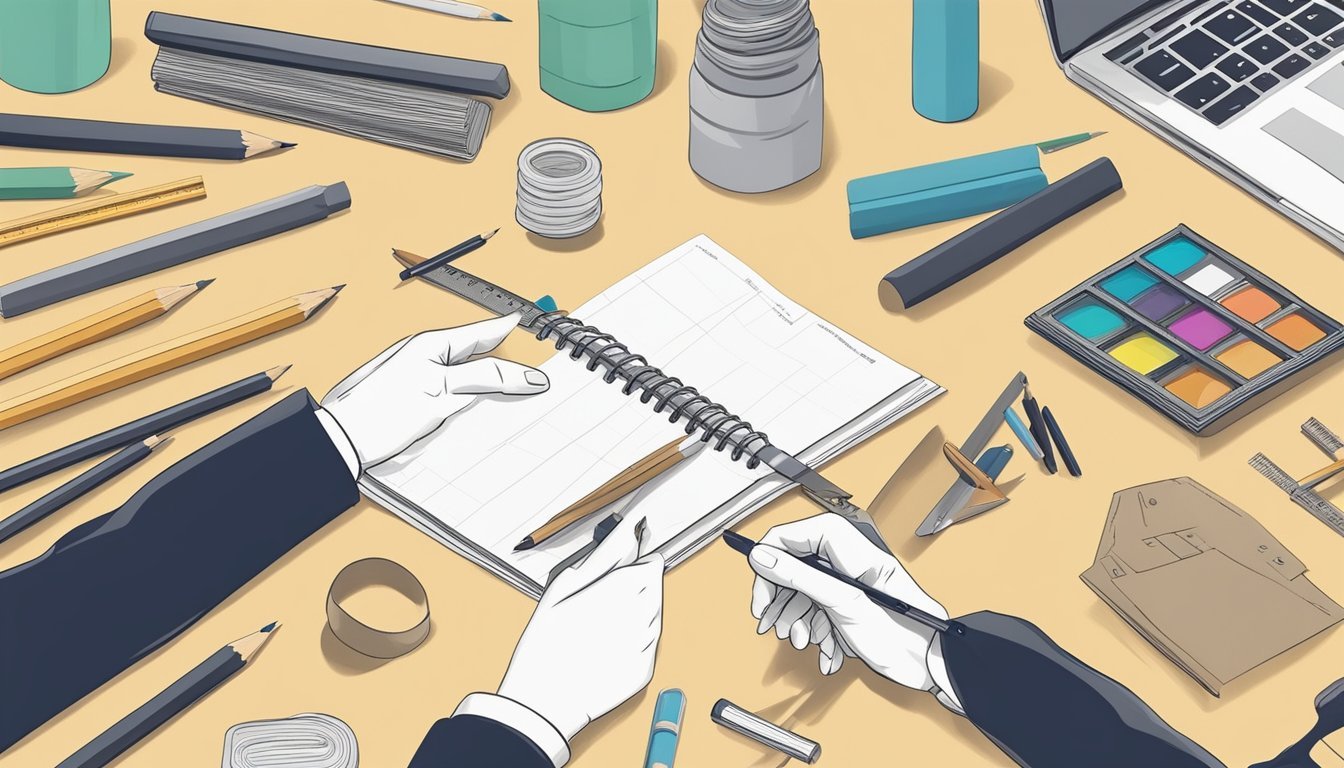
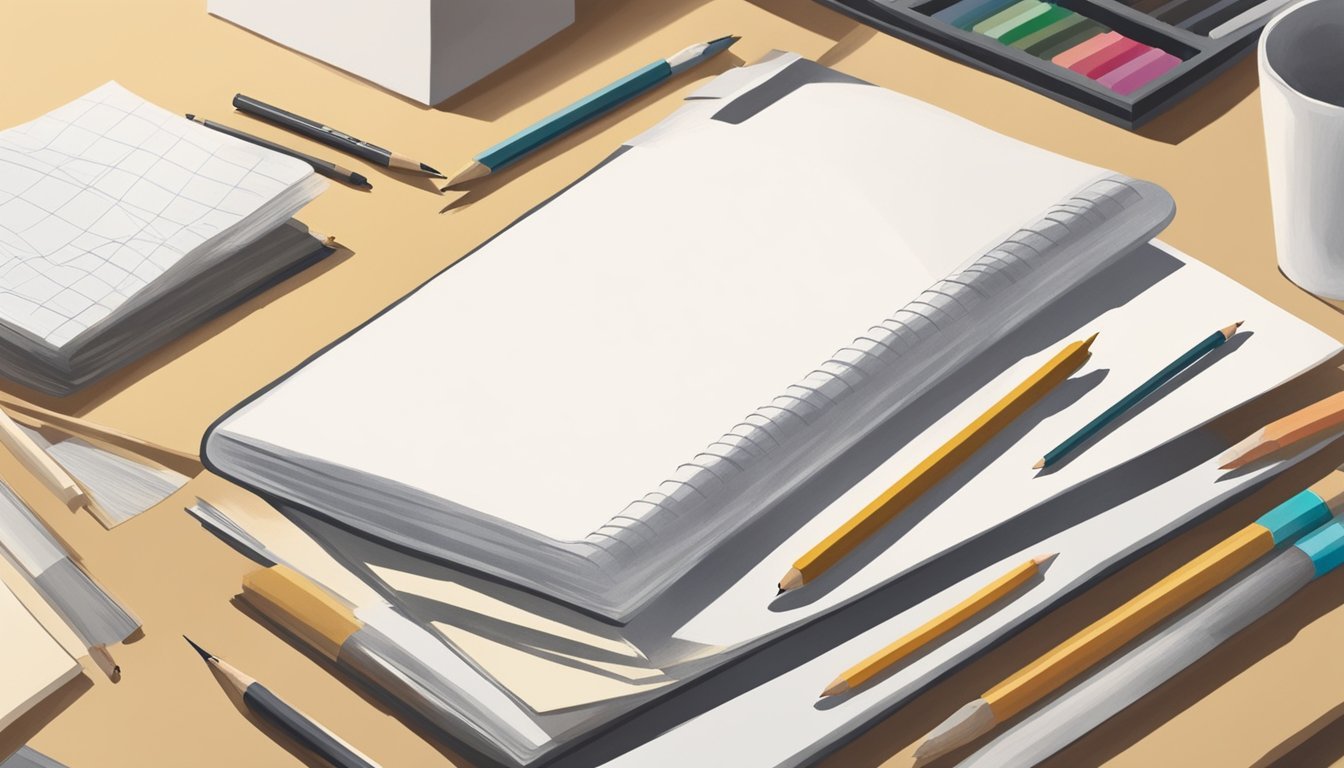
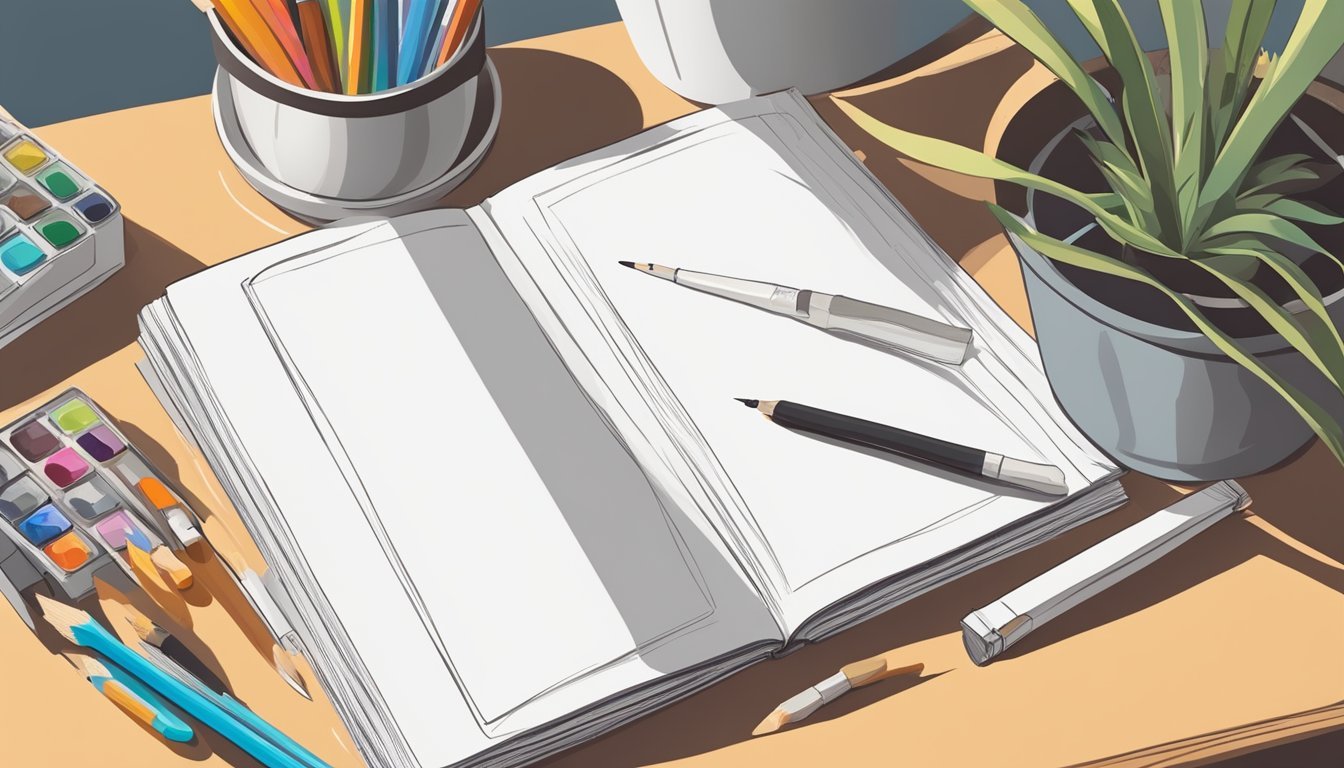
Choosing the Right Paper
Selecting the right paper for your personal sketchbook is crucial for achieving the results you want.
Different papers work better with various media and techniques, while sustainability is an important factor to consider as well.
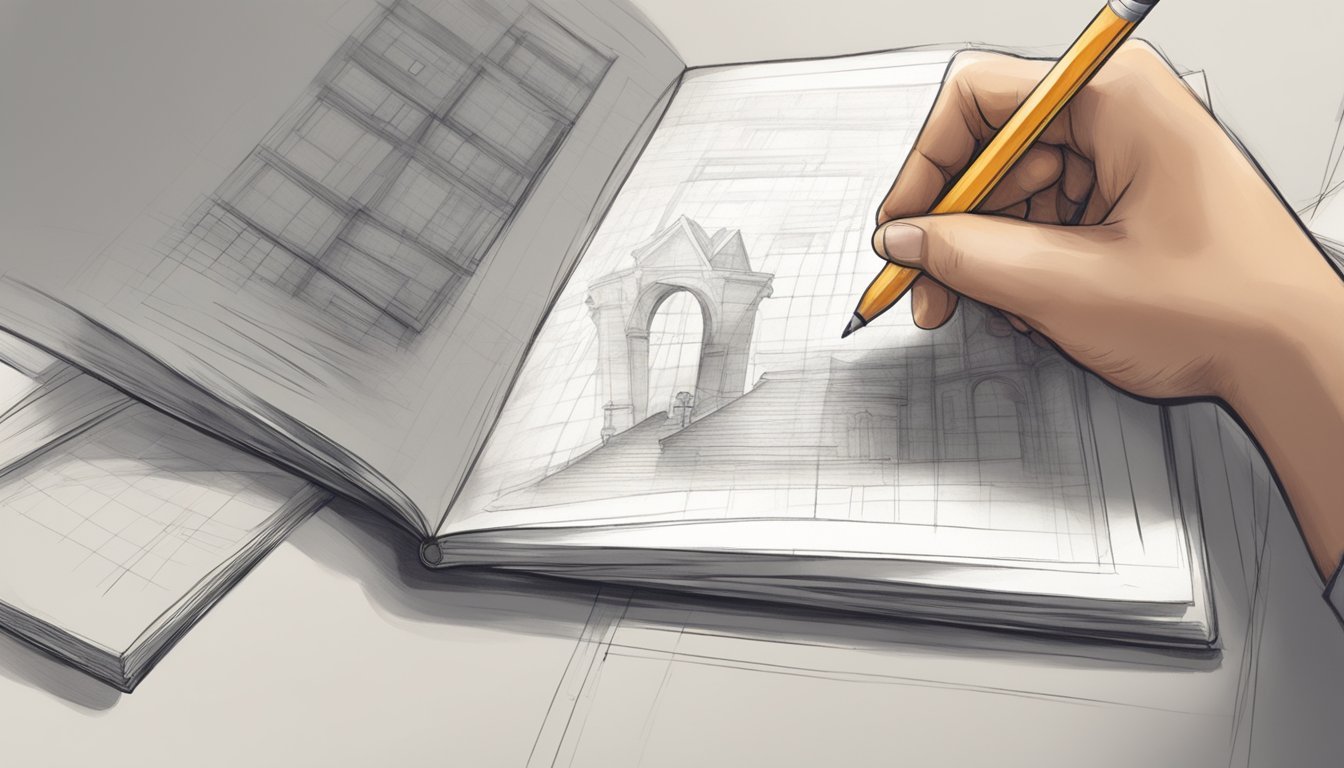
Types of Paper Suitable for Sketching
When it comes to sketching, the type of paper can significantly impact your artwork.
Here are a few types to consider:
- Sketch Paper: Lighter and designed for quick sketches. Great for pencil and ink but not ideal for wet media.
- Drawing Paper: Heavier and sturdier, perfect for detailed work with pencils, charcoal, or pastels.
- Watercolor Paper: Specifically made for wet media. Cold-press is textured and good for expressive strokes, while hot-press is smoother for fine detail.
- Mixed Media Paper: Versatile and can handle a variety of media, from pencils to watercolors.
Choosing the right texture and weight helps enhance your creative process.
Sustainability in Paper Choices
Thinking about sustainability is important when selecting paper.
Here are some tips to make eco-friendly choices:
- Recycled Paper: Look for options made from post-consumer recycled materials to minimize environmental impact.
- Sustainable Sourcing: Check if the paper is sourced from responsibly managed forests, certified by organizations like FSC (Forest Stewardship Council).
- Acid-Free Options: Choose acid-free paper to ensure your work lasts longer without yellowing.
By prioritizing sustainable materials, you support environmental health while creating beautiful art.
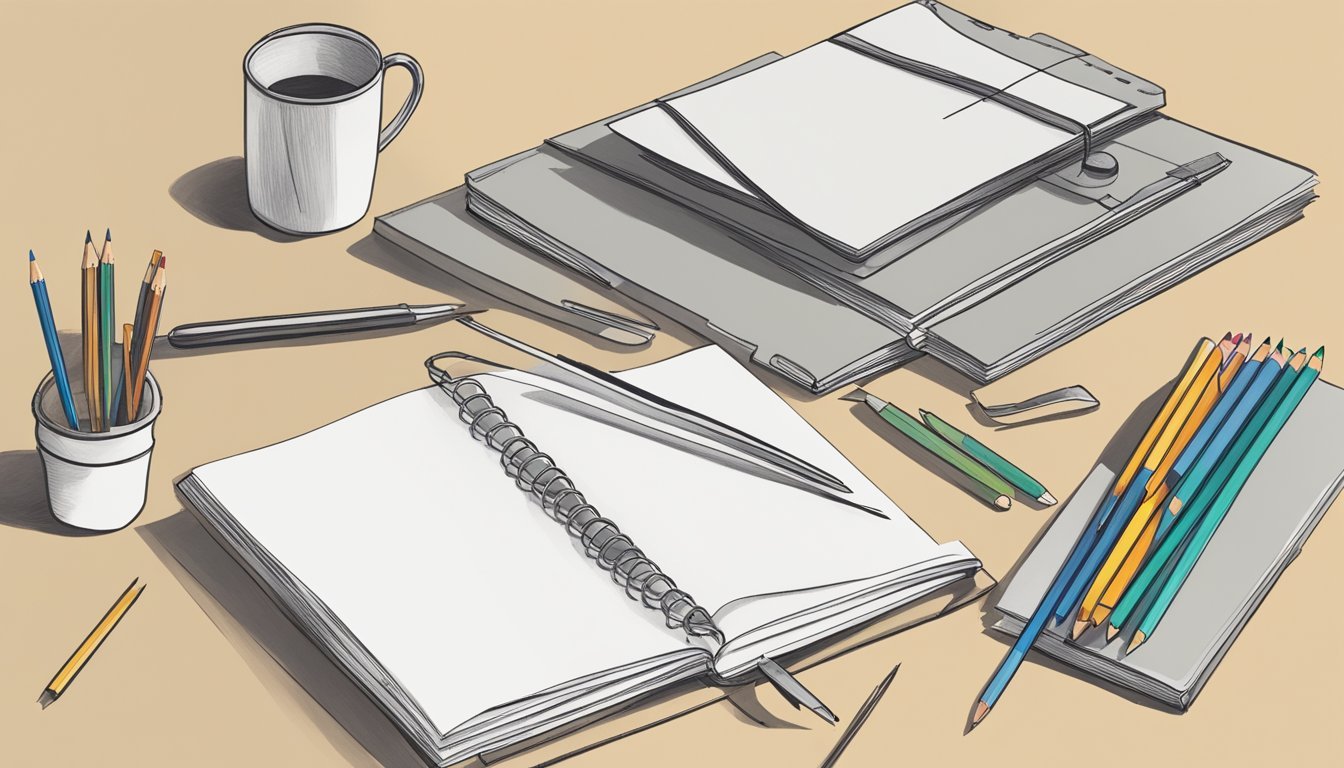
Binding Basics
Binding is essential for keeping your pages together and giving your sketchbook a finished look.
Here are a couple of straightforward techniques that make binding easy and fun, plus some ideas for using materials you may already have at home.
Simple Binding Techniques
One of the simplest binding methods is the Saddle Stitch.
For this method, all you need are a few sheets of paper and a long needle with thread.
- Prepare Your Pages: Stack your sheets neatly.
- Mark the Holes: Use a pencil to mark a line down the center and then make holes (usually 2-3) through the paper.
- Sew: Thread the needle and stitch through the holes, tying a knot on the end.
Another great option is Japanese Stab Binding.
This style is not only strong but also provides a decorative touch.
You’ll need to punch holes along the spine and thread through in a decorative pattern.
Using Upcycled Materials for Binding
You can create a unique sketchbook using upcycled materials.
Old magazines, cardboard, or even cereal boxes can make excellent covers.
- Collect Materials: Gather items like old folders or scrap paper.
- Cut the Covers: Trim your recycled materials to the size of your pages. Aim for a slight overhang for a professional look.
- Bind with Twine: Punch holes in the covers and pages, then use twine or string to bind them together.
This not only saves money but also adds a personal touch to your sketchbook.
Using these methods allows you to embrace creativity while minimizing waste.
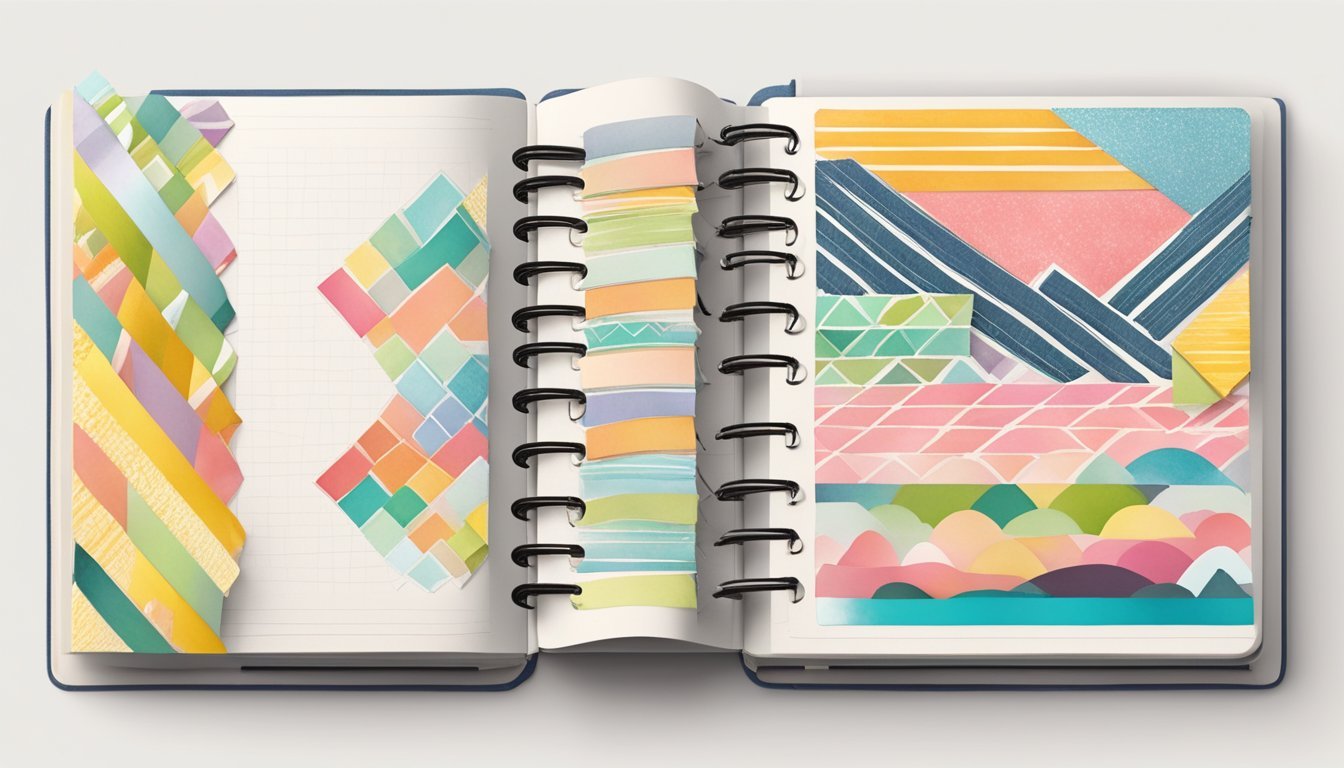
Customizing Your Sketchbook
Customizing your sketchbook adds a personal flair and makes it a reflection of your creativity.
Simple touches can enhance its appearance and functionality, making it a source of inspiration.
Creative Cover Ideas
Start with the cover, as it’s the first thing you’ll see.
You can use materials like:
- Paper: Consider wrapping your sketchbook in decorative paper. You can find vibrant patterns or designs that resonate with you.
- Fabric: If you have some fabric scraps, a simple fabric cover can add texture. Just glue it down on the edges for a clean look.
- Paint or Markers: Use acrylic paint or permanent markers to draw directly on the cover. Consider doodles, quotes, or abstract designs.
Don’t forget to seal your design.
A clear coat can protect it from wear and tear.
This customization not only makes your sketchbook unique but also motivates you to fill it with art.
Incorporating Personal Touches
Adding personal touches can make your sketchbook feel like home.
Here are some ideas:
- Inspirational Quotes: Write or paint your favorite quotes on the first few pages or the inside cover. This serves as a reminder to stay inspired.
- Dividers: Use colored paper or tabs to create sections. You might separate sketches, ideas, and practice work.
- Stickers and Collage: Decorate with stickers that represent your interests. You can also create a collage with images or cutouts that inspire you.
These small adjustments make your sketchbook functional and a cherished personal item that you’ll love using every day.