

Getting your art supplies in order can seem like a daunting task, but it doesn’t have to be.
With just a few simple steps, you can transform your creative space into an organized haven that inspires your artistic endeavors. Taking the time to organize your supplies not only enhances your creativity but also makes your workspace more functional and enjoyable.

Whether you’re a seasoned artist or just starting out, having an organized system for your materials can save you time and frustration.
Imagine always knowing where your favorite brushes or colors are when you need them.
With these practical tips, you’ll be set to elevate your art experience and keep your supplies tidy.
1) Sort by Medium
Start by gathering all your art supplies together.
This gives you a clear view of what you have.
Next, sort your items by medium.
Group paints, markers, colored pencils, and pastels separately.
This helps you know what you’re working with.
Once sorted, consider using bins or trays for each medium.
Label them for easy access.
This way, you won’t waste time searching for that perfect shade of blue.
If you work with mixed media, create a separate section for those supplies.
Keep items that you use together in one spot; it can save you a lot of hassle later on.
Regularly check your collections.
As you use up supplies or find new favorites, adjust your organization system to keep it effective.
Sorting by medium not only helps you stay organized but also sparks creativity when your tools are easily accessible.
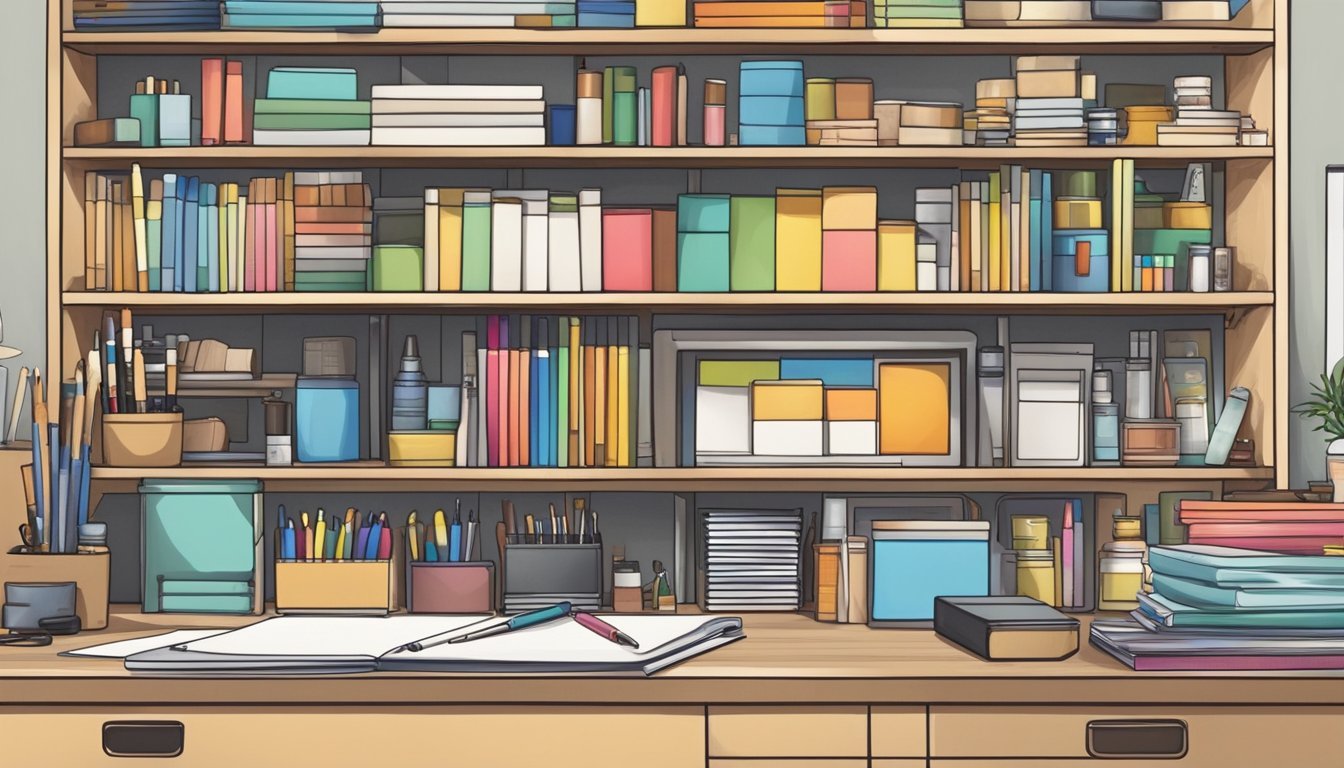
2) Use Clear Containers
Using clear containers is a game changer for organizing your art supplies.
These bins allow you to see exactly what you have without opening every box or drawer.
You can group similar items together, like paints, brushes, or markers.
This not only keeps everything tidy but makes it super easy to find what you need quickly.
Clear containers come in various sizes.
You can use small ones for beads or sequins and larger ones for canvases or paper.
This versatility helps you maximize your space.
Labeling each container is key.
When you label them, it saves time searching through items.
You can grab what you need without any hassle.
Investing in sturdy, stackable containers can also help save space.
You can easily place them on shelves or in cabinets.
With a little effort to sort and store, clear containers can transform your art space.
You’ll be amazed at how organized everything feels.
3) Label Everything
Labeling your art supplies is a game-changer.
It helps you quickly find what you need without sifting through piles of materials.
Start by investing in a set of labels or a label maker.
You can choose from simple sticky labels or decorative options that match your style.
For paints, categorize them by color.
Use labels like “reds,” “blues,” or “neutrals” to make selection easy.
If you have various tools like brushes, scissors, and pens, label their storage bins, too.
This way, you’ll know exactly where everything is located.
Don’t forget about your paper supplies.
Label stacks by type or size to ensure you grab the right one when inspiration strikes.
Maintaining your system is just as important.
As you acquire new supplies or use up old ones, update your labels.
Keep it consistent, and these small efforts will pay off, making your creative space more efficient and enjoyable.
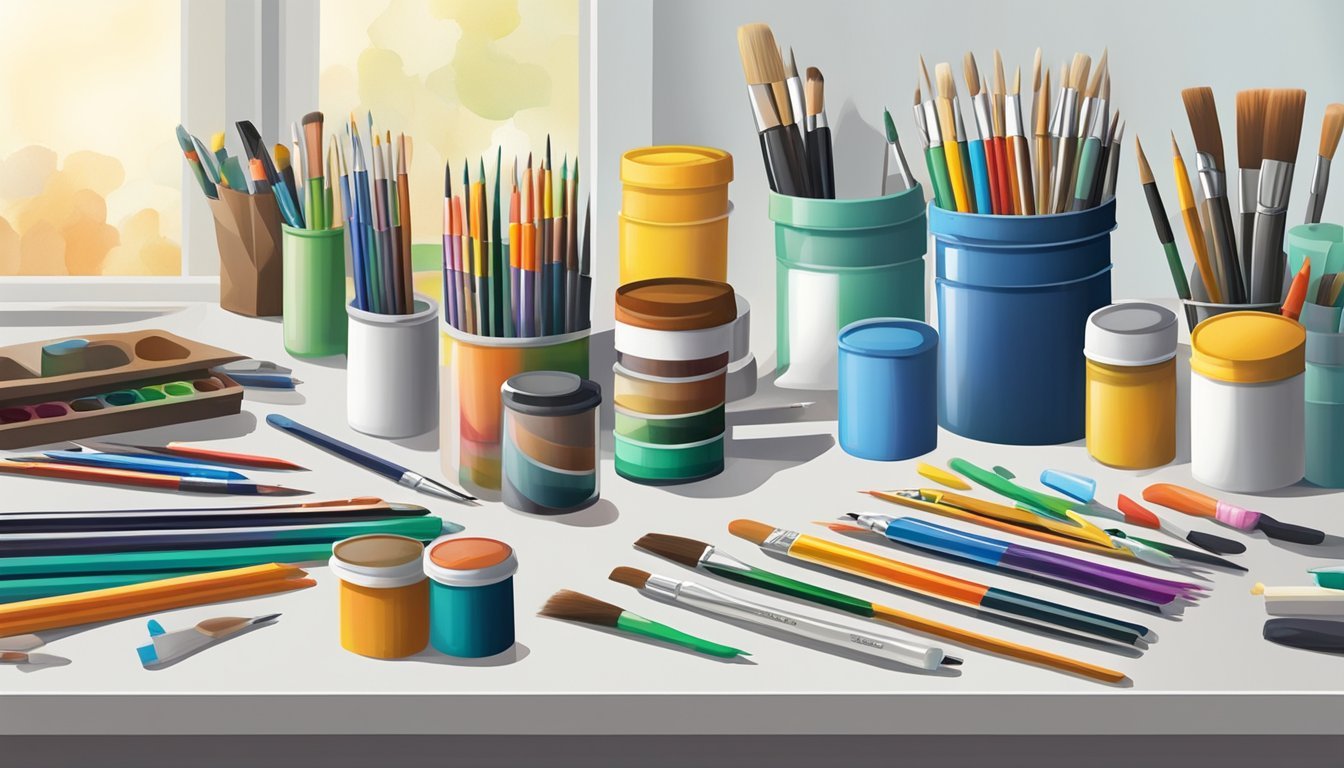
4) Separate Brushes
Keeping your brushes organized is key to making the most of your art sessions.
Start by grouping them by type.
Flat brushes, round brushes, and detail brushes all have different uses, so separating them helps you find what you need quickly.
Consider using a caddy or a small container for your brushes.
A spinning caddy works well because it allows easy access to all your brushes at once.
If you have a lot of brushes, a shelf with small bins can work too.
Label each bin for quick identification.
Finally, remember to clean your brushes regularly and store them upright to maintain their shape.
This simple practice ensures that your tools stay in great condition and are always ready for your next creation.
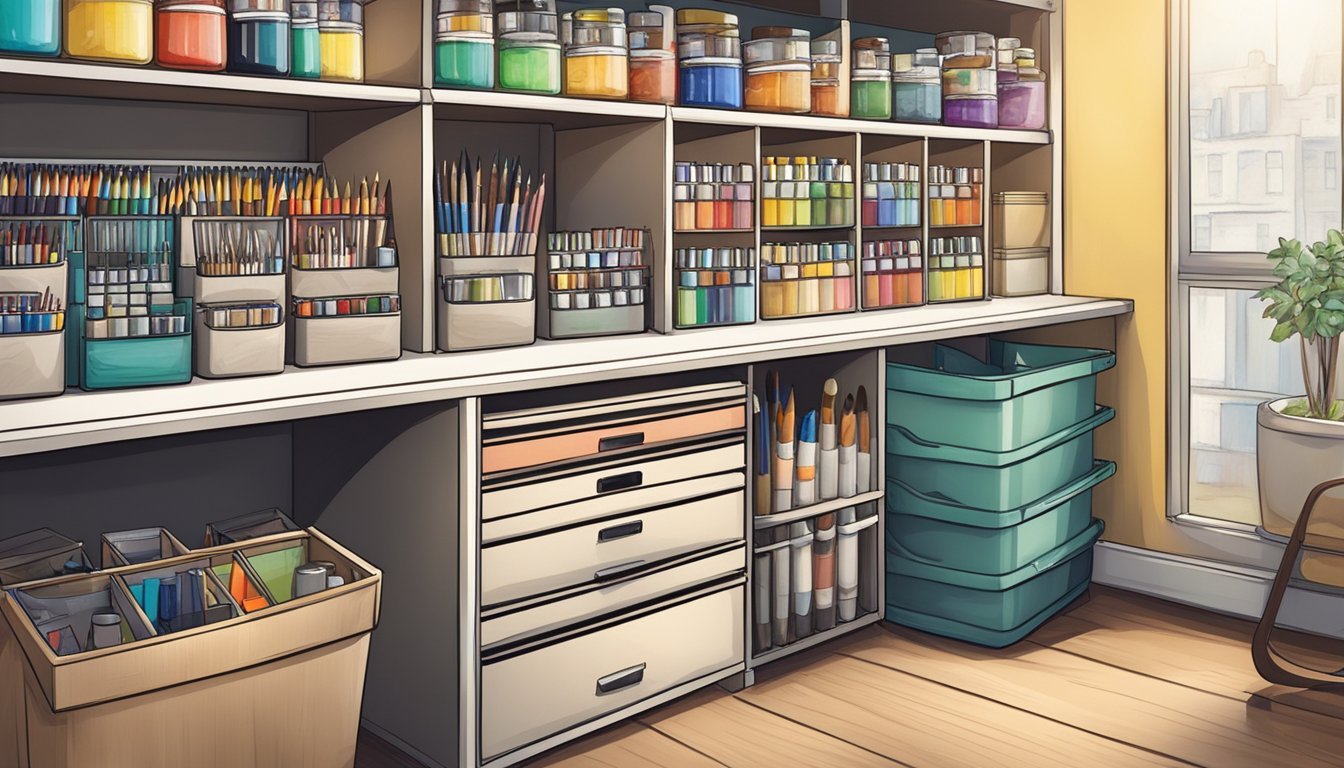
5) Organize by Size
Organizing your art supplies by size can make a significant difference in how you access what you need.
Start by grouping items like brushes, paints, and tools based on their dimensions.
Use clear storage bins or drawer organizers.
Larger items can go in bigger containers, while smaller tools can fit into compartments designed for them.
This method helps you see everything at a glance.
Consider vertical space for taller items.
Using shelves or pegboards allows you to maximize storage without cluttering your workspace.
Hang items where you can easily grab them and return them after use.
Remember to keep frequently used supplies within easy reach.
The more accessible they are, the more likely you will use them.
Small adjustments, like removing unnecessary packaging, can also help you fit supplies better.
Consolidating by size not only keeps your space tidy but also encourages creativity.
A well-organized area makes it easier to find what you need when inspiration strikes.
6) Utilize a Pegboard
Using a pegboard is a fantastic way to organize your art supplies.
It’s versatile, easy to set up, and doesn’t require a lot of space.
Start by choosing a suitable wall in your craft area.
You can hang your pegboard directly or frame it for added style.
Once it’s mounted, get creative with hooks and baskets.
You can use them to hold everything from paintbrushes to rolls of tape.
Consider adding a small shelf by placing a piece of scrap wood on double hooks.
This can be perfect for storing larger items or inspirational pieces.
Pegboards also allow for easy reorganization.
If you find a new way to arrange your supplies, just move the hooks around.
It’s not just functional; it can also act as a mini art gallery.
Hang your favorite pieces or inspiration photos for a personal touch.
With a pegboard, your supplies will be accessible and organized, making your creative process smoother.
Store Vertically
Maximizing vertical space can transform your art supply organization.
Instead of cluttering tables and floors, think about how you can use your walls.
Pegboards are a fantastic option.
You can hang tools like scissors and tape while adding small shelves for brushes and markers.
This keeps everything visible and within reach.
Another idea is to use hanging wire baskets.
These can hold larger items such as yarn or fabric scraps.
Mix different sizes and shapes for a fun, practical display.
Utilize wall-mounted shelves too.
These allow you to store boxes or bins with smaller items neatly stacked.
You’ll free up valuable workspace.
Consider placing hooks on the walls to hang larger tools or even art pieces.
This not only helps with organization but can also add a bit of personality to your space.
By storing vertically, you’ll create a more inspiring environment.
Everything will feel organized, and you’ll have more room to create.
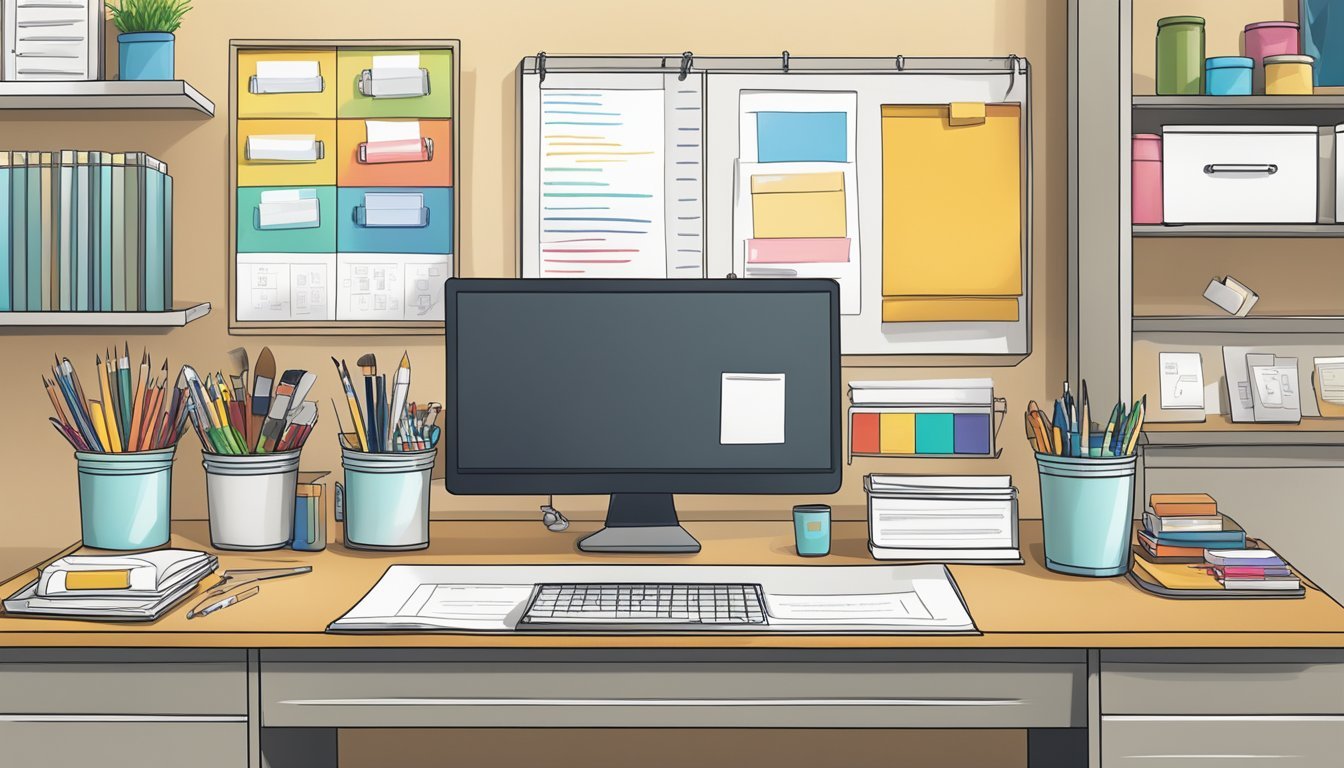
Setting Up Your Workspace
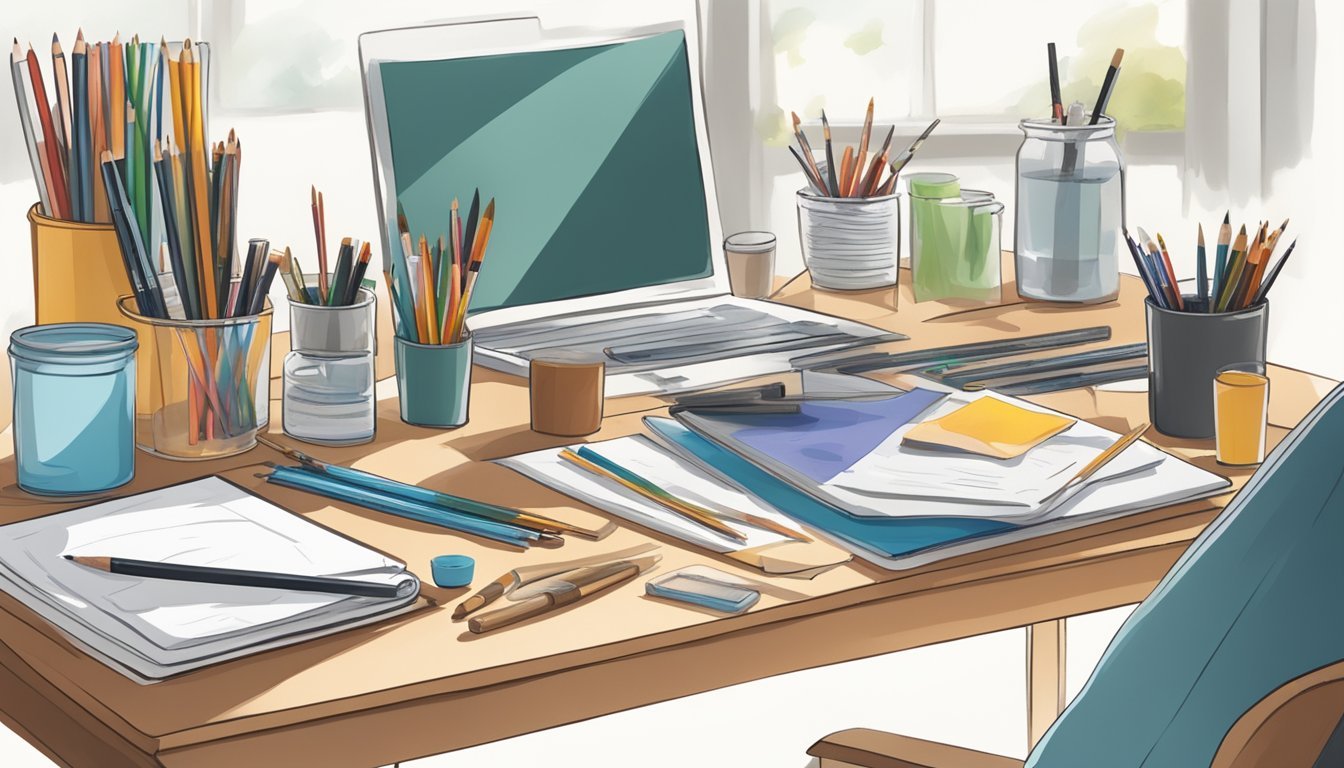
Creating an organized workspace is crucial for enhancing your creativity and ensuring you can find your art supplies quickly.
Focus on practical storage solutions and a layout that promotes easy access and inspiration.
Choosing the Right Storage Solutions
When it comes to storage, look for options that suit your art supplies and available space. Clear plastic bins are fantastic for sorting items by category — label them for easy identification.
Use drawer organizers to keep smaller supplies like brushes and pencils in order.
If you have room, a multi-tiered cart can be an excellent mobile solution since it lets you move supplies as needed.
Don’t forget about vertical space.
Install shelves or pegboards to free up surface areas while keeping everything within reach.
Hooks and baskets can hold scissors, tape, and other frequently used items.
Creating a Functional Layout
A functional layout can significantly impact your creative flow.
Start by identifying your workspace’s focal point, whether it’s a table or easel.
Arrange your supplies so the most used items are easily accessible.
Consider using zones: a painting area, a drawing station, and a storage zone.
This helps compartmentalize your activities and maintains organization.
Keep your workspace clutter-free by putting away items you don’t frequently use. Regular tidy-ups after art sessions will help.
Lastly, make sure you have good lighting — it can change your perception of colors and make a big difference in your working environment.
Maintaining Order
Keeping your art space organized requires routine upkeep.
Implementing regular cleaning routines helps maintain a clear workspace and ensures all supplies stay in their designated spots.
Regular Cleaning Routines
Set specific times to clean your art supplies to prevent clutter from building up.
A quick fifteen-minute cleanup after each session can make a big difference.
-
Put Away Supplies: After finishing a project, return all supplies to their designated locations. This action reinforces a habit of organization.
-
Wipe Down Surfaces: Dust and residue can accumulate quickly. Use a damp cloth to clean work surfaces to keep them fresh.
-
Declutter Periodically: Every month, take a moment to assess your materials. Dispose of dried-out paints, empty containers, or items you no longer use. This helps maintain a streamlined inventory.