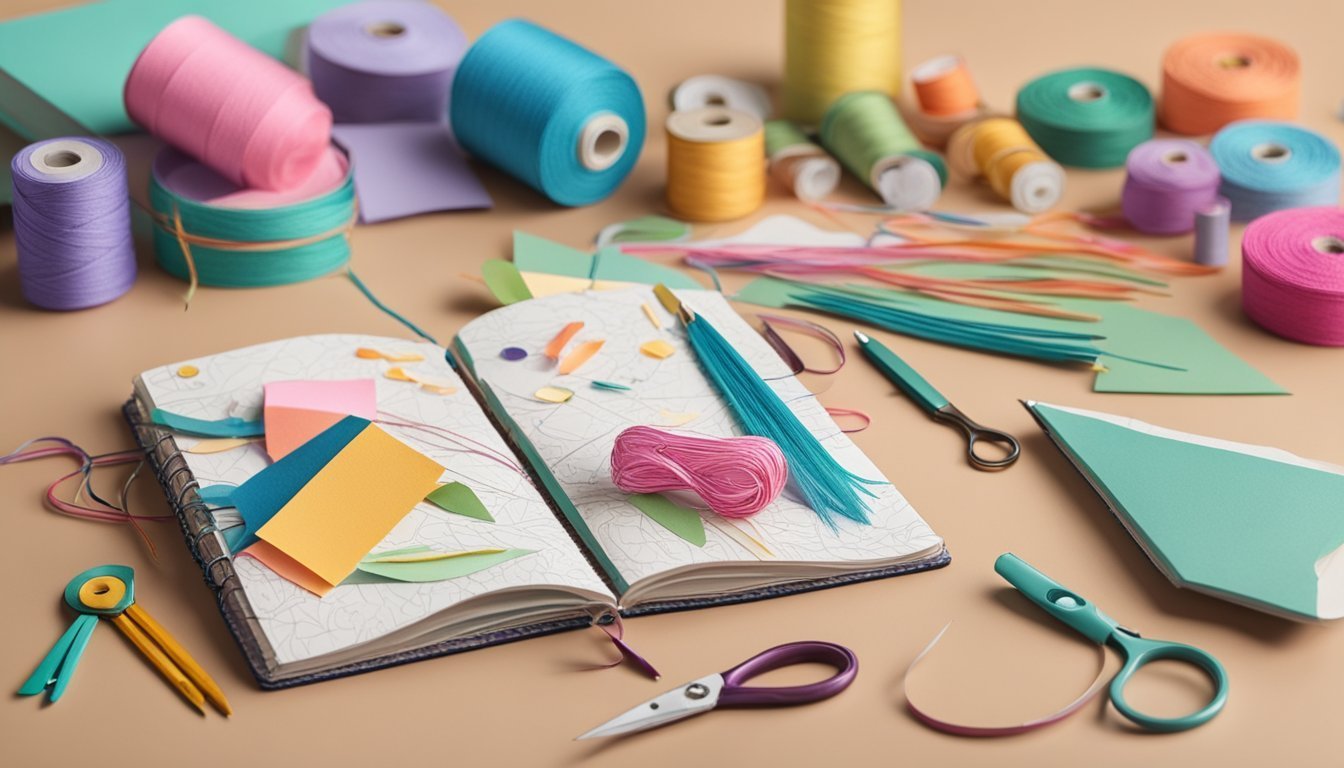
Creating handmade journals is a rewarding way to express your creativity and personalize your writing experience.
Whether you want to document your thoughts, sketch ideas, or keep notes, making a journal allows you to choose materials and styles that resonate with you. Sewing and paper crafting techniques can help you craft beautiful journals that reflect your unique personality and serve as a special space for your thoughts.
The process of making handmade journals can be both fun and therapeutic.
You’ll find there are many methods to choose from, allowing you to explore different designs and bindings.
By engaging in this craft, you not only create something functional but also nurture your artistic side while enjoying the satisfaction of working with your hands.
1) Choose your paper style
When making your handmade journal, selecting the right paper style is key.
Think about how you’ll use the journal.
Will it be for writing, sketching, or both?
You can choose from various types of paper, including lined, blank, or graph.
Lined paper is great for writing, while blank paper suits artists who want to draw or paint.
Cardstock is another popular choice for covers.
It’s thick and durable, providing your journal with some sturdiness.
You can easily fold it and use it to make pockets or cards inside the journal.
You might also consider using specialty papers, like watercolor paper for painting or recycled paper for a more eco-friendly option.
Each type gives your journal a unique feel and look, so pick what speaks to you!
2) Pick a binding method
Choosing a binding method is a fun part of making your handmade journal.
There are several techniques, each with its own charm and style.
You can go for traditional sewn bindings, which give your journal a classic look.
Methods like the Coptic Stitch or Secret Belgian Binding are popular choices.
They not only secure your pages but also add a decorative element to the spine.
If sewing isn’t your thing, consider spiral binding.
It’s straightforward and allows your journal to lay flat when open.
This is perfect for sketching or journaling.
You might also try a simple glue binding.
It’s easy and requires minimal supplies.
Just glue the spine and attach a cover, and you’re good to go.
Your choice of binding method can significantly influence the final look and feel of your journal, so think about what resonates with you!
Gather essential tools
To start making your handmade journal, you’ll need some basic tools and materials.
This will make the process smoother and more enjoyable.
First, gather sheets of paper for your inside pages.
You can choose different types, like lined, blank, or patterned, based on your preferences.
Next, grab a piece of cardboard for the cover.
It’ll provide structure and durability to your journal.
You’ll also need a hole punch or a drill to create sewing holes.
This is essential for attaching your pages securely.
A needle and thread are crucial for sewing the signatures together.
Choose a sturdy thread that can hold up well over time.
Lastly, have a glue stick or some adhesive on hand.
This will help with any extra embellishments or securing parts of the journal.
With these tools ready, you’re set to dive into the fun of crafting your own unique journal!
Select Colorful Threads
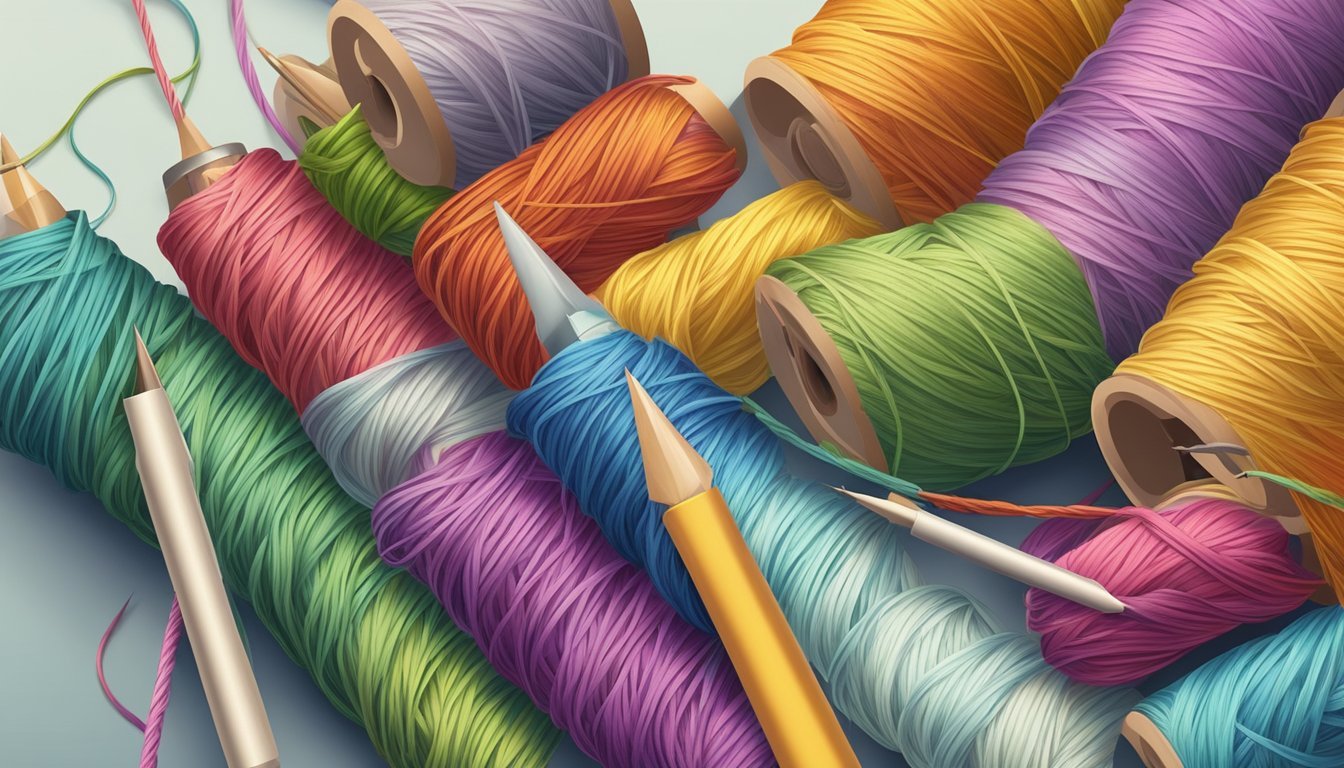
When choosing threads for your handmade journal, consider colors that complement your cover and paper.
Bright, vibrant colors can make your journal feel more personal.
You can also mix and match different colors for a more eclectic look.
Think about using contrasting colors for the stitching, which can add visual interest.
If you’re going for a specific theme or mood, select threads that reflect that.
For instance, earthy tones work well for a natural feel, while pastels can give a soft, dreamy touch.
Make sure the thread is durable enough for sewing.
A strong, colorful thread will not only enhance the appearance but will also ensure your journal holds together well over time.
Don’t hesitate to experiment with textures, too.
Variegated threads can add depth and character to your stitching, making each journal unique.
Enjoy the process of selecting threads as they can be a fun way to express your creativity.
5) Add decorative covers
Adding a decorative cover to your handmade journal can make it truly special.
You can use a variety of materials such as fabric, wrapping paper, or even scrapbooking paper.
Start by measuring your journal’s pages.
Cut the cover material to size, ensuring it has some overlap for folding.
If you’re using fabric, a pretty cotton print can add a nice touch.
For a fabric cover, you might want to reinforce it with interfacing.
This will give it durability.
Sew the fabric edges with a straight or zig-zag stitch to prevent fraying.
If you prefer paper covers, consider using thicker cardstock for a sturdy finish.
You can also layer different papers for added texture.
Be creative with your designs—incorporate patterns, colors, or even embellishments like lace or ribbons.
Attach your cover to the journal by wrapping the material around the front and back.
Secure it with glue or double-sided tape.
Make sure it’s snug but not too tight.
Personalizing your cover will make your journal more inviting and enjoyable to use.
Have fun with different styles and let your creativity shine!
6) Design unique layouts
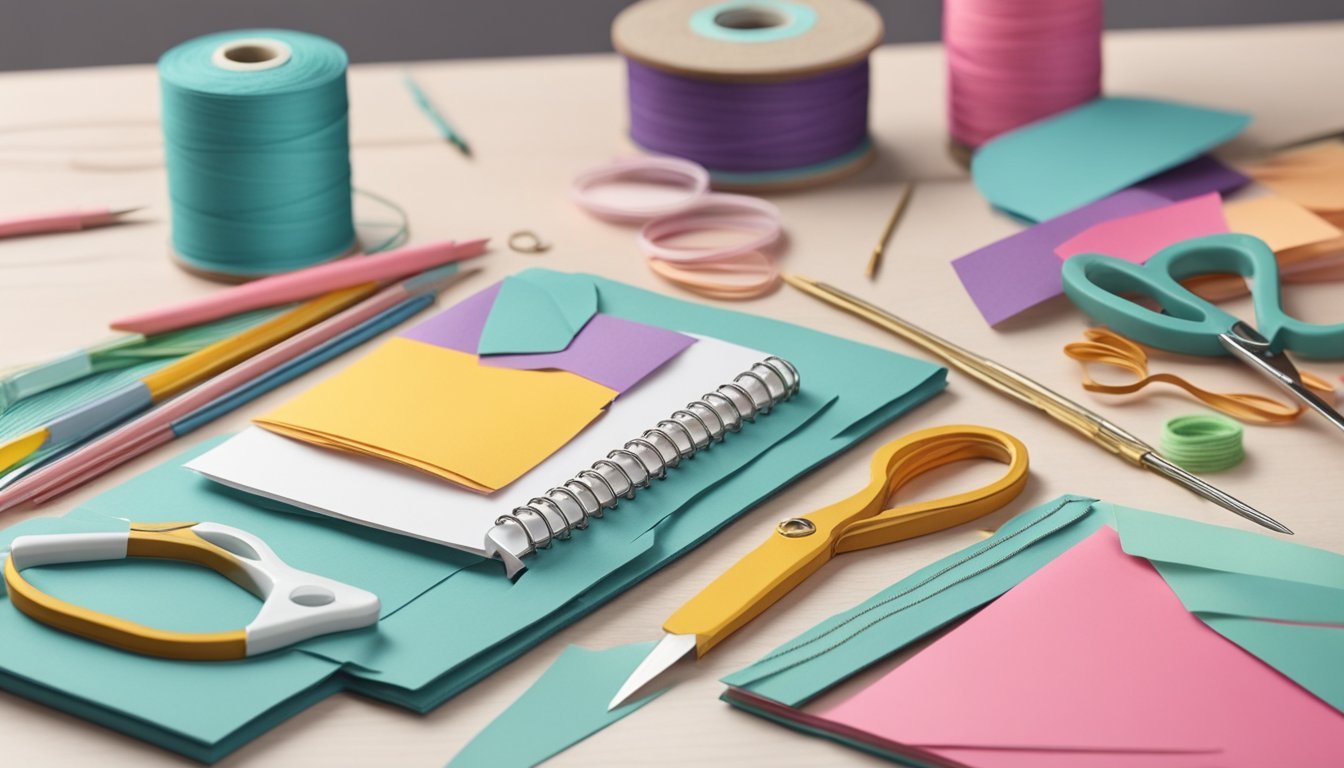
Creating unique layouts for your handmade journal lets your personality shine through.
Start by planning the look of each page, considering what you’ll use it for.
Think about using different formats like lists, grids, or even blank spaces for sketches.
This way, you can keep your entries organized while also adding a creative flair.
Experiment with colors, patterns, and textures.
You can use washi tape, stickers, or even fabric swatches to enhance the visual appeal.
It’s all about making each page feel special and tailored to your style.
Feel free to incorporate some random elements as well.
A doodle here, a sticker there—these little touches make your journal more inviting and personal.
Lastly, don’t be afraid to change it up as you go.
Your preferences might evolve, so allow your journal to reflect those changes.
Enjoy the process of making it uniquely yours!
7) Incorporate Pocket Pages

Adding pocket pages to your handmade journal is a great way to enhance its functionality.
Pockets can hold notes, photos, or mementos, making your journal feel more personal.
You can create pockets using various materials.
Repurpose an old envelope or cut pieces from scrap paper.
Simply fold and glue the edges to form a pocket shape.
For a unique touch, sew around the edges of the pocket using your sewing machine.
This adds a decorative flair while securing the pocket in place.
If you’re feeling creative, design pockets with painted or patterned papers.
This creates visual interest and allows for customization to match your journal’s theme.
You can also attach pockets to different areas of the journal.
Consider placing them inside the covers or on specific pages.
This gives you options on how to organize your treasures and notes.
Experiment with different sizes and styles of pockets.
The more pockets you add, the more you can store and share your thoughts and memories.
Create themed journals

Creating themed journals can be a fun and creative way to express your interests.
You can craft journals focused on hobbies, travel, or even personal projects.
Start by choosing a theme that excites you.
If you love gardening, consider using floral fabric and paper for your pages.
For a travel journal, you might select maps and destination postcards as decorations.
Next, gather materials that align with your theme.
Scraps of fabric, stickers, and colored papers can add personality.
You could even include pockets for souvenirs or mementos.
As you begin assembling your journal, think about how to organize the content.
You can dedicate sections for sketches, notes, or reflections.
The key is to let your theme shine through in every detail.
Don’t hesitate to include elements that inspire you.
Add inspirational quotes, illustrations, or photos that resonate with your theme.
This personal touch will make the journal uniquely yours.
Thematic journals are not just practical; they’re also a way to explore your passions.
Enjoy the process and let your creativity flow.
Personalize with stamps
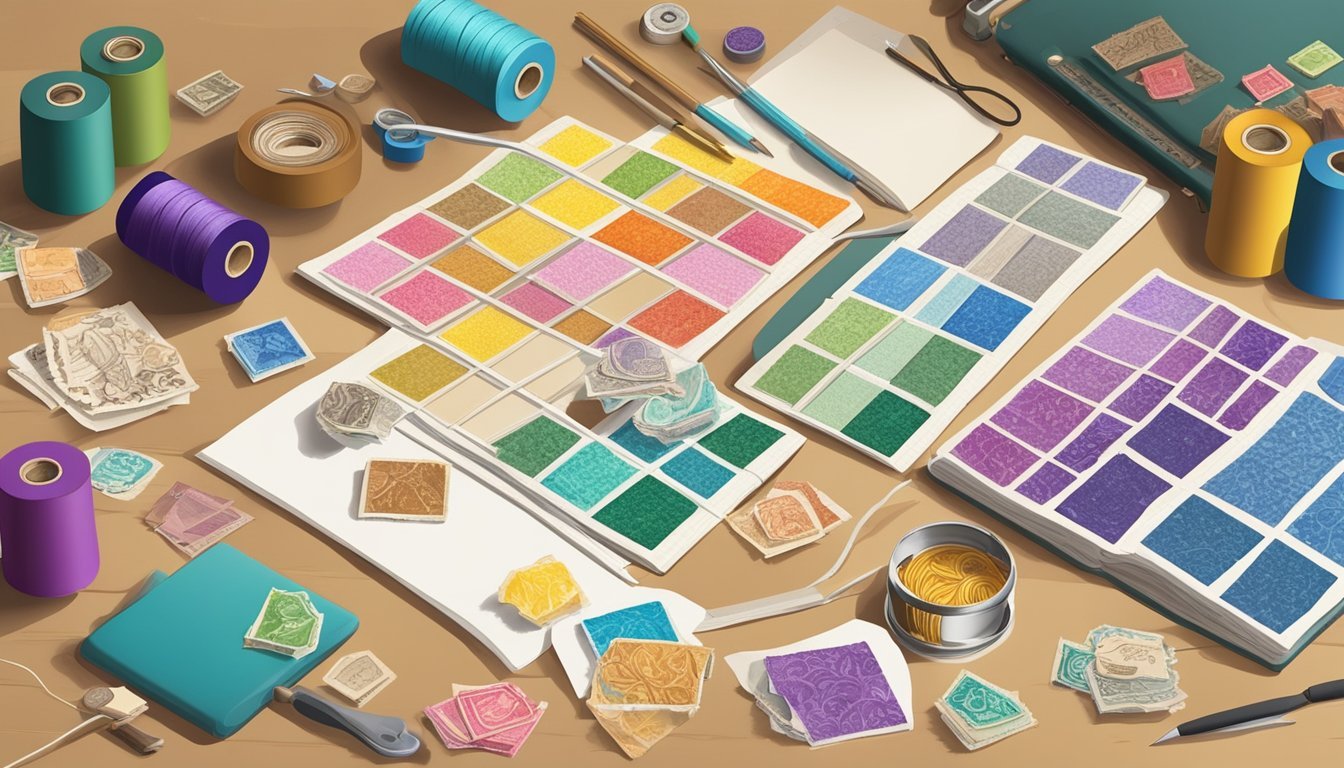
Using stamps is a fun way to add a unique touch to your handmade journals.
You can create your designs or use store-bought stamps to achieve different styles and themes.
Start by selecting stamps that resonate with you.
This could be anything from floral patterns to motivational quotes.
You can switch it up based on the mood or purpose of your journal.
Incorporate stamps on the cover for an eye-catching look.
You might also use them on the inside pages to mark each section or add decorative borders.
Stamping adds dimension and character to your journal’s pages.
Don’t be afraid to layer your stamps.
Combine multiple designs or colors to create a more dynamic effect.
Experimenting with placement can yield surprising and personalized results.
Remember to use good quality ink to ensure your stamps look vibrant and last over time.
A bit of practice will help you get comfortable with the technique, making each stamped image uniquely yours.
Include hand-drawn elements
Adding hand-drawn elements to your handmade journal can make it uniquely yours.
Whether it’s doodles, sketches, or decorative borders, these personal touches enhance your journal’s character.
You don’t need to be a professional artist to include drawings.
Simple shapes or lines can add charm.
Use colored pencils, markers, or even watercolors to bring your pages to life.
Consider illustrating the themes or topics of your journal.
For a travel journal, draw maps or landmarks.
If it’s a sewing journal, you might sketch patterns or fabric swatches.
This creative process can be relaxing and fulfilling.
Let your imagination flow, and don’t stress about perfection.
The goal is to express yourself.
You can also incorporate quotes or captions in your handwriting.
This adds a personal flair that printed text can’t match.
Use different styles to make certain sections stand out.
Incorporating these elements creates a more engaging and visually appealing journal.
It invites you to revisit your pages, as each one becomes a canvas for your thoughts and creativity.
Understanding Materials
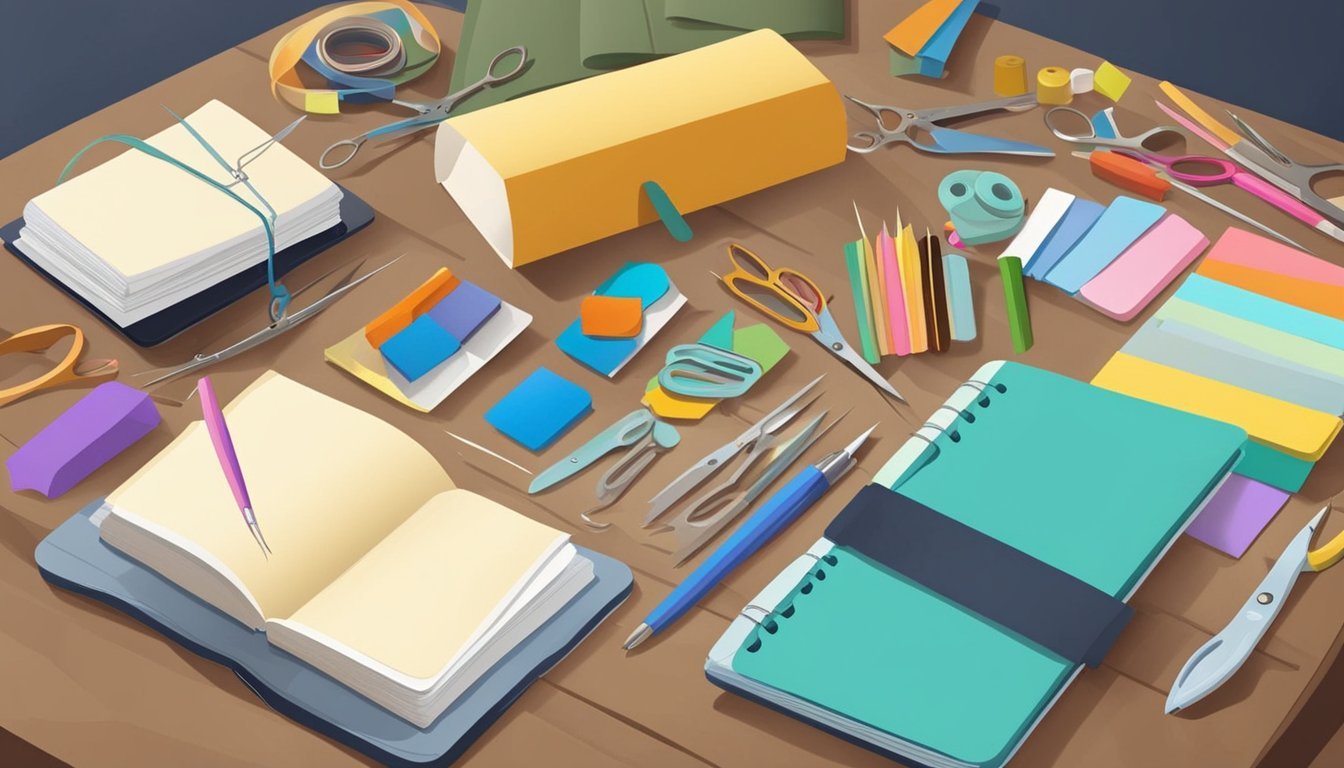
When making handmade journals, choosing the right materials is essential.
The quality and type of paper and thread can significantly impact the final look and durability of your journal.
Here’s what you need to know.
Types of Paper
Selecting the right paper is crucial for your journal’s function and aesthetics.
Different types of paper cater to various uses.
Here are some common options:
- Blank pages: Perfect for sketching or free writing.
- Lined paper: Great for journaling or note-taking.
- Watercolor paper: Ideal for mixed media projects, allowing for paints or inks without bleeding.
You may also consider the weight of the paper.
Heavier papers (around 240 GSM) are sturdier, while lighter papers (around 80 GSM) are easier to fold.
It’s also wise to choose acid-free paper, which lasts longer and resists yellowing.
Selecting the Right Thread
The thread you use for binding your journal makes a notable difference in durability.
Here are some options to consider:
- Cotton thread: Soft and easy to work with, perfect for most projects.
- Linen thread: Stronger and more durable. It’s great if you want a long-lasting journal.
- Waxed thread: Provides added strength and prevents tangling, especially helpful in thicker bindings.
When selecting thread, consider the thickness.
A thicker thread means a more durable bind but may be harder to work.
Match the thread color to your journal cover for an attractive finish.
Aim for a thread that complements the paper and cover materials for a cohesive look.
Step-by-Step Sewing Techniques
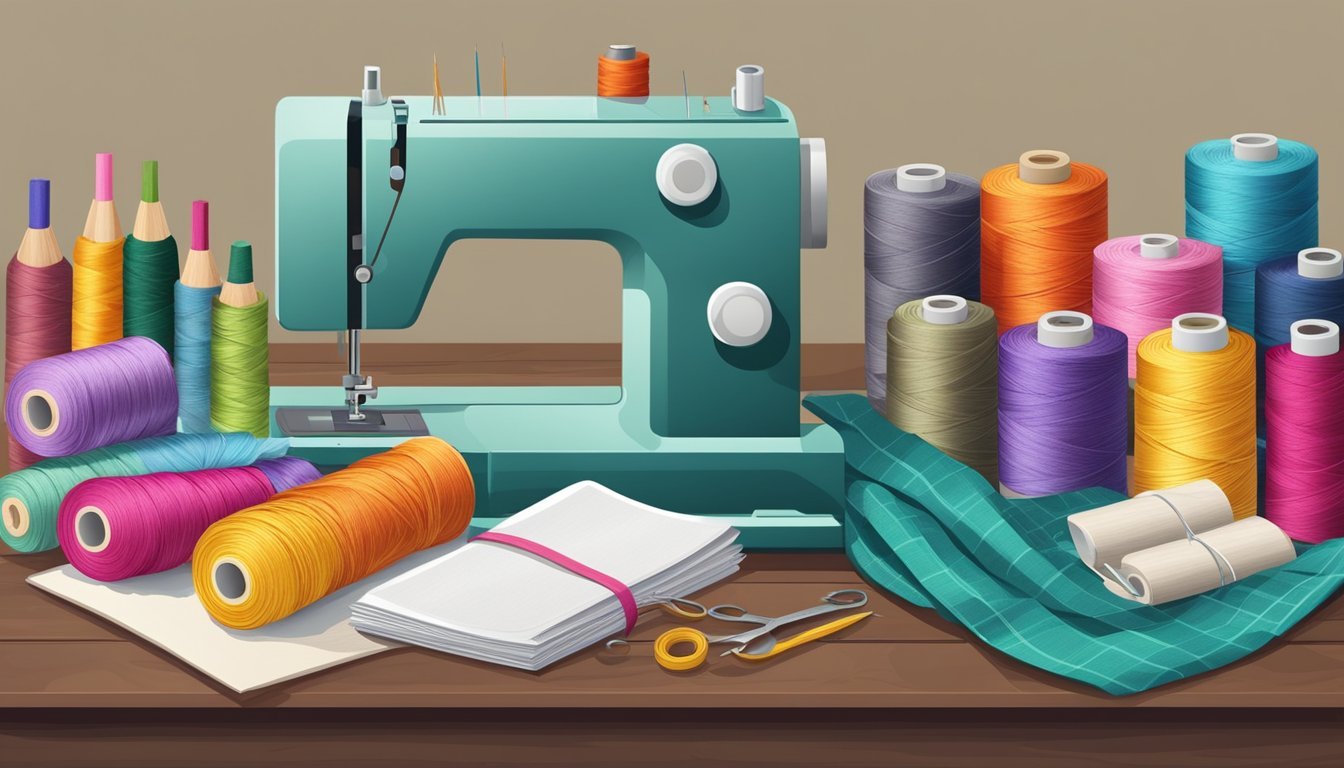
When creating handmade journals, mastering sewing techniques is essential.
This section covers how to create a sturdy book spine and effectively bind your pages together, ensuring a beautiful end product.
Creating the Book Spine
To start, gather your materials: chipboard for the spine, fabric or paper for covering, and an adhesive.
Cut the chipboard to your desired length, usually slightly shorter than the height of your pages.
-
Adhering Fabric: Lay your fabric or paper on a flat surface. Center the chipboard on it and fold the edges over, securing with glue. Make sure to leave some extra material on the edges for a clean look.
-
Setting the Spine: Once dry, create notches along the spine edges. These help in bending and flexing, ensuring your journal is durable.
This method neatly sets you up for binding your pages, giving the journal a professional look right from the start.
Binding the Pages
Now, let’s bind those inner pages.
You can bind the pages using a simple method.
For example, use a needle and thread.
Choose your preferred binding style, such as a basic pamphlet stitch.
-
Gathering Pages: Stack your sheets of paper, making sure they are aligned. You can mix different types of paper, like lined and blank, for variety.
-
Drilling Holes: Use a small awl to make holes along the spine. Typically, three holes work well for most journal sizes.
-
Sewing: Thread your needle and knot one end. Then, start from the outside in, pulling the thread through. Continue this pattern, going back out through the next hole until all are connected.
-
Finishing Up: Tie off the thread securely and trim any excess. Your pages are now solidly bound to the spine, ready for all your thoughts and ideas.


