

Handmade cards add a personal touch that makes any occasion feel special.
Whether you want to express gratitude, celebrate a birthday, or simply let someone know you’re thinking of them, creating your own cards can be a fun and rewarding experience. With just a few basic materials and some creativity, you can craft beautiful cards that truly reflect your feelings.

There’s something magical about putting in the time and effort to create a card from scratch.
It allows you to explore your artistic side while making something unique for someone you care about.
From simple designs to more intricate creations, the possibilities are endless, making it easy to find a style that suits you and fits the occasion perfectly.
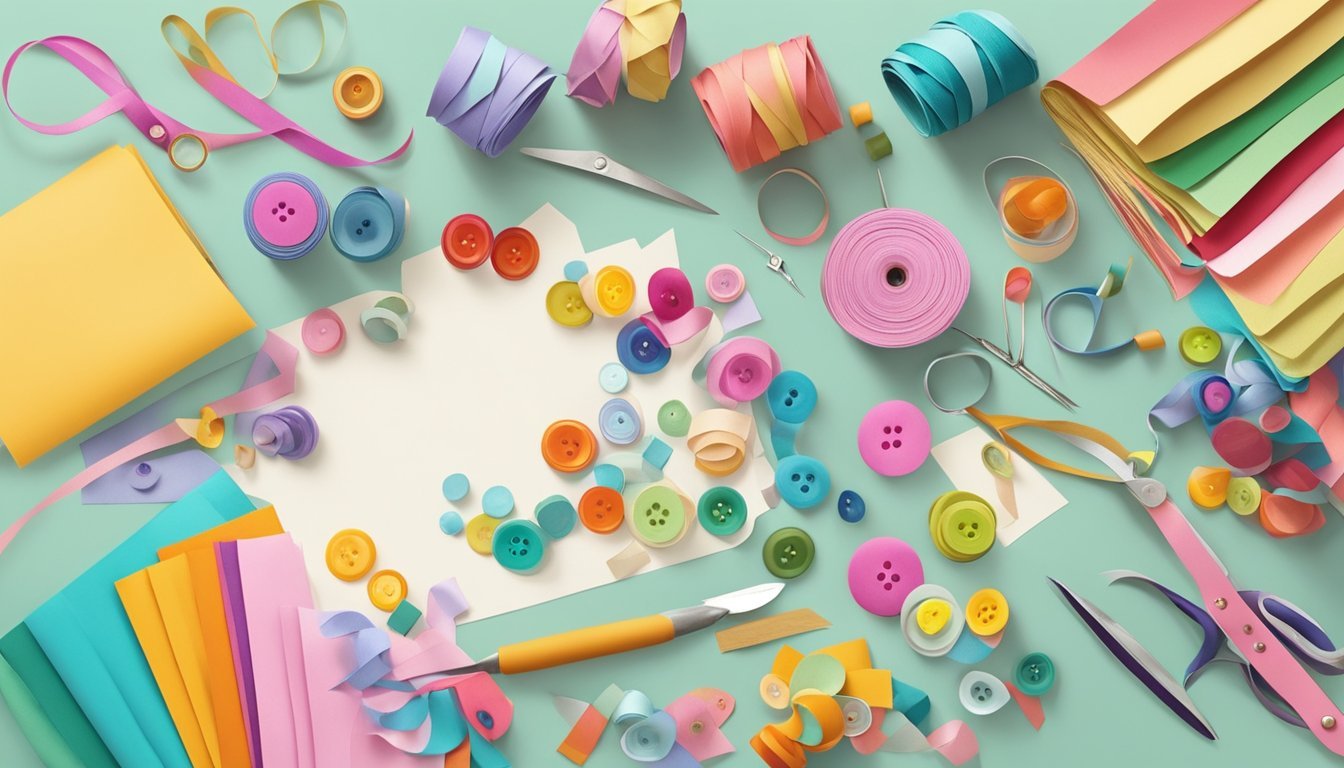
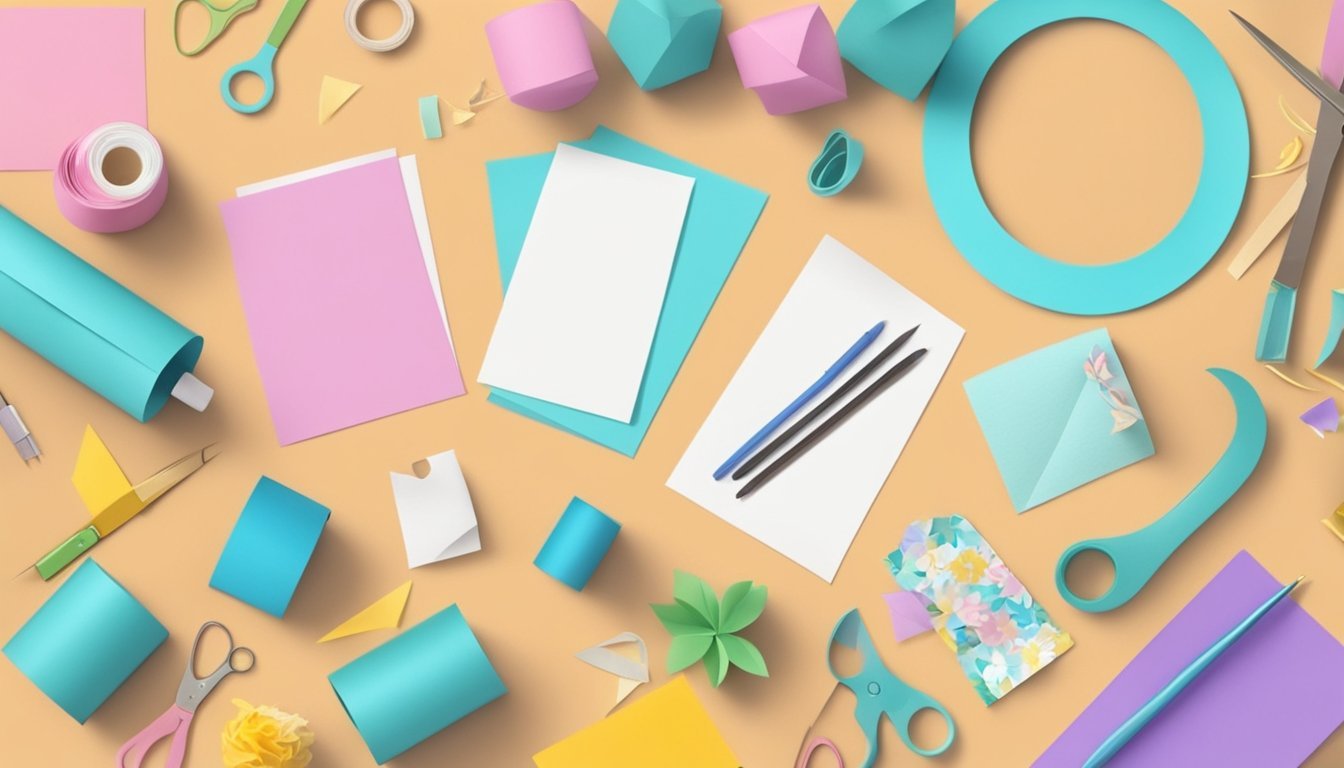
Gather Supplies
To get started with card making, you’ll need some essential supplies.
First things first, grab a sturdy pair of scissors for clean cuts.
Precision tools are key to getting those perfect edges.
Next, think about card stock.
You can use pre-made cards or cut your own from larger sheets.
A common size is 3 ½ x 5 inches, which is great for various designs.
Don’t forget the adhesive! Whether it’s glue sticks or double-sided tape, make sure you have something to hold your layers together.
You might also want some decorative items like stamps, inks, and markers.
They add character to your creations.
Look for themed designs that suit the occasion.
Finally, consider adding embellishments like ribbons or stickers.
These small details can really elevate your cards.
Gather all these supplies, and you’ll be ready to start crafting!
2) Choose Your Theme
Choosing a theme sets the tone for your handmade card.
Think about the occasion and the recipient’s personality.
Whether it’s a birthday, holiday, or just a friendly greeting, your theme can guide your design choices.
You can opt for classic themes, like floral patterns or vibrant colors for birthdays.
For holidays, consider seasonal elements, such as autumn leaves for Thanksgiving or snowflakes for winter.
Personal touches make your card extra special.
Use colors or imagery that reflect the recipient’s hobbies or interests.
Maybe they love gardening or have a favorite animal—incorporating these into your theme adds a unique flair.
Mix and match different styles to find what feels right.
Don’t hesitate to combine modern and traditional themes for a fresh look.
Whatever you choose, make sure it resonates with you and the person you’re creating the card for.
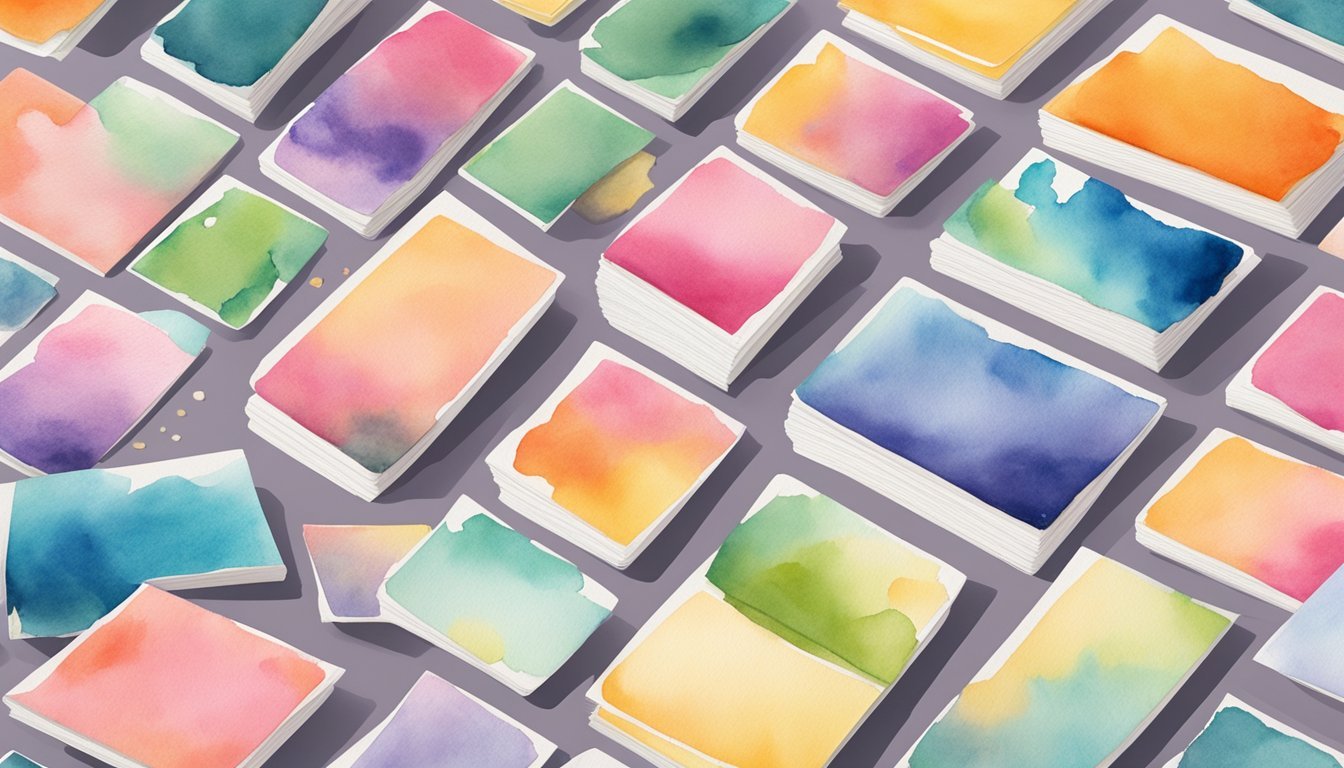
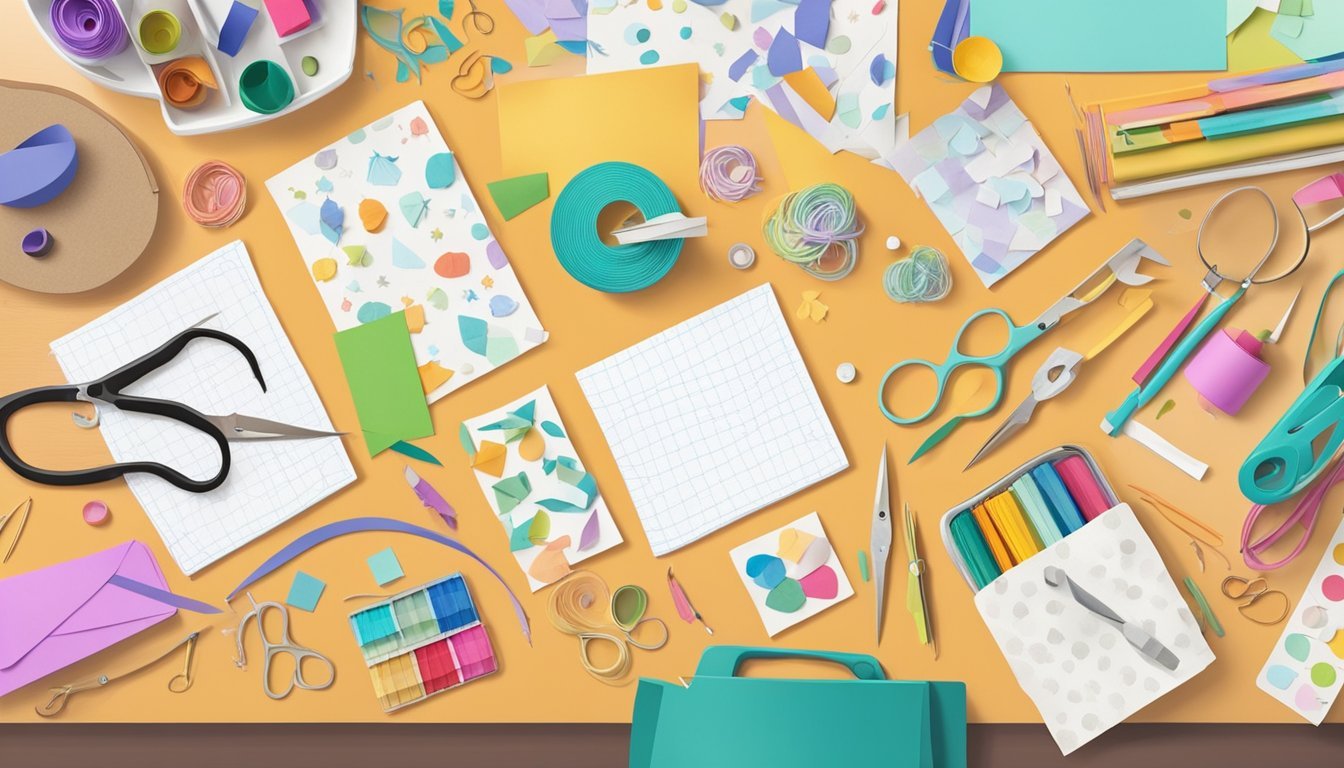
3) Select the Right Paper
Choosing the right paper is crucial for your handmade cards.
You want something that feels good and looks great.
Start with card stock.
It’s thicker and sturdier than regular paper, making it perfect for card bases.
A 100 lb weight is a popular choice for its balance of thickness and flexibility.
If you’re just starting, consider using pre-cut note cards.
They typically come in packs with envelopes included.
This saves you time and effort, especially if you’re not ready to cut your own.
Experiment with different finishes, like matte or glossy, to see what suits your style.
Don’t forget about texture—embossed or textured paper can add a unique touch.
When scoring the paper, take care to avoid tearing.
A good scoring tool can help you make clean folds.
Always test a small piece first if you’re unsure.
4) Design a Unique Layout
Creating a unique layout for your handmade card can set it apart.
Start with the card base, which usually measures 5 ½” x 8 ½” or 4 ¼” x 11″.
Experiment with different sizes of designer series paper to add layers.
Aim for at least 1 ½” wide and use heights of 5 ¼” or 4″.
Positioning elements at angles can create visual interest.
For example, stamp words at an angle, leaving some space in between for a more relaxed feel.
Feel free to combine various textures and colors.
Use contrasting cardstock to accentuate your design.
Don’t shy away from mixing patterns; just ensure they complement each other.
Remember, your card reflects your style, so have fun with it!
Experiment with Textures
Adding different textures to your handmade cards can elevate their appeal.
Textures create a visual and tactile experience that makes your cards feel special.
You can experiment with materials like burlap, lace, or cardstock to give depth.
Mixing smooth surfaces with rougher materials adds interest.
Try embossing techniques for a raised effect.
This not only looks great but also provides a unique feel.
Stamping patterns onto textured surfaces can also enhance the overall look.
Layering is another fun way to play with textures.
You can use foam pads to raise elements off the card, creating a three-dimensional feel.
This makes certain details pop and gives your card a handcrafted look.
Don’t forget about embellishments like sequins or buttons.
They can provide an unexpected twist and add sparkle.
Lastly, consider adding fabric pieces or ribbons for a cozy, inviting touch.
Experimenting with combinations is key, so let your creativity flow!
6) Try Watercolor Techniques
Watercolor techniques can add a unique touch to your handmade cards.
They offer vibrant colors and beautiful textures that can really make your designs pop.
Start by experimenting with different amounts of water.
More water will give you lighter colors, while less water creates more intense hues.
This can help you achieve the effect you want.
Use watercolor paper to prevent any warping.
Regular card stock may buckle when wet, so investing in proper paper is a good idea.
You can use various tools like Aqua painters or brushes to apply your paint.
For added creativity, try techniques like sponging or using a spray bottle for an abstract look.
You can even layer colors for depth.
Don’t worry if you make mistakes; they can lead to unexpected and interesting results.
Give yourself some space to explore and have fun with your designs.
Watercoloring is all about experimenting, so let your creativity flow!
7) Add Decorative Embellishments
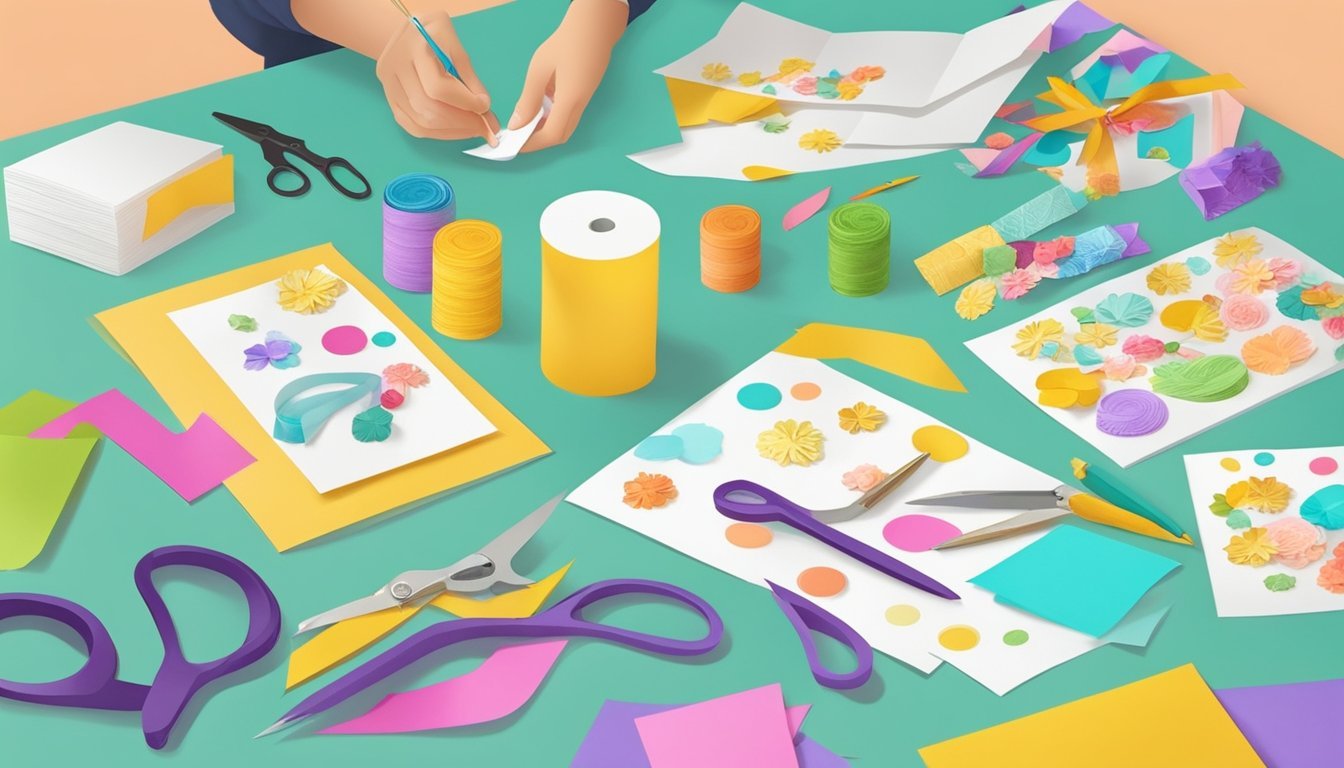
Adding decorative embellishments can really elevate your handmade cards.
Think of items like ribbons, sequins, and stickers to give your cards some flair.
Washi tape is a fantastic option.
It comes in various patterns and colors, making it easy to find something that fits your theme.
Use it to create borders or to hold other elements together.
You can also try creating your own embellishments.
Simple items like twine or paper braiding add a personal touch without much effort.
Cut out shapes from colored paper or use leftover scraps to create unique designs.
Don’t forget about dimensions.
Layering different materials can add depth.
For example, stacking a few stickers or using foam tape can make your cards pop.
Lastly, consider using beads or glitter for a little sparkle.
These elements can catch the light and add an eye-catching detail.
Just remember to keep it balanced; too many embellishments can overwhelm the card.
8) Use Stamps for Patterns
Stamps are a fantastic way to create unique patterns on your handmade cards.
You can choose from various designs, from florals to geometric shapes, to fit any occasion.
Start by picking a stamp set that resonates with your theme.
You can randomly stamp across your card, turning it as you go to create an organic look.
For more structured patterns, line up your stamps evenly.
Try using a light ink for a subtle background and a darker ink to make certain elements pop.
Layering different stamps can add depth and interest.
You can also create a border by stamping along the edges of your card.
This technique adds a polished look and frames your main message nicely.
Don’t worry about perfection.
A bit of variation in placement can make your card feel more handcrafted and personal.
Enjoy the process and let your creativity flow!
9) Create Layered Designs

Layered designs add depth and interest to your handmade cards.
Start by choosing various paper weights and textures for each layer.
This creates a dynamic look.
You can use foam dots or tape to add dimension.
Place these on the back of your top layers for a pop that really stands out.
Consider using different shapes and sizes for your layers.
This technique works well with stamped images or die cuts.
Mix colors and patterns for a fun effect.
A patterned paper base with solid color layers can create a striking contrast.
Experiment with backgrounds, too.
Use stencils or layering stamps to add details underneath your main design.
This will give your card a professional touch.
Don’t forget to include some embellishments, like ribbon or buttons, to enhance your layered look.
Simple additions can bring your card to life.
Take your time and enjoy the process.
Creating layered designs can be a fun and rewarding way to express your creativity.
Incorporate Calligraphy

Calligraphy adds a personal touch to handmade cards.
It’s an art form that can elevate your designs and make them stand out.
Start by practicing your lettering.
Use high-quality paper and various nibs to see which styles you enjoy most.
You can achieve beautiful results with simple tools.
Once you’re comfortable, use a high-resolution scan of your calligraphy.
Clean it up with editing tools to ensure it looks sharp.
Then, import the image into graphic design software like Illustrator to refine your design further.
Consider using calligraphy for greetings or quotes inside the card.
This will enhance the overall look while conveying your message uniquely.
Don’t forget to experiment with different colors and inks for added flair.
You can also mix stamped elements with your calligraphy.
Stamping creates a fun backdrop for your handwritten text, making the card look more dynamic.
These techniques allow you to create cards that feel special and intimate, perfect for any occasion.
So grab your tools and start crafting some stunning calligraphy designs!
Getting Started with Handmade Cards
Creating handmade cards is a fun and rewarding activity.
Knowing the right tools and materials can help you kickstart your card-making journey effectively.
Essential Tools and Materials
To start making cards, gather some essential tools.
Here’s a quick list:
- Paper trimmer: For clean, straight cuts. This saves time and ensures precision.
- Adhesives: Use glue sticks, double-sided tape, or liquid glue. Each has its pros depending on your project.
- Scissors: A good pair of scissors will help with intricate designs.
- Stamps and ink pads: These can add unique designs and textures to your cards.
Don’t forget embellishments like ribbons, stickers, or washi tape.
These can enhance your card’s appeal.
As a beginner, you don’t need to invest in high-end tools right away.
Start with the basics and expand your collection as you gain experience.
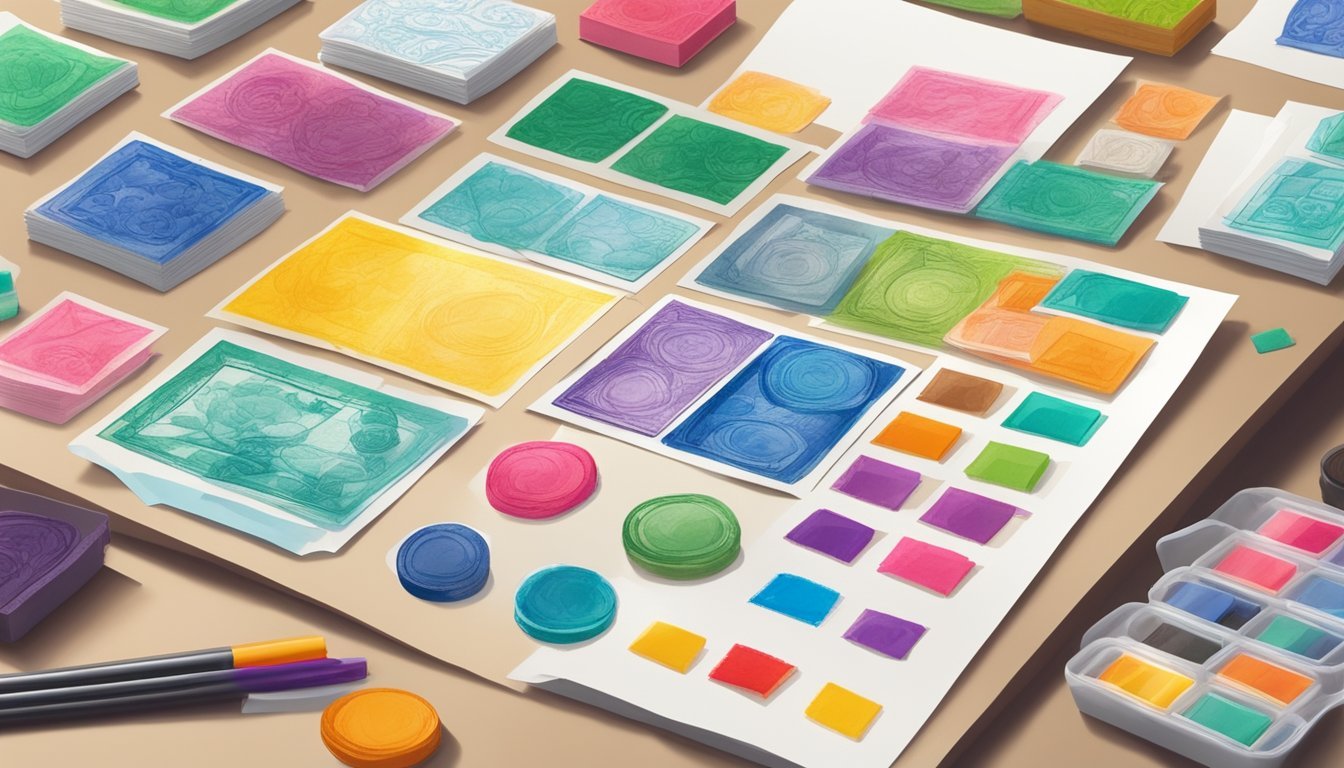
Choosing the Right Paper
The type of paper you use can significantly impact your card’s quality.
Here are some options to consider:
- Cardstock: This is a thick and durable paper, perfect for the base of your cards. It comes in various colors and textures.
- Patterned paper: Great for creative backgrounds. Look for paper that resonates with the occasion.
- Watercolor paper: If you plan to use watercolors, this type is essential. It handles moisture well without warping.
When selecting paper, think about the weight, texture, and finish.
A heavier weight feels more premium, while a textured finish can add sophistication.
Experiment with different types to find what you like best for your projects.
Creative Design Ideas
Making handmade cards is a fun way to express your creativity.
Focus on personal touches and effective use of colors and textures to make your cards truly unique.
Incorporating Personal Touches
Adding personal elements can make your cards stand out.
Start by including photos, handwritten notes, or personal symbols that represent the recipient.
Use materials that have meaning, like fabric from a favorite shirt or paper that matches their favorite color.
Tips for Personalization:
- Photos: Attach a small picture or use photo prints.
- Handwriting: Write a meaningful message by hand.
- Memorable Items: Incorporate ticket stubs or other small treasures.
These additions not only show effort but also create a sentimental connection that stores memories, making your card a keepsake.
Using Color and Texture Effectively
Colors and textures can drastically elevate your card designs.
Pick a color palette that reflects the occasion and the recipient’s personality.
Consider these guidelines:
- Color Harmony: Use complementary colors or analogous shades for a balanced look.
- Texture Variety: Mix materials like cardstock, fabric, and ribbons for a tactile experience.
Try incorporating techniques like embossing or using patterned paper for added depth.
Layering elements helps create a visually interesting card that begs to be touched and admired.