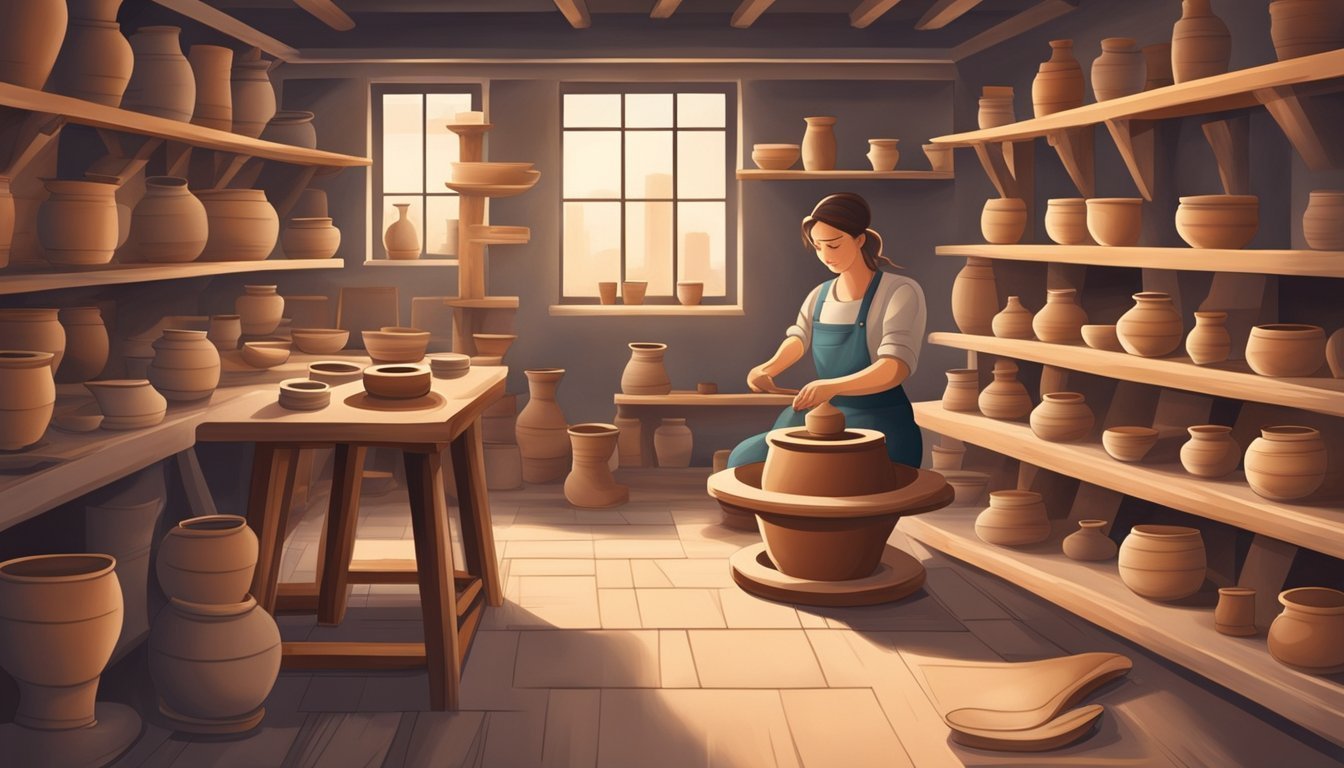
Creating pottery at home can be a rewarding and creative outlet.
It allows you to express yourself artistically while also producing functional items.
With the right tools, materials, and techniques, you can elevate your pottery skills to create professional-grade pieces directly in your own workspace.

Whether you’re a complete beginner or looking to refine your existing skills, getting into pottery is accessible and enjoyable.
You’ll discover how to select the best clay, use essential tools, and incorporate various methods to enhance your creations.
Choose the Right Clay Type
Choosing the right clay is essential for creating professional-grade pottery.
Each type has its unique properties and uses.
Earthenware is a great option if you’re into handbuilding.
It’s versatile and easy to work with, making it perfect for beginners.
Stoneware, on the other hand, is known for its durability.
It’s ideal for dinnerware and mugs, standing up to daily use without a hitch.
Plus, it has a lovely finish when fired.
Porcelain is the go-to for those wanting a sleek, smooth look.
While it can create stunning pieces, it’s less forgiving and may require more skill.
Consider what you want to make before deciding.
Each clay type can drastically change the final look and feel of your pottery.
Play around with a few options to see which one suits your style best.
Invest in Quality Pottery Tools
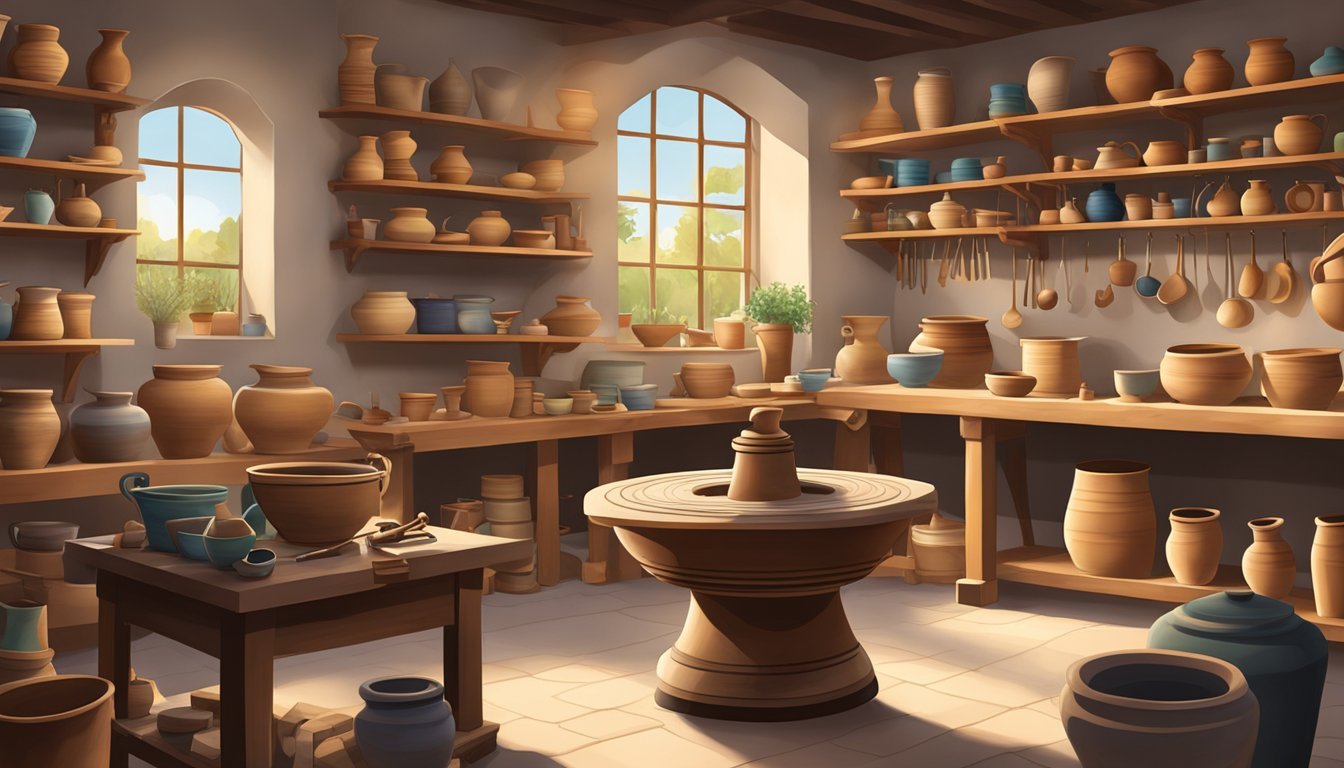
Choosing the right tools can elevate your pottery game.
Focus on quality over quantity when building your collection.
Start with the basics, like a good set of sculpting tools.
These will help you shape and refine your pieces effectively.
A reliable loop tool, such as a Kemper pear-shaped option, is a great investment for trimming your pottery.
Consider your clay type and workspace as you select additional tools.
An efficient worktable is essential.
A size around 3′ x 8′ works well, allowing ample space for your projects.
Don’t forget about specialized tools.
A personalized clay stamp adds a unique touch to your creations, letting your personality shine through.
Experiment with different styles and brands until you find what feels right for you.
High-quality tools save you time and enhance your creative process.
Treat your tools well, and they’ll support your artistic journey.
3) Learn Basic Throwing Techniques
Start by centering the clay on the pottery wheel.
Place a lump of clay in the middle and shape it into a cone with your hands.
This helps ensure stability when you begin to throw.
Once the wheel is spinning, apply even pressure with both hands.
Keep your arms anchored to your legs for support.
Press your thumbs into the center to create a depression, ensuring the clay is centered.
As you progress, use gentle pressure to pull the walls up.
Squeeze the clay slightly, making the pot taller and narrowing the hole.
This allows you to control the thickness of the walls.
Practice is key.
Spend time getting comfortable with the wheel and finding the right pressure.
Don’t be discouraged by mistakes; they’re part of the learning process.
Experiment with different shapes and sizes as you gain confidence.
Each piece you create will help you improve your technique and develop your unique style in pottery.
Perfect the Art of Trimming
Trimming is a crucial step in pottery that enhances both functionality and aesthetics.
It helps to refine your piece and ensures a balanced look.
Start by marking the area for the foot ring on the base of your pottery.
Use a pencil or a needle tool to outline where you want to trim.
This step sets the foundation for a clean finish.
When you’re ready to trim, use high-quality loop tools.
A Kemper pear-shaped loop tool is a great choice, balancing quality and affordability.
Position the pottery on your wheel, or if you’re not using a wheel, carefully hold it steady.
Trim away excess clay following your marked line, keeping the movement smooth and consistent.
Don’t rush; take your time to create an even shape.
This will give your pottery a professional touch.
Regular practice will improve your trimming skills and help you feel more confident.
Enjoy the process and see how your pottery transforms with each trim.
Experiment with Glazing
Glazing can transform your pottery from basic to stunning.
It’s all about finding the right techniques and colors that resonate with your style.
Start by choosing different types of glaze.
You can try glossy, matte, or textured finishes.
Each type brings out unique aspects of your work.
Layering glazes is a fun technique.
Applying multiple layers of different colors can create interesting effects.
Just make sure to clean your pottery well before glazing to avoid any dust issues.
Don’t hesitate to experiment with application methods too.
You can dip, spray, pour, or brush on the glaze.
Each method gives a different look, so see what you enjoy most.
Keep a notebook of your experiments.
Documenting your results will help you remember what worked and what didn’t. This can lead to new ideas for future projects.
Lastly, remember that mistakes can lead to great discoveries.
Embrace the process, and allow your creativity to shine through your glazing adventures.
6) Understand Firing Techniques
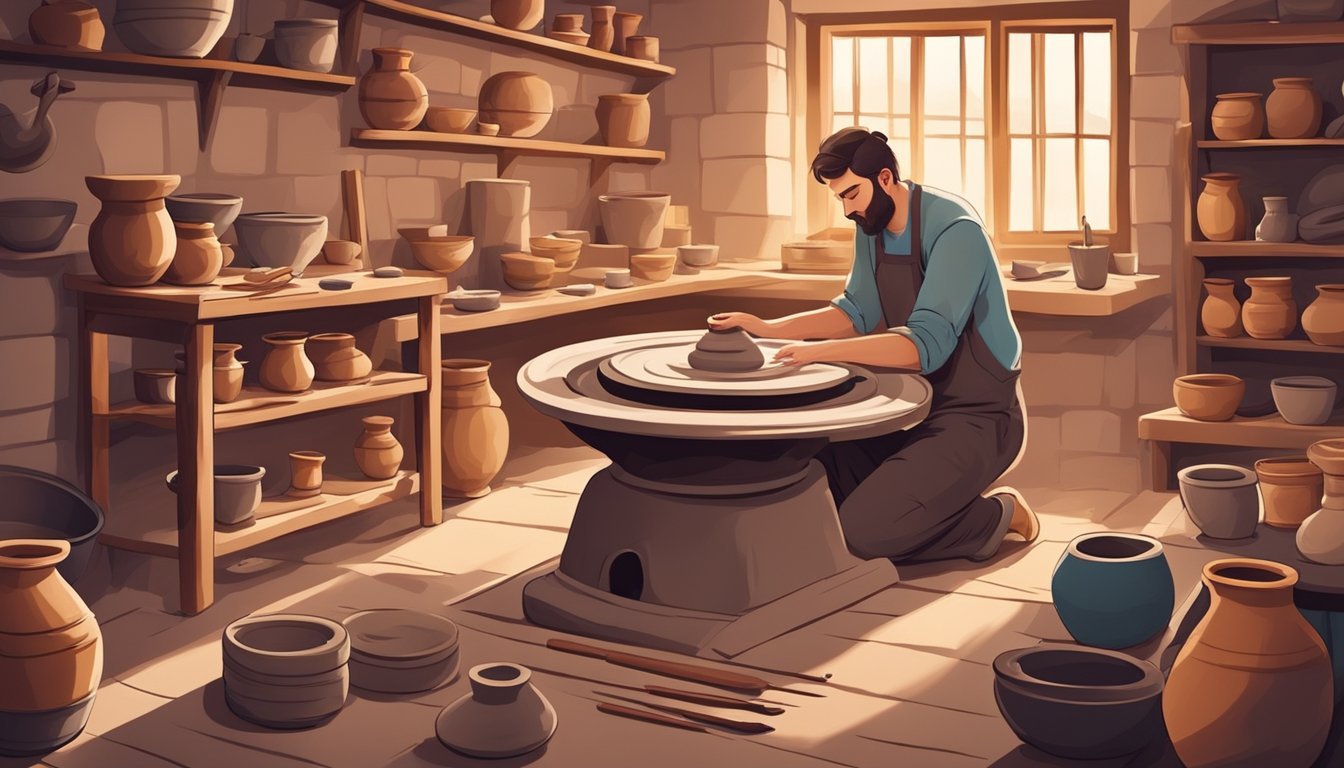
Firing techniques are key to producing quality pottery at home.
This process transforms your clay creations into durable pieces.
Different methods create varying effects.
For example, some techniques can enhance colors, while others may give a rustic look.
You should consider the type of clay you’re using.
Each type has its own firing temperature requirements.
Make sure your chosen glaze works with that temperature too.
Raku is a popular method for unique finishes.
It involves removing the pieces from the kiln while they’re still hot, then exposing them to combustibles.
This creates interesting surface effects.
Soda firing is another technique that gives pottery a natural look.
It involves introducing soda into the kiln during firing, which can alter the finish.
Experiment with these methods to find what suits your style.
Pay attention to the effects each firing technique produces on your pieces.
It’s a fun way to explore your creativity!
7) Decorate with Underglazes

Using underglazes is a great way to add color and personal flair to your pottery.
It’s a colored ceramic material applied to bisqueware, which means it works best on pieces that have already been fired once.
Start by ensuring your bisque-fired pottery is clean.
You want a smooth surface to work with.
You can apply underglaze using brushes, sponges, or even stencils for more intricate designs.
It’s important to layer your underglazes to achieve vibrant colors.
You might need two to six coats, depending on how bold you want the final look.
Once you’re satisfied with your decoration, let the underglaze dry completely.
After drying, consider applying a clear glaze on top.
This will not only protect the underglaze but also enhance its colors.
Finally, fire your piece again to seal everything in place.
Remember, underglazes don’t stick to kiln shelves like traditional glazes, which makes clean-up easier.
Enjoy the creative process and make each piece truly yours!
8) Try Hand-Building Methods

Hand-building pottery is a fantastic way to create unique pieces.
You don’t need a wheel; just your hands and some basic tools.
Start with a ball of clay.
Wedge it to eliminate air pockets, which can cause cracking later.
This initial step is crucial for ensuring a smooth process.
Use a pinching technique to form your pieces.
Stick your thumb into the center of the clay ball and press the walls out evenly.
This helps maintain a consistent thickness, reducing the risk of breakage.
Another method is coiling.
Roll out long ropes of clay and stack them to create a pot’s walls.
Smooth the joints with your fingers to ensure a seamless look.
You can also use slabs of clay.
Roll out flat pieces and cut them into shapes.
Join the pieces together using scoring and slip for stronger bonds.
Experiment with these hand-building techniques.
Each method can lead to stunning, custom pottery that showcases your creativity.
Enjoy the process and let your hands shape the clay!
Use a Pottery Wheel

Using a pottery wheel can elevate your pottery-making skills significantly.
It allows for more precision and creativity compared to hand-building techniques.
First, make sure you have a quality wheel.
Brands like Skutt and Shimpo offer reliable options for both beginners and experienced potters.
You can find wheels that fit various budgets.
When you’re ready to start, center your clay on the wheel head.
This step is crucial for shaping your piece accurately.
Use your hands to gently shape the clay as the wheel spins.
If you’re using an electric wheel, adjust the speed to suit your comfort.
For foot pedal wheels, start slowly and gradually increase the speed as you become more confident.
Focus on forming shapes like bowls or vases.
Take your time and don’t rush the process.
Practice makes perfect, so give yourself grace as you learn.
Lastly, remember to keep the clay moist.
Dry clay can crack or become difficult to work with.
Enjoy the experience and let your creativity flow!
10) Practice Consistency and Patience
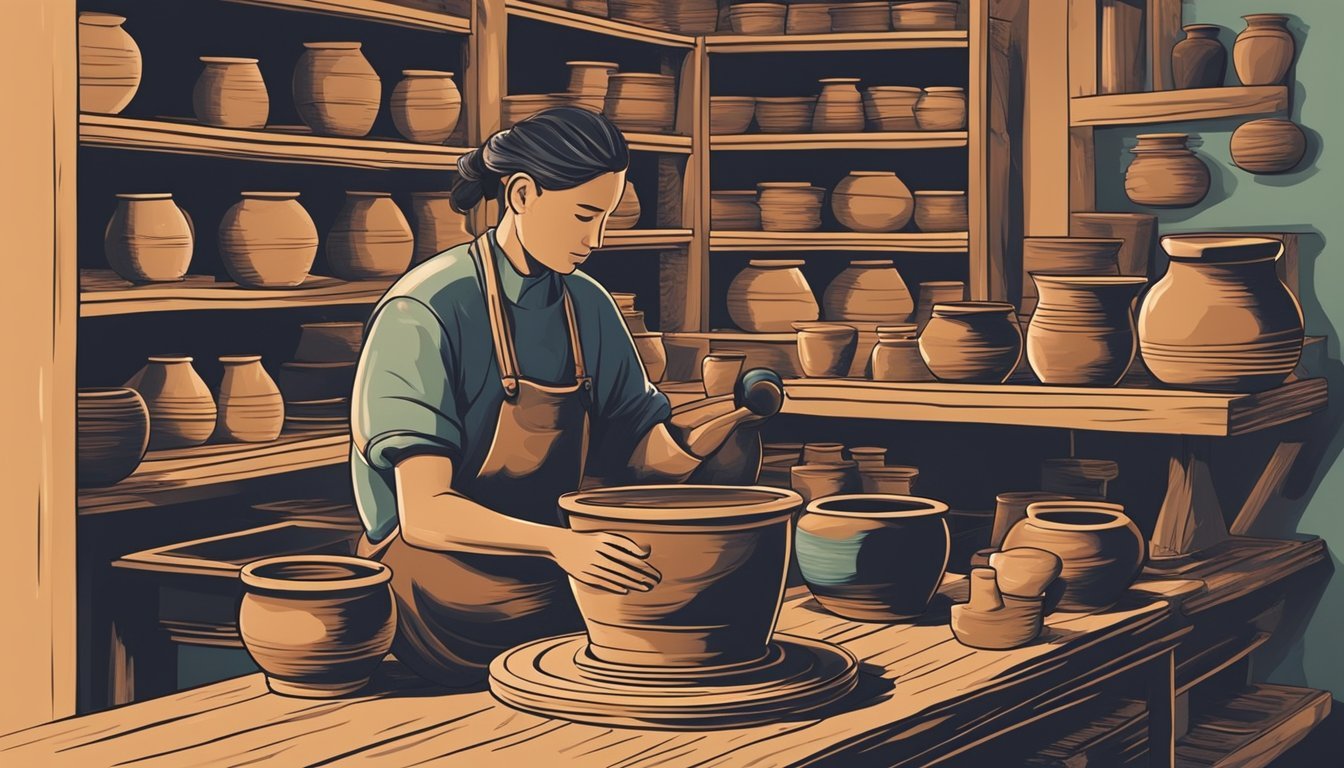
Creating professional-grade pottery at home requires consistency and patience.
Each piece you make will teach you something new.
Embrace the process rather than rush it.
Set aside regular time for practice.
The more you work with clay, the more comfortable you’ll become with your techniques.
Skills improve over time, so don’t be discouraged by early mistakes.
As you throw on the wheel or shape by hand, focus on even pressure and smooth movements.
This consistency helps achieve better results and reduces frustration.
When things don’t go as planned, remember that pottery can be unpredictable.
Each setback is a chance to learn and grow.
Allow your pieces to dry slowly and evenly.
Rushing this step can lead to cracks or uneven finishes.
Patience during drying and firing is crucial for high-quality outcomes.
Enjoy the journey of creating.
Celebrate small victories along the way, and don’t lose sight of your goals.
With practice, you’ll find your unique style and craft amazing pottery pieces.
Essential Tools and Materials

Creating professional-grade pottery at home requires the right materials and tools.
It’s essential to choose quality clay and have specific tools to achieve the results you want.
Here’s what you need to know.
Choosing the Right Clay
Selecting the right clay can make a huge difference in your pottery projects.
Common types include:
- Earthenware: This clay is easy to work with and great for beginners. It requires a lower firing temperature.
- Stoneware: More durable than earthenware, stoneware is ideal for functional pottery items like bowls and mugs.
- Porcelain: Known for its strength and translucence, porcelain is a bit trickier but can produce stunning results.
Make sure to consider the firing temperature compatible with your kiln.
Quality clay is often sold in blocks or bags at craft stores.
Read the labels carefully to ensure it fits your project.
Pottery Tools You Can’t Do Without
Having the right tools is crucial for successful pottery making.
Here’s a list of essential items you should have:
- Potter’s Wheel: A must-have for shaping your pots and bowls evenly. Look for a sturdy model for better control.
- Kiln: An essential for firing your creations. Make sure to get one that matches your preferred clay type.
- Hand Tools: Invest in tools like trimming tools, rib tools, and wire cutters for shaping and detailing.
- Glazes: These seal and color your pieces, adding that professional touch.
With these tools in hand, you’re well on your way to creating beautiful pottery at home.
Enjoy the process and have fun experimenting!
Techniques for Shaping and Sculpting
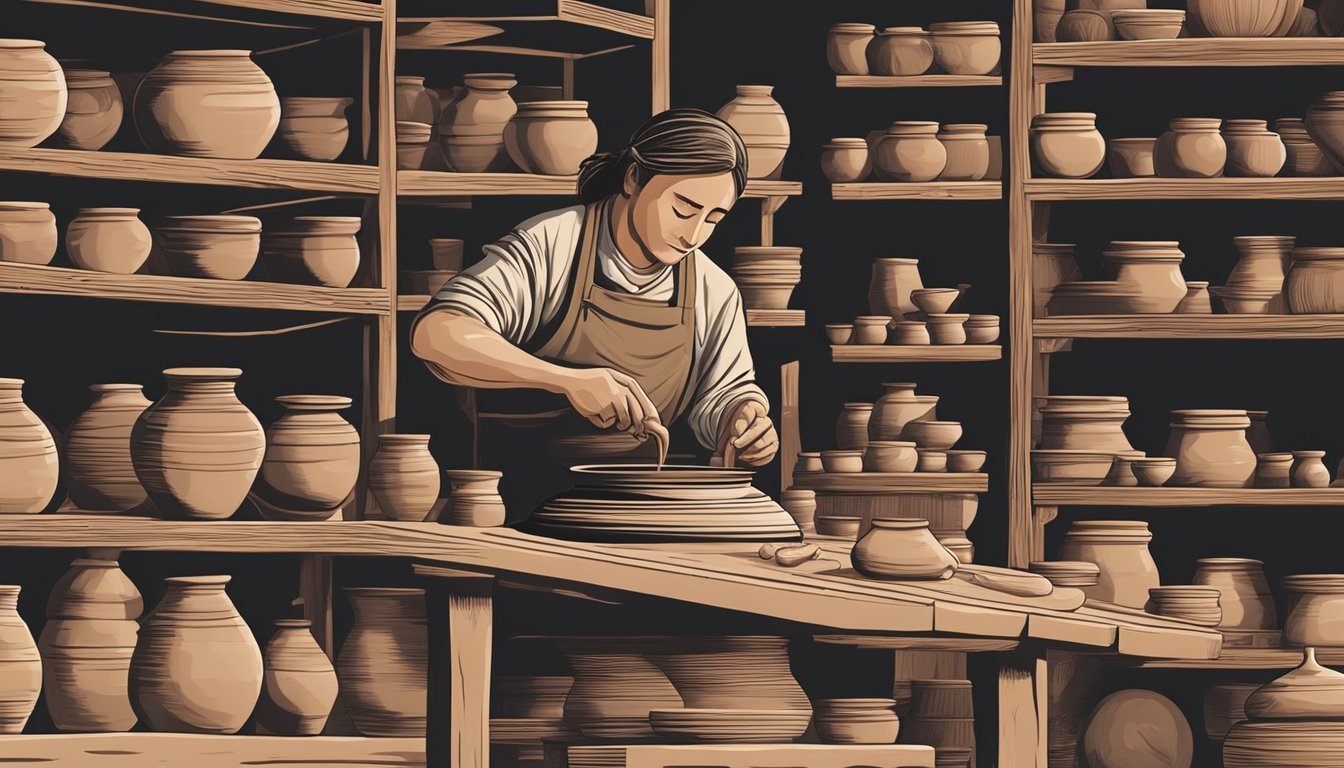
Shaping and sculpting are essential skills in pottery that allow you to transform clay into intricate designs and functional pieces.
From hand-building to using the pottery wheel, mastering these techniques can elevate your pottery-making game.
Hand-Building Basics
Hand-building is perfect if you’re new to pottery or want more creative control over your pieces.
Start by preparing your clay; make sure it’s pliable and free of air bubbles.
-
Pinching: This technique involves using your fingers to pinch the clay into a shape. It’s great for making small bowls or pots.
-
Coiling: Roll your clay into coils, stacking them to create larger forms. This technique allows you to build up walls that can be refined for shape and texture.
-
Slab Construction: Roll out flat slabs of clay and join them together using slip (a mixture of clay and water). This method can create angular designs and wide openings.
By experimenting with these methods, you’ll develop your style and find what works best for your vision.
Mastering the Pottery Wheel
Using a pottery wheel can initially seem challenging, but practice leads to stunning results.
Begin with centering your clay on the wheel.
Here are key steps to follow:
-
Prepare Your Clay: Make a ball and place it on the wheel. Use the heel of your hands to press down and forward.
-
Shape: As the wheel turns, apply gentle pressure while moving your hands to shape the clay into your desired form.
-
Trim and Finish: After shaping, use trimming tools to refine and add details. Keep the edges smooth for a more professional look.
Getting comfortable with the wheel takes time, but with repetition, you’ll create beautifully shaped pottery.
Finishing Touches and Decorating

Adding finishing touches and decorating is where your pottery truly comes to life.
This is your opportunity to express creativity with various techniques to elevate your pieces.
Glazing Techniques
Glazing is crucial for both aesthetics and functionality.
You can achieve different looks by experimenting with the glaze application.
Consider these methods:
- Dipping: Submerge your piece into a bucket of glaze for an even coating.
- Brushing: Use a brush for detailed work or applied colors.
- Spraying: A spray gun can help you achieve a stunning, mottled effect.
After applying glaze, ensure an even layer to prevent pooling.
Remember to choose a glaze that’s food-safe if your pottery will serve food.
Firing Your Pottery at Home
Firing transforms your raw pottery into durable ceramic.
Here’s a breakdown of the process:
- Kiln Selection: You can decide between electric, gas, or portable kilns based on your space and needs.
- Bisque Firing: This initial firing hardens your pottery and prepares it for glazing. Typically, you should do it at cone 04 to cone 06 temperatures.
- Glaze Firing: After glazing, refire your piece at a higher temperature, usually cone 5 to cone 10, to mature the glaze.
Always follow the recommended firing schedule for your specific clay and glaze.
Investing time in this stage will help you avoid cracks and ensure your pieces shine brightly.


