

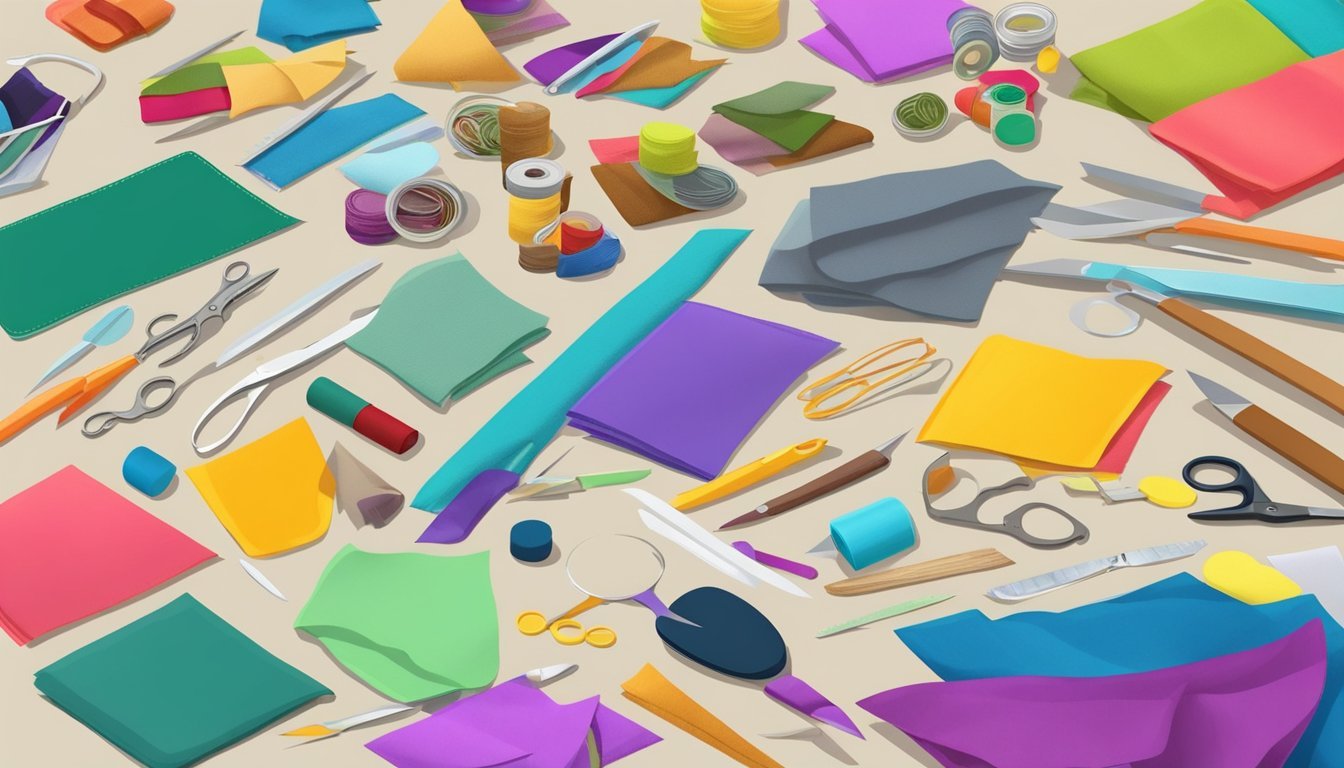
Craft kits let you unleash your creativity while having fun.
Whether you’re an experienced crafter or just starting out, adding some unique flair to your projects can elevate your creations and make the experience even more enjoyable.
Explore these easy tips to enhance your craft kits and inspire your next masterpiece.
From using seasonal themes to incorporating different materials, there are countless ways to keep your crafting sessions fresh and exciting.
By thinking outside the box and trying out new ideas, you can transform simple projects into standout pieces that reflect your personal style.
Get ready to discover how to take your crafting to the next level!
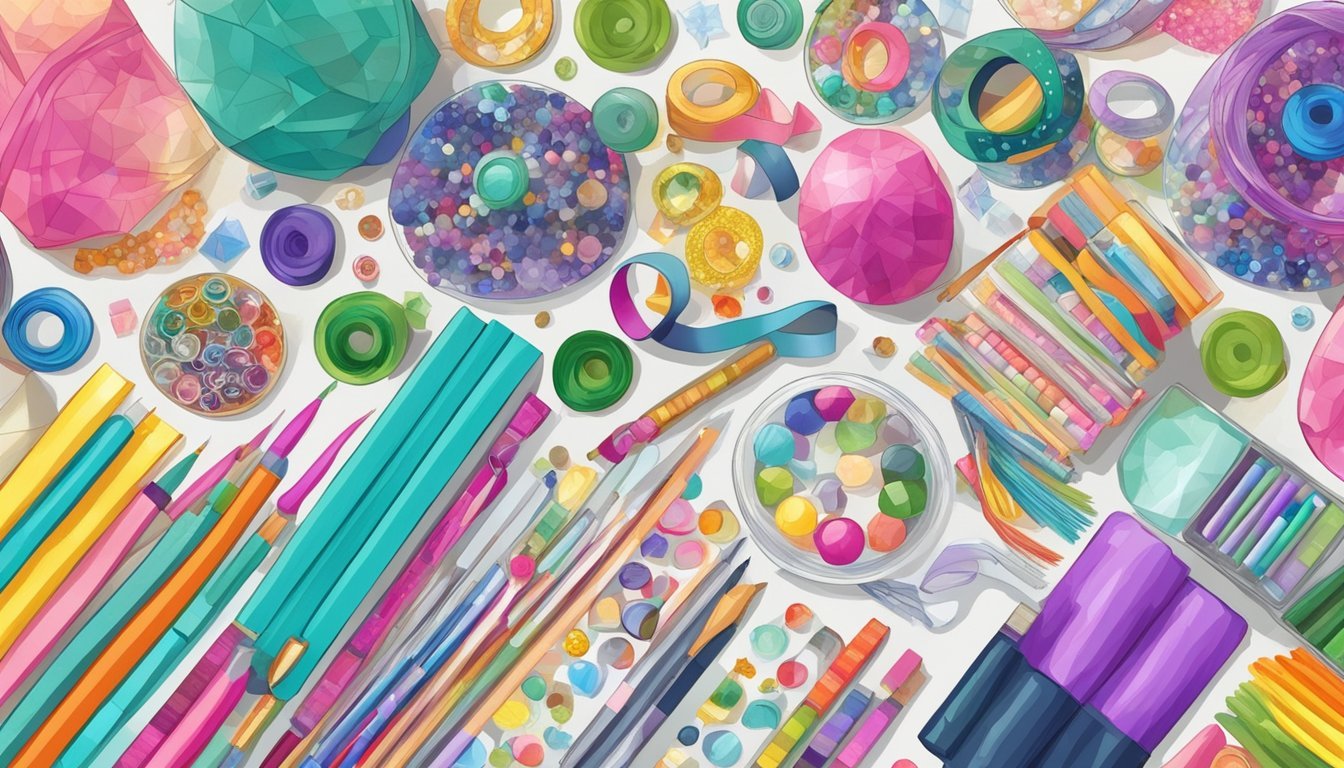
1) Add colorful washi tape
Washi tape is a fantastic way to add a splash of color to your craft kits.
Its variety of patterns and hues means you can mix and match to fit any project.
Use washi tape to easily decorate your journals or scrapbooks.
Just peel, stick, and trim it to create borders or fun embellishments.
You can also label supplies with washi tape.
Write directly on the tape and stick it to containers, making organization both stylish and functional.
Consider using washi tape to personalize gift wrapping.
A few strips can turn a plain package into a unique gift that stands out.
Lastly, don’t forget about its temporary nature.
If you want to switch things up later, just peel it off without any hassle.
This makes it perfect for experimenting with designs in your craft kits.
Incorporate metallic markers

Adding metallic markers to your craft kit can really enhance your projects.
These pens come in a variety of vibrant colors like gold, silver, and bronze, making them perfect for highlighting details or adding a shiny finish.
They’re easy to use and great for both kids and adults.
Just grab a few sheets of paper, and you can instantly turn simple drawings into eye-catching art.
Metallic markers work well on dark surfaces too, giving your projects a unique pop.
Consider using them for cards, scrapbook pages, or even DIY gifts.
You can also use them to create stunning designs on various materials, from wood to fabric.
Don’t forget to experiment with different techniques.
Try layering different colors or blending them for a more dynamic effect.
With metallic markers in your craft kit, the possibilities are endless, and your creative flair will shine through in every project.
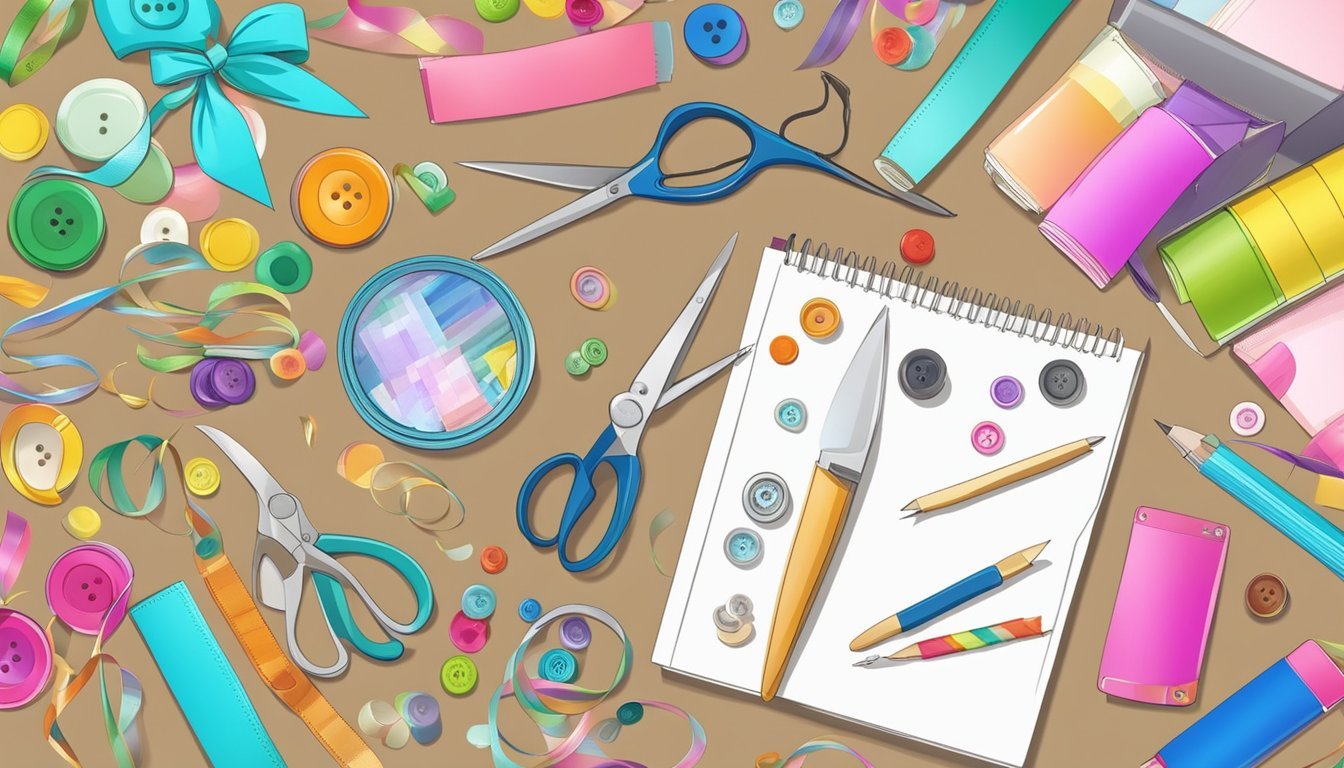
3) Use letter stamps
Letter stamps are a fantastic way to personalize your craft projects.
With them, you can easily add names, dates, or fun quotes to cards and scrapbooks.
Using alphabet stamps allows for endless creativity.
You can play with different fonts and sizes to match the style of your project.
Many brands offer themed sets, such as floral or modern designs, providing plenty of options.
Aligning your letters perfectly can be tricky, but stamps help keep everything neat.
They give a professional look to your handmade items while still showing off your personality.
To get started, consider investing in a good quality alphabet stamp set.
Clear stamps can be especially useful since they let you see where you’re placing each letter.
Try using letter stamps to create custom titles for your scrapbook pages.
You can also use them on gift tags or as part of your card designs.
The possibilities are truly endless.
Enjoy experimenting with different layouts and colors to make your projects stand out!
4) Try glitter glue
Glitter glue is a fun and easy way to add sparkle to your craft projects.
It comes in various colors, making it a versatile option for enhancing cards, scrapbook pages, and other creations.
Using glitter glue is simple.
Just twist up the end like a regular glue stick and apply it directly to your project.
As it dries, it leaves behind a shiny, glittery effect that adds flair.
You can also experiment with blending colors.
Apply one color first, and while it’s still wet, add another shade on top.
Using the tip of the glitter glue, swirl the colors together for a beautiful gradient.
It’s great for kids and adults alike since it’s easy to control and mess-free.
Adding glitter glue can transform even the simplest designs into something special.
5) Include patterned paper
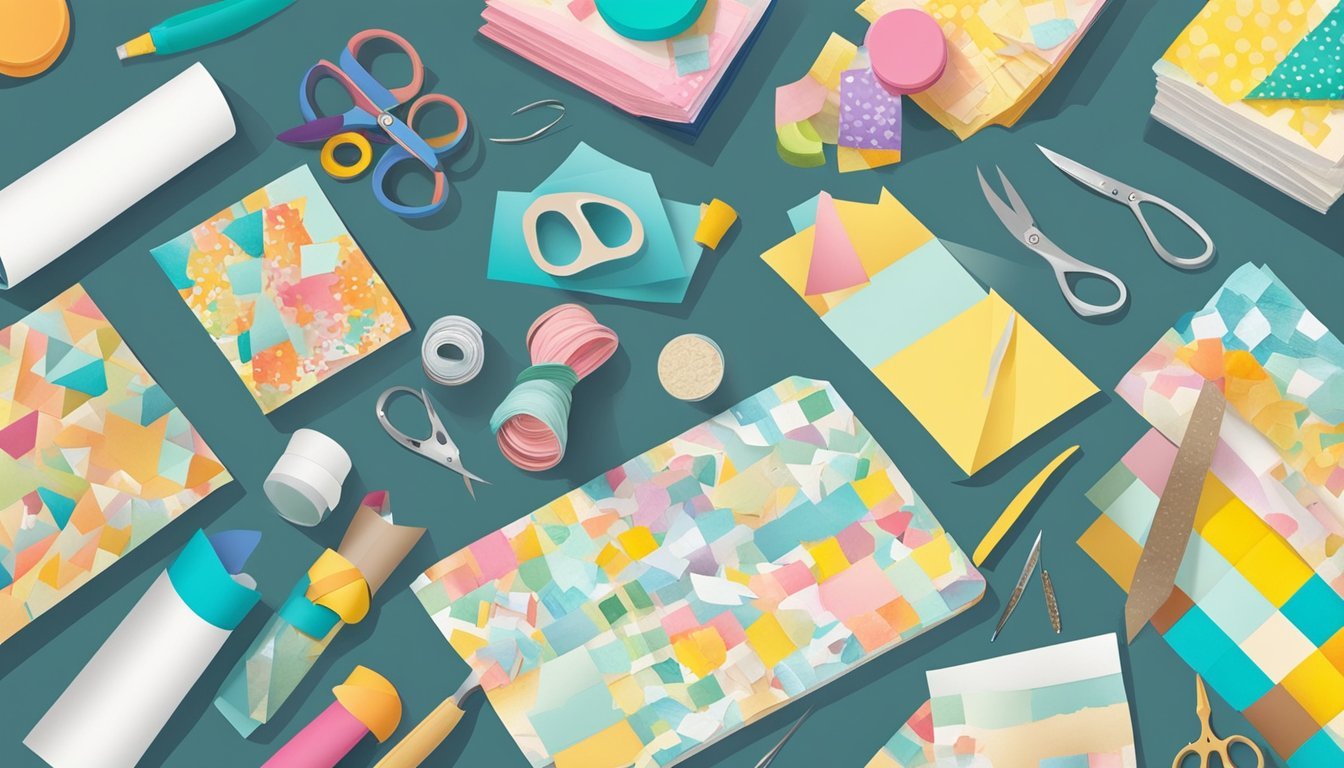
Adding patterned paper to your craft kits can elevate your projects instantly.
It offers a fun way to introduce color and design without much effort.
You can use it for card making, scrapbook pages, or even decorative journal covers.
It’s versatile and adds a personal touch to any craft.
Consider mixing different patterns for a unique look.
Combining floral designs with geometric prints can create interesting contrasts.
Don’t worry about having the latest designs.
Vintage wallpaper, wrapping paper, or even old book pages can work beautifully.
Including a variety of weights and textures in your kits can inspire creativity.
Heavyweight paper is great for 3D projects, while lighter paper is perfect for layering and detail work.
This simple addition makes your craft kits more appealing and encourages exploration.
Give your crafters the chance to experiment with patterns and textures!
6) Attach pom-poms
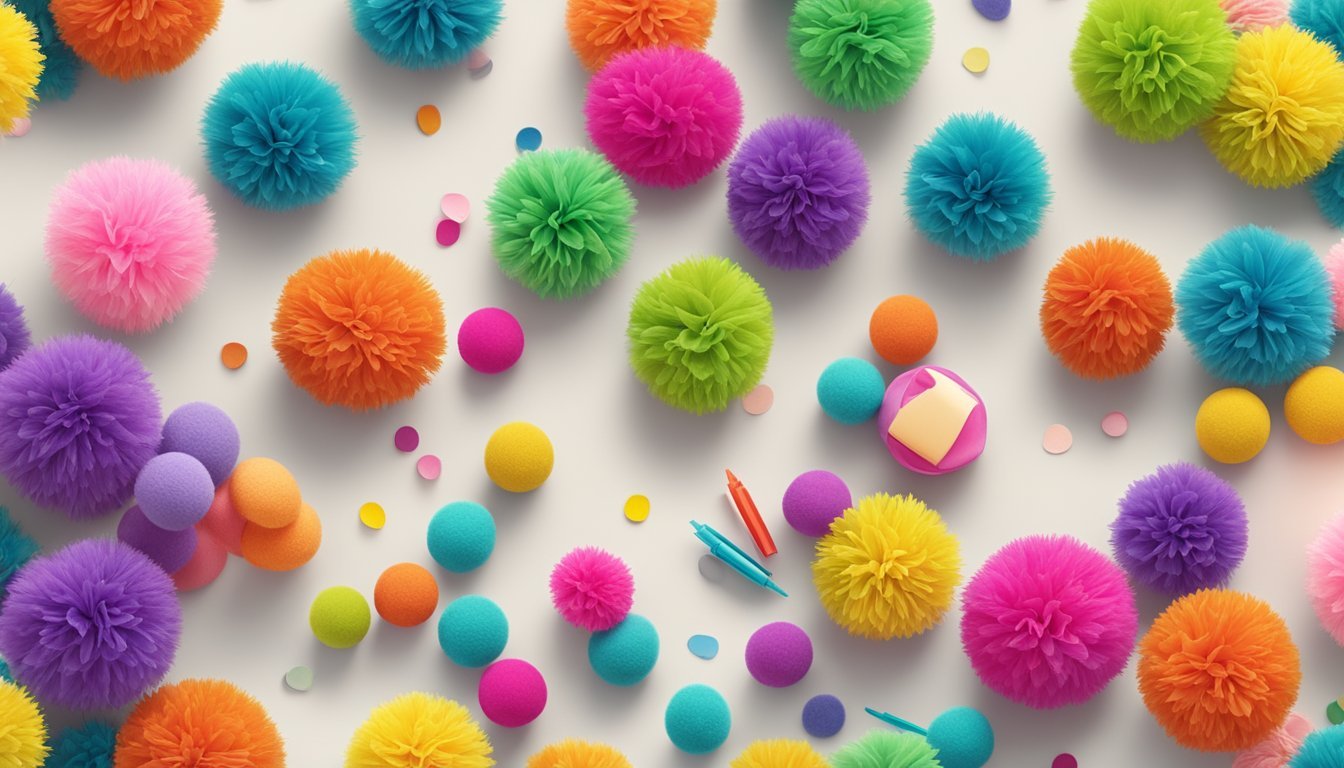
Adding pom-poms to your craft kits can elevate your projects and make them more fun.
They bring a playful touch that appeals to all ages.
To attach pom-poms, start by choosing the right spots on your project.
Whether it’s a bag, a pillow, or a wall hanging, these fluffy accents can add texture and color.
Using a simple sewing technique is effective.
Locate the interior string of the pom-pom.
Using a needle and thread or sturdy yarn, carefully thread it underneath to attach.
This way, your pom-pom stays secure without overpowering your design.
You can also try hot glue if you’re looking for a faster option.
Just make sure to apply the glue sparingly to avoid mess.
Experiment with different sizes and colors of pom-poms to create your unique flair.
Whether you’re making keychains or embellishing garments, they’re a great choice to enhance your craft kits.
7) Sew with decorative thread
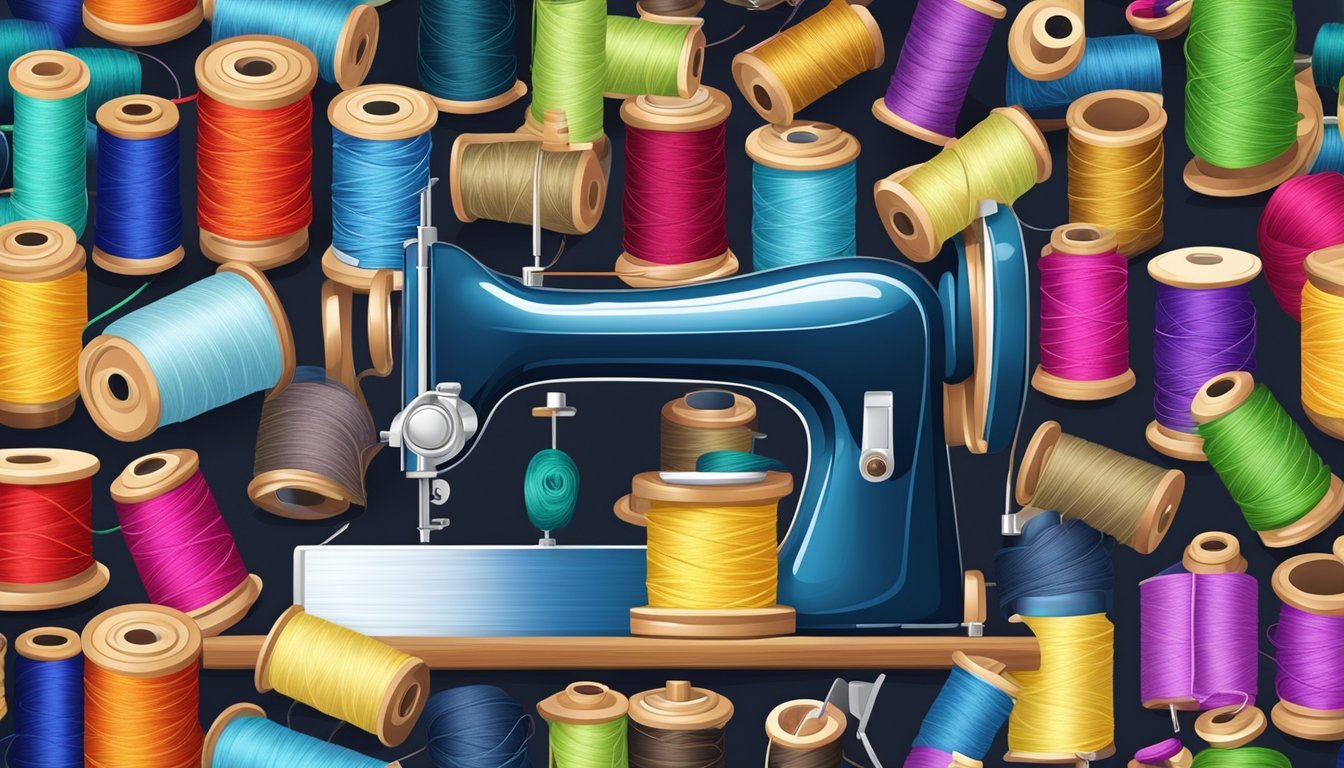
Using decorative thread is a quick way to elevate your sewing projects.
It adds pops of color and interesting textures that can transform a simple design into something special.
Try using decorative threads with zig-zag or straight stitches.
Even if your sewing machine has limited built-in options, this technique works wonders.
The right thread can make your seams stand out beautifully.
Experiment with different types of decorative threads, like metallic or variegated options.
They can enhance the visual appeal of your items, making them look more professional and unique.
Don’t forget to adjust your stitch tension when using thicker threads.
This ensures your stitches lie flat and look polished.
Whether you’re embellishing a tote bag or finishing a quilt, decorative thread brings a personal touch.
It’s an easy way to show off your personality and creativity in any craft kit.
8) Apply stencil designs
Adding stencil designs to your craft kits is a fun way to enhance creativity.
Stencils come in various shapes and patterns, making them versatile for any project.
Select a simple stencil that matches your theme, like flowers or geometric shapes.
Place it on your chosen surface and secure it with tape to prevent slipping.
You can use spray inks for a bold look or gentle ink application for softer designs.
Just spray or dab the color onto the stencil, then carefully lift it away to reveal your artwork.
For fabric or wood projects, ensure you let the design dry completely.
Heat setting with an iron can help your design last longer.
Use parchment paper to protect both the stencil and your iron.
Consider including a few stencils in your craft kits.
They give endless possibilities for personalization.
Plus, they’re easy and fun to use, even for beginners.
9) Use fabric patches
Fabric patches are a simple way to add a personal touch to your craft projects.
They come in many designs, colors, and shapes, letting you express your unique style.
To attach a patch, you can go for the no-sew option.
Just position the patch where you want it and press it with a hot iron.
This method bonds the patch to your fabric securely.
If you prefer sewing, grab a needle and thread.
Sew the patch onto your fabric for a classic look.
A few stitches around the edges can provide extra security, especially for larger patches.
You can also use fabric glue for an easy attachment method.
Apply glue to the back of the patch and press it firmly onto your fabric.
Let it dry as per the glue instructions for the best results.
Patches are versatile and can be added to apparel, bags, or home décor items.
Get creative, and don’t hesitate to mix and match different patches to make your projects pop!
10) Include stickers
Stickers are a fun way to add personality to your craft kits.
They come in various shapes, sizes, and themes, which can inspire creativity.
You can use stickers to decorate cards, scrapbooks, or personal items like phone cases.
They make your projects stand out and add a colorful touch.
Including a variety of stickers in your kit allows for endless possibilities.
Think seasonal themes, animals, or even motivational quotes.
Kids and adults alike enjoy using stickers, making them a versatile addition.
Plus, they are easy to use, so you won’t need to worry about complicated techniques.
Consider including some high-quality adhesive stickers that won’t peel off easily.
This way, you can ensure that your creations last.
Stickers also work well for customizing gifts or party favors.
They’re an excellent way to personalize any project effortlessly.
Choosing the Right Base Materials
Selecting the right base materials is crucial for any craft project.
The right supplies can make your creation not only visually appealing but also sturdy and unique.
Here are two important aspects to consider when putting together your craft kits.
Sourcing Unique Supplies
Finding unique supplies can set your projects apart from others.
Look for local craft stores, thrift shops, or online marketplaces to source materials that resonate with your style.
These can include:
- Vintage buttons
- Unusual fabrics
- Natural elements like wood or stone
Consider visiting artisan markets or specialty shops for one-of-a-kind items.
Don’t shy away from recycling or upcycling materials; this can add character to your project while being eco-friendly.
Items such as old jewelry or discarded packaging can find new life in your creations.
Mixing Textures for Interest
Incorporating a variety of textures can elevate your craft kit to a new level.
Think about combining soft fabric with rough wood or shiny metal with matte paper.
This contrast can draw attention and create visual interest.
When mixing textures, consider these ideas:
- Pair felt with lace for a soft yet intricate look.
- Combine burlap with sleek cardstock for a rustic yet polished finish.
- Use sequins alongside natural fibers for a fun touch.
Experimentation is key.
Play around with different materials in your projects to see how they work together.
The goal is to create a balanced and engaging design that captures the viewer’s attention.
Incorporating Personal Touches
Adding personal touches to your craft kits can elevate them from simple supplies to cherished creations.
These touches can help reflect your individual style and make the crafting experience more enjoyable.
Adding Custom Labels
Custom labels can be a fun way to personalize your craft kits.
Consider using labels that showcase your name or a special logo, which instantly gives your kits a unique flair.
You could use:
- Colorful stickers: Add a pop of color and fun designs.
- Handwritten labels: Make it feel more personal and inviting.
- Printable templates: Create labels that match your theme or project.
By labeling your materials, you not only keep everything organized but also create a signature look that tells a story.
It makes locating supplies easier and adds a touch of professionalism to your work.
Using Personalized Colors
Color choice can dramatically influence the vibe of your craft kits.
By selecting colors that resonate with you, you’ll create a more inviting and inspiring crafting environment.
Think about:
- Color palettes: Choose a cohesive mix that reflects your style, such as pastels for a softer feel or bold colors for a more vibrant look.
- Accent colors: Use pops of contrasting colors to enhance visual appeal.
- Theme colors: Match colors to specific projects or seasons to create a cohesive collection.
Personalized color schemes can make your kits visually striking.
It’s a simple yet effective way to ensure your craft supplies resonate with your personality and inspire creativity.