

Creating your own jewelry can be a fulfilling and enjoyable hobby.
You don’t need a lot of fancy tools to get started.
With just a few essentials, you can craft beautiful pieces that reflect your personal style.
You’ll discover that minimal tools can lead to stunning designs and creative expression.
Whether you’re a complete beginner or looking to refine your skills, making jewelry at home is accessible and fun.
You can experiment with various materials and techniques while keeping things simple.
Embrace the creative process and enjoy the journey of turning ideas into unique accessories.
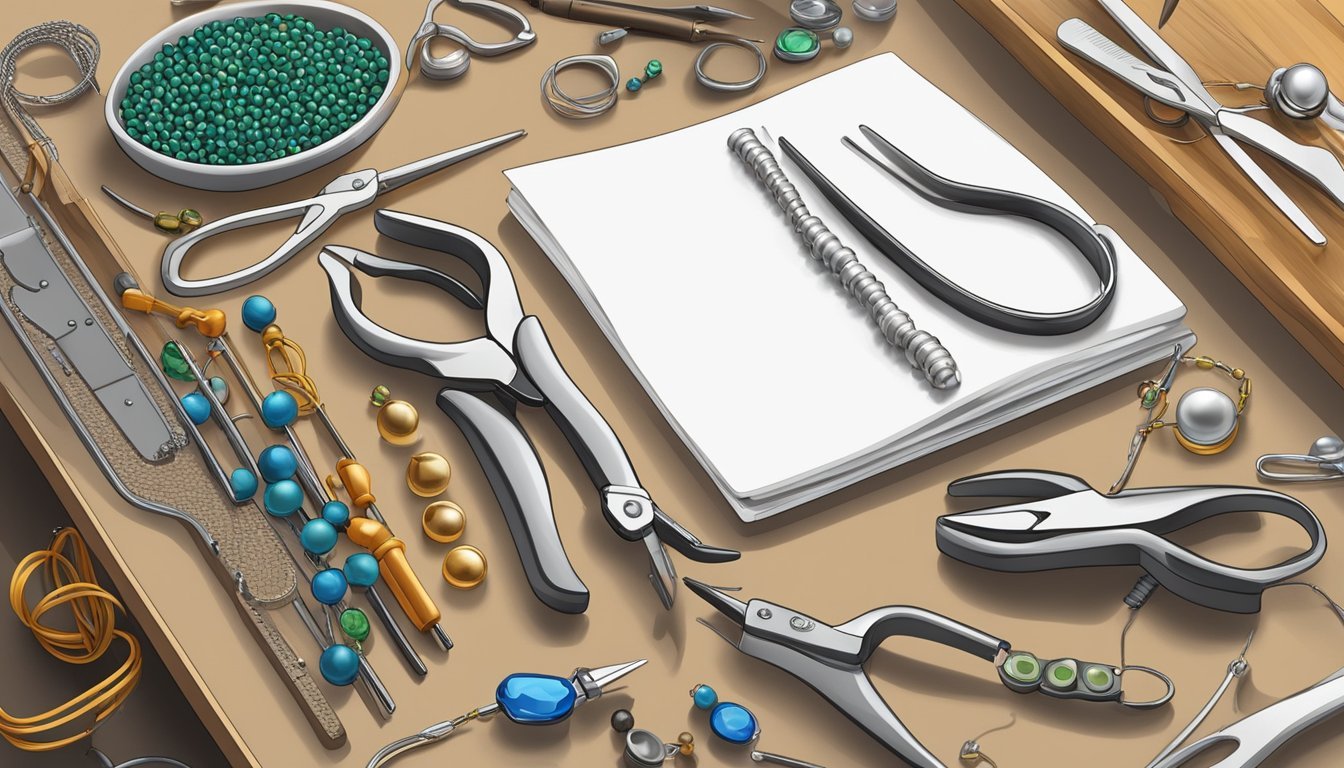
Wire-wrapped earrings

Making wire-wrapped earrings is a fun and straightforward project that anyone can try.
You don’t need a lot of fancy tools—just some basic supplies to get started.
First, gather your materials.
You’ll need wire, beads, and earring hooks.
You can choose any bead that catches your eye, from gemstones to glass.
Begin by cutting a piece of wire about 6 inches long.
Slide your bead onto the wire, leaving some excess wire at both ends.
Now, you can start wrapping the wire.
Take one end and wrap it around the bead to secure it, then use the other end to create decorative loops or spirals.
This is where you can get creative!
Once you’re satisfied with the design, trim any excess wire and attach your earring hook.
Repeat the process for the second earring, and you’re done! Enjoy your unique creations.
Beaded bracelets
Beaded bracelets are a fun and easy way to create your own jewelry.
You don’t need a lot of fancy tools; just some basic supplies will do.
Start with the type of beads you want to use.
You can choose from a variety of materials like glass, wood, or even plastic.
Each type gives a different vibe to your bracelet.
For the string, elastic cord or beading wire works well.
If you’re using elastic, make sure it’s stretchy enough for your wrist.
Thread the beads onto the cord, arranging them in a pattern or mix-and-match for a playful look.
Keep checking to see how it looks as you go along.
Once you’re happy with the design, tie the ends securely.
If using elastic, make a double knot and trim any excess.
You can also add charms or spacers for a personal touch.
Beaded bracelets let your creativity shine and make great gifts too!
Charm necklaces
Charm necklaces are a fun way to express your personality with jewelry.
They allow you to showcase various themes, memories, or interests through different charms.
Plus, they’re simple to make with just a few tools.
To get started, gather your materials.
You will need a necklet chain, charms of your choice, jump rings, and jewelry pliers.
The process is straightforward and can be done in a short amount of time.
Begin by selecting your charms.
Attach a jump ring to each charm using your pliers.
To secure them, open the jump ring slightly, loop it through the charm, and then close it tightly.
This ensures that the charm stays attached.
Next, attach the charms to the chain.
You can space them out for a balanced look or cluster them together for a bolder statement.
Feel free to mix and match different types of charms, like beads and symbols.
This personalization is what makes charm necklaces so exciting.
Experiment with color and texture to create a piece that reflects your style.
Happy crafting!
4) Resin pendants
Making resin pendants is an enjoyable way to create unique jewelry pieces with minimal tools.
You’ll primarily need resin, a mold, and some decorative elements.
Start by choosing a mold that fits your vision.
Silicone molds are popular because they’re easy to work with.
Next, mix your resin according to the package instructions.
Before pouring, you can add items like dried flowers or decorative foil to make your pendant more interesting.
Once your resin is mixed, slowly pour it into the mold.
Use a heat gun to eliminate any bubbles that rise to the surface.
Keep it moving to avoid overheating one spot.
Let your pendant cure for about 24 hours.
Once hardened, gently remove it from the mold.
If needed, sand the edges lightly with wet sandpaper for a smooth finish.
Your resin pendant is ready to wear or gift! Enjoy your creativity and showcase your finished product.
5) Leather cord chokers
Making leather cord chokers is a fun and simple project.
You can create stylish pieces with just a few materials and basic tools.
Start by cutting a length of leather cord, about three feet long.
This gives you enough length to create loops around your neck and tie it at the back.
Next, you can add some personality by incorporating charms or beads.
Fold one end of the leather over the charm and secure it using wire.
This keeps everything in place and adds a decorative touch.
To ensure a good fit, measure where you want the choker to sit.
Punch holes for added detail and to help with securing the ends.
You can also tie a bow at the nape of your neck for a sweet finish.
Experiment with different techniques like knotting or layering multiple cords for a unique look.
Leather cord chokers are versatile and can complement a variety of outfits.
Enjoy the process and let your creativity shine.
6) Macrame Anklets

Making macrame anklets is a fun and simple project that you can tackle with just a few tools.
You’ll need some cord, scissors, and possibly a lighter to keep the ends from fraying.
Start by cutting your cord into lengths.
Three lengths, each a different size, work well for a basic anklet.
A one-yard length, a three-yard length, and a ten-inch length are good options.
Next, you can create knots to form patterns.
You can keep it simple with basic knots or try out more intricate designs if you’re feeling adventurous.
Adding beads can also elevate your anklet.
Just space them out along your knotting as you work.
This will give your piece a unique flair.
Once you’re happy with the design, finish it off with secure knots.
Trim any excess cord and use a lighter to melt the ends if needed.
Macrame anklets can be a stylish accessory, and you can make them in various colors and styles to match your outfits.
Enjoy the process and let your creativity shine!
7) Clay Bead Rings
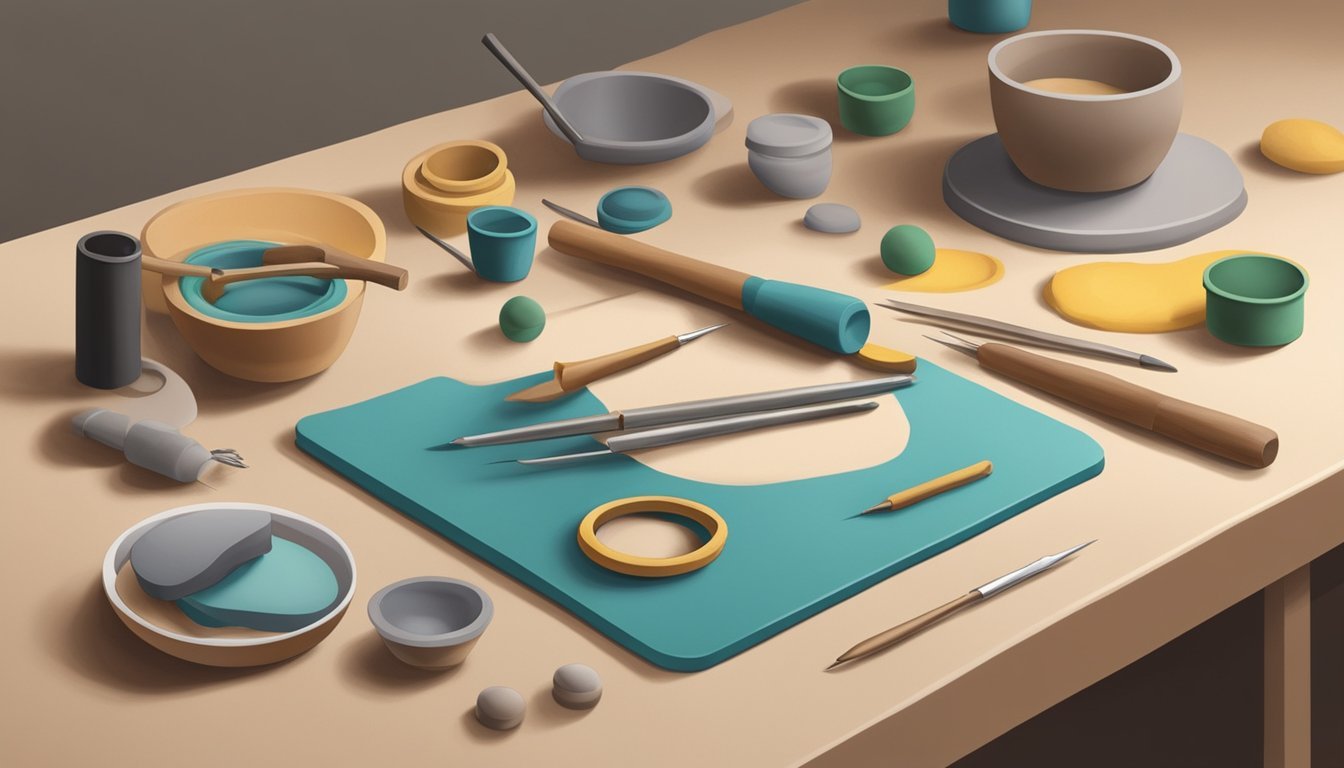
Creating clay bead rings can be a fun and simple project.
You only need a few basic materials to get started, including polymer clay, a ring base, and some basic tools.
Begin by choosing your favorite colors of polymer clay.
You can mix colors to create unique shades.
Roll the clay into small beads or shapes, using your fingers or simple tools.
Once you’ve made your beads, bake them according to the instructions on the clay package.
After they cool, you can attach them to a ring base with strong adhesive.
You might want to experiment with different designs and styles.
Try making patterns or combining different shapes for a more eclectic look.
Regular cleaning of your clay bead rings is essential for maintenance.
Use a soft cloth or brush with warm, soapy water to gently clean them.
This keeps your creations looking fresh and vibrant.
Clay bead rings are a great way to showcase your creativity.
Enjoy the process, and don’t be afraid to try new ideas!
8) Seashell Hairpins
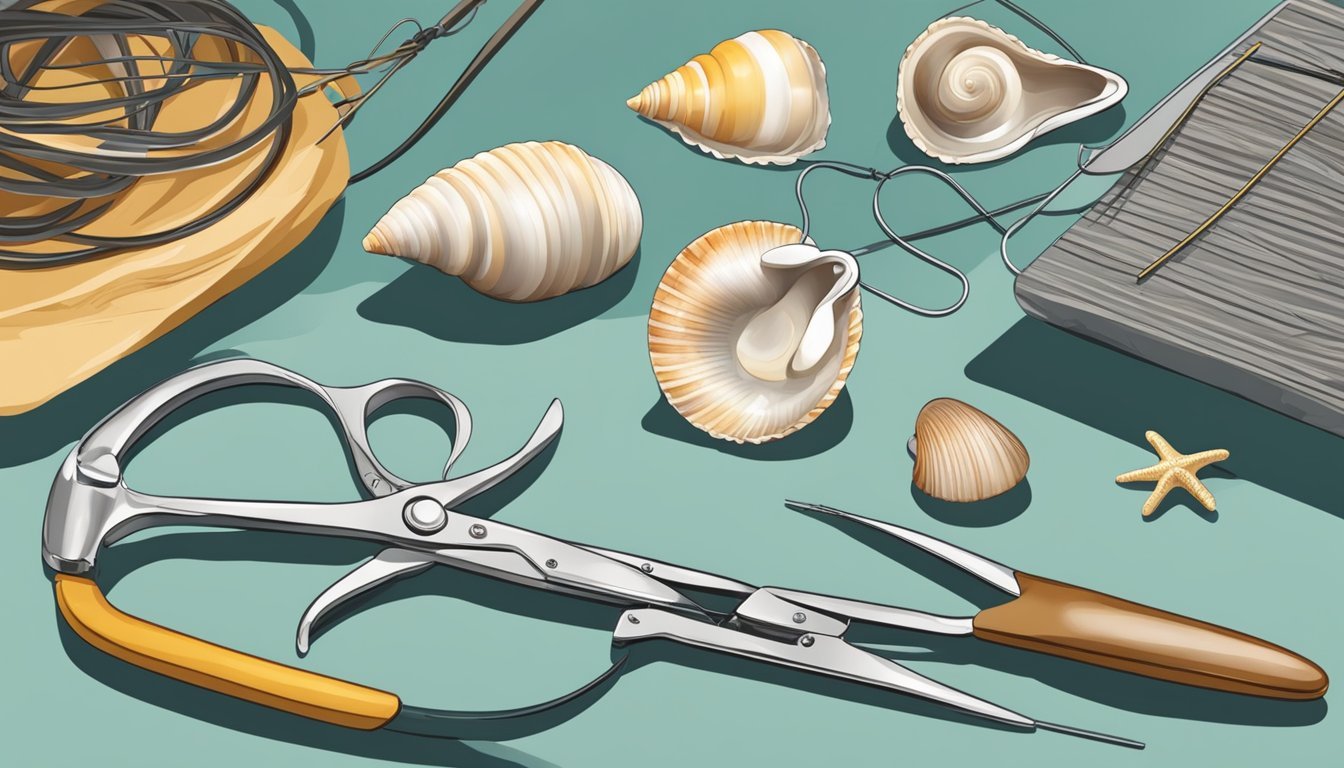
Creating seashell hairpins is a fun and simple project.
You can personalize these accessories to match your style effortlessly.
Start by gathering your materials: hairpins, seashells, and strong adhesive like E6000 glue.
Place a small amount of glue on the hairpin.
Next, add your chosen seashells.
You can overlap them for a layered look.
Make sure to use more glue as needed to secure everything in place.
If you want to add a little extra flair, consider gluing on some small pearls or decorative beads.
This can give your hairpins a more finished appearance.
Once you’ve arranged your shells, let the glue cure according to the packaging instructions.
This usually takes about 24 hours.
If you want a more colorful look, you can paint the shells before gluing them onto the hairpin.
Metallic acrylic paint works well here.
These charming seashell hairpins will add a summery vibe to your hairdos, making them perfect for casual outings or beach days.
They’re also a great conversation starter!
9) Polymer Clay Earrings
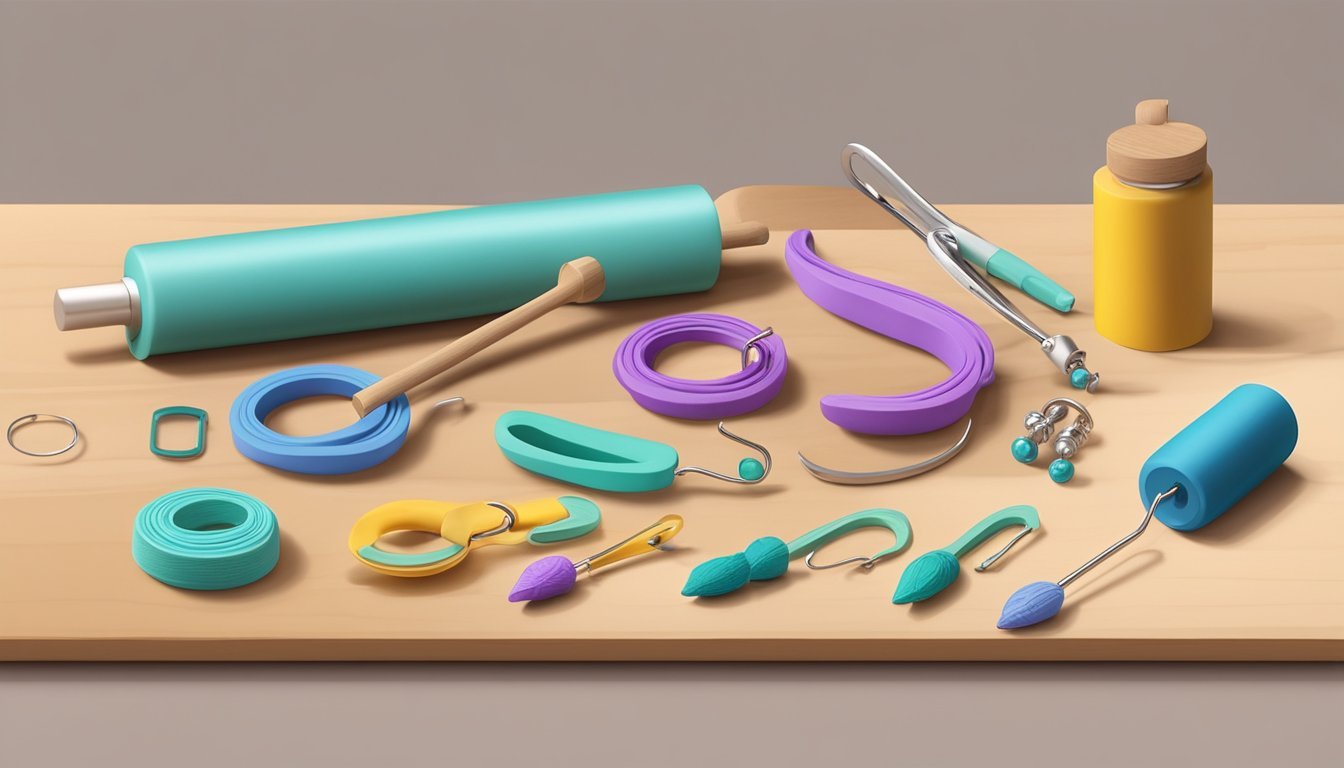
Making polymer clay earrings is a fun and easy way to create unique jewelry.
You don’t need fancy tools to get started, just some basic supplies.
First, gather your polymer clay, a rolling pin, and some cutting tools.
You can shape the clay by rolling it into snakes or flattening it into different designs.
You can play around with colors to keep it interesting.
After shaping your earrings, it’s important to bake them.
Follow the instructions on the clay package for the right temperature and time.
Once they cool, you can sand and smooth the edges for a polished look.
To attach the earring posts, place them on the back of your clay pieces.
Then, cover them with a bit of clay, securing them well.
Bake again so everything holds together.
Finishing touches can include adding hooks or embellishments.
The best part? You can customize them to match your style or outfit.
Enjoy the process and let your creativity shine!
10) Memory Wire Bangles
Making memory wire bangles is a fun and simple way to create stunning jewelry with minimal tools.
Memory wire is a special type of wire that retains its shape, making it perfect for bracelets.
To start, cut a piece of memory wire to the desired length, keeping in mind that it will need to loop around your wrist.
Use round-nose pliers to create a small loop at one end to hold your beads in place.
Next, thread beads onto the wire, arranging them in any pattern you like.
Feel free to mix different shapes, sizes, and colors for a unique look.
Once you’re happy with your design, create another loop at the open end of the wire.
This will secure the beads and complete your bangle.
Memory wire bangles are easy to wear and stack, allowing you to mix and match with other bracelets.
You can experiment with various bead combinations and styles, making each piece truly one-of-a-kind.
Plus, they’re perfect for gifts or a personal touch to your accessories.
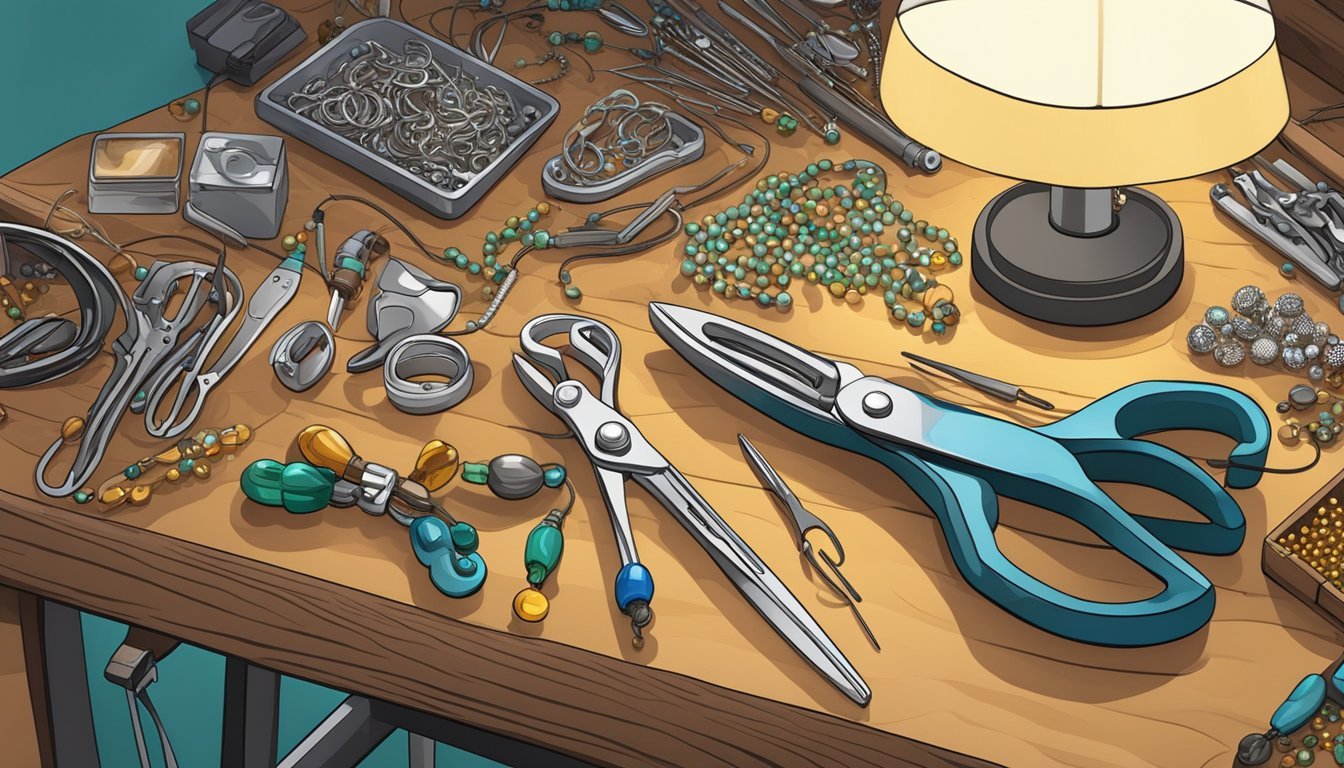
Essential Techniques
Mastering a few key techniques can elevate your jewelry-making skills significantly.
By focusing on wire wrapping and simple bead stringing, you can create stunning pieces without the need for extensive tools.
Wire Wrapping Basics
Wire wrapping is a fundamental technique that allows you to create intricate designs with minimal effort.
This skill involves bending and twisting wire to securely hold beads or other components together.
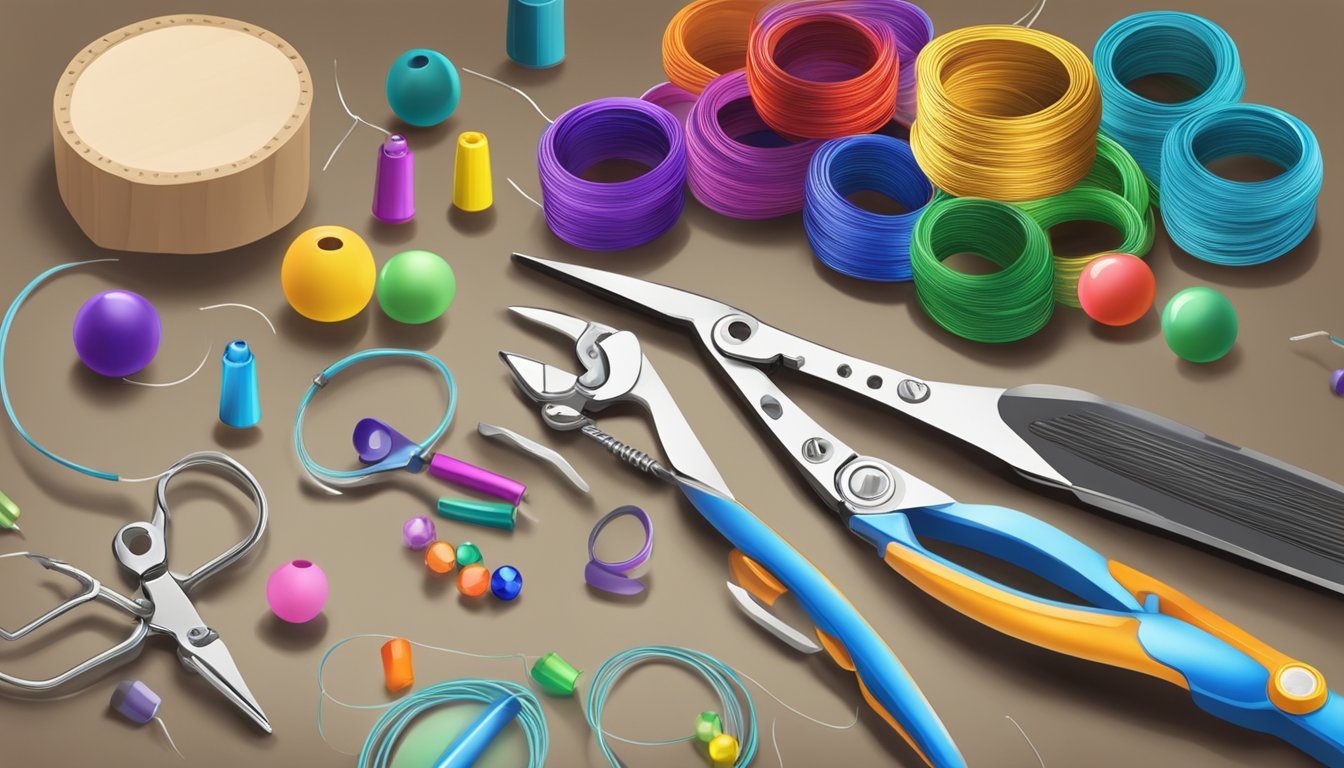
Materials Needed:
- Wire: Choose 20-24 gauge wire for flexibility and strength.
- Tools: Round-nose pliers, flat-nose pliers, and wire cutters.
Steps:
- Cut the Wire: Start with a length of wire about 6-12 inches long.
- Make a Loop: Use your round-nose pliers to create a loop at one end of the wire.
- Wrap the Wire: Coil the wire around the bead or component, ensuring a tight fit.
- Secure the End: Trim excess wire and tuck the end in securely.
Wire wrapping enables you to customize the look of each piece, making it a versatile technique to master.
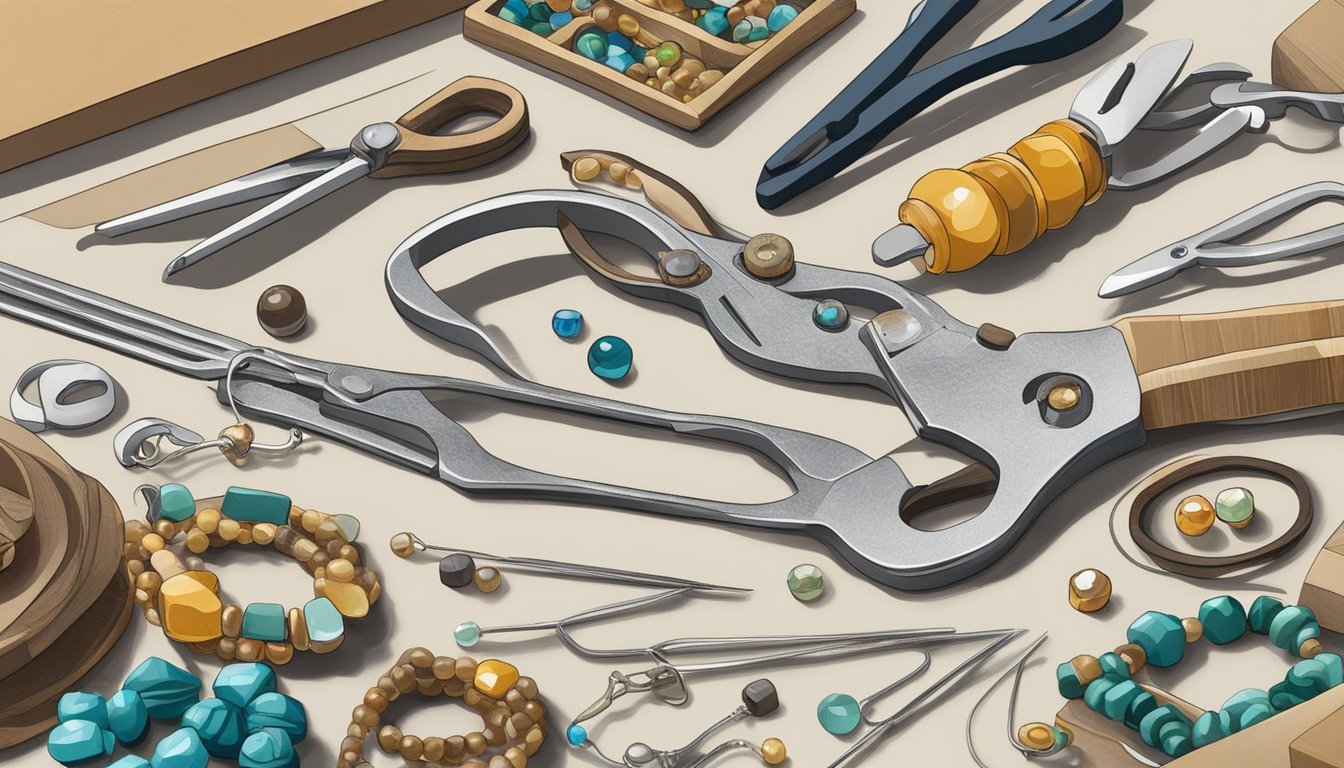
Simple Bead Stringing
Bead stringing is a straightforward method perfect for beginners.
It involves threading beads onto a stringing material like wire or thread to create necklaces, bracelets, or earrings.
Materials Needed:
- Beads: Choose a variety of shapes and sizes for visual interest.
- Stringing Material: Use fishing line, beading wire, or elastic cord.
- Crimp Beads: Essential for securing the ends if using wire.
Steps:
- Design Your Pattern: Lay out your beads in the desired order before stringing.
- Cut the Material: Measure and cut enough stringing material for your project, adding extra for knots.
- String the Beads: Thread each bead onto the material carefully.
- Secure the Ends: If using wire, crimp the ends to keep everything intact; if using elastic, tie a knot securely.
With bead stringing, you can quickly create beautiful pieces that reflect your style without requiring advanced skills.
Selecting Materials on a Budget
You can create stunning jewelry without breaking the bank by carefully selecting your materials.
Being resourceful and strategic can help you craft beautiful pieces while keeping costs low.
Choosing the Right Wire
When it comes to jewelry making, wire is essential.
Look for copper or aluminum wire because they’re affordable and easy to work with.
Both materials come in various gauges, so choose a thicker wire for structure and a thinner one for detailing.
Consider shopping at local craft stores or online marketplaces that offer discounts.
You can often find great deals on starter kits that include multiple wire types.
Check out recycled materials as well.
Old jewelry can provide usable wire.
Just remember to use tools that match your wire choice to ensure you get the best results.
Finding Quality Beads
Beads are the heart of your jewelry design.
Seek out local craft fairs or thrift shops where unique beads can be found at budget-friendly prices.
You can also explore online retailers, which often have sales.
When selecting beads, focus on variety. Natural stones, glass, or resin beads can look stunning without being expensive.
Avoid plastic unless it fits your aesthetic.
Don’t shy from bulk buying, either.
Purchasing beads in larger quantities usually means better pricing.
Keep an eye out for sales, and join craft groups online to share resources and tips for finding quality materials without overspending.
Creative Design Ideas
Getting creative with your jewelry can be fun and rewarding.
Here are some design ideas that you can try with minimal tools:
-
Crescent Moon Necklace: Use 0.8mm wire for the frame and wrap it with 0.4mm wire. Then, add some 3mm and 4mm Czech glass beads for a charming touch.
-
Air Dry Clay Earrings: Shape air-dry clay into feathers or other fun designs. It’s an easy way to use leftover clay and creates lightweight earrings.
-
Beaded Hoop Earrings: Grab some hoop frames and string beads onto them. Consider a mix of colors and sizes to keep it interesting.
-
Leather Tassel Keychain: Cut strips from a piece of leather and tassel them together. Then, attach a keyring, and you’ve got a stylish accessory.
-
Wire-Wrapped Rings: Take some wire and design unique ring shapes. You can combine different gauges of wire and add beads or charms for flair.
Here’s a quick list of materials you might need:
| Material | Use |
|---|---|
| Wire | Frame and wrap beads |
| Air Dry Clay | Create unique earring shapes |
| Beads | Adding color and texture |
| Leather | Making tassels or bracelets |
| Jump Rings | Connecting pieces together |
Let your imagination lead you, and remember to have fun experimenting!