Upgrading your pottery techniques can be an exciting journey, allowing you to create more refined and personal works of art.
Whether you’re a beginner or have some experience, you can always find ways to improve your craft. Implementing new methods can enhance your creativity and skill, making your pottery more enjoyable and rewarding.
In this article, you’ll discover five effective ways to elevate your pottery game.
Each tip is designed to inspire you and help you achieve better results.
1) Try Using Underglaze Pencils
Underglaze pencils are a fun way to add detail and color to your pottery.
They allow you to draw directly onto your pieces, giving you creative control over your designs.
The pencils come in various colors and are perfect for sketching intricate patterns.
You can easily apply them to bisque-fired pottery.
For a more permanent look, use a fine brush dipped in water to trace over your pencil lines.
This helps set the colors and creates a smooth finish.
Experiment with different techniques and styles to find what works best for you.
The versatility of underglaze pencils can really elevate your pottery projects.
So grab a set and get started!
2) Experiment with Raku Firing
Raku firing can add a unique flair to your pottery.
This technique involves removing pieces from the kiln while they’re still hot, which creates striking surface effects.
Start by preparing your kiln and choosing the right low-fire glazes.
You don’t have to use commercial raku glazes; homemade options can work well too.
Controlling the firing temperature is key.
Position your propane burner at a 45-degree angle for even heating.
Then, adjust the flu to manage airflow during the process.
Don’t forget to experiment with reduction materials! These can transform your glaze colors and textures.
Using a variety of materials can yield unexpected and beautiful results.
Always prioritize safety by using appropriate gear, as raku can be unpredictable.
The end result is often worth the effort, with each piece reflecting your personal style.
Embrace the excitement, and enjoy the journey of raku firing!
3) Incorporate Gold Luster Techniques
Adding gold luster to your pottery can elevate its appearance dramatically.
This technique involves applying a metallic overglaze made from real gold particles, which creates a striking finish.
Start by cleaning your ceramic piece thoroughly.
Use a soft, damp cloth to wipe away any dust or grease that may interfere with the luster adhering properly.
Make sure it’s completely dry before moving forward.
Next, apply the gold luster with a small brush designed for oil-based applications.
Work in a well-ventilated area or outdoors to avoid inhaling fumes since the liquid can be toxic.
After applying the luster, a third firing in the kiln is necessary.
This step burns off the organic binder, leaving behind a beautiful, shiny finish.
Once cooled, check your piece for any imperfections and clean the surface as needed to reveal the luster’s full effect.
This technique can add a touch of elegance to any pottery project, making it uniquely yours.
4) Explore Hand-Building with Slabs
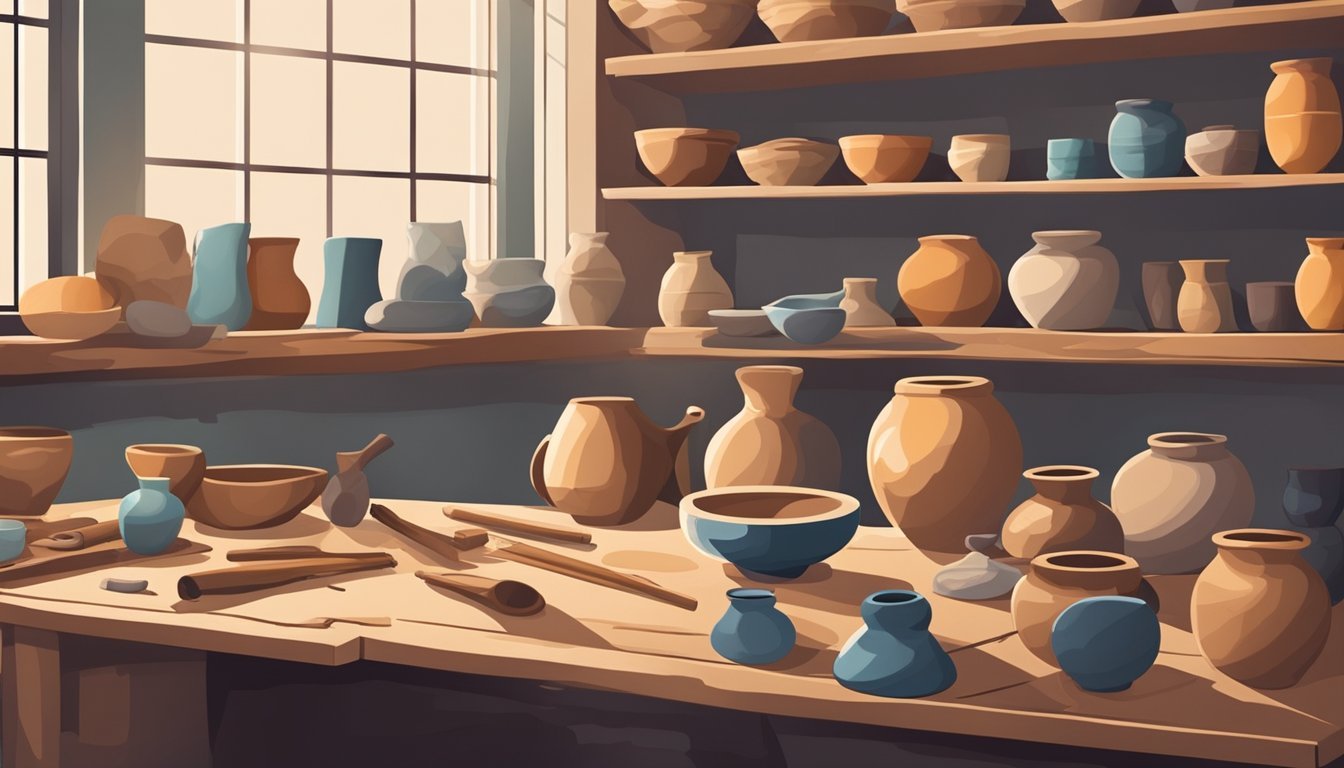
Hand-building with slabs is a fantastic way to create unique pottery pieces.
This technique allows you to work with flat sheets of clay, enabling you to craft shapes and forms that are difficult to achieve with traditional methods.
To get started, prepare your clay by wedging it to remove air pockets.
Then, roll it out into an even sheet to ensure uniform thickness and prevent cracks.
Once you have your slab ready, you can cut it into various shapes.
Think about how you want your final piece to look.
You can build boxes, plates, or even sculptural forms.
Joining pieces together is simple.
Use slip, a mixture of clay and water, to attach edges securely.
Then, smooth out any seams for a clean finish.
Experimenting with texture and pattern can add depth to your work.
You can imprint objects or use stamps to enhance your design.
With practice, you’ll find that slab building opens up a new world of possibilities in your pottery journey.
It’s a refreshing break from the wheel and lets you express your creativity in different ways.
5) Master the Art of Sgraffito
Sgraffito is a fun pottery technique that lets you create stunning designs by scratching through a layer of slip to reveal the clay underneath.
To start, choose a smooth clay body, like porcelain or stoneware.
The right clay will help your designs stand out nicely.
Then, apply a contrasting slip that complements your clay.
Once your piece is ready, allow the slip to dry until it’s leather hard.
This is the perfect time to start scratching your design.
Use various tools to achieve different effects—like fine lines or broader strokes.
Keep your surface smooth and even.
If you notice any bumps, they might disrupt your design.
It’s okay if there’s a bit of undulation, but aim for a generally flat surface for the best results.
Experiment with different patterns and textures.
Each piece you create will be unique, adding a personal touch to your pottery.
The more you practice, the more you’ll refine your technique.
Understanding Pottery Basics
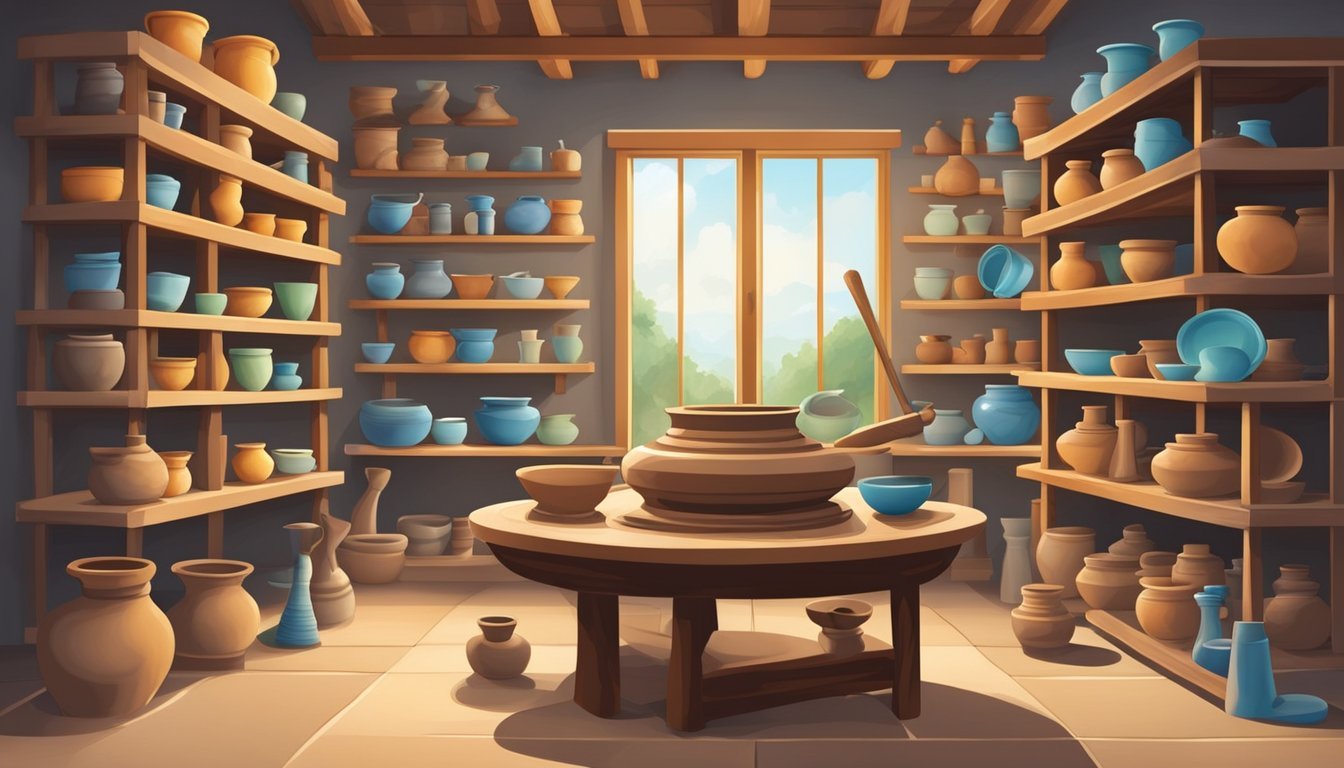
When starting your pottery journey, it’s crucial to grasp the fundamentals.
Key elements include the types of clay you might use and the essential tools required for your work.
Both play a significant role in shaping your techniques and enhancing your overall experience.
Types of Clay
Selecting the right clay can make a world of difference in your pottery projects.
Here are the main types you should consider:
- Earthenware: This is soft and easy to work with, making it great for beginners. It fires at lower temperatures, which is ideal for quick projects.
- Stoneware: A bit more durable, stoneware is perfect for functional items like dishes. It can withstand higher temperatures and is less porous.
- Porcelain: Known for its fine quality, porcelain takes some skill to handle. It fires at very high temperatures and produces a smooth, white finish.
Understanding these types will help you choose the right clay for your needs and goals.
Essential Pottery Tools
Equipping yourself with the right tools is vital for creating pottery.
Here’s a list of essential tools you’ll want to have:
- Pottery Wheel: Ideal for shaping clay into uniform pieces.
- Clay Sculpting Tools: A variety of these tools help with cutting, smoothing, and carving details.
- Rolling Pin: Useful for flattening clay into even slabs for various projects.
- Wire Cutter: This helps in cutting chunks of clay cleanly and easily.
Having the right tools on hand will make your pottery work smoother and more enjoyable as you explore your creativity.
Mastering Pottery Techniques
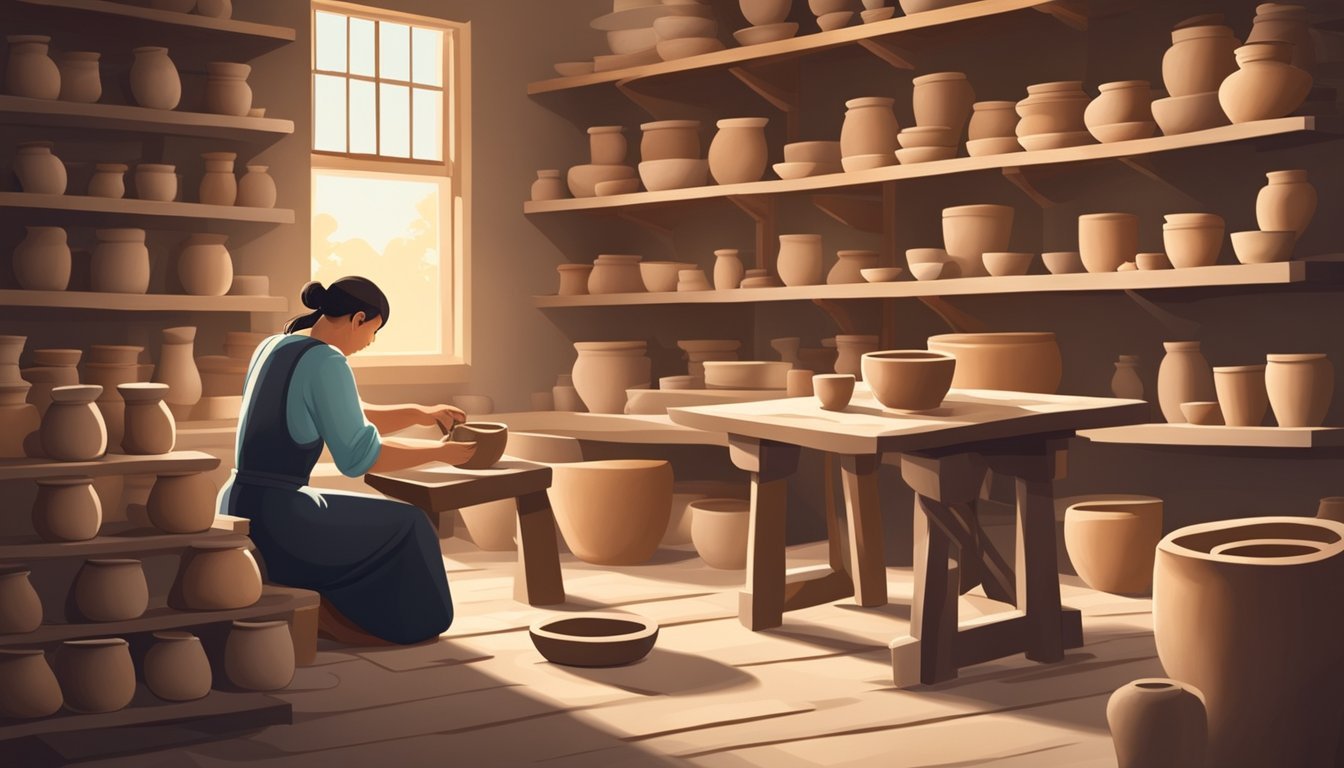
Improving your pottery skills can significantly enhance your artistic output.
Focusing on specific techniques will help you create more refined pieces while enjoying the process.
Perfecting Your Wheel-Throwing Skills
To excel at wheel throwing, you should start with proper body positioning.
Keep your feet firmly on the pedal, and ensure your body is aligned with the wheel.
Key Tips:
- Centering: Use a firm hand to help the clay find its center. This is crucial for creating symmetrical forms.
- Pressure: Apply gentle, even pressure as you shape your piece. This keeps the clay malleable and under control.
- Timing: Take your time. Rushing can lead to mistakes that are tough to fix.
Practicing with various clay types can also help.
Each type responds differently, allowing you to adapt your technique.
Regular practice is key to improving your dexterity and muscle memory.
Exploring Hand-Building Methods
Hand-building offers a different approach that can enhance your creativity.
Techniques like coiling and slab construction allow for unique designs that wheel throwing might not achieve.
Focus Areas:
-
Coiling: You can roll your clay into even coils, stack them, and blend the seams. This method is perfect for creating organic shapes.
-
Slab Building: With slab building, you roll out flat pieces of clay and cut them to your desired shape. This lets you construct geometric forms easily.
-
Textures: Experiment with adding textures using tools or found objects. This adds depth and interest to your work.
Hand-building also requires practice.
The more you experiment, the more you’ll discover your style and preferences.


