

Scrapbooking is a fun and creative way to preserve memories, but it can also be a fantastic method for crafting personalized gifts.
You can take your favorite moments and turn them into something special that your friends and family will love. Scrapbooking techniques allow you to create unique and thoughtful gifts that reflect your personal touch and the relationship you share with the recipient.
Whether you’re focusing on a specific event or simply looking to celebrate someone’s life, the possibilities are endless.
From themed layouts to custom embellishments, scrapbooking can add a layer of meaning to any present.
By incorporating photos, mementos, and your creativity into gifts, you make every occasion a bit more memorable.
Choose a theme for your scrapbook
Selecting a theme is the first step in creating a unique scrapbook.
It sets the tone and direction for your project.
Think about what the scrapbook will represent.
Are you highlighting a special event, a trip, or a collection of memories? A clear theme helps you stay focused.
Consider the season or occasion.
You could create pages for birthdays, holidays, or even vacations.
Using seasonal colors and designs can enhance the overall look.
Another option is to center your scrapbook around a particular person.
This could be a loved one or even yourself.
Personal touches, like favorite quotes or photos, can make it even more special.
As you choose your theme, keep in mind the types of materials and embellishments you plan to use.
Some themes might lean toward a more colorful, playful vibe, while others could be minimalist and sophisticated.
Ultimately, the theme should reflect what matters most to you and the recipient of the gift.
Think of a story or message you want your scrapbook to convey, and let that guide your design choices.
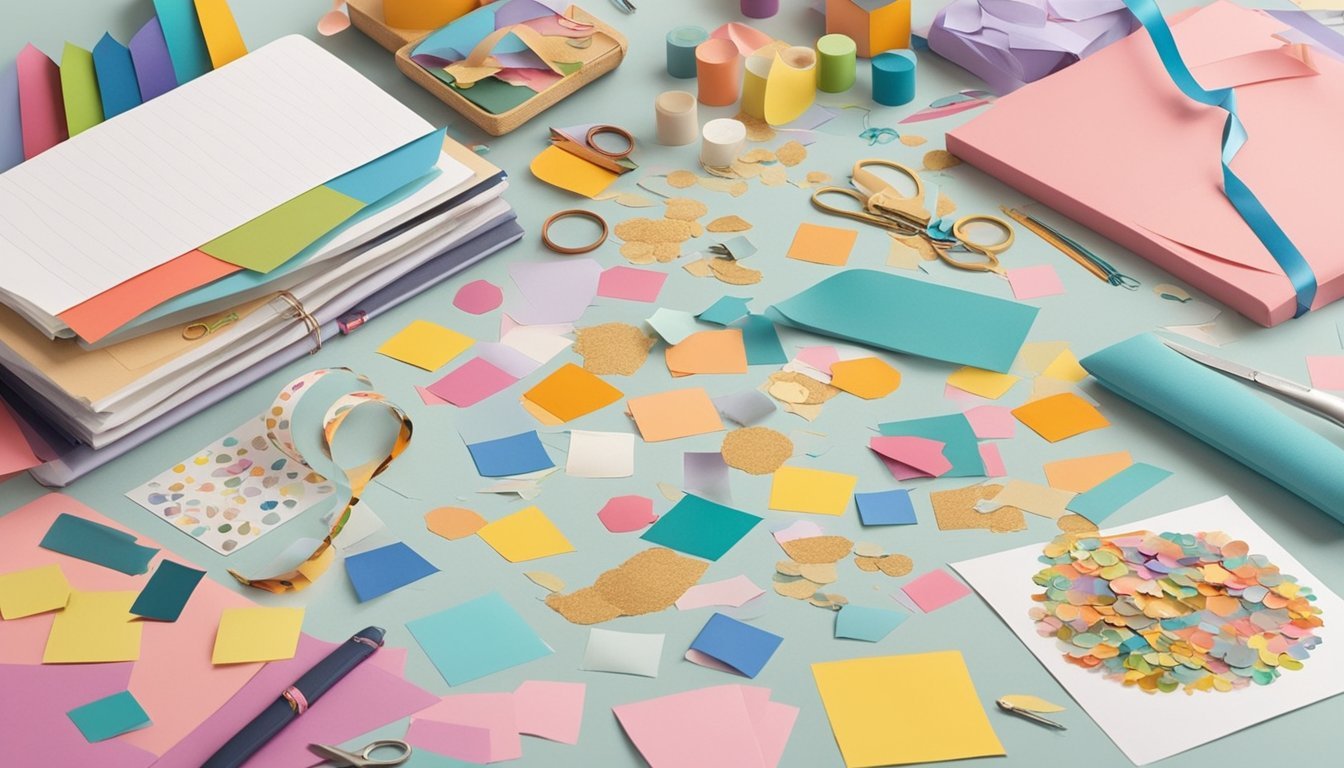
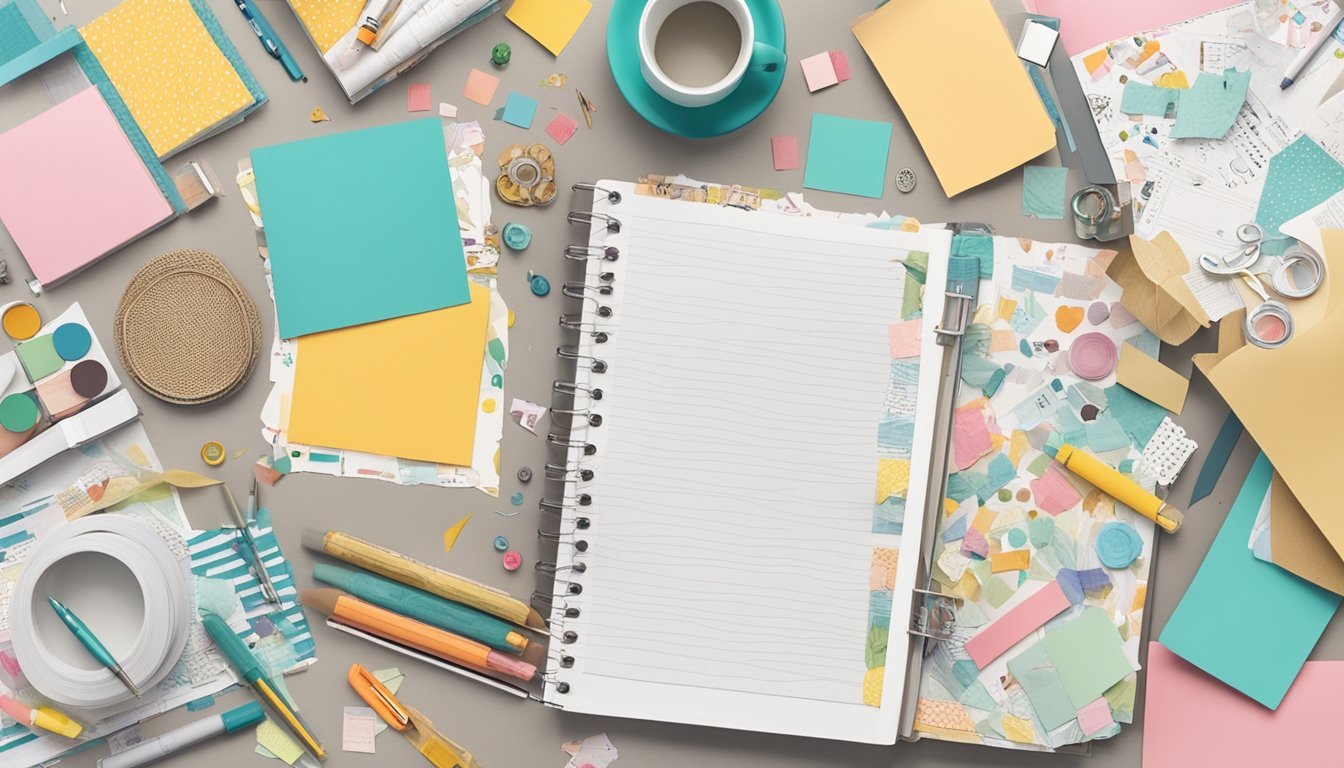
Gather materials like paper, stickers, and ribbons
To start your custom gift project, gather essential scrapbooking materials.
You’ll want a variety of papers in different colors and patterns to create a unique backdrop.
Cardstock works well for sturdy pages.
Next, add stickers that match the theme of your gift.
Look for designs that reflect the recipient’s interests or the occasion.
These can add a personal touch.
Ribbons are another fun element to include.
They can be used to frame photos or create decorative bows.
Choose colors that complement your chosen paper.
Don’t forget about embellishments like washi tape and die-cuts.
These can enhance your pages and bring the whole design together.
Make sure you have enough supplies before you begin.
Having a well-stocked workspace will help your creativity flow.
Enjoy the process of choosing materials that resonate with you and your gift!
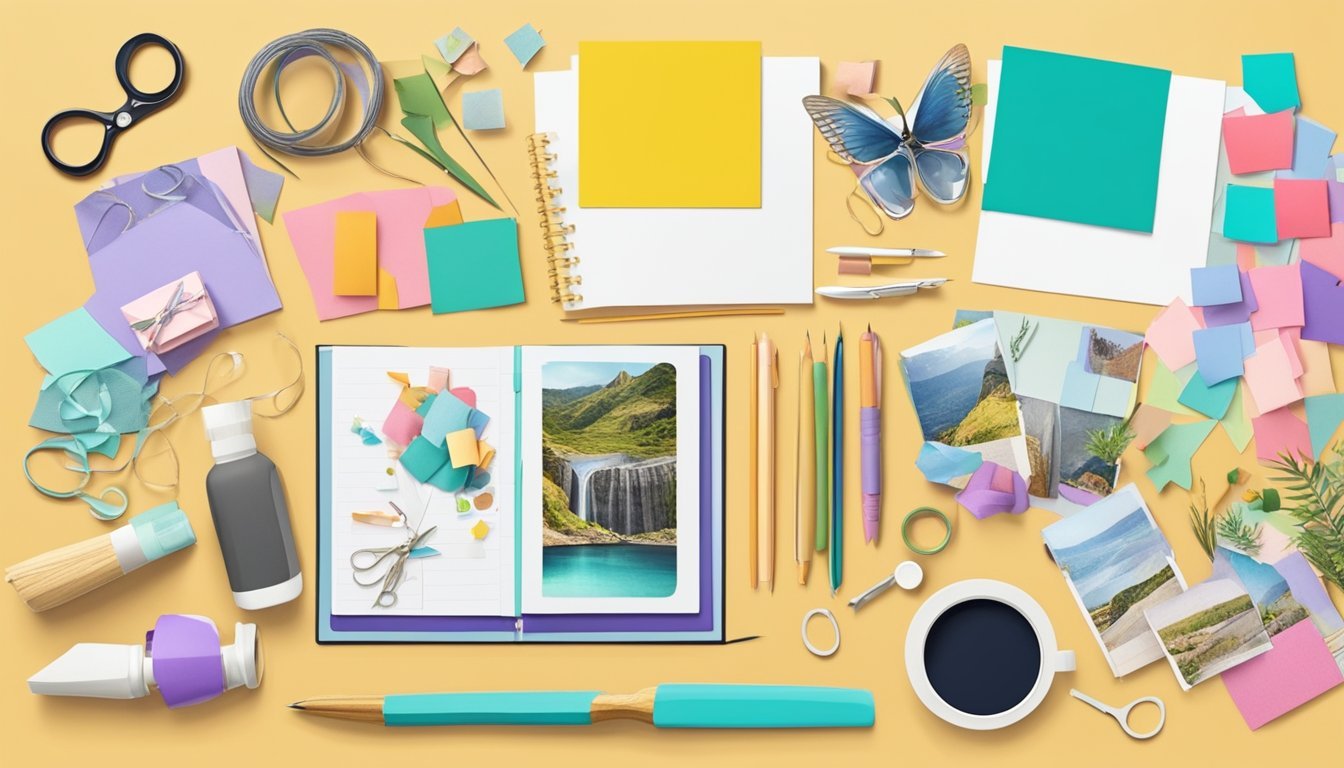
3) Select photos and mementos to include
Choosing the right photos and mementos is key to personalizing your scrapbook gift.
Start by gathering all the images and keepsakes that hold significance for the recipient.
Think about moments you’ve shared together, like trips, birthdays, or achievements.
These memories will evoke emotions every time they see the scrapbook.
Sort through your collection and pick a mix of photos—some could be candid shots, while others may be posed.
Mementos can include ticket stubs, handwritten notes, or small souvenirs that tell a story.
Once you have your picks, consider their layout on the pages.
Arranging them chronologically can highlight the progression of your shared experiences.
Don’t forget to leave space for captions or journal entries.
Adding personal notes can provide context and create a more profound connection.
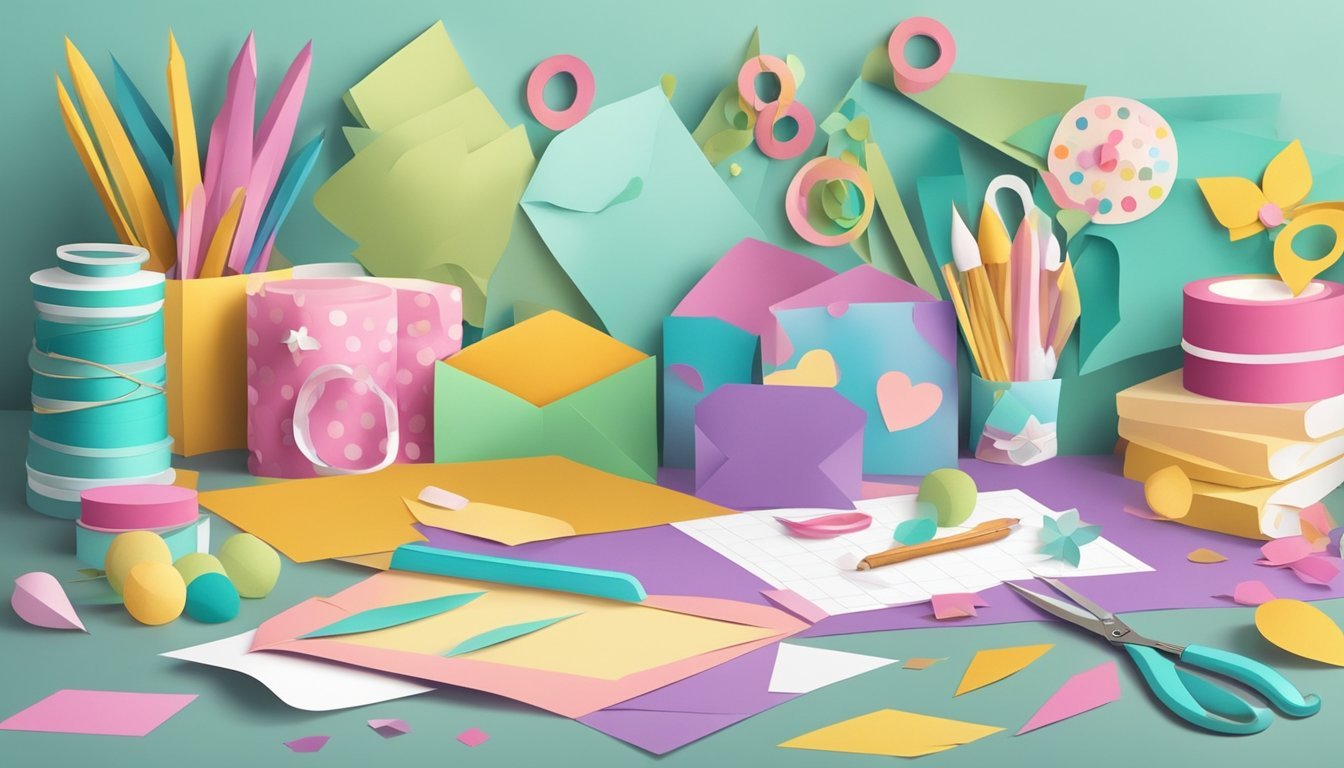
Use a die-cut machine to create unique shapes
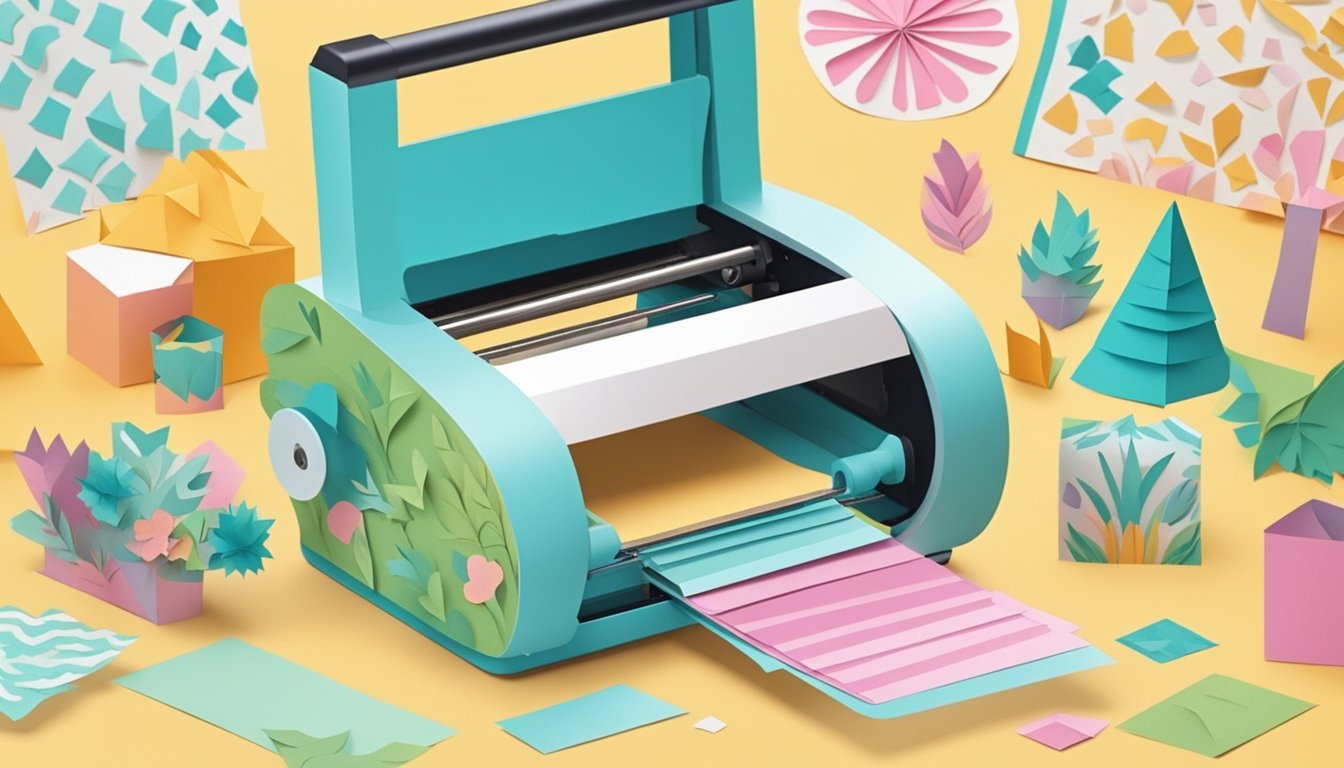
A die-cut machine is a fantastic tool for adding custom shapes to your scrapbooking projects.
It allows you to cut various materials like paper, cardstock, and even felt into precise designs.
To get started, layer your chosen material on a cutting pad.
Place the die with the cutting side facing up, then add a second cutting pad on top.
If you’re using a digital die-cutter, this process begins in the software where you can design your cut.
Once everything is in place, feed it through the machine.
With just a press of a button, you’ll see your unique shapes come to life.
You can use these die cuts as embellishments for cards or to enhance your gift wrapping.
They add a personal touch and make your project stand out.
Experiment with different materials and shapes to see what works best for your style.
The possibilities are endless, and your creations will reflect your creativity!
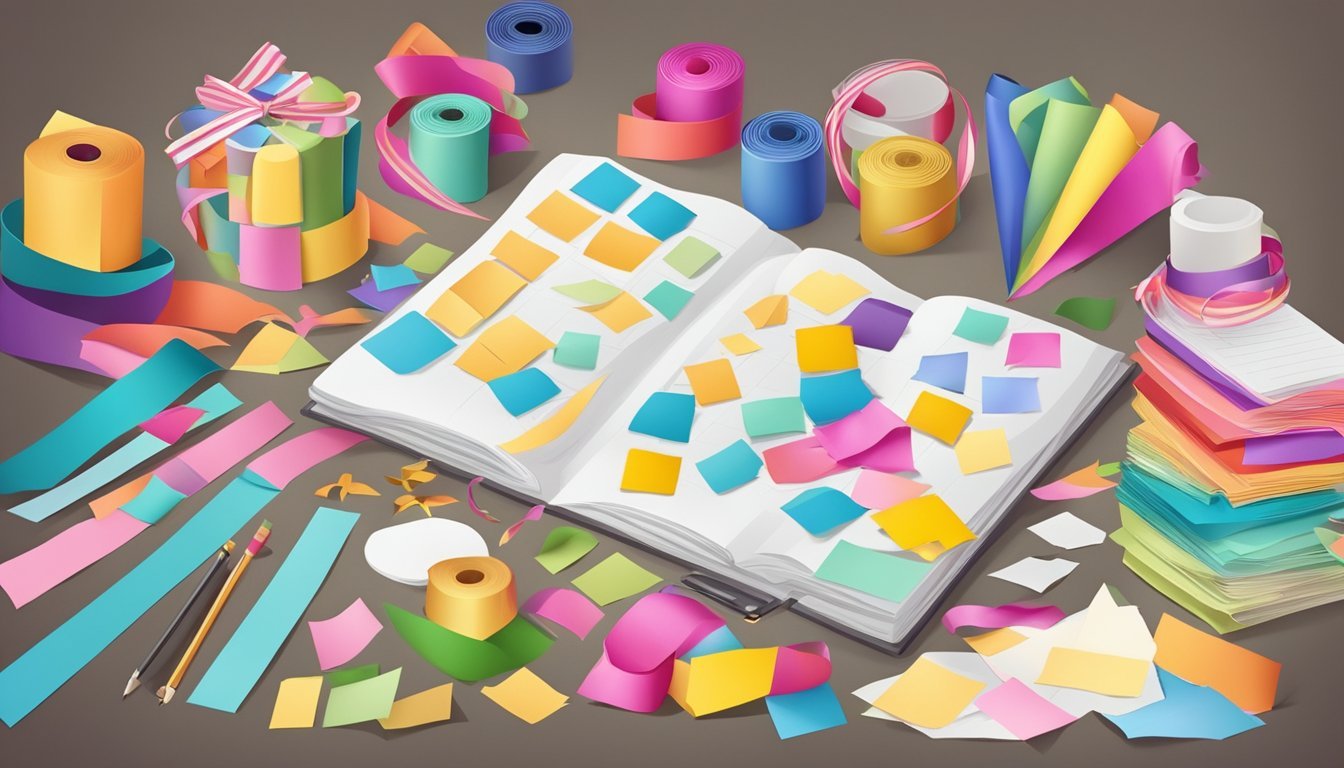
5) Incorporate washi tape for decorative borders
Washi tape is a versatile tool for adding flair to your scrapbook projects.
Using it to create decorative borders can elevate your pages effortlessly.
Start by selecting a washi tape that complements your theme.
You can align it along the edges of your photos or journal entries.
This adds a pop of color and interest.
For a layered effect, try overlapping different washi tapes.
This creates a textured look and introduces more visual complexity.
Don’t be afraid to mix patterns and colors.
If you want to create more intricate designs, consider folding the washi tape to form shapes.
Making ruffles or curls can add depth to the borders.
You can also use washi tape to frame your entire page.
This helps tie together various elements and gives a polished appearance.
Experiment with widths and colors until you find the combination that speaks to you.
Your creativity is the limit!
6) Create handmade embellishments using stamps
Making handmade embellishments with stamps is a fun way to personalize your scrapbook projects.
You can use any stamps you have, whether they’re themed or abstract.
Start by choosing the right ink for your stamps.
Consider using dye-based inks for bright colors or pigment inks for a more vibrant finish.
These inks can add life to your embellishments.
Next, think about your base materials.
You can stamp onto cardstock, vellum, or even patterned paper.
This will help create a unique texture and look for your embellishments.
Experiment with layering different stamp designs.
Stamps can be used to create borders or focal points.
Try combining various shapes and sizes to add depth to your scrapbook pages.
Once you’ve stamped your designs, cut them out carefully.
You can use these pieces as standalone embellishments or layer them with other decorative items like twine or buttons.
Don’t be afraid to get creative.
You can color your stamped images with markers or add glitter for a little sparkle.
This makes each piece special and suited to your custom gifts.
7) Add personal notes or quotes to pages
Adding personal notes or quotes to your scrapbook pages can elevate your gift significantly.
It makes the pages feel more intimate and meaningful.
Think about including handwritten notes.
Writing about your thoughts or feelings when the photo was taken adds a unique touch.
This personal insight can turn a simple page into a cherished memory.
Quotes can also enhance the emotional appeal of your pages.
Choose quotes that resonate with the theme or occasion.
For example, if you’re celebrating love, select a meaningful quote about relationships.
Mix and match letters or use fun stickers to create eye-catching titles.
A personalized title can draw attention and set the tone for the entire page.
Don’t shy away from playing with different fonts, sizes, and colors.
This flexibility allows you to add flair while still keeping it personal.
Ultimately, it’s your creativity and personal touch that will make these pages special.
Let your personality shine through every note and quote.
Use a heat embossing tool for shiny designs
Using a heat embossing tool can elevate your scrapbooking projects significantly.
This technique adds a glossy and professional finish to your designs, making them stand out.
To get started, gather your materials.
You will need embossing powder, embossing ink, and the heat tool itself.
The embossing powder comes in various colors and finishes, allowing you to customize your look.
First, apply the embossing ink to your desired area, like a stamp or a handwritten note.
This creates a sticky surface for the embossing powder to cling to.
Sprinkle the powder over the inked area and tap off the excess.
Next, grab your heat embossing tool.
Direct the heat onto the powder until it melts and forms a shiny layer.
Keep the tool moving to avoid scorching the paper.
This technique is perfect for embellishing cards or customizing gift tags.
The raised, shiny effect adds depth and texture, making your gifts even more special.
Enjoy experimenting with different colors and designs to find your unique style!
Explore different binding techniques

When creating custom gifts, experimenting with binding techniques can elevate your project.
Different methods can give your scrapbook a unique touch.
The pamphlet stitch is a great choice for beginners.
It’s simple: sew pages through the spine.
This technique is effective and allows for flexibility in design.
If you’re looking for something a bit more advanced, try the Japanese stab binding.
This method involves several holes punched along the spine, creating a beautiful pattern.
It’s not just functional; it adds a decorative element.
Another option is using binding glue.
This method allows for a smooth and clean finish.
Just make sure to choose the right type of glue for the materials you’re using.
For an industrial touch, staples can work well, especially for smaller projects.
They provide secure binding and are quick to apply.
You can also explore using binding machines.
These are excellent for creating multiple copies of your work quickly.
While less artisanal, they are practical for larger projects.
10) Make custom greeting cards as a gift
Creating custom greeting cards is a thoughtful way to show you care.
You can use scrapbook supplies like patterned paper, stamps, and stickers to design unique cards for any occasion.
Start with a blank card base.
Choose your favorite colors and patterns that resonate with the recipient.
Scoring the card can add texture, making it visually interesting.
You can personalize the message inside to make it extra special.
Handwritten notes add a personal touch that recipients appreciate.
Consider using techniques like adding crystal glaze to parts of your design for an eye-catching finish.
Don’t forget to use up any leftover scrapbook materials.
Even scraps can be transformed into beautiful elements for your cards.
This is a great way to ensure that nothing goes to waste.
Whether it’s for a birthday, holiday, or just a little “thinking of you,” your handmade cards will surely be cherished.
Enjoy the process and let your creativity shine!
Getting Started with Scrapbooking Techniques
Starting your scrapbooking journey is exciting and allows you to express your creativity.
Recognizing the essential tools and basic techniques will set you up for success as you design custom gifts for friends and family.
Essential Tools and Materials
Before diving into scrapbooking, gather your tools and materials.
Here’s a list to help you get started:
- Scrapbook Album: Choose a size that suits your project.
- Paper: Use patterned, textured, or solid cardstock.
- Adhesives: Have glue sticks, tape runners, or double-sided tape handy.
- Scissors and Trimmers: For precise cutting, consider decorative edge scissors.
- Embellishments: Stickers, washi tape, ribbons, and buttons add flair.
- Pens and Markers: Use acid-free ink for journaling and decoration.
Having the right supplies will make the process smoother and more enjoyable.
Don’t hesitate to explore different stores or online options for unique finds that resonate with your style.
Understanding Basic Techniques
Now that you have your supplies, familiarize yourself with some basic techniques.
Here are a few to consider:
-
Layering: Combine different papers and embellishments to create depth. Overlap elements for a fun visual effect.
-
Journaling: Add notes to your pages for context. Use your own handwriting to keep it personal.
-
Photo Placement: Choose the best angles and crop your images. Experiment with layouts before sticking everything down.
-
Creating Borders: Use scraps to frame photos or sections of your pages.
-
Mixing Media: Try combining paper with digital elements or mixed media like paint or fabric for a unique touch.
Experiment as you learn these techniques.
It’s all about having fun and discovering your style along the way!
Creative Gift Ideas Using Scrapbooking
Scrapbooking offers a fun and personal way to create memorable gifts.
By utilizing various techniques, you can turn simple materials into heartfelt keepsakes that friends and family will cherish.
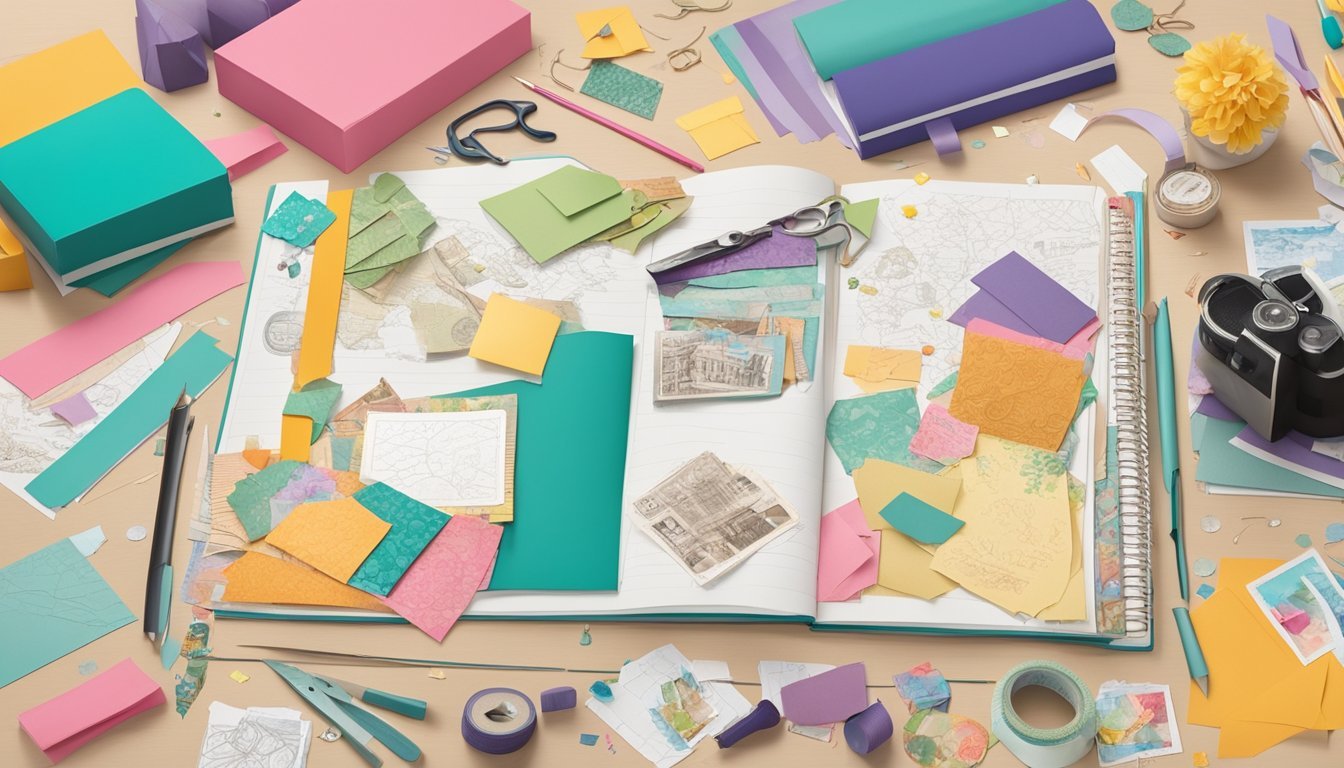
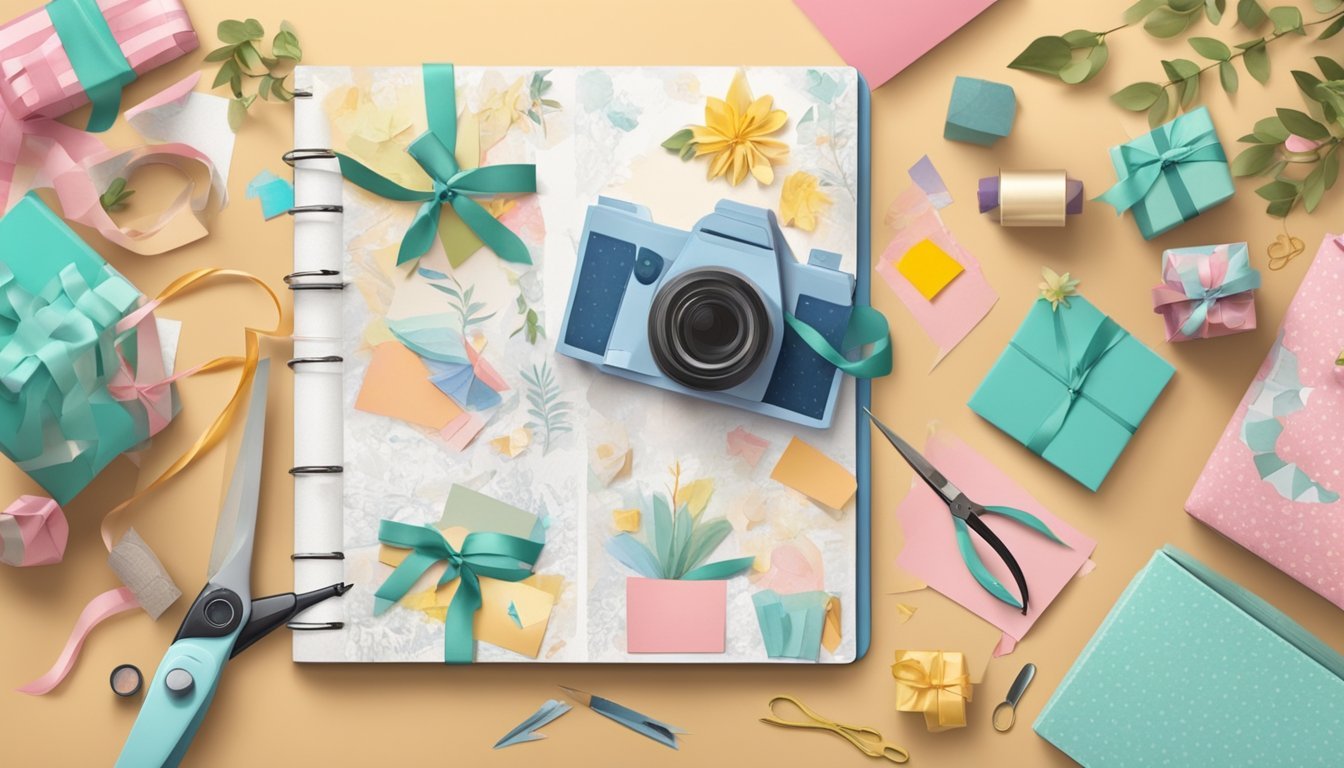
Personalized Photo Albums
Creating a personalized photo album is a wonderful way to celebrate special moments.
Start with a blank album and gather your favorite photos.
Add embellishments such as stickers, washi tape, or decorative papers that match the theme or occasion.
You can organize the album chronologically or by themes, like vacations or family gatherings.
Include handwritten notes or quotes to add a personal touch.
Consider using pressed flowers or dried leaves for an organic look.
This custom photo album becomes not just a collection of pictures but a beautiful storybook of memories.
Custom Greeting Cards
Personalized greeting cards are fantastic for any occasion, from birthdays to holidays.
Begin by selecting cardstock and decorative papers that suit your style.
Use techniques like stamping, die-cutting, or layering to make your card stand out.
Incorporate small elements like ribbons, buttons, or even pressed flowers for added texture.
Don’t forget to write a heartfelt message inside, making the card even more special.
You can create a whole set of cards to gift, ensuring the recipient has a unique card for any future occasion.
Memory Keepsake Boxes
A memory keepsake box is a perfect gift for someone who loves to hold onto their treasures.
Choose a sturdy box and decorate the exterior to reflect the recipient’s personality.
Inside, you can include smaller compartments for items like letters, photos, or mementos.
Use scrapbooking paper and embellishments to label each section, making it easy for them to curate their memories.
Personal touches could include a small album of photos or a handwritten note explaining the significance of certain items.
This thoughtful gift allows the recipient to enjoy their cherished memories in a beautifully organized way.