
Creating sculpted jewelry with polymer clay is a fun and rewarding craft.
You can express your creativity while making unique pieces that reflect your personal style. With the right techniques and tools, you can transform simple clay into stunning wearable art.

This medium is versatile and allows for a variety of designs, from intricate shapes to bold statements.
Whether you’re a beginner or an experienced crafter, learning to use polymer clay for jewelry can open up a world of possibilities.
You’ll discover how easy it is to incorporate different colors and textures into your designs.
Choosing the Right Polymer Clay Brand
When selecting polymer clay for your jewelry projects, brand matters.
Different brands offer various textures and flexibility levels.
Sculpey is a popular choice, especially Sculpey Original.
Sculpey Original is soft, pliable, and perfect for beginners.
You can easily shape and blend colors, which is great for making unique jewelry.
Another option is Sculpey III, but it’s softer and less durable.
It’s great for simple shapes but may not hold up well for intricate designs.
You might also want to consider Fimo, which has several variations for kids and professionals.
Fimo’s firm consistency can be advantageous for detailed work.
Kato Polyclay is also available, known for its strength and vibrant colors.
It’s less common but can give you a slightly different feel in your creations.
Ultimately, try a few brands to see which one suits your style and comfort level best.
Enjoy the process of experimenting with different clays to find your favorite!
Sculpey Premo Clay
Sculpey Premo clay is a great choice for sculpted jewelry.
It’s known for its flexibility and durability, making it perfect for intricate designs.
You can easily knead and shape it by hand or with a pasta machine.
When you’re ready to bake your creation, preheat your oven to 275 degrees Fahrenheit.
Bake it for 30 minutes for every 1/4 inch of thickness.
For best results, use a baking sheet lined with aluminum foil or wax paper.
After baking, let your pieces cool down.
This will help you avoid burns while ensuring your jewelry sets perfectly.
Premo also comes in a variety of colors, so you can mix and match to create unique looks.
Experimenting with Sculpey Premo can open up a world of creativity.
Enjoy the process and have fun with your designs!
Fimo Professional for Detailed Designs
Fimo Professional is an excellent choice for creating intricate jewelry designs.
Its firm texture makes it easier to control when crafting fine details, so you can get those delicate shapes just right.
Conditioning it can be a bit tricky, especially in warmer weather.
If you find it too hard to work with, mixing in some Fimo Soft can soften it up without losing stability.
This type of clay holds fine details well, making it ideal for adding textures and patterns.
You can also experiment with Fimo Effects for unique finishes, like pearlescent or translucent looks.
When using Fimo Professional, remember to adjust your baking temperature if you mix different brands.
This ensures everything cures perfectly without compromising your detailed work.
Have fun exploring the possibilities!
4) How to Condition Your Clay
Conditioning your polymer clay is essential for achieving the best results.
It makes the clay easier to work with and helps prevent cracking while sculpting.
Start with a small piece of clay, about one-fourth of a block.
Roll it in your hands back and forth.
This warms it up and smooths the edges.
As you work, you can also press the clay using a rolling pin or a clay press for an even texture.
Knead it thoroughly to ensure all parts are soft and pliable.
If your clay feels too stiff, you might want to incorporate a bit of clay softener.
This can help reach the right consistency faster.
You’ll know the clay is conditioned when it becomes soft to the touch and no longer crumbles.
Taking the time to condition properly will make your jewelry-making experience much smoother.
5) Baking Clay for Perfect Curing
Baking polymer clay is a crucial step to ensure your jewelry turns out right.
Start by checking the recommended temperature for your specific clay brand.
Most common brands suggest baking between 265°F (130°C) and 275°F (135°C).
Prepare your baking setup.
Place a piece of parchment paper on a ceramic tile in an aluminum pan.
This helps distribute heat evenly and prevents sticking.
When you’re ready to bake, put your clay pieces on the parchment.
Ensure they’re spaced out to avoid touching during the baking process.
Time is also essential.
Bake for about 30 minutes per 1/4 inch thickness of clay.
Make sure to set a timer so you don’t forget!
After baking, let the clay cool completely before handling.
This can help prevent breakage and ensure your jewelry maintains its shape.
Using the right temperature and timing will help you achieve beautifully cured polymer clay jewelry every time.
Happy crafting!
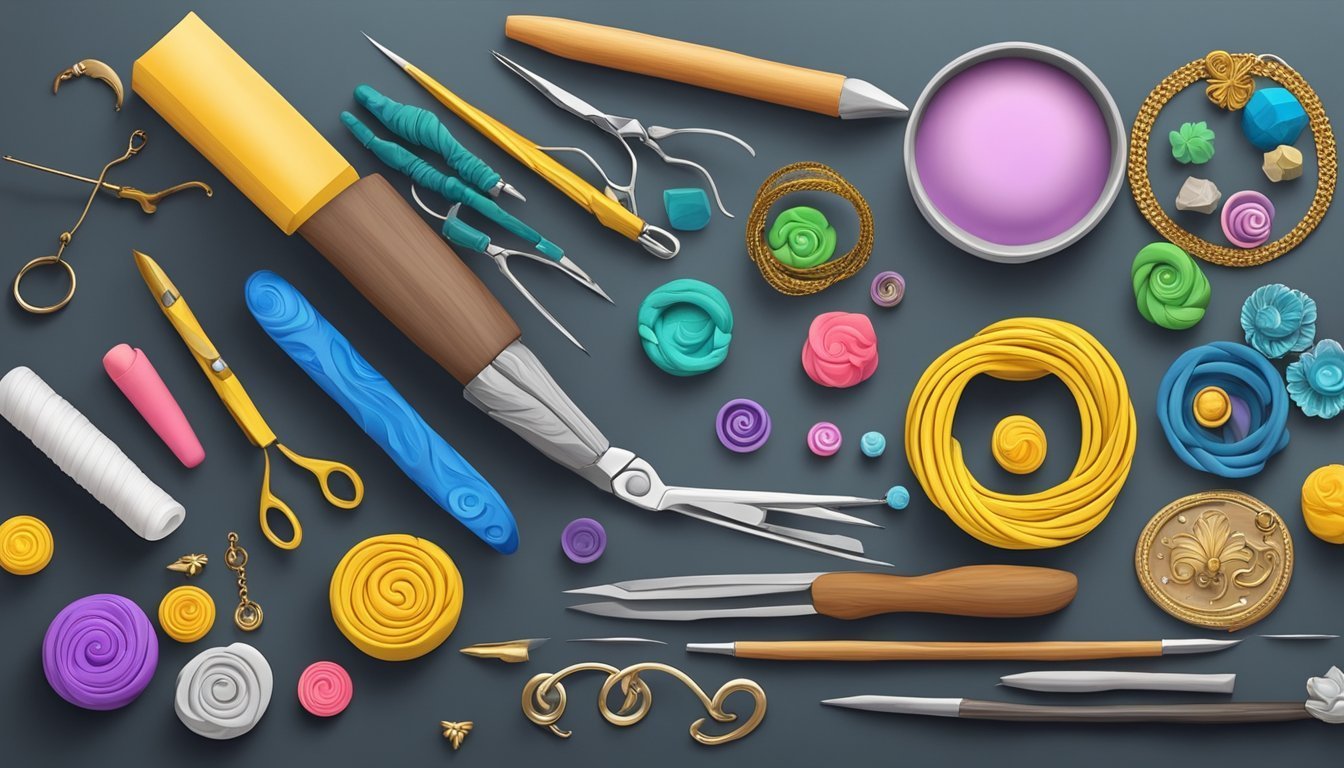
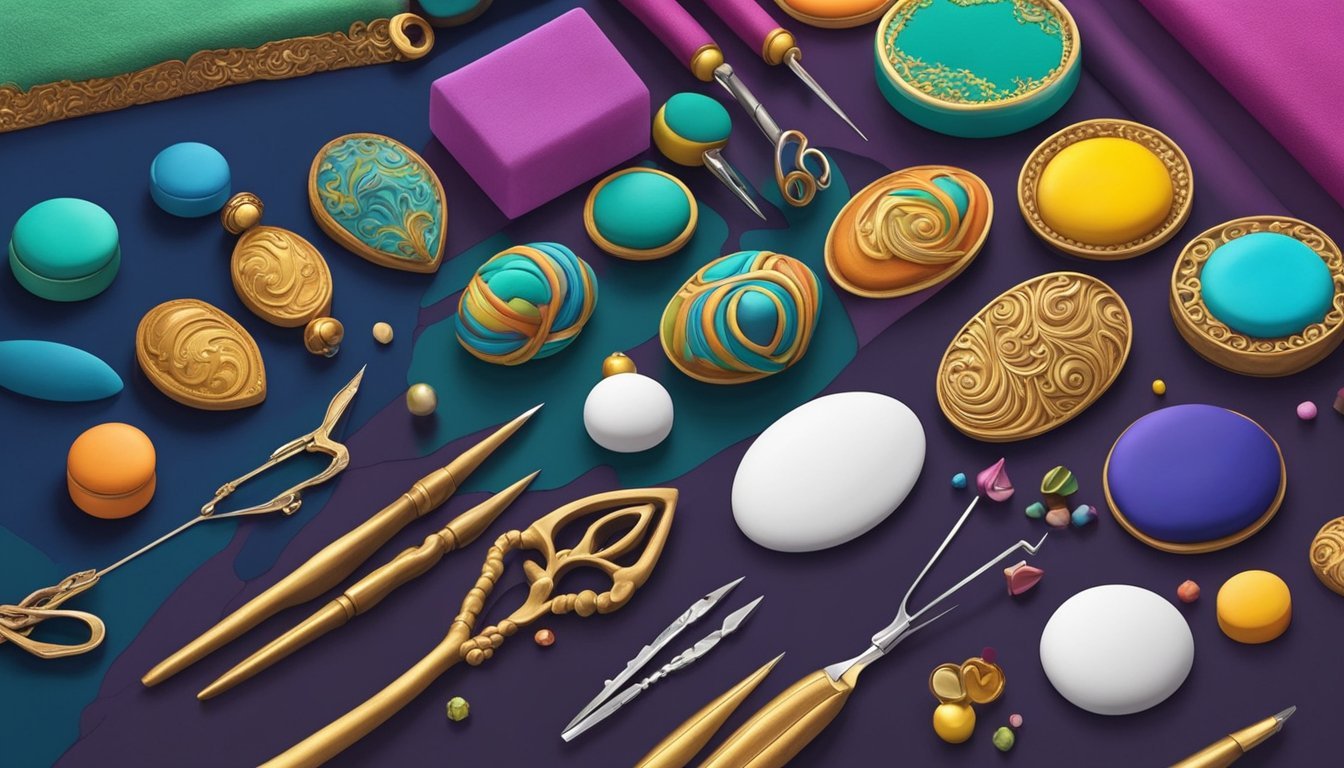
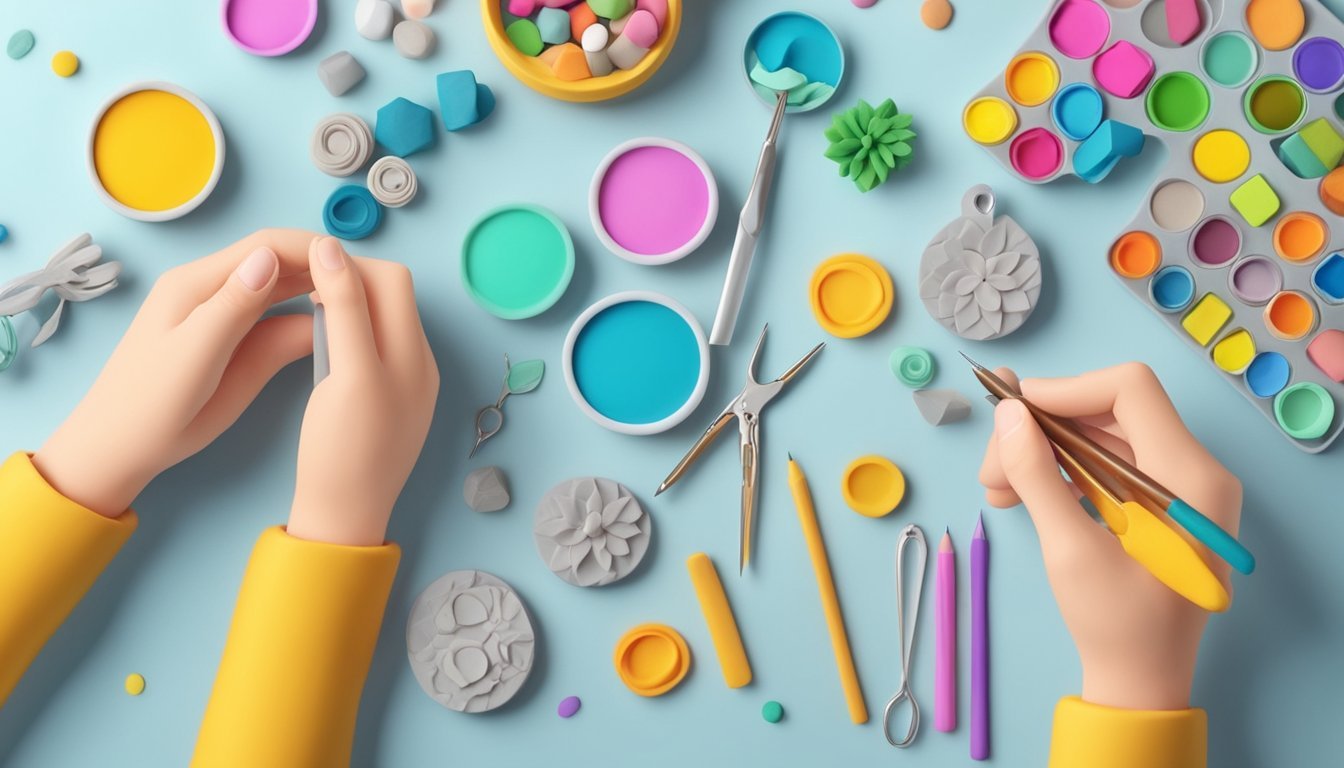
6) Best Tools for Precision Shaping
When you’re working with polymer clay, having the right tools makes a big difference.
Here are some essentials for precision shaping.
A sharp knife tool is vital.
It helps you cut through clay sheets and add details to your designs.
A clean, sharp edge ensures you achieve the shapes you want without distortion.
Clay cutters are another must-have.
They come in various shapes and sizes.
Using them will help you create precise edges and maintain the integrity of your design.
An acrylic roller is great for creating a smooth, flat surface.
It prevents roller marks and keeps the clay from sticking, which is key for even thickness.
Also, consider investing in a set of sculpting tools.
They often feature different tips that can be used to add texture or detail to your pieces.
Lastly, don’t forget a spoon! While not a shaping tool per se, it keeps your workspace clean.
Plus, it’s handy for snacking while you work!
With these tools, you’ll have everything you need to shape your polymer clay jewelry like a pro.
7) Adding Texture with Household Items
Adding texture to your polymer clay jewelry can elevate your designs.
You don’t need fancy tools—everyday household items work just as well.
Start by rolling out your clay to a uniform thickness.
You want a smooth surface to apply textures without cracks.
Use a hex key or Allen key.
Press it into the clay to create a honeycomb texture.
Space the impressions evenly for a neat look.
Try using items like forks or combs to add lines or patterns.
Simply drag the tool across the surface, and you’ll see cool designs emerge.
Stamps can also be a great option.
Press a stamp into the clay to create unique prints.
This adds a personal touch to each piece.
Don’t be afraid to experiment.
Items like leaves, fabric, or textured paper can provide interesting effects.
Just press them into the clay and lift away.
Once you’re satisfied with the texture, you can bake your jewelry as usual.
The added dimension will give your pieces a professional finish.
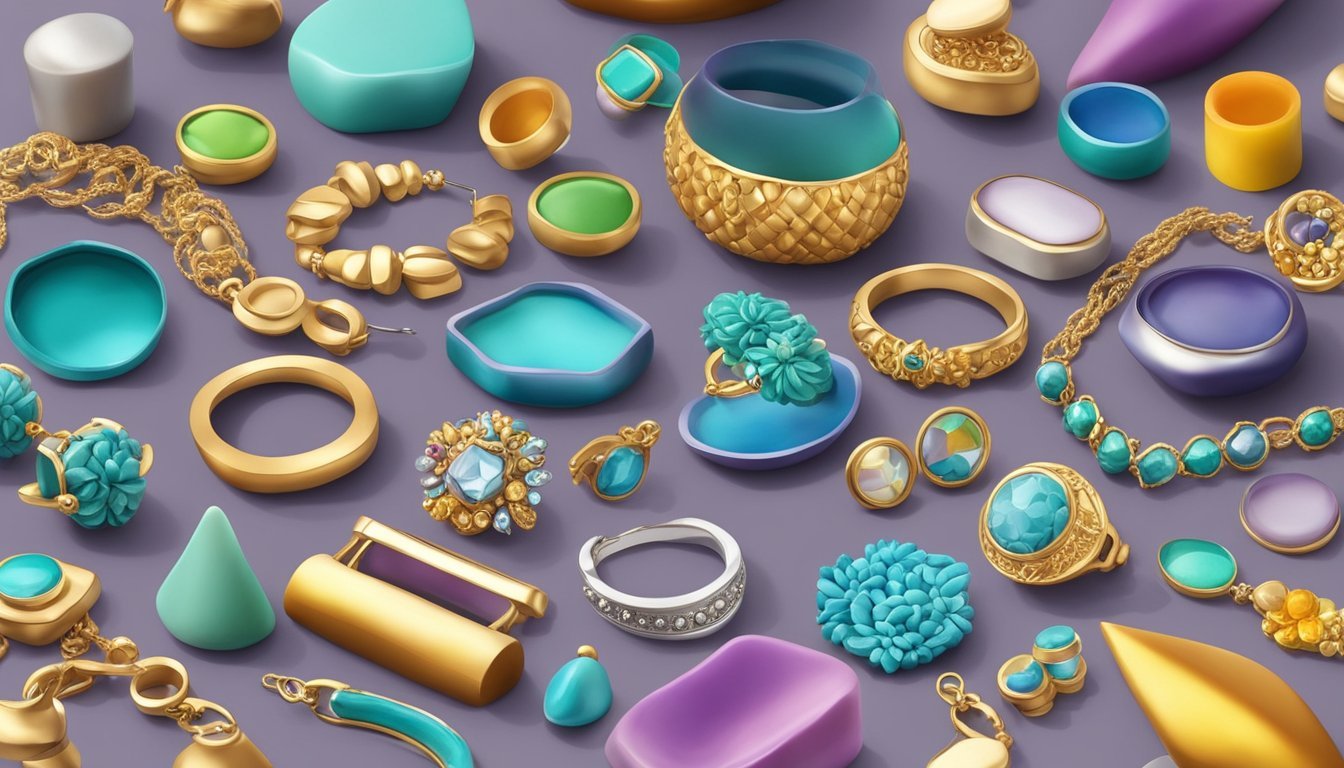
Creating Cabochons for Jewelry
Making cabochons from polymer clay is a fun and creative way to enhance your jewelry pieces.
You can shape them in various sizes and styles, making them perfect for rings, earrings, or pendants.
Start by conditioning your polymer clay until it’s soft and pliable.
Then roll it into a ball and gently press it to form a flat disc.
This will be the base of your cabochon.
To add depth and color, layer different clay colors.
You can either blend them together or create patterns.
Use tools or your fingers to shape the edges and smooth out any imperfections.
Once you’re satisfied with the shape, preheat your oven according to the clay package instructions.
Typically, you’ll bake your cabochons for around 30 minutes per 1/4 inch of thickness.
After baking, let them cool completely.
Once cool, you can embellish your cabochons with paint or varnish for extra flair.
Use them to create beautiful jewelry pieces that reflect your personal style.
Enjoy the process, and don’t be afraid to experiment!
Making Polymer Clay Beads
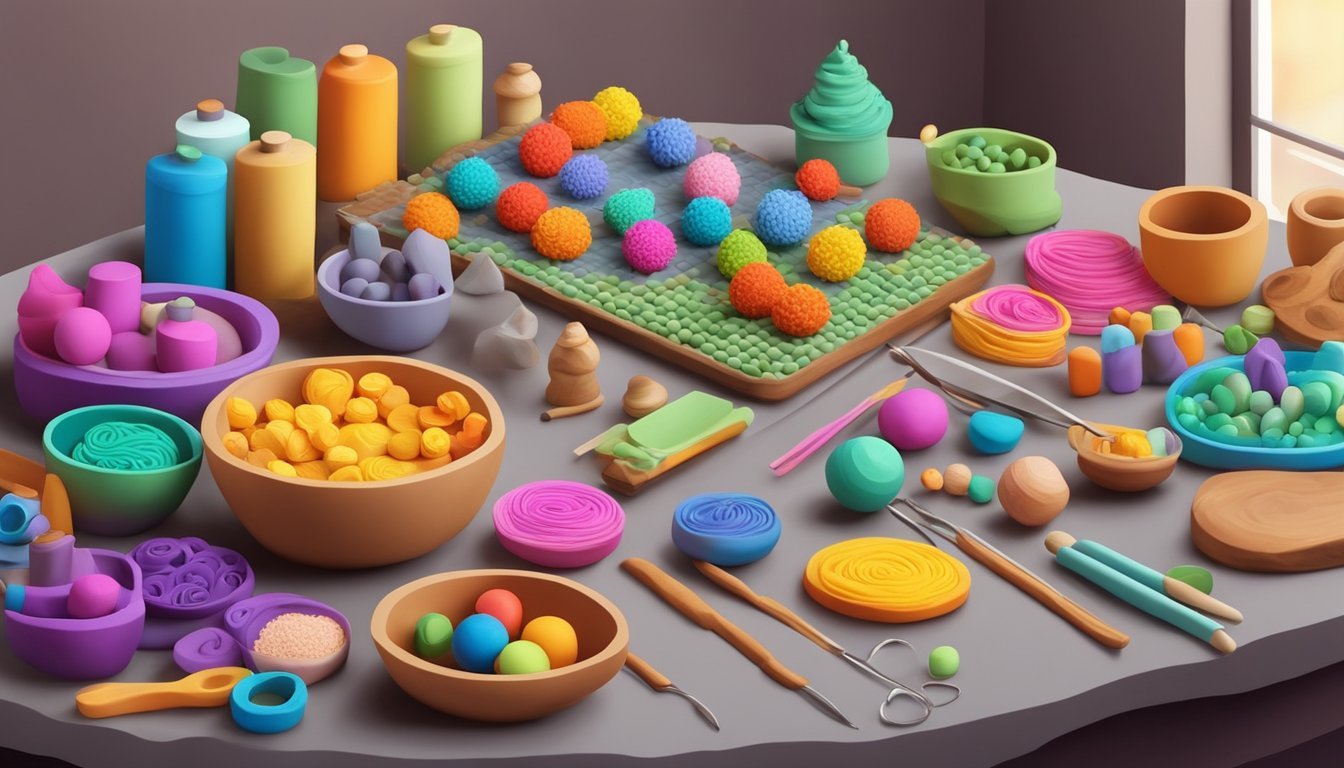
Creating polymer clay beads is a fun and straightforward process.
You can customize the colors and shapes to fit your style.
Start by conditioning your clay.
This helps it become more pliable.
Roll out a flat sheet of your chosen color on a smooth surface.
Use a cookie cutter or a similar tool to cut out circles.
The thickness can vary based on your preference.
You can make small or large beads; it’s entirely up to you!
Once you have your circles, fold one in half.
This action sets the foundation for the bead’s shape.
Roll it gently between your hands to smooth out any seams.
If you want to add more visual interest, consider combining different colors of clay.
You can create layered or marbled effects by mixing them together.
For added details, use tools like a knitting needle to poke holes for stringing.
This lets you create unique jewelry pieces that reflect your personality.
Bake your beads according to the clay package instructions to harden them.
After cooling, they’ll be ready for assembly into necklaces or bracelets.
Enjoy crafting your one-of-a-kind creations!
10) Glaze Options for a Shiny Finish
Adding a glaze to your polymer clay jewelry can give it a beautiful, shiny finish.
There are several options you can consider to achieve this look.
One popular choice is to use clear gloss glazes.
These glazes can provide a smooth, shiny surface that enhances colors.
You can brush them on, wipe them, or even apply them by dipping your piece.
Another approach is sanding and buffing the clay.
Start by sanding your piece gently and then use a buffing tool for a high-gloss shine.
This method may take a bit longer but can yield great results.
If you’re in the mood for something different, UV resin cuts down on drying time.
Just make sure to have the right UV lamp to cure the resin.
You might also try liquid acrylic mediums or PVA glues, which can be watered down for application.
Each of these options will give a unique finish, so experiment to find what works best for your jewelry style.
Choosing the Right Polymer Clay
When you’re getting started with sculpted jewelry, selecting the right polymer clay is crucial.
Different types of clay offer distinct qualities that can impact your project.
Additionally, understanding safety and handling tips will ensure a smooth crafting experience.
Types of Polymer Clay
There are several types of polymer clay to choose from, each suitable for various projects.
Here are a few popular options:
-
Sculpey III®: This clay is beginner-friendly and comes in a wide range of colors. It’s easy to work with but may be less durable after baking, making it suitable for lightweight pieces.
-
Sculpey Soufflé™: Known for its flexibility, this clay maintains some softness after baking. It’s ideal for jewelry that may require a bit of bending.
-
Fimo® Professional: This brand is known for its strong, durable finish. It requires more conditioning but is excellent for intricate details in your designs.
Consider your specific project needs and choose accordingly.
Safety and Handling Tips
Handling polymer clay safely is important for your well-being and the quality of your work.
Here are some essential tips:
-
Work Surface: Use a clean, non-porous surface to prevent sticking. A ceramic tile or glass workbench is a good choice.
-
Conditioning: Always condition your clay before use. This makes it more pliable and easier to mold, ensuring a smoother application.
-
Avoid Inhalation: While polymer clay is generally safe, avoid inhaling dust from sanding or cutting. Use appropriate masks if necessary.
-
Baking Safety: Follow the manufacturer’s guidelines on baking temperature and time. Use a dedicated oven or toaster for clay projects to avoid contamination with food.
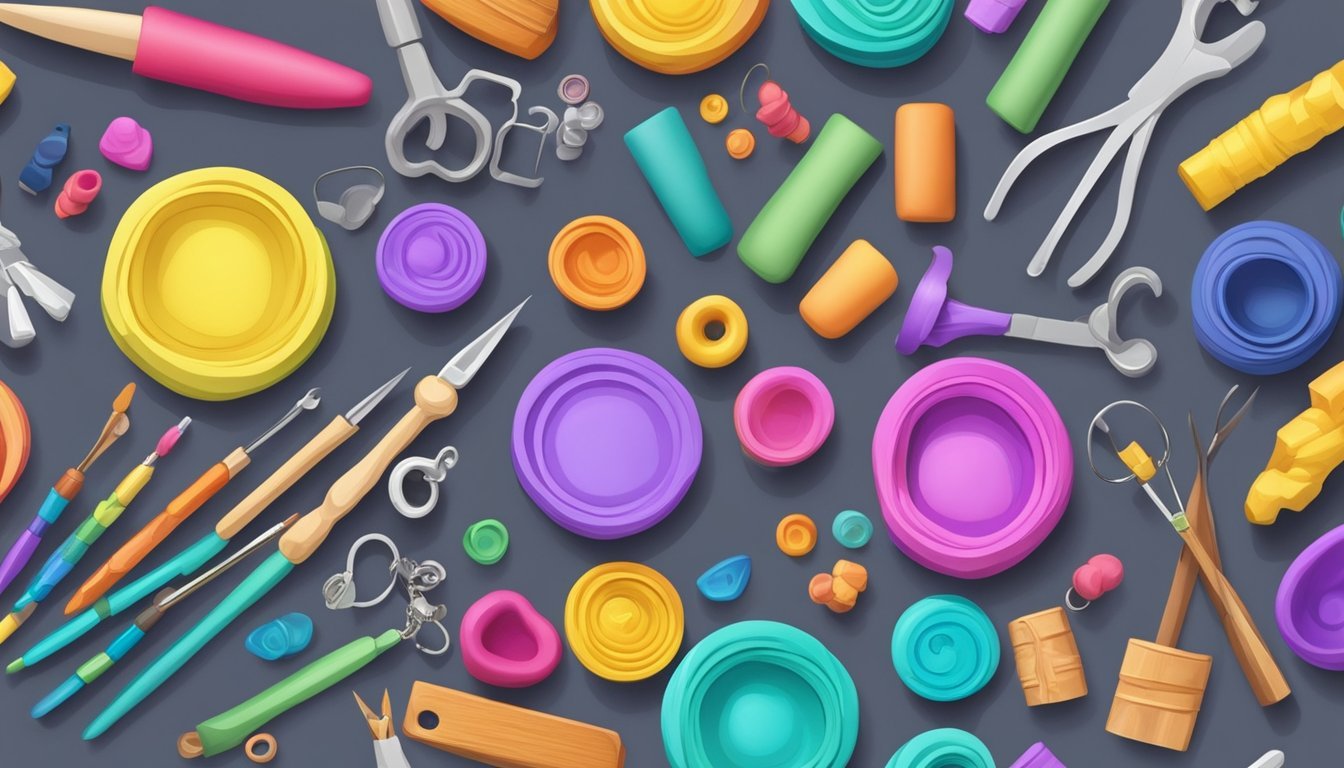
Sculpting Basics
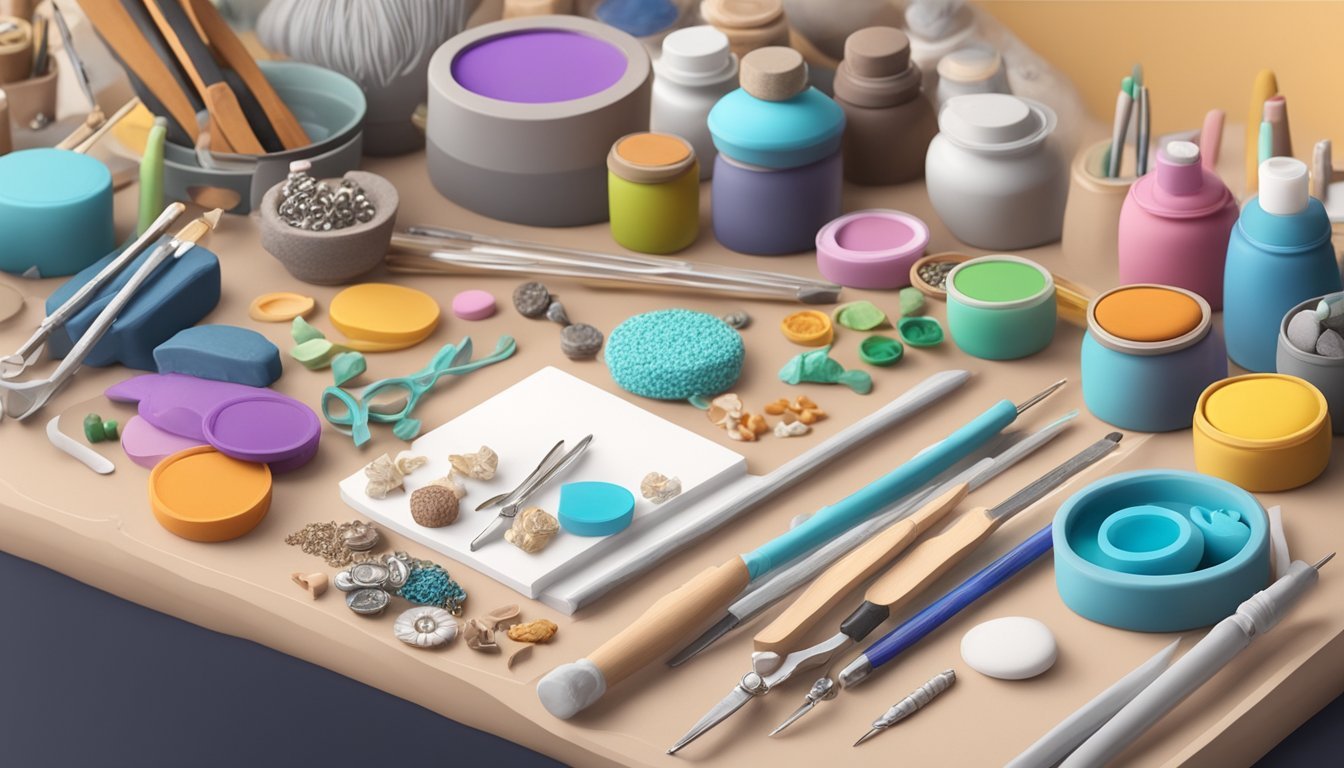
When starting with polymer clay, getting familiar with the right tools and techniques is essential.
Understanding what you need to shape and texture your creations will significantly enhance your sculpting experience.
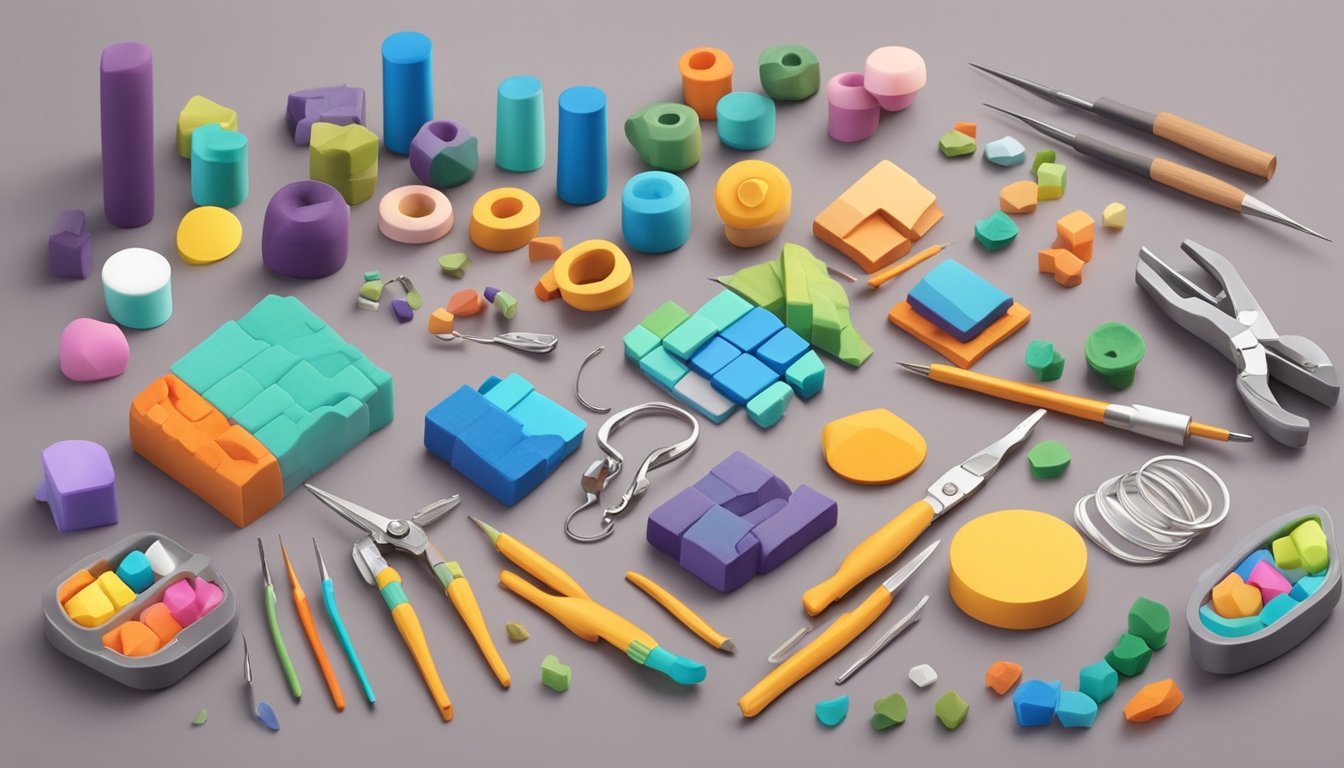
Essential Tools for Sculpting
Before diving into your project, gather some basic tools.
Here’s a list of must-haves:
- Clay Knife: Great for cutting and shaping.
- Ball Tools: Perfect for smoothing and creating indentations.
- Rib Tools: Useful for refining surface textures.
- Needle Tool: Excellent for detailing or adding fine lines.
- Sculpey Tools: A variety of specific sculpting tools can enhance your crafting.
These tools will make your sculpting smoother and more enjoyable.
As you work with polymer clay, you may find additional tools that suit your style.
Techniques for Shaping and Texturing
When sculpting with polymer clay, you can use a few primary techniques for shaping and adding details.
Here are some key methods:
- Pinching and Rolling: Start by pinching pieces of clay into desired shapes. Rolling can help create uniform spheres or cylinders.
- Layering: Combine different colors or pieces to achieve depth and interest.
- Stamping and Molding: Use stamps and molds to create textures easily.
Don’t forget to bake your clay according to the manufacturer’s instructions.
Proper techniques ensure your pieces will hold their shape and color after baking, making your jewelry projects more durable.