
Creating your own stencils for painting can open up a world of artistic possibilities. With the right materials and a bit of creativity, you can easily design custom stencils that add a personal touch to your projects.
Whether you want to spruce up a room, craft unique gifts, or just have some fun with paint, stencils are a great way to express your style.

The process is straightforward and requires minimal supplies, making it accessible for both beginners and experienced artists.
You’ll discover that making your own stencils not only saves money but also allows you to create designs that perfectly fit your vision.
Choose Your Design
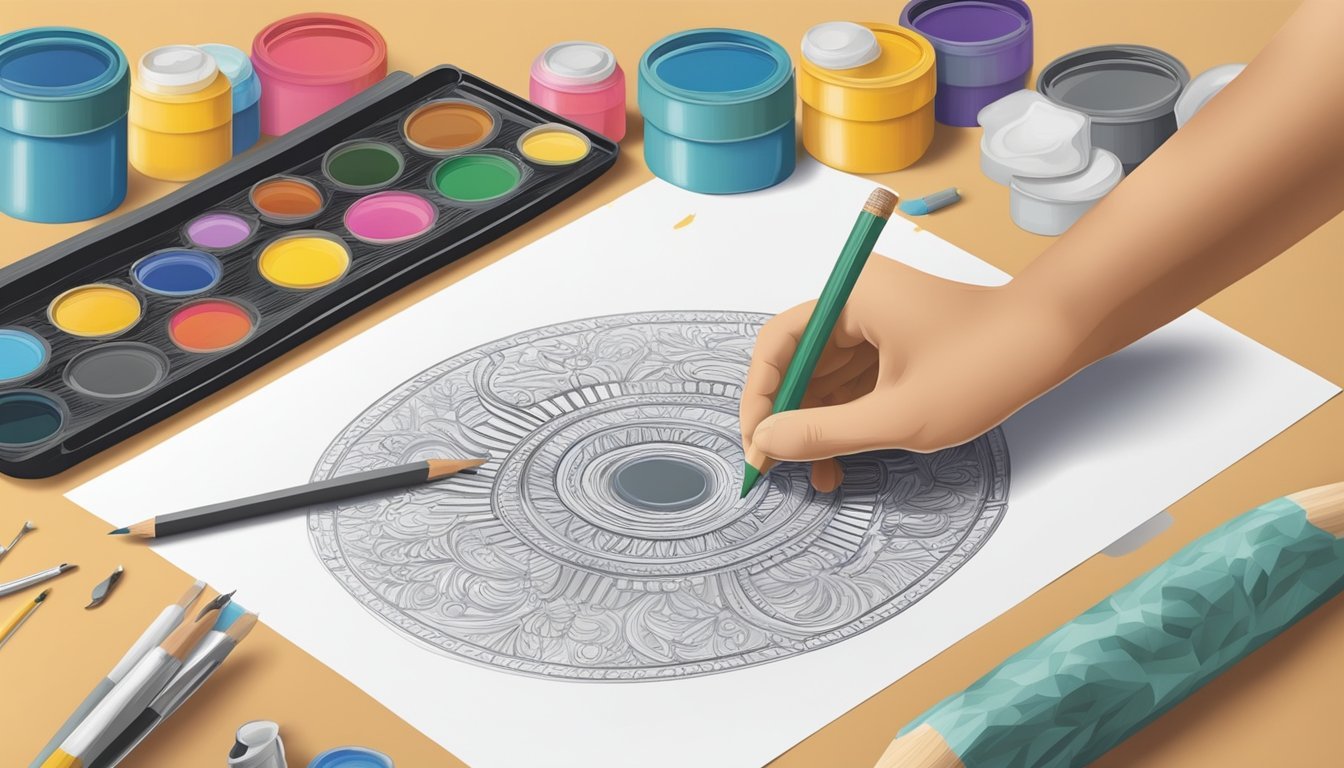
When creating stencils for painting, picking the right design is key.
Think about what you want to express in your artwork.
Simple shapes and bold outlines usually work best.
Sketch out a few ideas.
It doesn’t have to be perfect; just get your creative juices flowing.
If you’re stuck, look online for inspiration.
There are tons of designs available that can spark some new ideas.
Consider the size of your stencil.
Larger designs can cover more area while smaller ones allow for more detail in your work.
Make sure the design fits well with your project’s overall aesthetic.
Once you have a design in mind, you can either draw it freehand or print it out to use as a guide.
If you choose to print, remember to adjust the size beforehand.
Lastly, think about using tools to help create your stencil if you want to go digital.
There are many programs and apps that can convert your designs into stencil-friendly formats.
Have fun with the process!
Gather Supplies
To create your own stencils for painting, gather some basic supplies.
You will need a sturdy material like Mylar, plastic sheets, or thick cardstock.
These materials hold up well and can be reused for multiple projects.
Next, grab some tools.
A sharp cutting tool, such as an X-Acto knife, is essential for precision.
You might also want scissors for cutting larger pieces.
Don’t forget about markers.
A fine tip marker helps you trace your design onto the stencil material clearly.
You’ll also need masking tape.
This comes in handy for securing your stencil while you cut or paint.
Finally, have some acrylic paint ready for your project.
Choose colors that fit your vision.
With these supplies in hand, you’re ready to get started on your stencil-making adventure!
3) Trace Onto Stencil Paper

Once you have your design ready, it’s time to transfer it onto stencil paper.
Start by placing your stencil paper over the design template.
Secure it with a bit of tape to prevent it from moving.
You want to make sure every part of your design is visible and clear.
Using a fine-tip marker, carefully trace the outlines of your design.
Take your time to ensure accuracy, especially with intricate details.
If you make a mistake, don’t worry.
You can always start over on a fresh piece of stencil paper.
For better results, use sturdy stencil paper or plastic sheets.
This will help your stencil last longer and make it easier to paint.
Once you’ve finished tracing, it’s ready for cutting.
Use a sharp craft knife to follow the traced lines precisely.
This will help create sharp edges in your final stencil design.
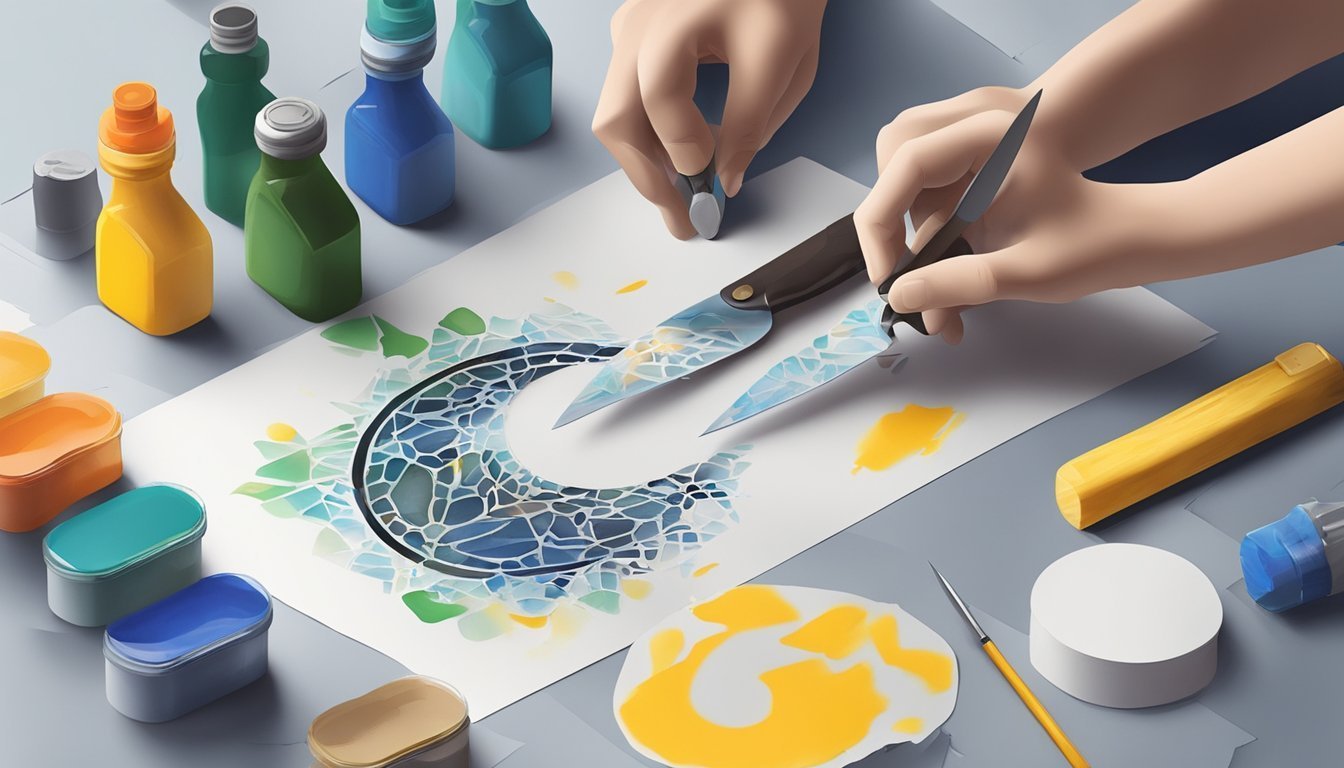
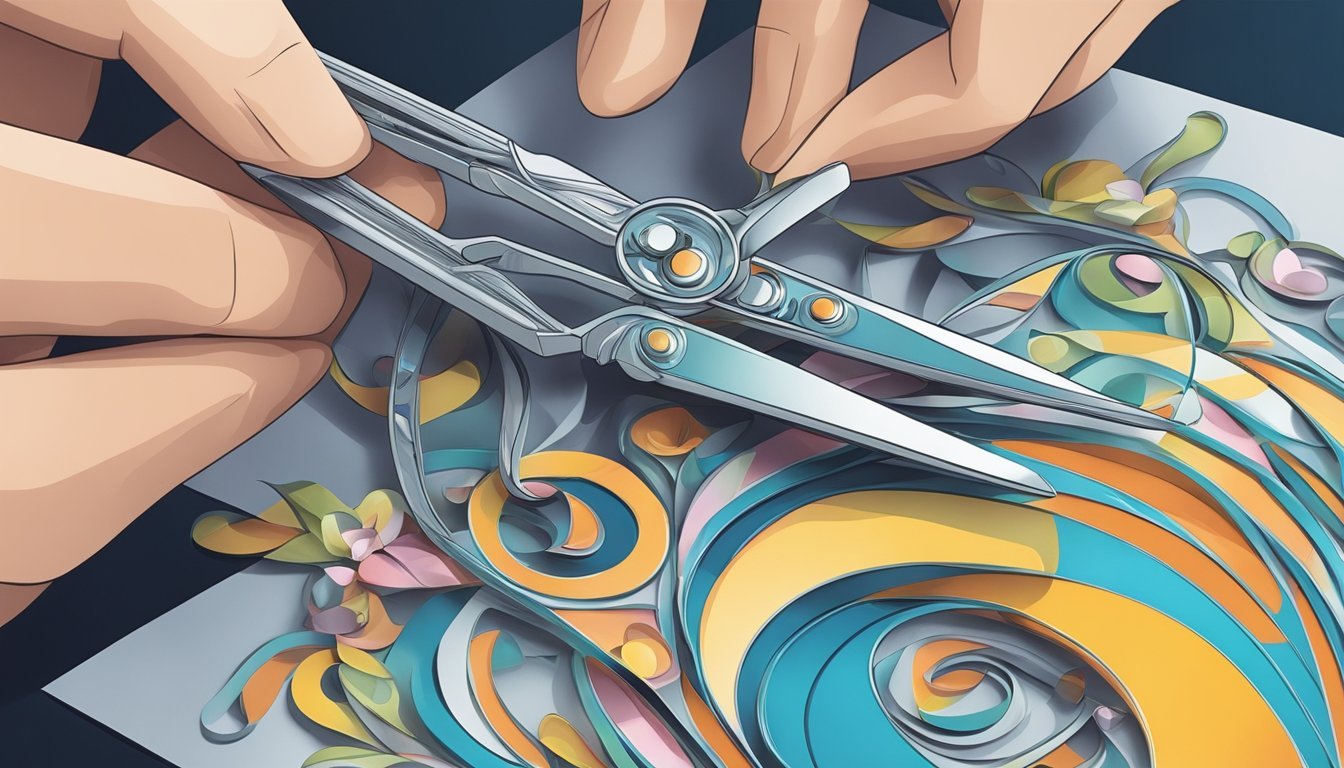
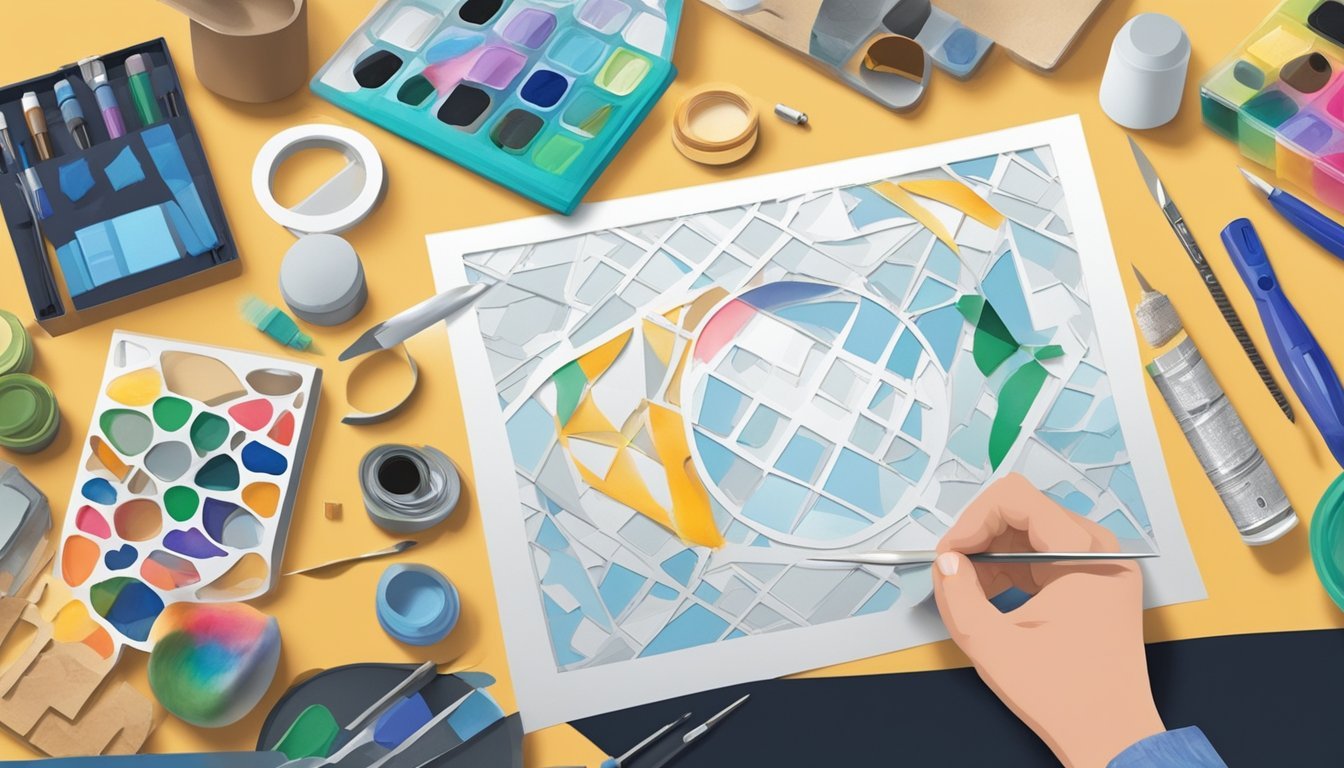
Cut Out Your Design

Once you have your stencil design ready, it’s time to cut it out.
Start by securing your design onto your stencil material with tape to keep it steady while you work.
Use a precision knife, like an X-Acto knife, for the best results.
Make sure the blade is sharp to avoid tearing the material.
This will help you make clean lines.
If your design has straight edges, a ruler can be useful.
It keeps your cuts straight and neat.
For intricate designs, take your time.
Carefully carve out each detail to ensure everything comes out just right.
When cutting, start at the corners of your design.
This helps reduce the risk of over-cutting.
Work slowly and methodically for the best outcome.
Once you’ve finished, gently remove your stencil from the material.
Check for any rough edges or pieces that need trimming before you start painting.
A well-cut stencil will give you a clean, sharp design on your project.
Enjoy the process!
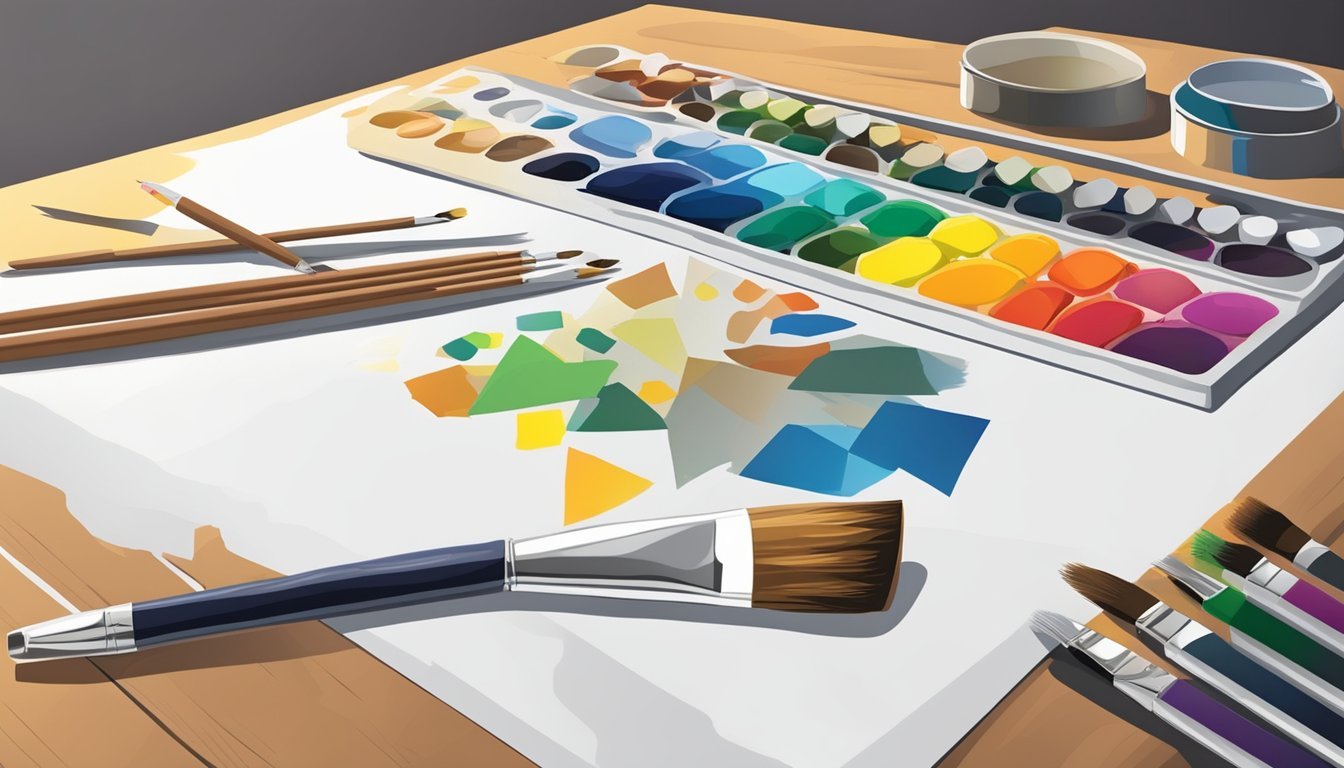
5) Select Paints
Choosing the right paint is crucial for your stencil project.
You want colors that will pop and last.
Acrylic paint is a popular choice because it’s versatile and easy to work with.
Consider the surface you’re painting on.
For fabric, use fabric paint, while spray paint is suitable for outdoor projects.
Make sure the paint has good coverage to avoid multiple layers.
Testing the paint on a scrap piece is wise.
This way, you can see how it adheres and how the color looks once dry.
Different paints can react differently with your stencil material, so testing saves you time and effort.
If you’re going for a more textured look, you might experiment with specialty paints like metallic or glitter.
These can add a fun twist to your design.
Just keep in mind that some specialty paints might require a sealer to prevent chipping.
Lastly, don’t forget tools like brushes or sponges which can influence the final look.
Each application method changes how the paint interacts with the stencil.
Choose the one that best suits your style and project needs.
6) Prepare Your Surface
Before you start painting with your stencil, it’s important to get your surface ready.
A clean surface ensures your paint adheres well and gives a nice finish.
Start by cleaning the area where you’ll work.
Remove any dust, dirt, or grease.
You can use a damp cloth for this, but make sure to let it dry completely before proceeding.
Check the texture of your surface.
If it’s very rough, consider sanding it down a bit.
A smoother surface helps achieve cleaner lines when you stencil.
If you’re working on a painted wall or a wooden surface, ensure that any old paint is intact.
Peeling or flaking paint can disrupt your design.
For extra precaution, you might want to lay down a drop cloth to protect the surrounding areas from accidental paint splatters.
Getting your surface right sets you up for a successful stenciling experience, so take the time to do it well!
7) Secure The Stencil
To start painting with your stencil, it’s crucial to secure it properly.
You don’t want the stencil moving around while you’re trying to paint, as this can create messy edges.
Use painter’s tape to attach the stencil to your surface.
Make sure to press down on the tape to keep it from lifting.
This will help maintain crisp lines when you apply your paint.
If you’re working on a textured surface, consider using a heavier adhesive or a repositionable spray adhesive.
This can help the stencil sit firmly against the surface without any gaps.
Remember to check the alignment of your stencil before you start.
A slight misalignment can throw off your design, so take a moment to ensure it looks good.
Once everything is secure, you can confidently move on to applying paint without worrying about the stencil shifting.
Enjoy the process and get creative!
8) Apply Paint Evenly
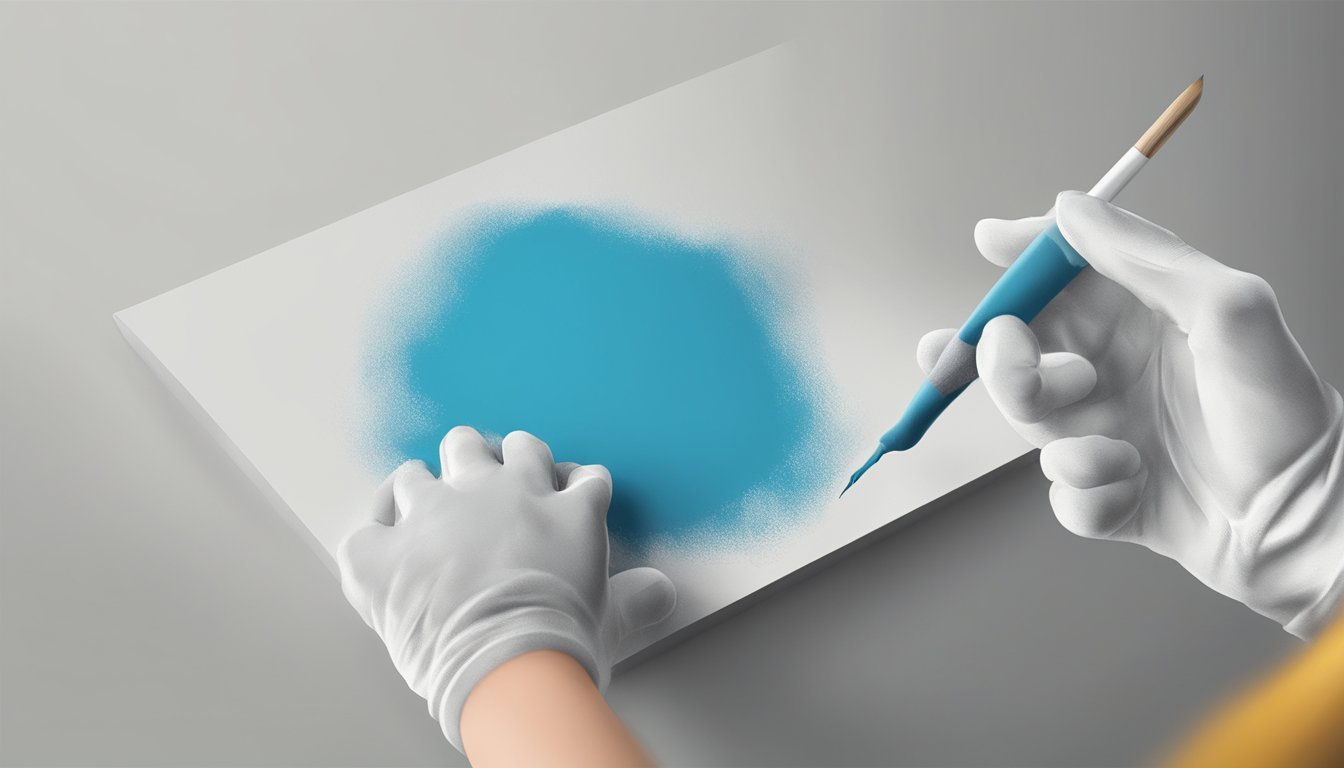
Getting your paint on evenly is key to a great stencil result.
Start by choosing the right brush or sponge.
A stencil brush works well, as does a foam sponge for larger areas.
Before applying paint, dip your brush or sponge into the paint.
Make sure to remove excess paint by dabbing it on a paper towel.
This step prevents drips and keeps your lines clean.
When you’re ready, lightly tap the brush or sponge onto the stencil.
Avoid harsh strokes; instead, use a gentle pouncing motion.
This technique helps the paint seep through the stencil without flooding it.
For larger designs, work in sections.
Apply a thin layer of paint, and let it dry before adding more if necessary.
Layering gradually gives you better control over the color intensity.
If you notice any bleeding or smudging, you can touch it up with a fine brush after the paint dries.
Patience during this process pays off with crisp, clean edges.
9) Let It Dry
After you’ve finished painting with your stencil, it’s important to let everything dry properly.
Rushing this step can lead to smudged designs.
Typically, it’s best to wait at least 24 hours for the paint to dry completely.
This helps ensure that the colors set well and won’t smear when you remove the stencil.
If you’ve used a spray sealer, remember it needs time to cure too.
A thin, even layer works best, and you can use a clean brush or a spray method to apply it.
Don’t forget to check the manufacturer’s recommendations for the specific paint or sealer.
Waiting for the right amount of time can make a big difference in the quality of your work.
So, walk away, grab a snack, and come back when everything’s good and dry.
Your patience will pay off with a clean and crisp stencil result!
10) Remove The Stencil Carefully

Once your paint is dry, it’s time to remove the stencil.
Start at one corner and gently lift the stencil away from the surface.
Pull it up slowly to avoid smudging or tearing the design.
If you notice any resistance, it’s best to stop and make sure the paint is fully dry.
Using a craft knife can help if you need to free edges that are stuck.
This step is crucial to maintain the integrity of your design.
Be mindful of the paint underneath as you pull away the stencil.
A steady hand helps prevent any unintentional marks from ruining your work.
After removing the stencil, check for any touch-ups needed.
A small brush can help fix any minor imperfections left behind.
Enjoy the clean lines and beautiful finish you’ve created!
Choosing the Right Materials
Selecting the right materials is essential for creating effective and durable stencils.
Knowing your options for stencil paper and the tools you’ll need can significantly enhance your stenciling experience.
Types of Stencil Paper
When it comes to stencil paper, you have several options.
Some popular choices include:
-
Mylar: This strong, reusable plastic material is popular for its durability. It’s perfect for detailed designs and stands up well to paint.
-
Freezer Paper: A budget-friendly option, freezer paper can easily be found at grocery stores. It has a plastic side that helps prevent paint from bleeding, making it suitable for one-time use.
-
Cardstock: Heavyweight cardstock is great for beginners. While not as durable as Mylar, it can handle paint well and is easily available.
-
Transparent Film: This allows for tracing your designs onto surfaces, offering versatility for layering.
Choosing the right material depends on your project needs, frequency of use, and budget.
Essential Tools Needed
Alongside your stencil paper, certain tools can make the process smoother.
Here’s a list of essentials:
-
Craft Knife: A sharp craft knife is crucial for cutting out your stencil designs. Precision is key, so invest in a high-quality knife that feels comfortable in your hand.
-
Cutting Mat: This protects your workspace and ensures clean cuts. Look for a self-healing cutting mat for best results.
-
Ruler: A sturdy ruler helps create straight lines and neat edges, which is particularly useful for geometric designs.
-
Pencil: Use a fine pencil to sketch your design before cutting. This allows for easy adjustments.
With the right materials and tools, you can easily create stencils that suit your artistic needs.
Designing Your Stencil
Creating an effective stencil design is essential for achieving the desired look in your painting project.
You can either use design software for precision or rely on your creativity with freehand drawing techniques.
Using Design Software
Design software offers very precise tools for creating stencils.
Programs like Adobe Illustrator or free alternatives such as Inkscape allow you to design your stencil digitally.
-
Choose a Simple Design: Opt for clear shapes that are easy to cut out. Complex designs may not hold together well.
-
Scale and Size: Adjust the size according to your project. It’s best to keep your dimensions proportional to the surface you plan to paint.
-
Exporting: Once happy with your design, export it as a vector file. This format ensures quality even if you resize it later.
-
Cutting Paths: Use the software’s cutting tools to indicate where you want to cut. This will help when transferring the design to your stencil material.
Freehand Drawing Techniques
If you prefer a more hands-on approach, freehand drawing can be just as effective.
It allows for a personal touch that reflects your unique style.
-
Start with a Basic Outline: Use a pencil to sketch your design lightly on sturdy paper or plastic. Keep it simple; intricate details can be hard to cut.
-
Use a Ruler: For straight lines and geometric shapes, employ a ruler to ensure precision.
-
Refinement: Once you’re satisfied with your outline, go over it with a darker marker or pen for clarity.
-
Transfer to Material: Tape your drawing onto your chosen stencil material. Use a sharp craft knife to carefully cut along your lines.
This method enhances your creativity and results in a stencil that’s uniquely yours.