Creating custom patterns for embroidery allows you to add a personal touch to your projects, making them truly unique. By learning how to design your own patterns, you can unleash your creativity and craft pieces that reflect your style and vision.
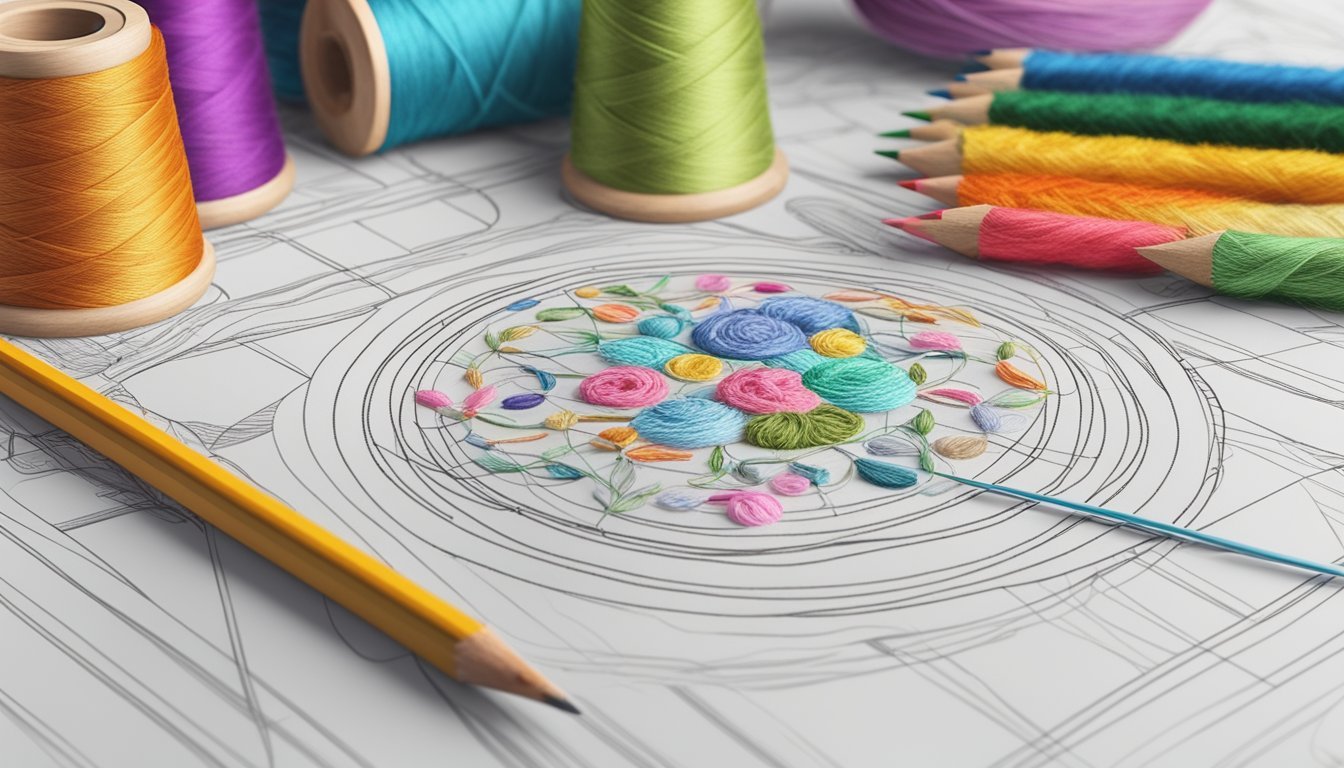
Whether you’re a seasoned embroiderer or just starting, the process can be simple and fun.
With accessible tools and techniques, you can transform your ideas into beautiful designs that elevate your embroidery game.
Choose Fabric and Thread Colors
Choosing the right fabric and thread colors is key to your embroidery project.
Start by selecting a fabric that suits your design.
Cotton, linen, and canvas are popular choices because they handle embroidery well.
Next, consider your thread colors.
You might create a monochromatic scheme using different shades of the same color.
This provides a cohesive look and adds depth to your work.
Think about contrast too.
If your thread and fabric are too similar in value, your design can lose detail.
Aim for a mix of light and dark shades to create visual interest.
You can also explore complementary colors, which are opposite each other on the color wheel.
These combinations can make your design pop and catch the eye.
Take your time to play with different color combinations.
Test some swatches to see how they look together before committing.
This exploration can be a fun part of the design process!
2) Sketch Your Design
Start by gathering your ideas.
Consider what elements you want to include in your embroidery pattern.
Once you have a concept, grab a piece of paper and a pencil.
You can use tracing paper to help with this process.
Place your reference design underneath and lightly trace the outlines.
This method lets you mix and match different parts easily.
It’s a fun way to create something unique without the pressure of making it perfect on the first try.
Don’t worry too much about details yet.
Focus on the overall shape and layout of your design.
If you have access to a graphic design tool, consider sketching digitally.
This can allow for easy adjustments and refinements.
You can also use apps like Artspira for a more guided approach to creating your sketch.
Once you’re happy with your design, you can move on to preparing it for digitization or stitching.
Happy sketching!
3) Transfer Design to Fabric
Now that you have your custom embroidery pattern ready, it’s time to transfer it onto your fabric.
There are several easy methods to get your design onto the material.
One popular technique is tracing.
You can place your fabric over your design and use a light box or a sunny window to trace with a fabric-safe pen.
This works best on lighter fabrics.
Another option is using transfer paper.
Place the transfer paper with the waxy side down on the fabric, then put your pattern on top.
Use a stylus or a ballpoint pen to firmly trace the design, pressing hard enough to transfer it through the layers.
Don’t forget about freezer paper.
Cut a piece and place the shiny side down on your fabric.
Trace your design on the non-shiny side, then iron it onto the fabric, which makes it easy to follow when you start stitching.
Choose the method that feels most comfortable for you and enjoy the process of bringing your creations to life!
4) Select Appropriate Stitches
Choosing the right stitches is a key part of your custom embroidery design.
Different stitches create different textures and looks, so think about what you want to achieve.
For simple shapes, a straight stitch works well.
It’s easy to execute and clean.
If you’re aiming for something a bit more decorative, consider a satin stitch for smooth coverage.
For more intricate designs, you might explore chain stitches or lazy daisy stitches.
These add flair and dimension to your work.
Always take the fabric into account.
Some stitches may not hold up as well on lighter materials.
Test your stitches on a scrap piece to see how they turn out before you start on your final piece.
Experiment with combinations of stitches.
Mixing styles can lead to unique patterns that really stand out.
Don’t be afraid to play around and discover what you love!
5) Use a Hoop for Stability
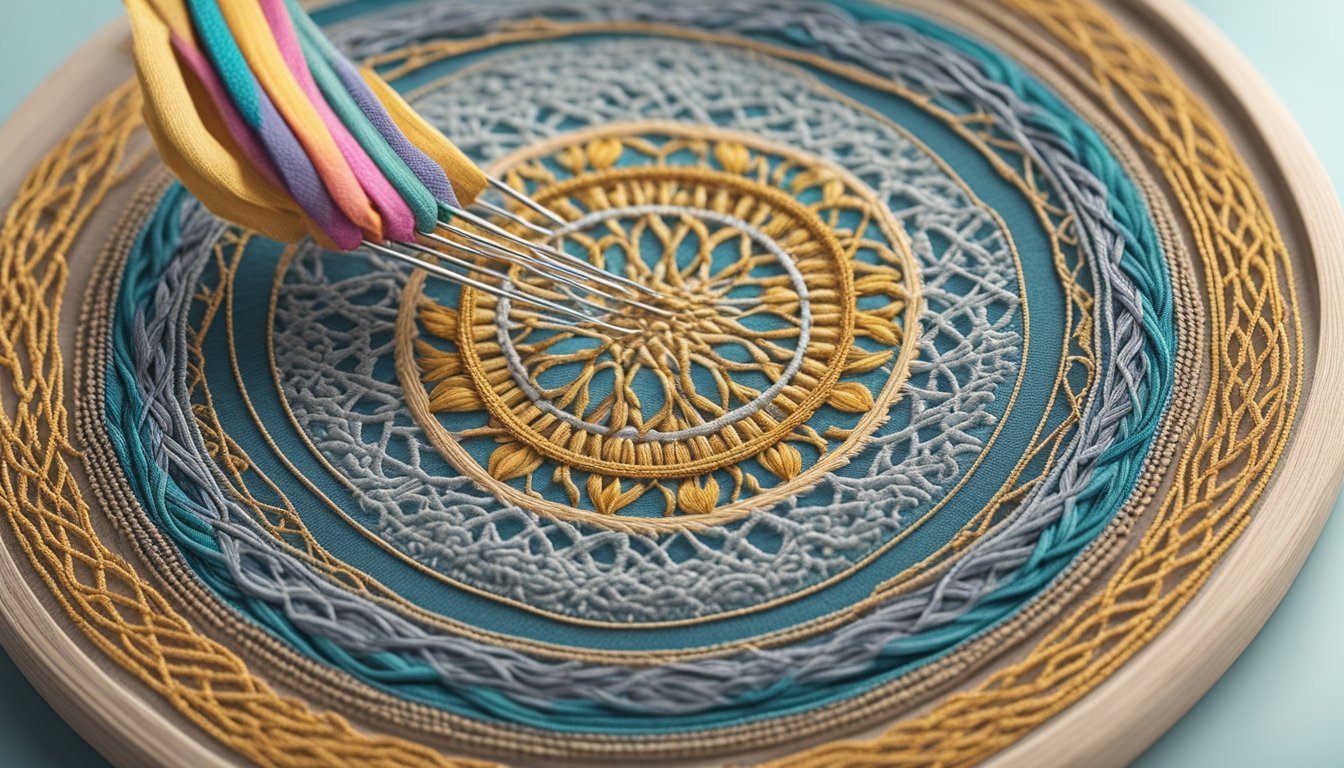
Using an embroidery hoop helps keep your fabric taut, which is essential for clean and precise stitching.
It prevents any movement that could distort your design.
Choose a hoop that fits your design well.
A properly sized hoop will hold the fabric firmly without causing strain or puckering.
When hooping, ensure your fabric and stabilizer are placed together evenly.
This tightness is important for achieving professional-looking results.
You can also use tools like hoop templates to help center your design accurately.
Aligning everything before you start stitching makes a big difference.
Incorporating a hoop simplifies the embroidery process, allowing you to focus on your creativity.
With everything stable, you’re free to enjoy making your custom patterns.
6) Start with Simple Patterns

When you’re starting out with embroidery, it’s best to keep things uncomplicated.
Simple patterns are easier to manage and understand, especially for beginners.
Think about basic shapes like stars, hearts, or flowers.
These designs require fewer stitches and help you get comfortable with the technique.
You can also explore geometric patterns.
They are straightforward to draw and stitch, allowing you to focus on your needle skills without feeling overwhelmed.
Using a free online tool like Canva can help you create simple designs.
You’ll find it easy to play around with your ideas and see what works.
Starting with simpler patterns builds your confidence.
Once you feel more comfortable, you can gradually tackle more complex designs.
7) Experiment with Colors
Experimenting with colors can bring your embroidery patterns to life.
Start by selecting a color palette that resonates with you.
This can be based on themes, seasons, or personal favorites.
Try using different shades of the same color for a subtle effect.
This technique adds depth without being overwhelming.
Alternatively, you can go bold with contrasting colors to create eye-catching designs.
Don’t hesitate to play with dyeing your own threads.
Hand-dyed threads allow for unique gradients and color combinations, giving your projects a personal touch.
Remember, the way colors interact will affect the overall vibe of your work.
Creating small samples can help you visualize how different colors will look together on the final piece.
Keep notes about what works and what doesn’t for future reference.
Using tools like color wheels or online palette generators can help guide your choices.
This way, you can ensure a harmonious look or a striking contrast, depending on your vision.
Incorporate Textures

Adding texture to your embroidery can really make your patterns pop.
You can achieve this through various techniques that enhance your design’s visual appeal.
One effective way to introduce texture is by varying your stitch direction.
Different directions can create depth and emphasis in specific areas.
Experiment with overlapping stitches to form interesting patterns that draw the eye.
You can also play with stitch types.
For example, combining satin stitches with French knots or some long and short stitches can add dimension.
Each type of stitch contributes a unique feeling to the overall design.
Consider using different thread types too.
Mixing smooth threads with textured or metallic ones can create striking contrasts.
This change can elevate simple designs into something more dynamic.
Don’t forget about the fabric you choose.
A textured fabric, like burlap or linen, can also influence the final look of your embroidery.
The interplay between fabric and thread adds yet another layer of richness.
Incorporating these texture elements not only enhances your design but also invites the viewer to engage more closely with your work.
Each stitch tells a story, so have fun experimenting with different textures that resonate with your creative vision.
9) Embellish with Beads

Adding beads to your embroidery can elevate your designs and give them a unique flair.
Start by selecting the right beads that complement your fabric and threads.
To attach a bead, thread your needle and create a small knot at the end.
Bring the needle up through the fabric where you want the bead and position it on top.
Push the needle through the bead’s hole and down through the fabric.
This secures the bead in place.
For added depth, consider adding more beads in a row or creating clusters.
You can experiment with different bead types, like bugle beads or seed beads, to vary the effect.
Layering them in various patterns can result in eye-catching textures.
Bead embroidery is all about creativity.
Don’t hesitate to try different techniques or placements.
The more you practice, the more skilled you’ll become at incorporating beads into your embroidery projects.
Create a Sample Swatch
Creating a sample swatch is a crucial step in developing your custom embroidery pattern.
It allows you to test your design before committing to a larger piece.
Start by selecting a small piece of fabric that matches your intended project material.
This gives you a more accurate sense of how the colors and stitch types will look.
Prepare your swatch by hooping the fabric tightly.
Ensure it’s smooth and wrinkle-free.
This will help maintain tension during the embroidery process.
Next, transfer your pattern onto the fabric.
You can use a fabric marker or, if applicable, a transfer method to ensure the design is precisely where you want it.
Now, it’s time to stitch! Choose a few colors and stitches that you plan to use in your final design.
This will help you envision the finished look.
After completing the swatch, evaluate your choice of colors and stitches.
Make any adjustments based on how it appears.
This sample will serve as a valuable reference for your main project.
Getting Started with Custom Embroidery Patterns

Creating custom embroidery patterns can be an enjoyable and expressive process.
Let’s dive into what you need to know.
Understanding Basic Techniques
Start with the foundational embroidery techniques.
If you’re a beginner, you must grasp the basic stitches like the straight stitch, satin stitch, and backstitch.
These will form the core of your designs.
Use a sheet of tracing paper to outline your designs.
Place it over your reference image and lightly trace the shapes.
This technique helps you visualize your patterns better.
Combine elements from different designs to create something unique.
Play with spacing and sizing to see how everything fits together.
Experimentation is key, so don’t hesitate to try new combinations!
Choosing the Right Tools and Supplies
The right tools can make a significant difference in your embroidery experience.
Start with a good quality embroidery hoop (4-6 inches works well for beginners).
Next, gather your thread.
Choose a brand that you enjoy working with and select colors that inspire you.
Here’s a quick list of supplies you might need:
- Embroidery Hoops: Different sizes for various projects.
- Needles: Look for embroidery or tapestry needles that fit your thread.
- Fabric: Cotton or linen works well for most patterns.
- Tracing Paper: Helps in sketching designs clearly.
Don’t forget about scissors and a water-soluble fabric pen for marking!
Designing Your Own Patterns
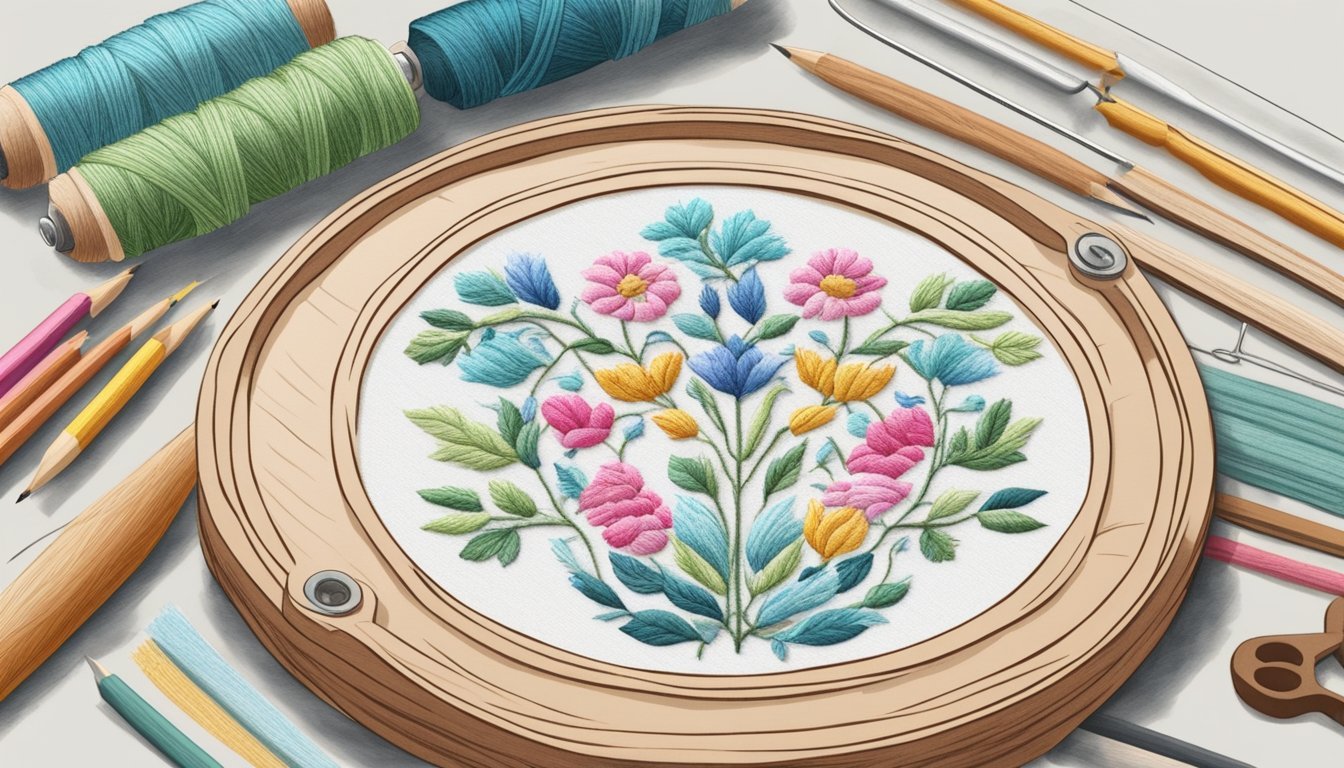
Creating unique embroidery patterns can be a fun and fulfilling process.
It allows you to express your creativity and personalize your projects.
Here’s how to find inspiration and effectively transfer your designs to fabric.
Finding Inspiration for Original Designs
Start by exploring various sources to spark your creativity.
Nature, art, and even everyday objects can serve as excellent inspiration.
Consider taking photographs or collecting images that resonate with you.
Some ideas include:
- Visiting local art galleries or craft fairs
- Skimming through design books or magazines
- Browsing platforms like Pinterest or Instagram
You can also create a mood board to compile your favorite styles and elements.
This will help you visualize your ideas and refine your focus.
Remember, even small details can lead to fascinating designs, so keep an open mind!
Transferring Designs to Fabric
Once you have a design in mind, it’s time to transfer it onto fabric.
A straightforward method is to use tracing paper.
Place your chosen design underneath and trace it lightly with a pencil.
Make sure to consider the following:
-
Tension: Prepare the fabric in an embroidery hoop to keep it taut, preventing wrinkles.
-
Transfer Paper: For more complex designs, consider using transfer paper. Simply trace over the design on the transfer paper and then apply it to the fabric.
After securing the design, you can start stitching.
This method not only aids in precision but also keeps the original design intact while you work.


