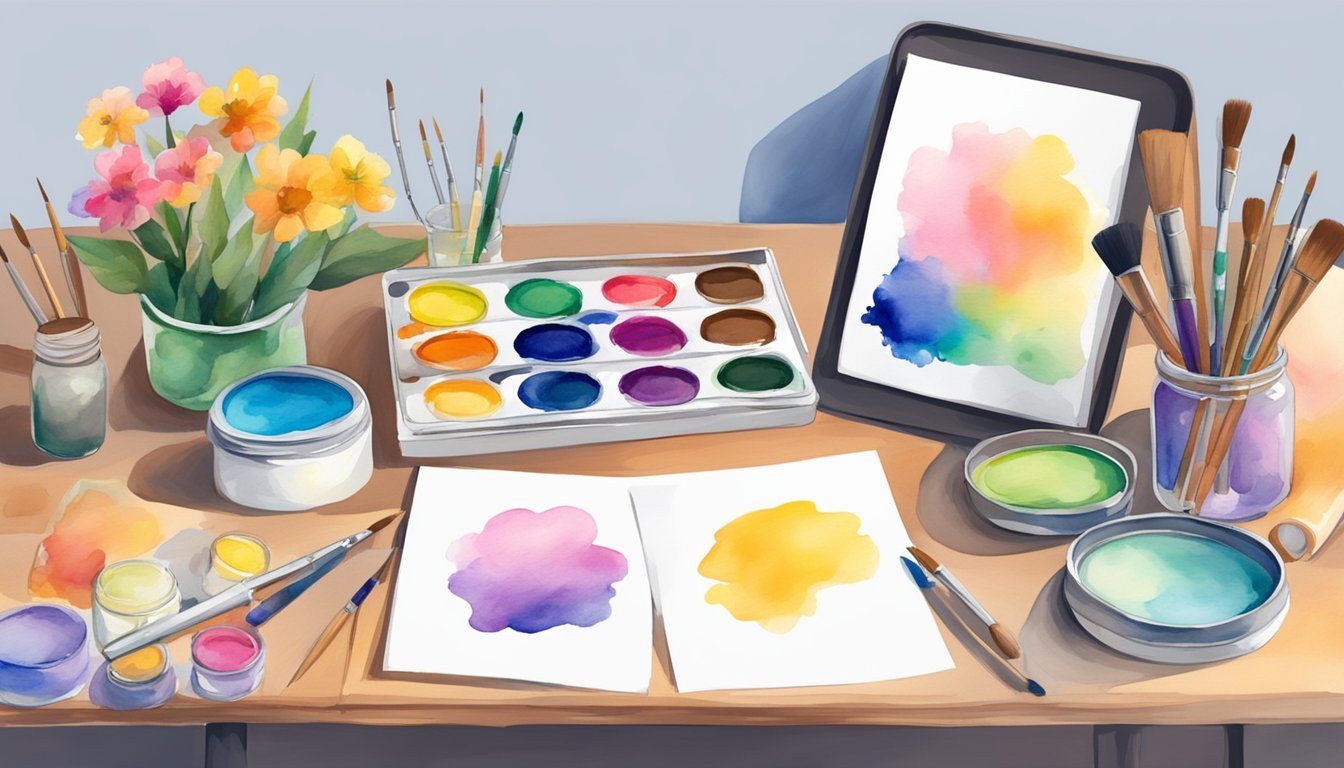
Creating custom greeting cards with watercolors is a fun way to express your creativity and add a personal touch to your messages.
Whether you’re celebrating a birthday, sending thank-you notes, or sharing holiday cheer, designing your own cards can make every occasion feel special. Using watercolors allows you to easily bring your artistic ideas to life.

With just a few supplies and some basic techniques, you can create beautiful, unique cards that reflect your style.
Watercolors are versatile and forgiving, making them ideal for beginners and experienced artists alike.
Your imagination is the limit when it comes to designing the perfect card for any occasion.
Choose Watercolor Paper
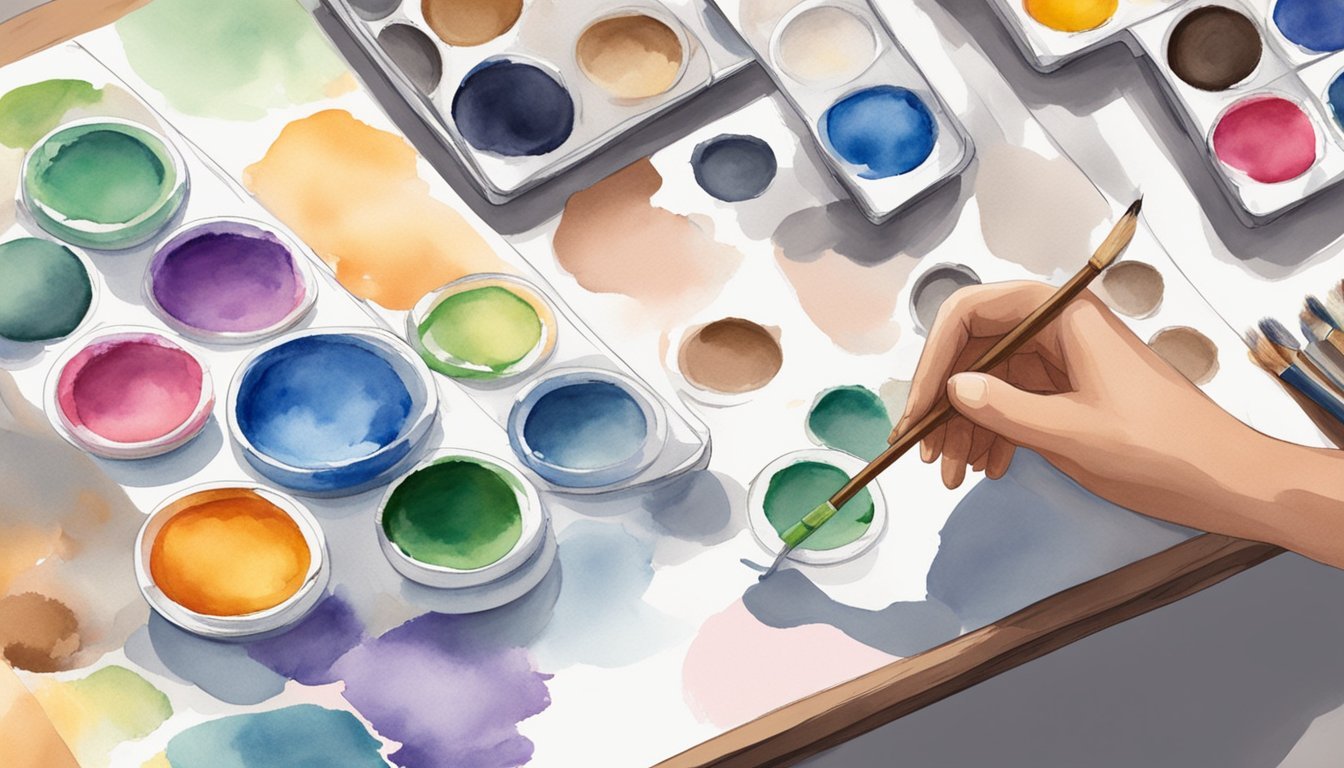
When making custom greeting cards, selecting the right watercolor paper is crucial.
Regular card stock may not hold up well when wet, leading to warping and crinkling.
Opt for watercolor paper, which is specifically designed to handle moisture.
It comes in different weights and textures, so you can pick what suits your style.
Heavier paper, like 300 gsm, tends to be sturdier.
Furthermore, consider the texture.
Cold-press paper has a bumpy surface, while hot-press is smooth.
Each creates different effects with your watercolors, so choose based on the look you want to achieve.
You’ll also find options like mixed media paper that can handle watercolor without buckling.
Test a few types to see which one feels right for your project.
Good paper can make a big difference in how your art turns out, so take some time to find what works for you.
2) Select Your Paints
Choosing the right watercolors is key to creating custom greeting cards.
You have options like tube paints and pan sets.
Tube paints often provide vibrant colors and are easy to mix.
Pan sets are portable and great for quick projects.
If you’re just starting out, a basic set with primary colors can work wonders.
This allows you to experiment and blend to create new shades.
You might also consider watercolor pencils or markers for added versatility.
These tools let you add fine details or mixed techniques to your cards.
Don’t forget about quality.
Invest in artist-grade paints if you plan to use your cards for gifting.
They tend to have better pigmentation and longevity.
Lastly, have fun with it! Trying different brands and textures can inspire your creativity.
The right paints can make your card-making experience enjoyable and unique.
3) Pick the Right Brushes
Choosing the right brushes is key to creating beautiful watercolor cards.
Brushes come in various shapes and sizes, each serving a specific purpose.
For larger washes, use flat brushes.
They hold more water and color, making it easy to cover larger areas.
Round brushes are great for detailed work and creating fine lines.
Consider using a water brush, too.
It combines a brush and a water reservoir, which makes painting on the go super convenient.
Synthetic brushes are a good option if you’re just starting out.
They are affordable and versatile, making them perfect for experimentation.
If you’re feeling adventurous, try natural hair brushes, like squirrel or sable.
They can provide a gorgeous, fluid feel, but they tend to be pricier.
Always keep your brushes clean.
Rinse them thoroughly after each session to maintain their shape and longevity.
This simple step ensures that your brushes are ready for your next creative project.
4) Sketch Your Design
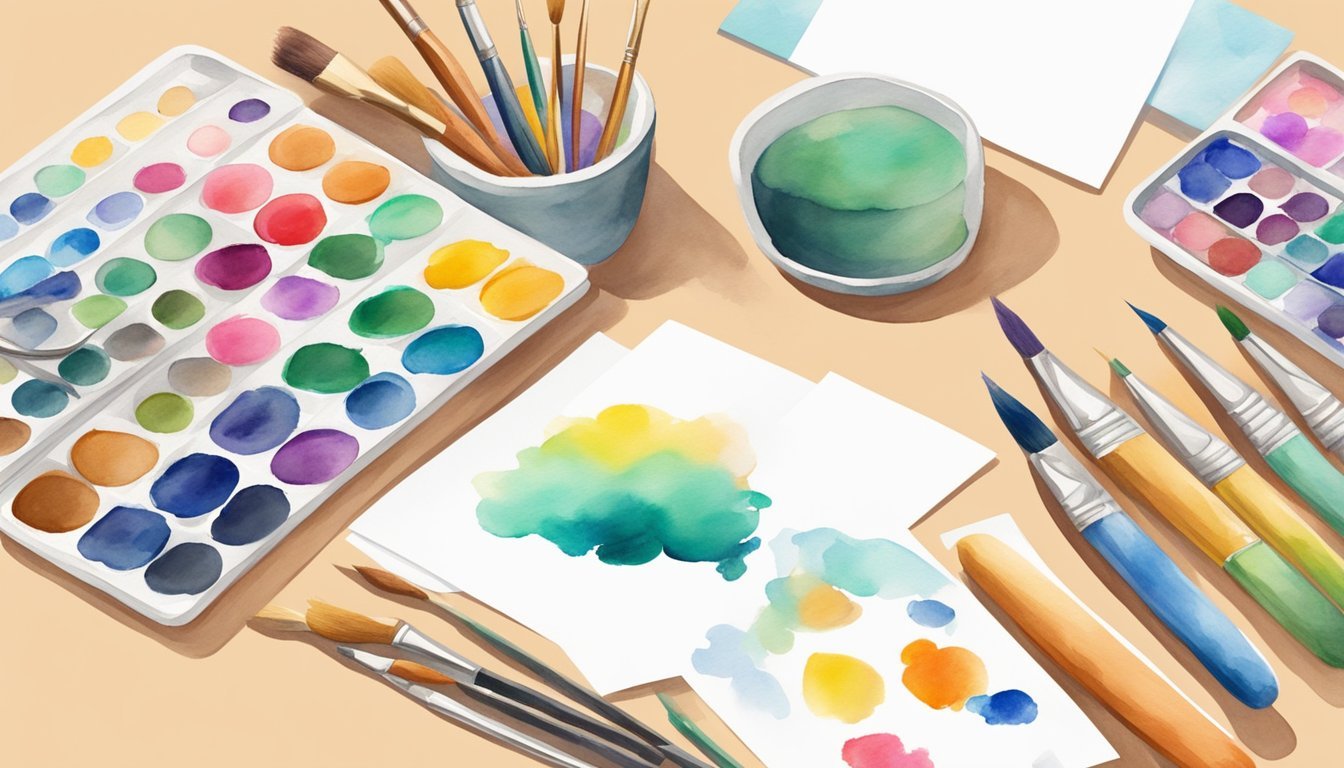
Start by brainstorming ideas for your greeting card.
Think about themes, colors, and messages you want to convey.
Keep it simple to make the next steps easier.
Once you have an idea, grab a pencil and some paper.
Lightly sketch the main elements of your design.
This could be flowers, shapes, or even a simple message.
Don’t worry about making it perfect.
The sketch is just a guideline for when you start painting.
Focus on the layout and composition instead.
If you’re unsure, look at nature or art for inspiration.
You can also reference tutorials online to see what others have created.
Take your time with this step.
A clear sketch will help you visualize the final product and make the painting process more enjoyable.
Experiment with Colors
Experimenting with colors is a fun way to make your greeting cards stand out.
Watercolors offer a variety of shades and blending options that can create unique effects.
Start by mixing different colors on your palette.
Try combining complementary colors to see what new shades you can create.
Don’t be afraid to go bold or soft—each choice brings a different vibe to your artwork.
Consider using a wet-on-wet technique.
This involves applying water to your paper before adding pigments.
It allows colors to flow and blend beautifully, giving your cards a dreamy look.
You can also layer colors.
Start with a light wash and gradually add darker shades.
This builds depth and dimension in your designs.
Finally, test color combinations on scrap paper before applying them to your card.
This will help you visualize how they interact and make adjustments as needed.
Have fun and let your creativity guide you!
6) Mix a Color Palette
Mixing a color palette is key to creating your custom greeting cards.
Start with a couple of base colors that you love.
For example, Viridian can be a great choice.
You can experiment by adding other colors to find unique shades.
Mixing Viridian with Quinacridone Coral creates a lovely dusky teal.
Adjust the ratios to get exactly what you want.
Don’t be afraid to play around.
If you want a darker tone, add more Quinacridone Coral.
A touch of Pyrrol Crimson will give you a teal blue-gray.
Using similar base colors helps maintain a cohesive look.
Stick to a few colors for a balanced, harmonious design.
Keep a sample of each mix for reference.
This makes it easier to replicate your favorite shades later.
Enjoy the process and let your creativity flow!
7) Add Layers for Depth
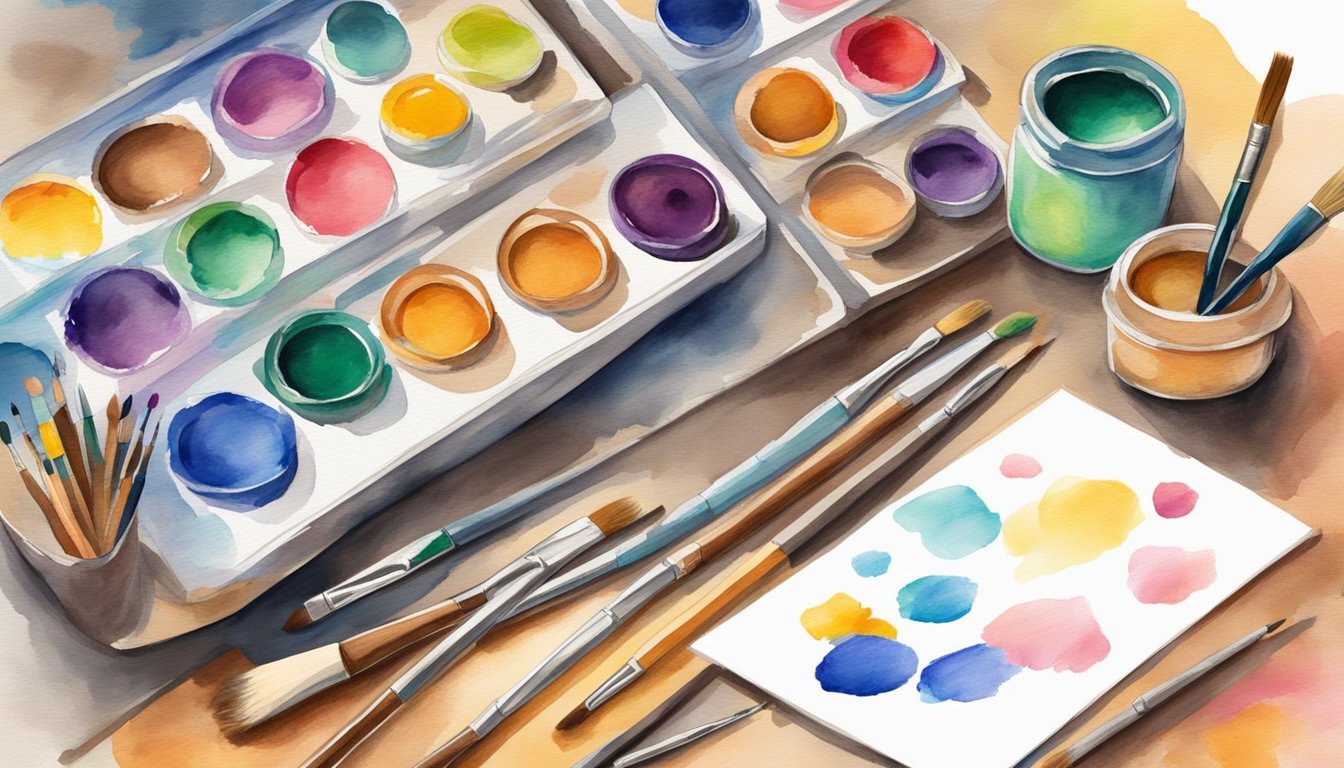
Adding layers is key to creating depth in your watercolor greeting cards.
It enhances the visual appeal and makes your designs pop.
Start with a light wash as your base layer.
Once it’s dry, you can build upon it with darker colors.
This technique creates a sense of dimension, making your card more engaging.
Try different brush techniques, like lifting color or adding texture with salt.
These methods can produce unique effects that elevate your card’s look.
Don’t be afraid to experiment.
Layering allows for creativity, so feel free to mix colors and try various placements.
It’s all about finding what feels right for your design.
Remember to dry each layer before adding another.
This helps prevent colors from muddling and keeps your artwork crisp and clear.
8) Incorporate Unique Patterns
Adding unique patterns to your watercolor cards can elevate the design.
You can create these patterns using various techniques, from simple shapes to intricate designs.
Try using stencils for consistency.
Just place the stencil on your card and apply watercolor through the openings.
This method gives you clean lines and a professional look.
You can also paint freehand patterns.
Use a fine brush for delicate details or a larger brush for bold strokes.
Experiment with geometric shapes or nature-inspired motifs like flowers and leaves.
Another fun technique is to use various tools beyond brushes.
Sponges, combs, or even fingers can create interesting textures and patterns.
Don’t be afraid to mix these methods for a unique effect.
Once your patterns dry, you can layer them.
Painting a light pattern and adding a darker one on top creates depth.
Just ensure the bottom layer is completely dry before adding more paint.
Using masking tape to create sharp edges can also help.
It acts as a barrier, letting you paint clean lines for a more polished design.
Use Masking Fluid

Masking fluid is a handy tool when creating custom greeting cards with watercolors.
It lets you protect specific areas of your paper, ensuring those spots remain untouched by paint.
Before applying, make sure your paper is completely dry.
This prevents the masking fluid from sticking too much, which can lead to damage when you try to remove it.
Use a brush to apply a thin layer of masking fluid.
Keeping it smooth is key; avoid clumps or thick patches.
This helps you achieve clean edges in your designs.
Once the masking fluid is dry, you can paint over it confidently.
Your protected areas will stay white or retain the color of the paper, creating beautiful contrasts in your artwork.
After your painting is finished and dry, gently remove the masking fluid.
You can use your fingers or an eraser to peel it off without damaging your card.
Experimenting with different colors of masking fluid can also add fun elements to your design.
Matching the fluid color to your paper can create a cohesive look if you decide to leave it on the card.
10) Practice Brush Strokes

Practicing brush strokes is key to mastering watercolor techniques.
Start with a round tip brush, as it’s versatile and ideal for various strokes.
Begin with simple shapes like lines and circles.
Use different amounts of pressure to see how it affects the paint’s flow.
Light pressure will create fine lines, while heavier pressure will produce thicker, bolder strokes.
Experiment with angles and direction.
Tilting your brush can provide unique effects on your paper.
Don’t hesitate to change colors mid-stroke for a blended look.
Another great exercise is to create gradients.
Load your brush, then gradually add more water or paint to create a smooth transition.
This skill enhances your control and helps you in card designs.
You can also try squinting at your work to find hidden images or patterns.
This technique will develop your eye for composition and balance in your greeting cards.
Remember, the goal is to get comfortable with your brush.
The more you practice, the more confident you’ll feel in creating custom designs for your cards.
Enjoy the process!
Getting Started with Watercolors
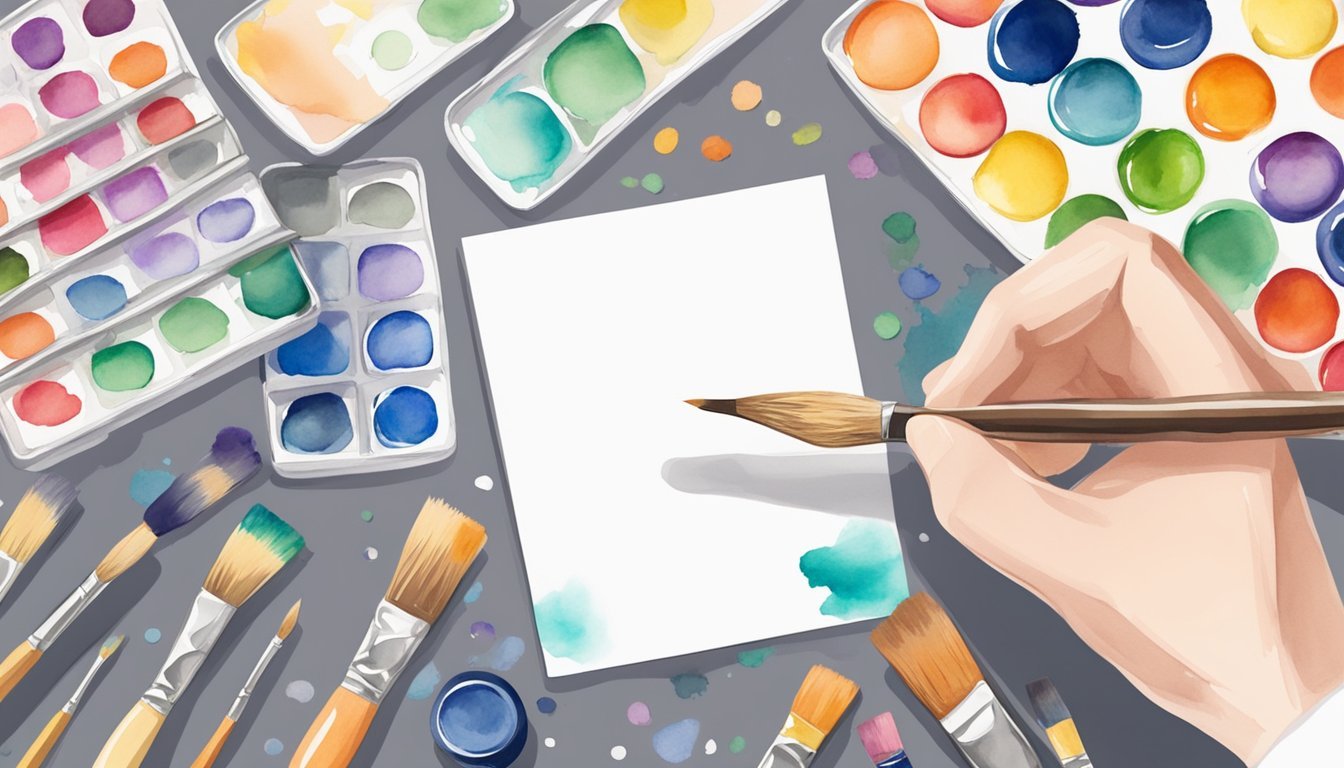
Starting your journey with watercolors is exciting and rewarding.
To create beautiful custom greeting cards, you’ll need the right supplies and a grasp of basic techniques.
Choosing the Right Supplies
Picking the right materials is essential for a smooth painting experience.
Here are the key supplies you’ll need:
- Watercolor Paints: Opt for either tubes or pans. Beginner sets are available that offer a good range of colors.
- Watercolor Paper: Choose heavy, textured paper (usually 200 gsm or more) that can handle water without warping.
- Brushes: A few good brushes in different sizes, like a round brush and a flat brush, will give you versatility.
- Palette: A mixing palette helps you prepare your colors.
- Water container: Always have clean water on hand for rinsing brushes and diluting paints.
Having these supplies ready will set a solid foundation for your watercolor card-making.
Understanding Basic Techniques
Familiarizing yourself with some basic techniques is important for creating beautiful designs.
Here are a few techniques to try:
- Wet-on-Wet: Apply wet paint onto wet paper for soft blends. This technique is great for backgrounds.
- Wet-on-Dry: Paint wet brush strokes on dry paper for sharper lines and more defined shapes.
- Dry Brush: Use a brush with little water for textured effects. This works well for creating foliage or rough surfaces.
- Lifting: Use a damp brush or paper towel to lift paint off the paper for highlights or corrections.
Experimenting with these techniques will help you develop your own style and improve your card designs.
Designing Your Greeting Card

Creating a custom greeting card is an enjoyable process that lets you express your creativity.
Focus on sketching your ideas and selecting a color scheme that resonates with the message you want to convey.
Sketching Your Ideas
Start by jotting down your ideas.
Grab a pencil and some paper, and don’t hesitate to doodle.
You might want to use basic shapes or outlines to initially form your design.
It doesn’t need to be perfect; these sketches are just for you to brainstorm and visualize.
Once you have a few concepts, select your favorite one.
Think about the elements you want to include: text, illustrations, or decorative accents.
Keep in mind the layout.
Decide where your images and words will go.
A balanced design often looks more appealing.
You can also try varying sizes for different elements to create visual interest.
Selecting Color Schemes
Choosing the right color scheme sets the mood for your card.
For birthdays, you can use soft pastels, while vibrant hues work well for celebrations.
On the other hand, you can use muted tones for sympathy cards.
Explore color palettes online or use color wheel tools to find complementary shades.
A simple approach is to select one main color and two accent colors.
Test your colors on a small piece of watercolor paper.
This allows you to see how they mix and blend together.
Don’t be afraid to experiment; mixing colors can lead to unique and beautiful results.
Remember, each color can evoke different emotions, so choose wisely!


