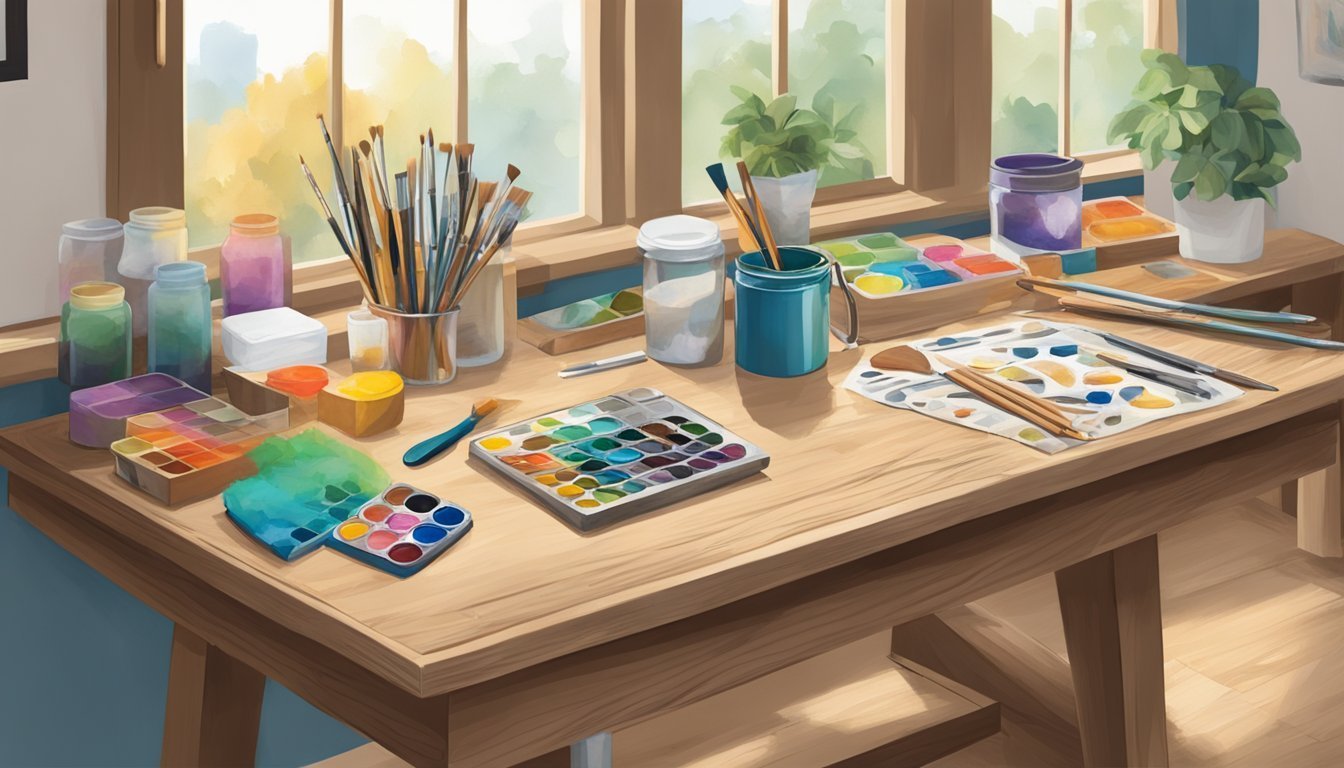
Adding personalized details to your craft projects can transform simple items into cherished keepsakes. Whether you’re customizing gifts for loved ones or enhancing your home decor, these unique touches make your creations stand out.
With a bit of creativity and some basic tools, you can infuse your personality into a variety of crafting styles.

From DIY gifts to home projects, personalizing your crafts opens up a world of possibilities.
You can incorporate names, symbols, or themes that resonate with the recipient, making each project memorable.
Embracing these details not only showcases your skills but also adds a heartfelt element to everything you create.
Engrave Initials on Clay
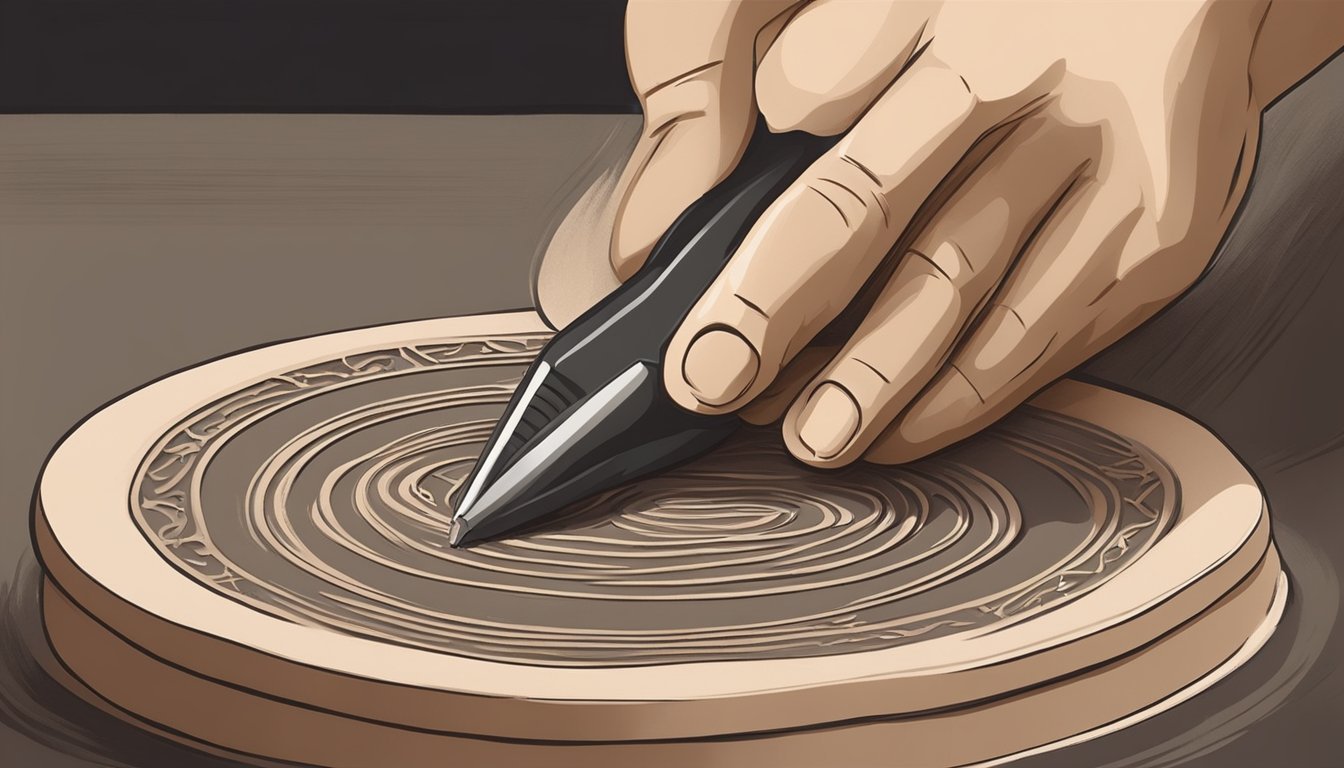
Adding a personal touch to your clay projects is easy and fun.
Engraving your initials can make your pieces feel special and unique.
Start by preparing your clay.
Make sure it’s soft and workable.
This will help you achieve clean lines when engraving.
You can use a variety of tools for engraving.
A simple stylus or a needle tool works well.
Just lightly press your initials into the clay.
If you’d like, consider using rubber gloves to avoid fingerprints.
To enhance your design, practice on a piece of paper first.
Sketch out your initials and get comfortable with the shape.
When you’re ready, gently transfer the design to your clay.
If you want more complexity, try making a custom stamp.
You can carve your initials into a piece of plaster.
Once it’s ready, use it to stamp your initials into the clay for a consistent look.
Remember to clean up any rough edges after engraving.
This ensures your final piece looks polished and professional.
Enjoy the process and make it your own!
Add a Personal Quote: “Craft is love made tangible.” – Unknown

Incorporating a personal quote into your craft projects can add a special touch.
The quote “Craft is love made tangible” perfectly encapsulates the emotion behind handmade items.
You can handwrite this quote on cards, tags, or even directly onto your craft piece.
Choosing a style that reflects your personality makes it even more meaningful.
Consider using various materials for added flair.
You might paint it, use decorative lettering, or even create a small frame for the quote to enhance its visibility.
Integrating this quote into your projects can remind both you and the recipient of the love and care that went into creating the item.
It turns a simple gift into a heartfelt message.
This personal detail not only enhances the aesthetic but also adds depth.
It’s a lovely way to express how much you value the craft itself.
3) Use Family Photos as Decoupage
Using family photos in your decoupage projects brings a personal touch to your crafts.
Choose cherished images that hold special memories.
Start by picking a surface, like a picture frame or a decorative item, where you’d like to apply the photos.
Prepare your photos by cutting them to fit the space.
For adhesion, use a decoupage medium like Mod Podge.
Apply a thin layer to both the back of the photo and the surface.
Smooth out any bubbles or wrinkles with your fingers or a brayer for a neat finish.
Once all the photos are in place, seal them with another coat of Mod Podge.
This not only protects the photos but also helps them adhere better.
Your personalized piece is now ready to display! Using family photos can create heartfelt gifts or unique decor for your home.
Incorporate Birthstones in Jewelry
Incorporating birthstones into your jewelry is a fantastic way to add personal touches.
You can choose a birthstone that represents you or someone special.
A classic approach is to use a birthstone in rings, where you can pair one prominent stone with smaller ones for a unique look.
This mix adds color and depth to your designs.
You can also think about personalized pendants or necklaces.
Arranging birthstones in a meaningful pattern can create a beautiful statement piece.
Consider using birthstones in bracelets too.
They can be strung together or set into charms, making them versatile and eye-catching.
When you choose the right design, birthstones elevate your jewelry, making each piece more than just an accessory.
They narrate a story that reflects your personality or cherished memories.
5) Hand-Paint a Personal Message
Adding a personal touch to your craft projects can be as simple as hand-painting a message.
This not only makes your item unique but also adds emotional value.
Start by selecting a canvas or any surface that suits your project.
Choose a background color that contrasts well with your letters.
Once the base coat is dry, you can move on to the lettering.
You can use stencils for precise lettering or freehand for a more personal touch.
If you’re shaky with your hand, a ruler can help keep lines straight.
Just take your time, and don’t rush it.
Paint each letter with care, ensuring the paint is the right consistency to avoid drips.
If you want a clean finish, use a wet brush to tidy up any edges after lifting the stencil.
Lastly, consider using a sealant to protect your message once everything is dry.
This keeps your personal touch looking fresh and vibrant for years to come.
6) Monogram Embroidery
Monogram embroidery adds a unique touch to your craft projects.
It’s a great way to personalize items like towels, bags, or clothing.
Start by choosing your design.
You can create your monogram using embroidery software or find pre-made designs online.
If you’re feeling creative, draw your design directly onto the stabilizer.
Next, hoop your fabric and stabilizer tightly.
Make sure everything is straight and centered.
Choose your thread color before attaching the hoop to your machine.
Once everything is set, begin stitching.
After you finish, carefully remove any stabilizer visible from the back.
Don’t forget to add some finishing touches.
Gently wash away any water-soluble markers, and iron your fabric to get rid of wrinkles.
Your personalized piece is now ready to stand out!
7) Date the Project Handwritten
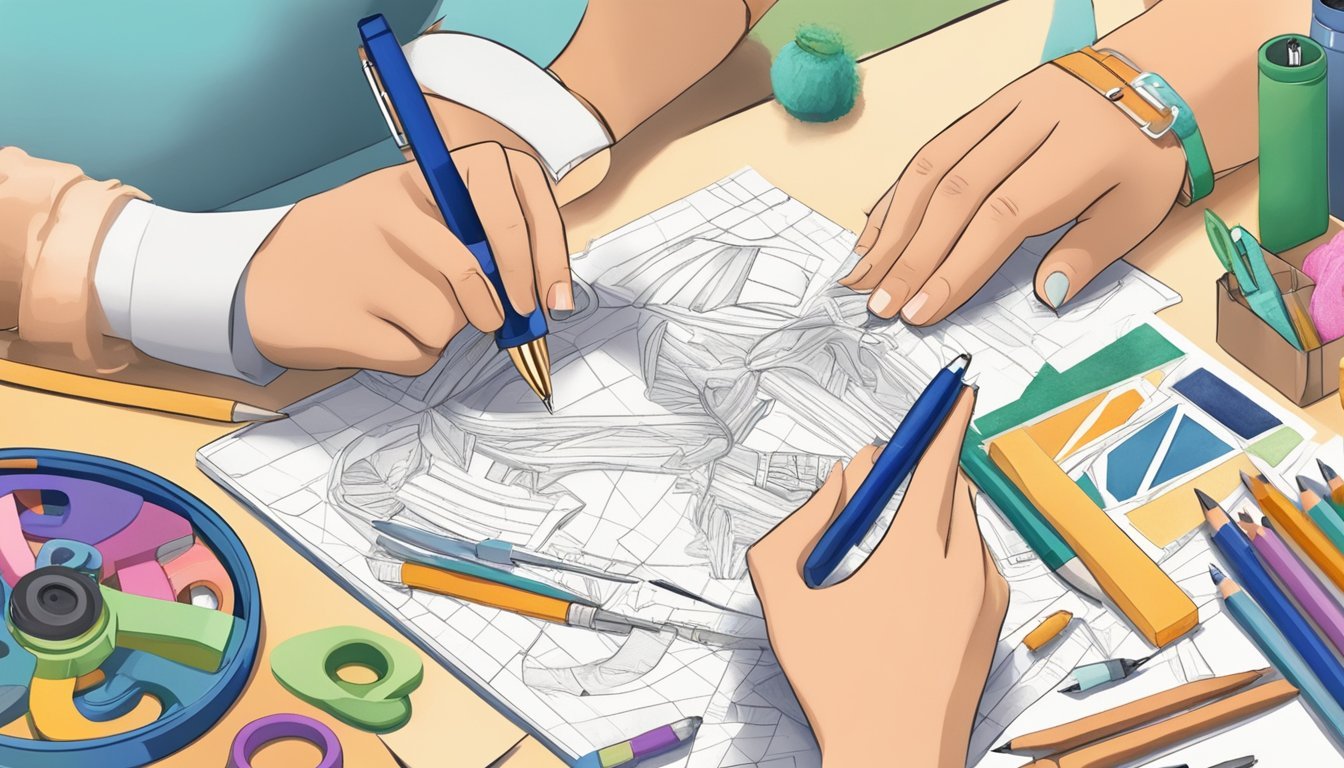
Adding a handwritten date to your craft projects gives them a personal touch.
It not only marks when the project was completed but also adds a layer of sentimentality.
You can easily integrate your own handwriting by using a Cricut machine.
First, write the date on a piece of paper and scan it.
Then upload the scanned image into Cricut Design Space.
Once uploaded, use the trace tool to highlight your handwritten date.
Adjust the settings until everything looks clear and defined.
This will create a cut file that replicates your handwriting perfectly.
After cutting, you can apply the date to your project using vinyl or as a part of your layout.
This simple addition helps to capture memories and moments associated with the creation.
Your handcrafted items will feel even more special with this thoughtful detail.
Each time you look at it, you’ll remember not just the work, but also the time spent creating.
8) Include Meaningful Symbols

Incorporating symbols into your craft projects adds a personal touch.
These symbols can carry special meanings related to your experiences, beliefs, or loved ones.
Start by considering what is significant to you.
It could be a favorite animal, a specific shape, or even a nature-inspired motif.
These elements can make your project uniquely yours.
You can easily integrate symbols through stamps, stencils, or by drawing them yourself.
For example, if you enjoy stitching, hand-stitch symbols onto a card for added texture.
Symbolism deepens the viewer’s connection to your work.
It invites them to interpret the piece in their own way, making your project more engaging.
Choose symbols that resonate with the occasion or the recipient.
A simple heart can express love, while a tree might symbolize growth.
Remember, the more personal the symbol, the more meaningful your project will be.
Print Custom Stickers

Printing custom stickers can add a personal touch to your craft projects.
Start by designing your stickers.
Use design software to create your images and adjust the dimensions and resolution according to your printer’s specifications.
Once you have your design ready, gather your materials.
You’ll need sticker paper suitable for your printer type, and it’s advisable to use high-quality paper for the best results.
Load the sticker paper into your printer following the manufacturer’s instructions.
Set your printer settings to match the type of paper you are using, selecting options for labels or sticker paper.
Before printing, choose the highest quality print setting.
This ensures your designs come out crisp and vibrant.
After printing, allow the ink to dry completely.
Once dry, you can cut out your stickers, or if you’re using adhesive paper, simply peel and stick them onto your projects.
Making custom stickers is a fun and easy way to personalize your crafts!
10) Use Personalized Rubber Stamps
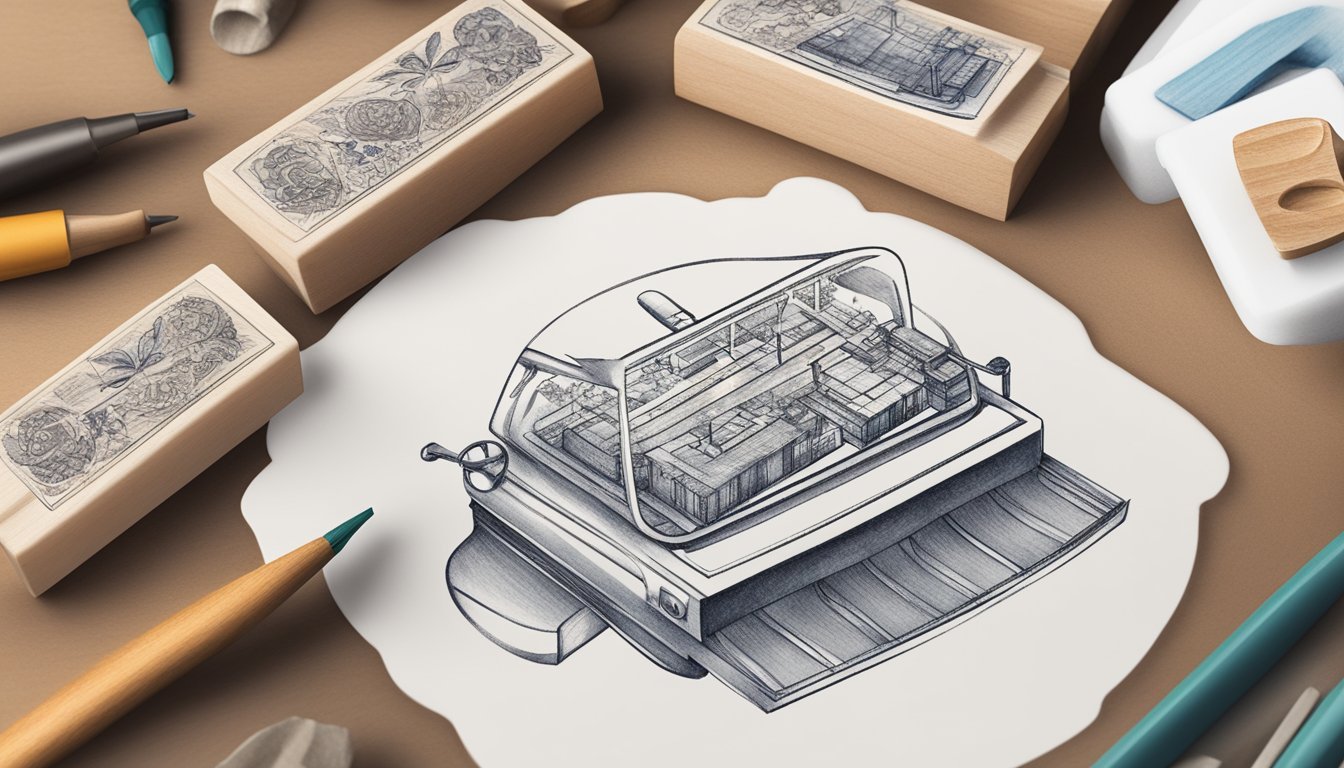
Personalized rubber stamps are a fun way to add unique details to your craft projects.
They can give your creations a professional touch and really highlight your personal style.
Creating your own rubber stamps is easier than you might think.
You can start with a design you love or even a simple phrase.
Use materials like silicone rubber or pre-cut rubber sheets available at craft stores.
If you have access to a laser engraver, you can prepare your rubber sheet, upload your design, and let the machine do the work.
This method ensures precision and allows for intricate designs.
For a hands-on approach, consider carving your stamp by hand.
All you need is a piece of rubber, a craft knife, and a little patience.
Once you have your stamp, you can use it on various projects, such as greeting cards, scrapbooks, or gift tags.
Ink it up and press it on your desired surface for an instant upgrade.
This simple addition can make your crafts feel more personal and thoughtful.
Understanding Crafting Mediums
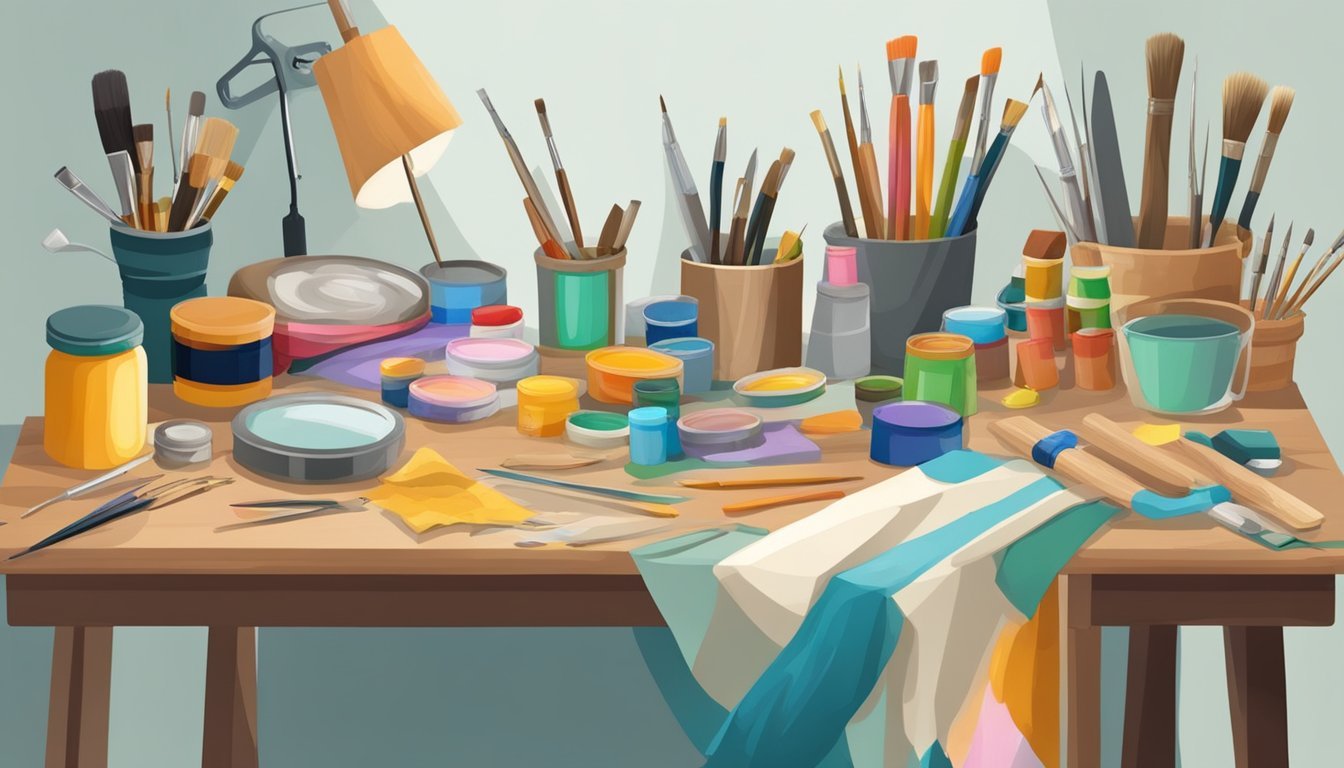
Crafting mediums can enhance your creative projects significantly.
By selecting the right materials and techniques, you can ensure that your craft stands out and resonates with your personal style.
Choosing the Right Materials
When it comes to crafting, material selection plays a crucial role. Common crafting mediums include:
- Paper: Ideal for scrapbooking and card making. It comes in various weights, finishes, and colors.
- Fabric: Use cotton, felt, or burlap for sewing or textile arts. Consider the texture and durability.
- Wire: Flexible and versatile, it’s perfect for jewelry making and sculptures. Choose between aluminum and copper for different effects.
- Paint: Acrylic, watercolor, and spray paint offer varied finishes. Select based on the surface you’re working with.
Choosing materials that resonate with your theme will make your project more cohesive and personal.
Exploring Different Techniques
There’s a wealth of techniques to experiment with in your crafting journey. Consider these methods:
- Stenciling: Customize your projects by creating or purchasing stencils. This helps add unique designs, textures, and words.
- Mixed Media: Combine various materials like paint, paper, and fabric for a rich, layered look. Techniques such as collage and texturing can really enhance the visual appeal.
- Embroidery: This adds a hand-stitched quality to fabric-based projects. It also provides opportunities to incorporate text or patterns.
- Sculpting: Whether using clay or wire, sculpting lets you create three-dimensional forms that bring an art piece to life.
Experiment with these techniques to find the ones that best express your creativity and add personal details to your projects.
Incorporating Personalized Elements
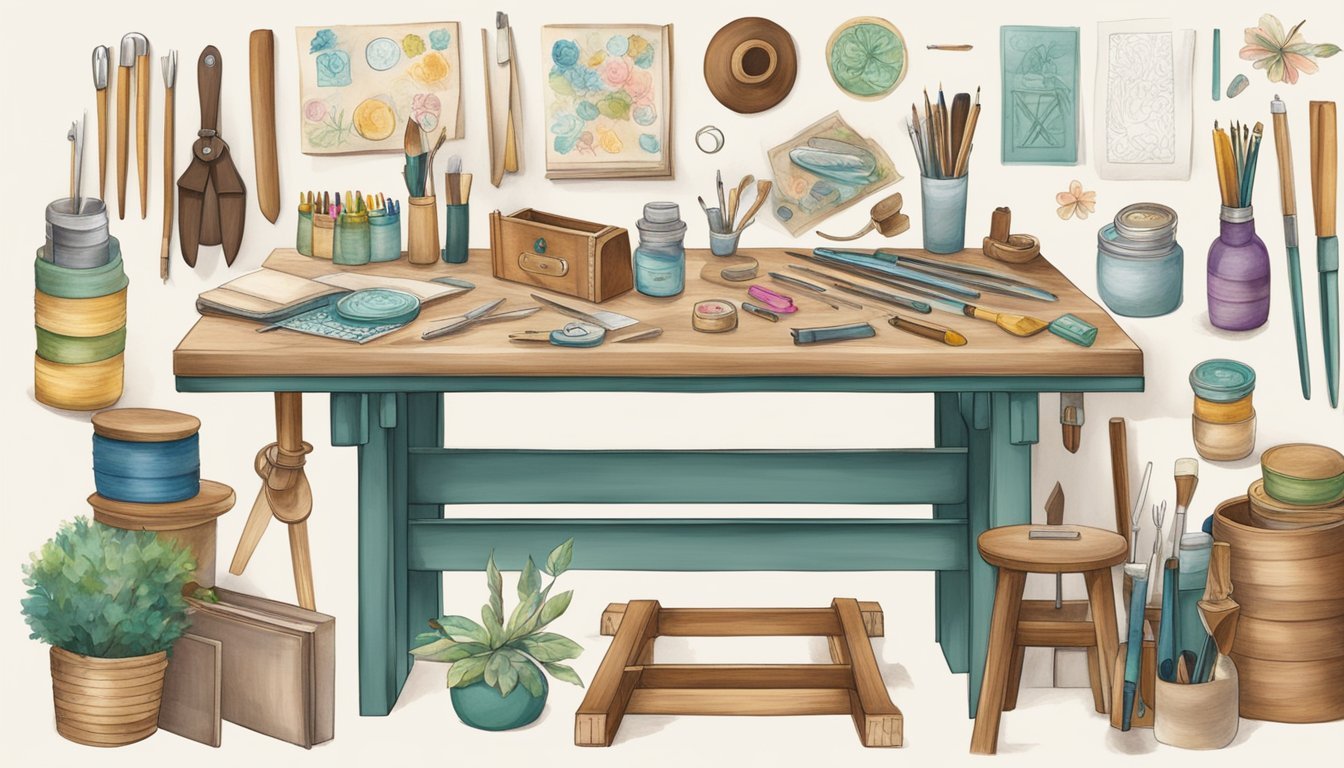
Adding personal touches to your craft projects can make them truly unique.
Incorporating initials, names, custom colors, and patterns can elevate your creations and reflect your personal style.
Using Initials and Names
Using initials and names in your projects is a fantastic way to add a personal touch.
You can create custom labels, engravings, or even stitched designs.
- Monograms: Consider creating a monogram for a significant item. This could be anything from a personalized tote bag to a decorative pillow.
- Laser Engraving: If working with materials like wood or metal, laser engraving can bring your initials to life. It offers precision and a professional finish.
Using your family’s names or initials can also be a thoughtful addition.
This makes items like picture frames or memory boxes more meaningful.
Adding Custom Colors and Patterns
Custom colors and patterns can set your projects apart.
Choose colors that resonate with your personality or match a specific theme.
- Paint and Stain: Use paints or stains that reflect your style. You could create a gradient effect or use complementary colors to make elements pop.
- Fabric Choices: When working with textiles, pick fabrics that showcase your chosen patterns. Think florals, stripes, or even tie-dye for a fun twist.
Layering patterns can add depth to your projects.
For instance, mix patterned paper with solid colors to create visual interest.
Personalizing your crafts enhances not only the look but also the emotional connection to your creations.


