

Adding metallic details to your crafts can elevate your projects and give them a polished, professional look. With a few simple techniques and materials, you can easily incorporate metallic finishes to enhance your artistry.
Whether you’re working with paint, embossing, or other mediums, there are plenty of ways to achieve that sparkling touch.

From DIY home décor to custom gifts, metallic accents can transform everyday items into stunning pieces of art.
Embracing these techniques not only boosts your creativity but also allows you to personalize your crafts in exciting ways.
Let’s explore how you can make your projects shine with rich metallic details.
Metallic Foil Sheets
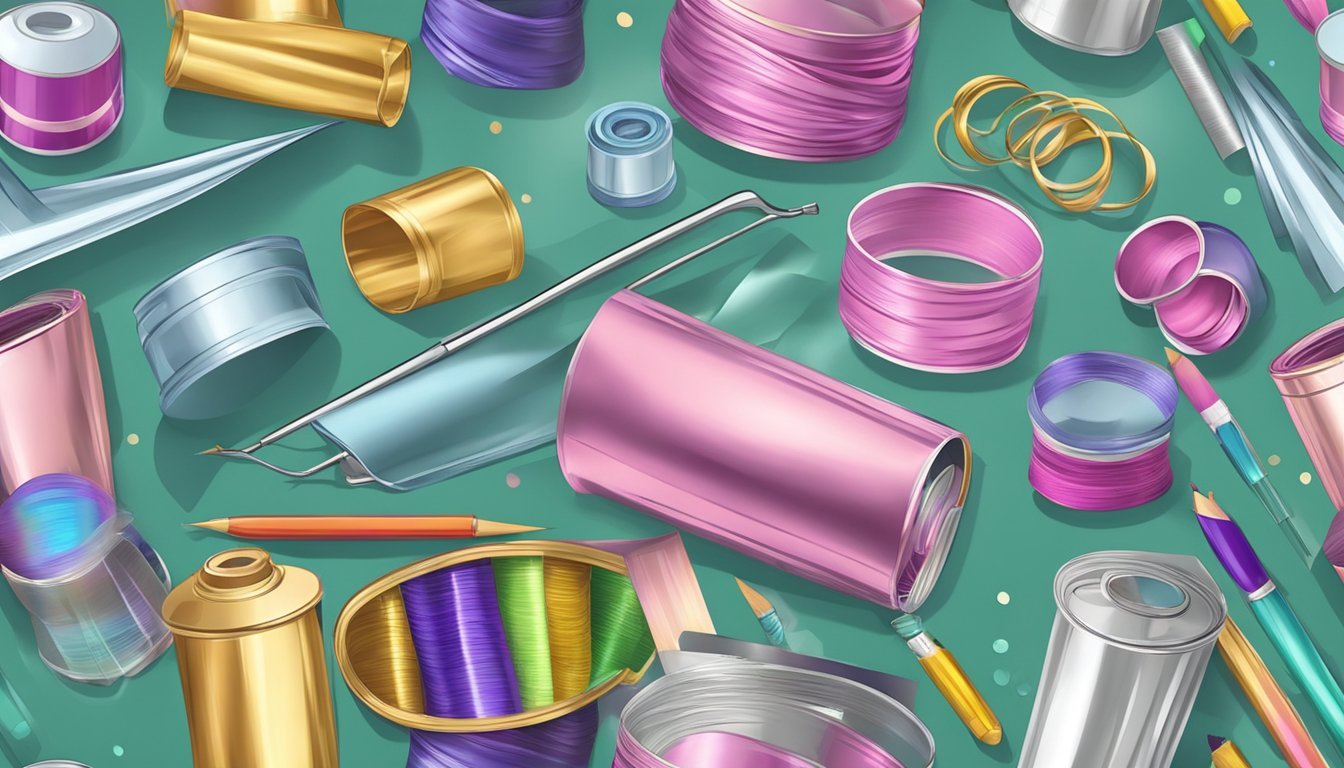
Metallic foil sheets are a fun way to add shiny details to your crafts.
They come in various colors and finishes, so you can pick what suits your project best.
To use foil sheets, you’ll need an adhesive.
Products like Deco Duo Gel Adhesive work great to ensure the foil sticks properly.
Apply the adhesive to your project, then place the foil sheet over it.
Make sure to smooth out any bubbles for an even application.
Gently peel away the foil to reveal a shiny surface underneath.
This method works well on paper, fabric, and even shoes.
You can also experiment with different techniques, like adding patterns or textures.
Try using it to accent jewelry boxes or other decorations.
The possibilities are almost endless.
Don’t hesitate to mix and match colors for unique results.
Whether you’re updating old items or enhancing new ones, metallic foil sheets can elevate your crafts.
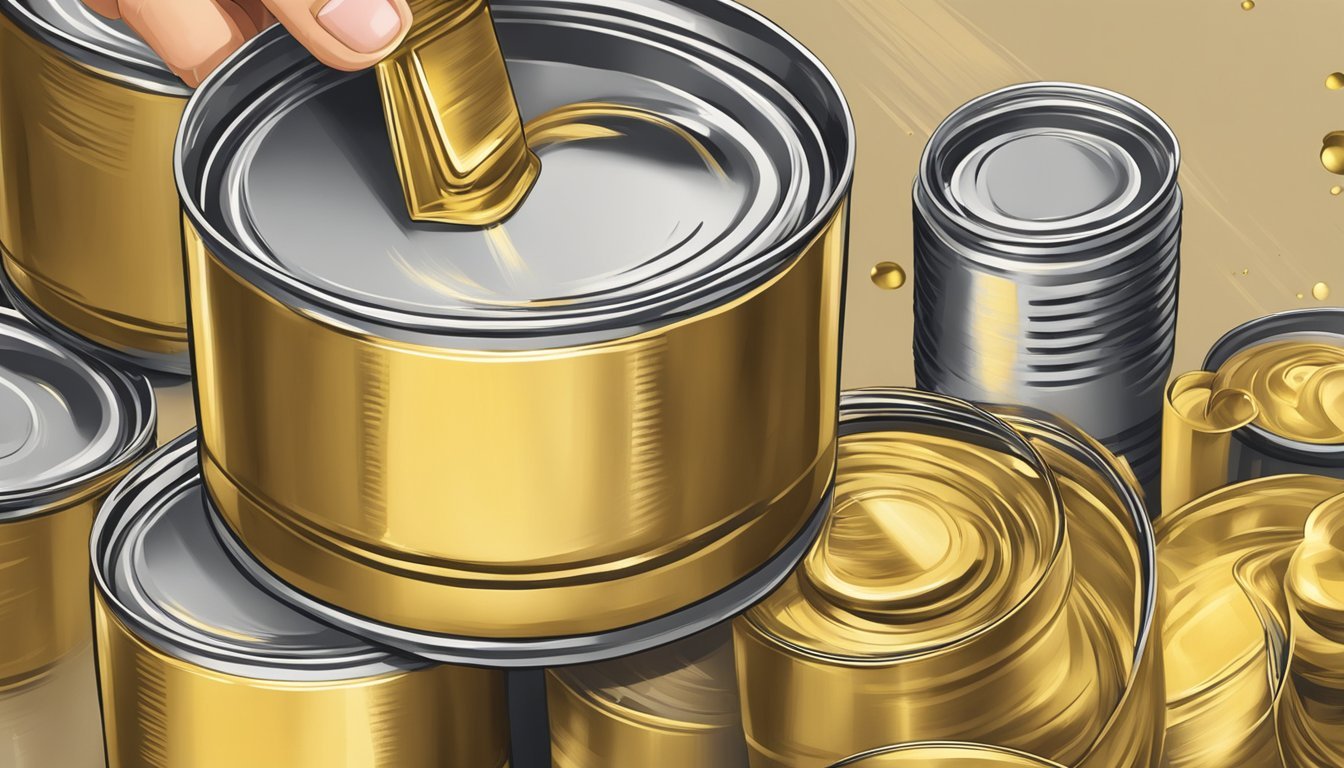
Gold Leaf Flakes
Gold leaf flakes can elevate your crafts by adding a luxurious touch.
They are thin sheets of gold that can be applied to various surfaces, making them a versatile choice for embellishments.
To get started, choose a clean surface.
Dust or debris can hinder adhesion, so wipe it down with rubbing alcohol.
Once it’s dry, apply a water-based adhesive where you want the gold flakes to adhere.
After the adhesive is in place, let it sit until it becomes tacky.
This usually takes about 60 minutes.
Carefully lay the gold leaf flakes onto the tacky adhesive.
They will naturally stick to the surface.
If you’re working on a project like a sign or art piece, consider sealing the gold leaf afterward.
A clear sealer helps protect the flakes and keeps them looking fresh.
Experiment with different techniques, like layering or mixing gold flakes with other metallics for added dimension.
Enjoy the process, and embrace the artistic flair that gold leaf can bring to your crafts.
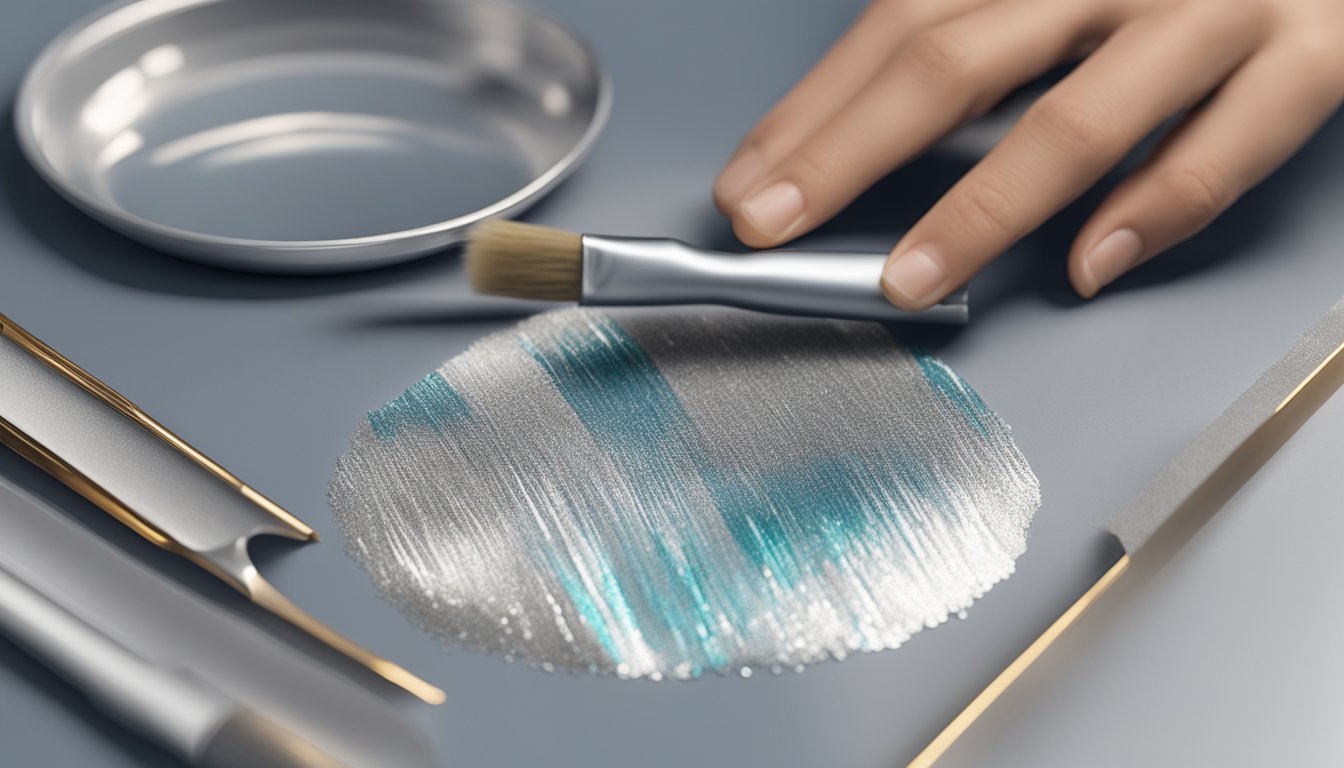
Silver Leaf Adhesive
When working with silver leaf, choosing the right adhesive is crucial.
A specialty leafing adhesive or size is ideal because it stays tacky, allowing the leaf to adhere properly.
Start by applying the adhesive to your chosen surface.
Use a soft brush for an even coat, ensuring it covers the area where you plan to apply the silver leaf.
Once the adhesive is tacky, gently lay the silver leaf over the area.
You can use your fingers or a brush to smooth it down.
Just be careful, as silver leaf is delicate and can easily tear.
After laying the leaf, give it some time to cure.
This generally takes a few days to ensure it adheres fully and lasts longer.
If any excess leaf is hanging over the edges, you can gently brush it away with a soft, lint-free cloth.
This will help create a clean and polished look for your project.
Bronze Metallic Paint
Using bronze metallic paint can elevate your craft projects.
It adds a rich, warm tone that complements various materials.
When choosing your bronze paint, look for quality products that contain real metallic particles.
These provide a more authentic finish and greater depth.
Before you start painting, ensure your surface is clean and prepped.
A smooth base allows the bronze to shine through without imperfections.
Apply the paint using a small roller or dense brush.
Light coats work best, letting each layer dry before adding more.
This technique helps achieve an even sheen without streaks.
Stencils can add intricate designs to your projects.
Secure them to your surface and carefully apply the bronze paint.
Remove the stencil while the paint is still wet for clean edges.
Don’t forget about highlights and shadows.
Layering shades can bring your bronze details to life, enhancing texture and depth.
Experiment with mixing bronze with other metallics for unique effects.
This can create an interesting dimension that captures attention.
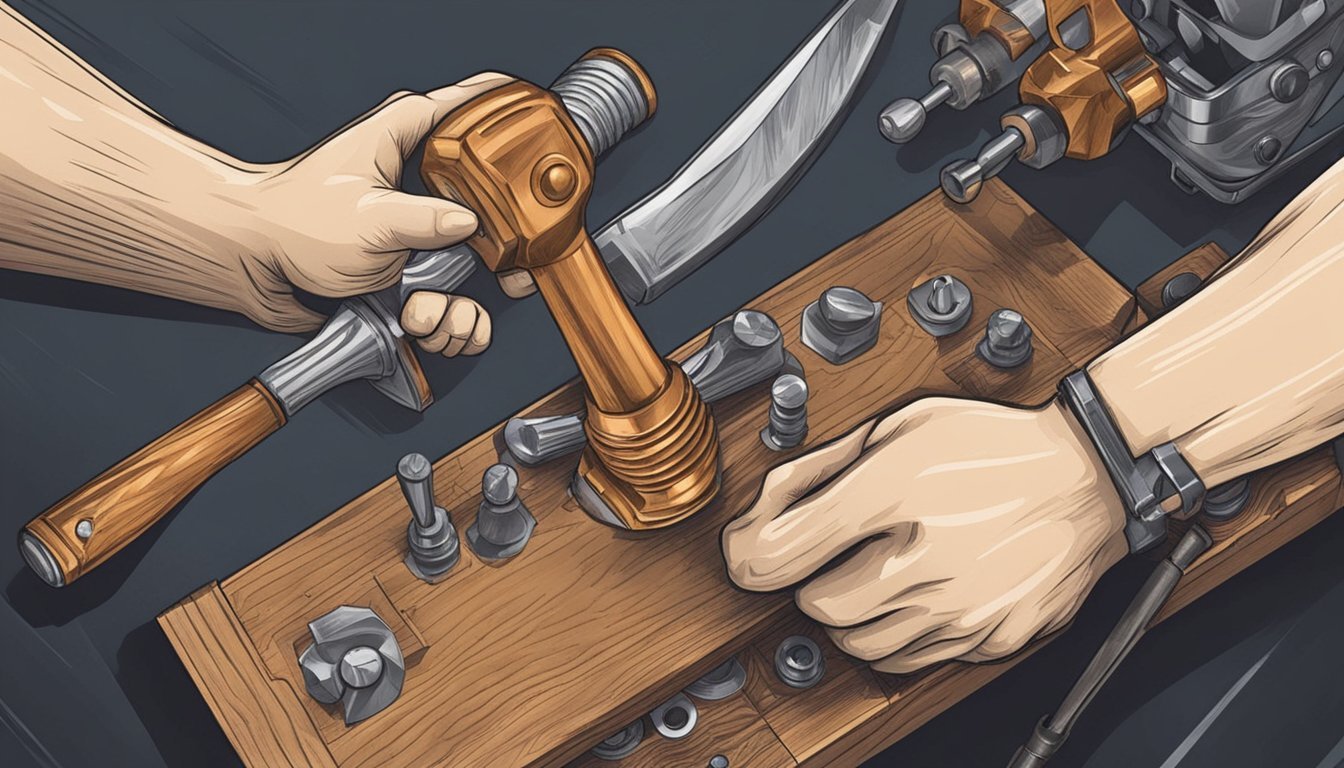
Copper Gilding Wax
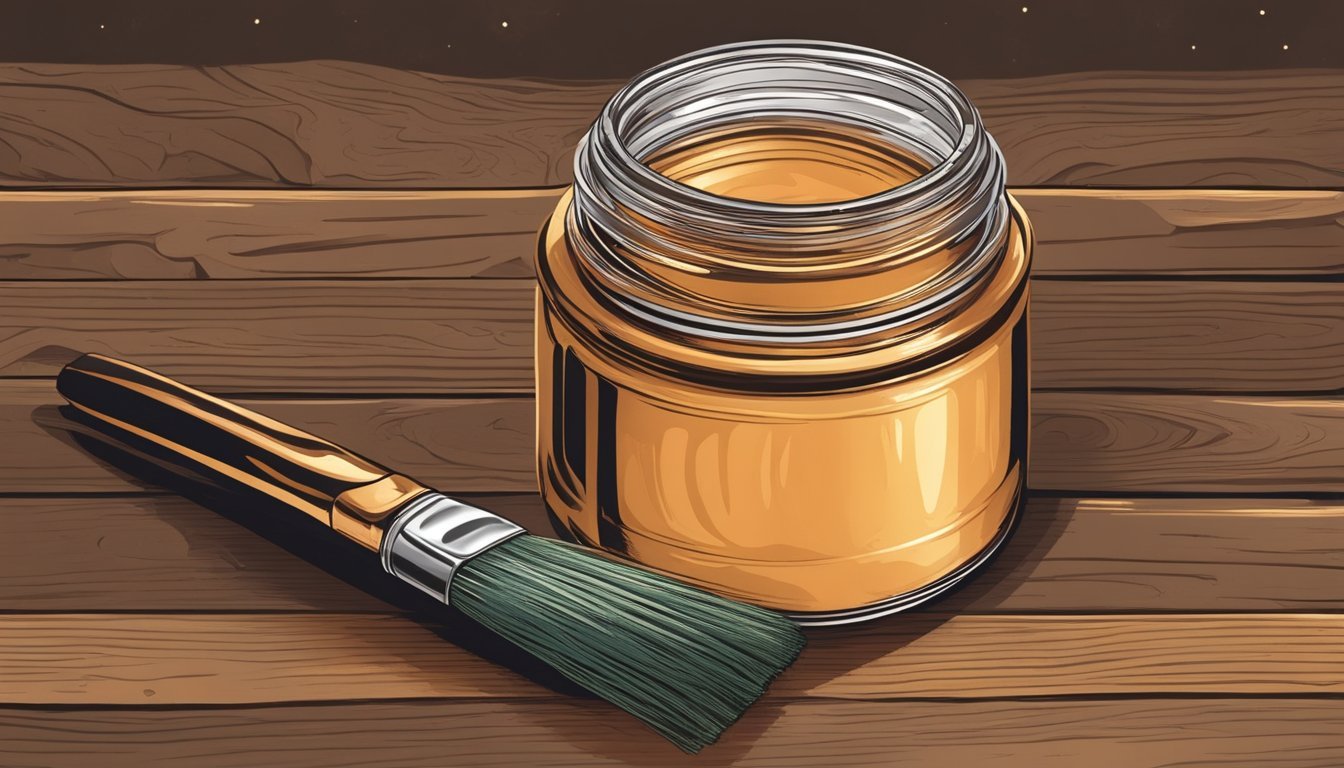
Copper gilding wax can transform your crafts by adding a warm, metallic touch.
It’s easy to use and perfect for various projects.
Start by preparing your surface.
Ensure it’s clean and painted if you want the color to pop.
Use a small brush to apply the wax, working in thin layers.
This technique prevents clumping and allows you to control the finish.
You can also use your finger or a soft cloth for application.
Wearing gloves will keep your hands clean and offer better control, especially for larger areas.
For a more textured look, lightly brush the wax over raised surfaces.
This highlights details and creates depth in your piece.
If you’re using it on furniture, consider applying it over a waxed finish for added durability.
Copper gilding wax is perfect for various materials, including wood, metal, and ceramics.
It gives your crafts that special “wow” factor without being overwhelming.
Enjoy the process and experiment with different applications!
6) Metallic Embossing Powder
Metallic embossing powder can add a touch of elegance to your crafts.
It allows you to create shiny, raised designs on various surfaces like paper, chipboard, and even metal.
To get started, choose your desired metallic powder.
There are many options, including gold, silver, and copper.
This variety lets you match your project’s color scheme easily.
Using a heat gun, apply the embossing powder to your stamped design.
This creates a smooth, glossy finish as the powder melts and solidifies.
It’s a satisfying process that gives your work a professional look.
Experiment with layering different powders to achieve unique effects.
You can also combine powders with other techniques, like watercolor or stencils, to enhance your projects further.
Remember to keep your workspace tidy.
Embossing powder can be a bit messy, so having a dedicated area will help.
With a little practice, you’ll master the art of using metallic embossing powders and elevate your crafting projects.
7) Gold Spray Paint
Gold spray paint is a simple way to add a touch of elegance to your crafts.
It’s versatile and can transform everyday items, making them feel more luxurious.
You can use gold spray paint on various surfaces, including wood, metal, and plastic.
Just make sure to clean and prep the surface beforehand for the best results.
When applying, hold the can about 6-12 inches away.
This helps to achieve an even coat and prevent drips.
A few light layers will give you the most vibrant finish.
If you’re not sure where to start, consider items like picture frames, vases, or even furniture accents.
You can turn mundane objects into standout pieces with this easy technique.
Don’t forget to spray in a well-ventilated area and wear a mask to avoid inhaling fumes.
Enjoy the process of giving your crafts a glamorous gold update!
Silver Fabric Paint
Silver fabric paint is a fantastic way to elevate your craft projects.
It adds a touch of metallic shimmer that can make any item stand out.
When using silver fabric paint, start by preparing your fabric.
Wash and dry it to remove any finishes that might interfere with the paint’s adhesion.
Next, consider testing the paint on a small, hidden area.
This ensures you get the desired shade and effect before diving into your main design.
For a professional finish, apply the paint with a foam brush or sponge.
This method helps achieve an even coat, preventing streaks.
Remember, you can mix silver paint with other colors to create custom shades.
Experimentation can lead to unique effects that enhance your project.
Once you’re satisfied with the application, let the paint dry completely.
Follow the manufacturer’s instructions for setting the paint, which may involve heat setting with an iron.
By incorporating silver fabric paint into your crafts, you can add depth and visual interest.
It’s an easy way to transform ordinary items into eye-catching pieces.
Metallic Ink Pens
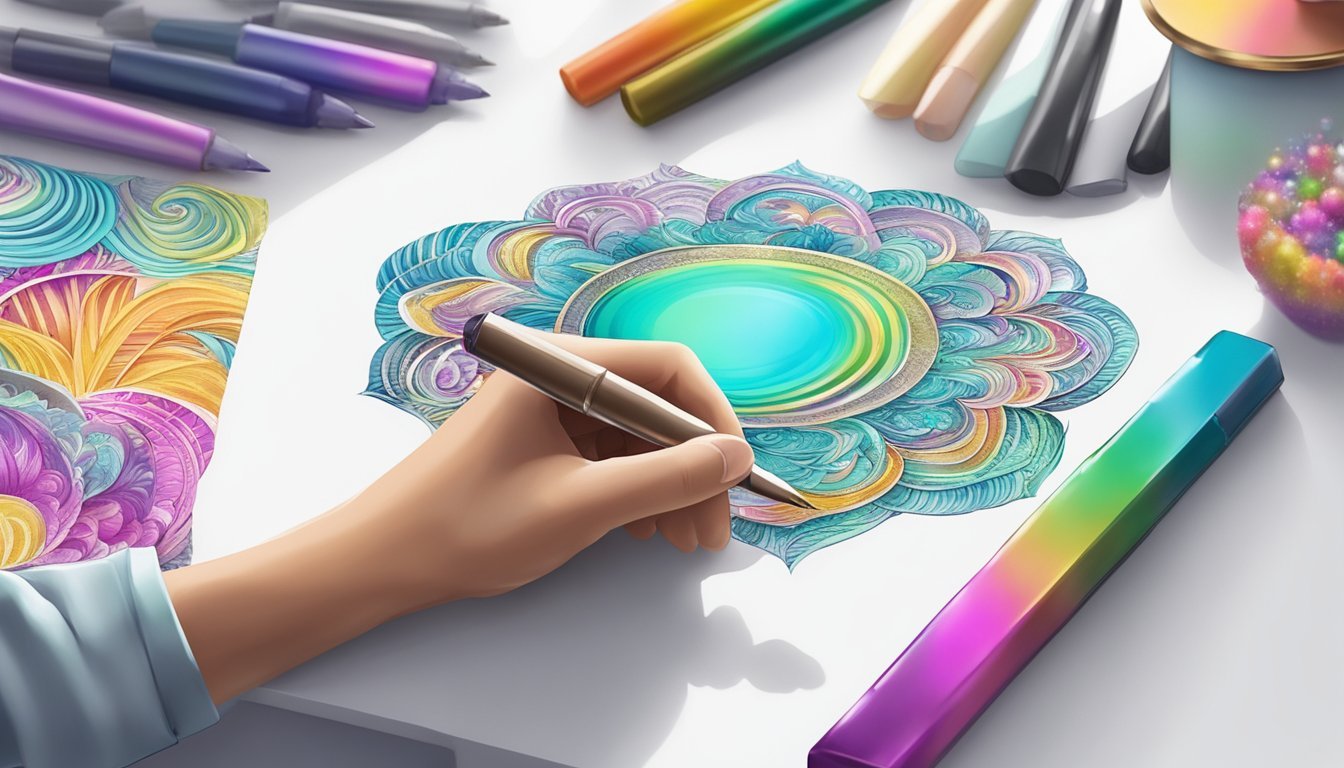
Metallic ink pens can elevate your crafting game by adding a shiny finish to your projects.
These pens come in a variety of colors and styles, making it easy to find the perfect match for your creative vision.
When choosing metallic pens, consider the surface you’ll be working on.
Many metallic markers work well on paper, glass, and even ceramics, allowing for diverse applications.
They’re great for personalized DIY crafts like greeting cards or decorated mugs.
Look for options with various nib sizes to achieve different effects, from fine details to broader strokes.
For example, brush tip markers can give you an even coverage and a more artistic touch.
Brands like ARTISTRO and MyArTool offer reliable metallic markers that artists and crafters enjoy using.
These pens can add a vibrant shimmer to your illustrations or enhance the visual appeal of any project.
To keep your artwork looking sharp, ensure you use acid-free and archival-quality inks.
This will help maintain the integrity of your work over time.
Copper Brads
Copper brads are a great way to add a touch of metallic elegance to your crafts.
These small fasteners come in various sizes and shapes, making them versatile for different projects.
Using copper brads can enhance scrapbook pages, card designs, or any paper crafts.
They not only provide function but also contribute to the visual appeal of your work.
To use copper brads, first, make a hole in your paper.
Then, insert the brad through the hole and spread the prongs on the back to secure it in place.
This will give your project a polished look.
If you’re feeling creative, consider making your own decorative brads.
You can find tutorials online that guide you through printing designs and cutting cardstock to create custom pieces that fit your style.
Whether you’re using them as a focal point or a functional element, copper brads are a simple yet effective addition to your crafting toolkit.
Enjoy experimenting with different designs and arrangements to find what works for your projects.
Choosing the Right Metallic Elements
When incorporating metallic details into your crafts, choosing the right elements is crucial.
Understanding different metallic finishes and the best materials will help you make informed decisions that elevate your projects.
Types of Metallic Finishes
Metallic finishes come in various styles, each offering a unique visual effect.
Here are some popular types to consider:
-
Brushed Finish: This finish has a subtle texture with fine lines. It provides a matte look that diffuses light, making it versatile for various projects.
-
Polished Finish: Known for its shiny, mirror-like surface, a polished finish adds elegance. It works best in accents or statement pieces.
-
Antique Finish: This gives a weathered appearance, providing a vintage vibe. It’s great for rustic crafts or adding character to modern designs.
-
Matte Finish: Low-luster and soft, the matte finish provides a contemporary look. It pairs well with bright colors without overwhelming them.
Choosing the right finish sets the tone for your project and enhances the overall aesthetic.
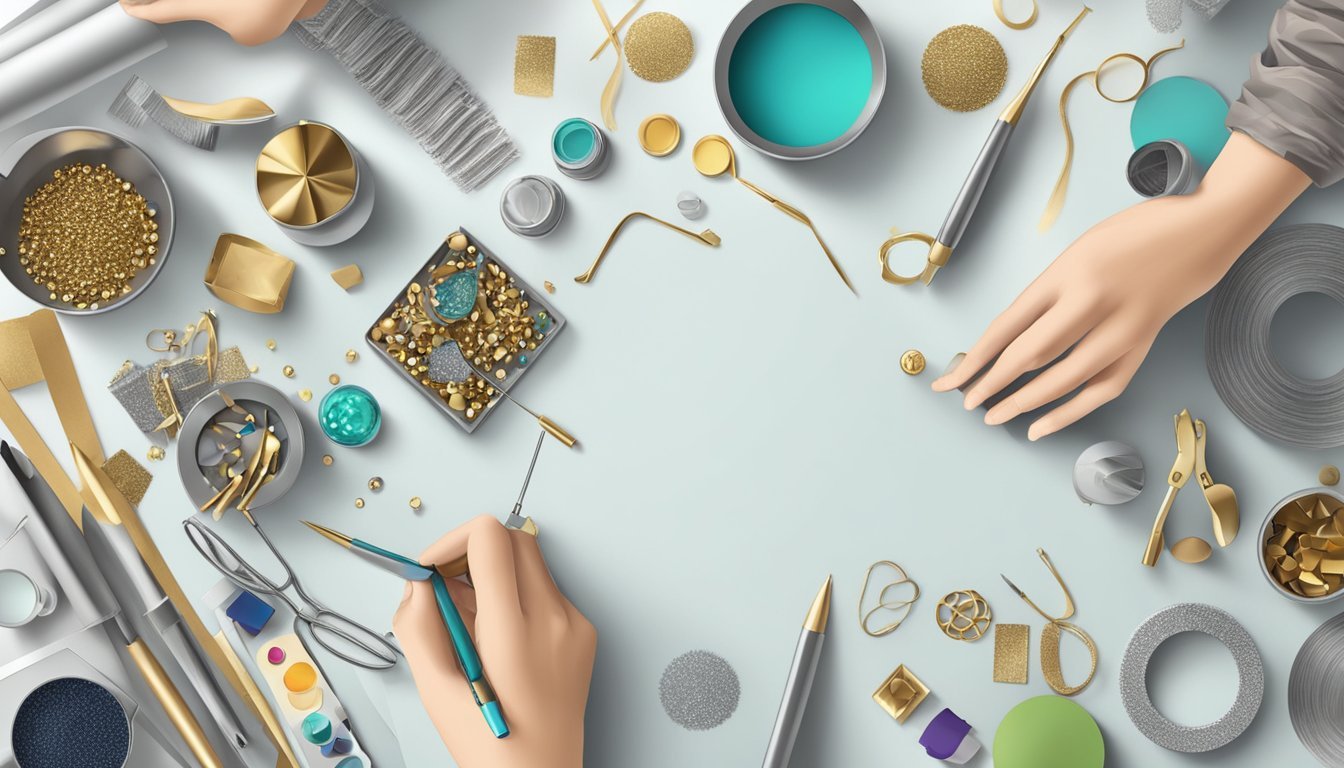
Best Materials for Metallic Crafts
Several materials can help you achieve stunning metallic effects in your crafts.
Consider the following options:
-
Metal Foil: Thin and flexible, metal foil is perfect for covering surfaces. It’s easy to apply and allows for intricate designs.
-
Metallic Paint: Available in various shades, metallic paint gives flexibility in application. It’s great for painting, stenciling, or creating mixed-media pieces.
-
Metallic Thread: Ideal for sewing or embroidery, metallic thread adds shimmer. It works well on fabrics, providing a touch of elegance to garments or home decor.
-
Metals: Actual metal elements like brass or copper can be used in jewelry-making or sculpture. They add authenticity and durability to your crafts.
Selecting quality materials tailored to your project needs will significantly impact the final outcome.
Techniques for Adding Metallic Details
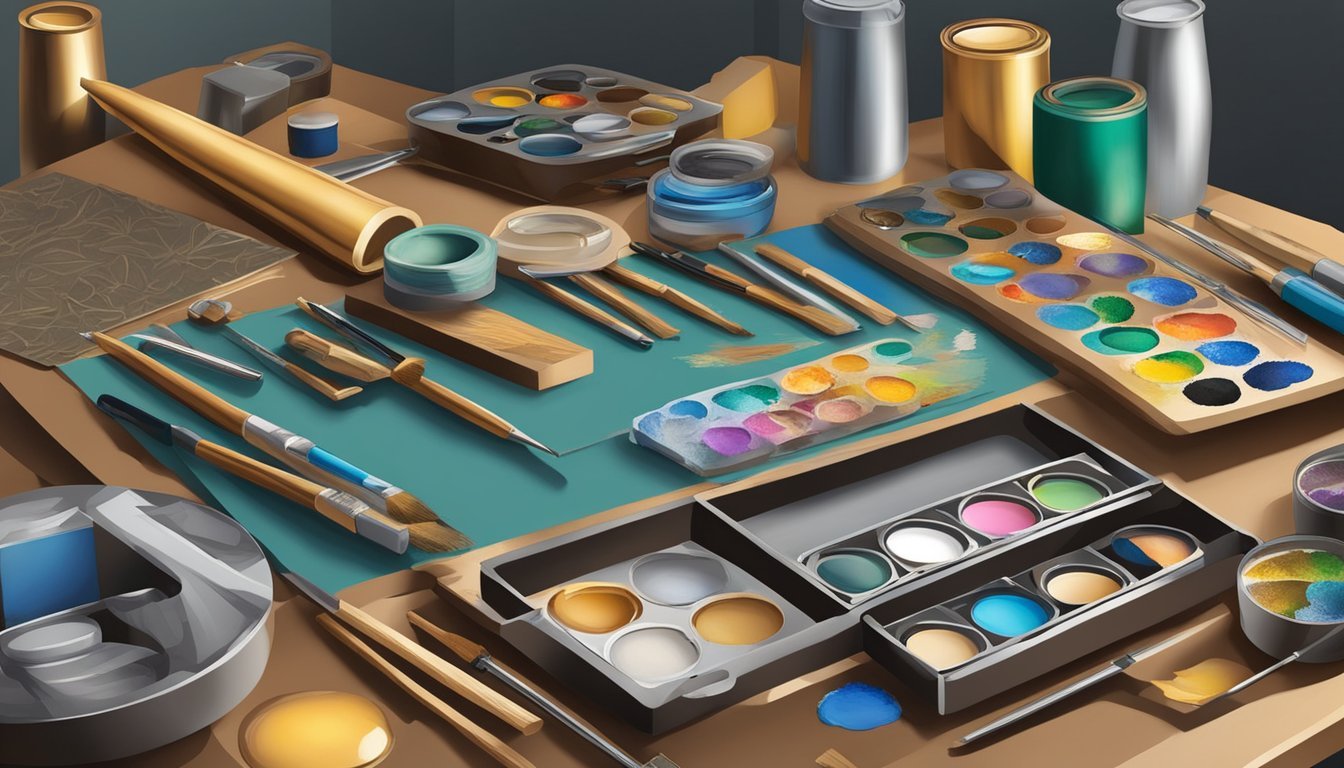
Adding metallic details can elevate your crafts, providing a touch of elegance and shine.
There are various techniques to achieve this effect, making it accessible for all skill levels.
Here’s how you can incorporate metallic elements into your projects.
Simple Brushing Method
Using metallic paint can be incredibly straightforward.
Start with a clean brush; a flat brush works best for even application.
Choose a metallic paint that suits your project, whether it’s gold, silver, or bronze.
- Prepare the Surface: Make sure your base surface is clean and dry.
- Thin Application: Load your brush with paint and gently swipe it across the area you want to highlight.
- Layering: For deeper color, apply a second coat after the first has dried.
This method is perfect for covering larger areas or adding accents to existing designs.
Remember to clean your brush immediately after use to avoid paint drying on the bristles.
Using Metallic Foils
Metallic foils can provide an eye-catching finish that paints can’t replicate.
Here’s how to use them effectively in your crafts.
-
Adhesive Layer: Start by applying a special adhesive where you want the foil to stick. Many adhesives are available specifically for foiling.
-
Carefully Apply Foil: Once the adhesive is set (but not completely dry), place the foil over the area. Then, gently rub it with your fingers or a soft cloth.
-
Smooth Out: Peel the foil back slowly. You’ll reveal a shiny surface, with the metallic effect staying exactly where you applied the adhesive.
Foils are great for adding detail to cards, scrapbook pages, or any mixed-media projects, giving your crafts a unique and high-end look.