
Crafting can be a fun and relaxing way to express your creativity, but sometimes basic craft kits can feel a bit limiting. With a little imagination and some extra supplies, you can transform those simple kits into stunning masterpieces that reflect your personal style.
Whether you’re using a basic painting set or a simple jewelry-making kit, there are countless ways to elevate your projects.
By experimenting with different techniques and adding your unique touches, you can take any standard craft kit and turn it into something extraordinary.
This journey can lead to discoveries that enhance your skills and ignite your passion for crafting even further.
Get ready to explore the endless possibilities that await you in the world of DIY crafting!
Paint Your Own Garden Gnome
Transforming a basic garden gnome kit into a unique masterpiece is a fun project.
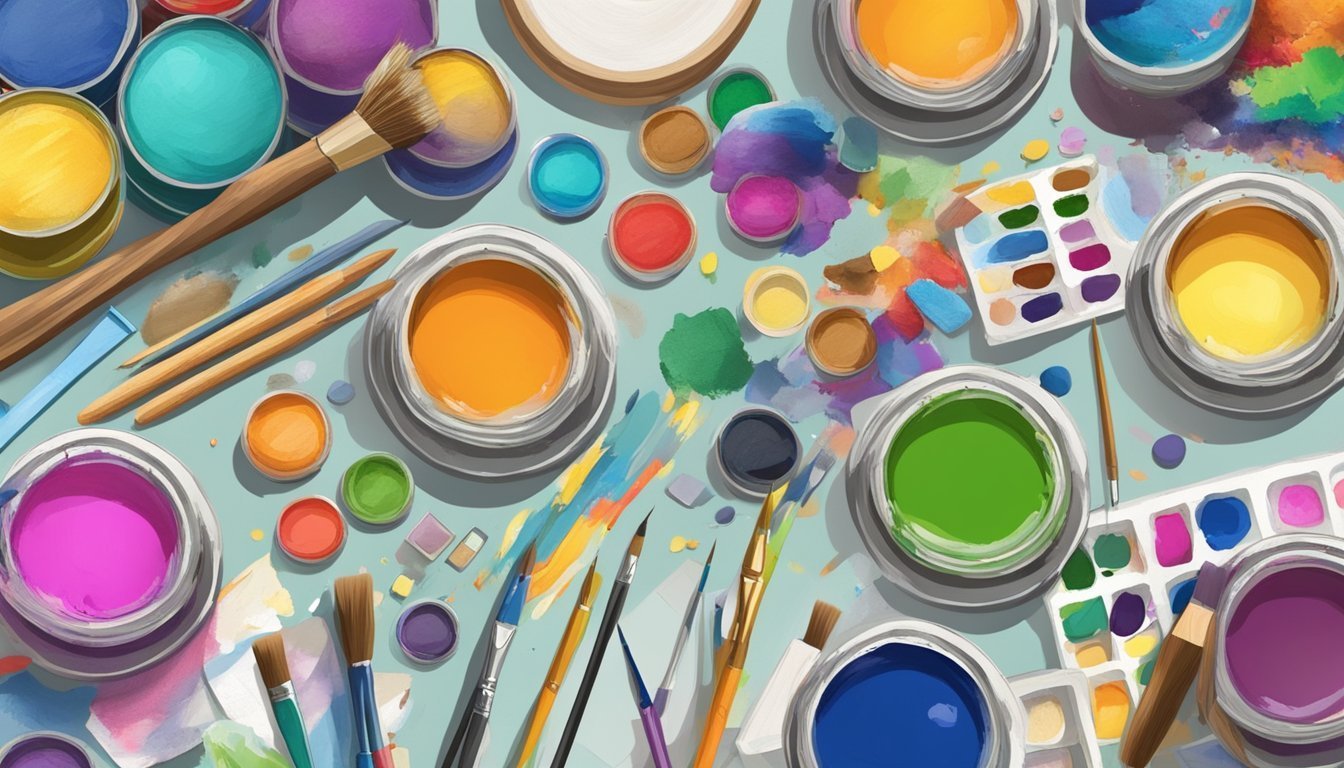
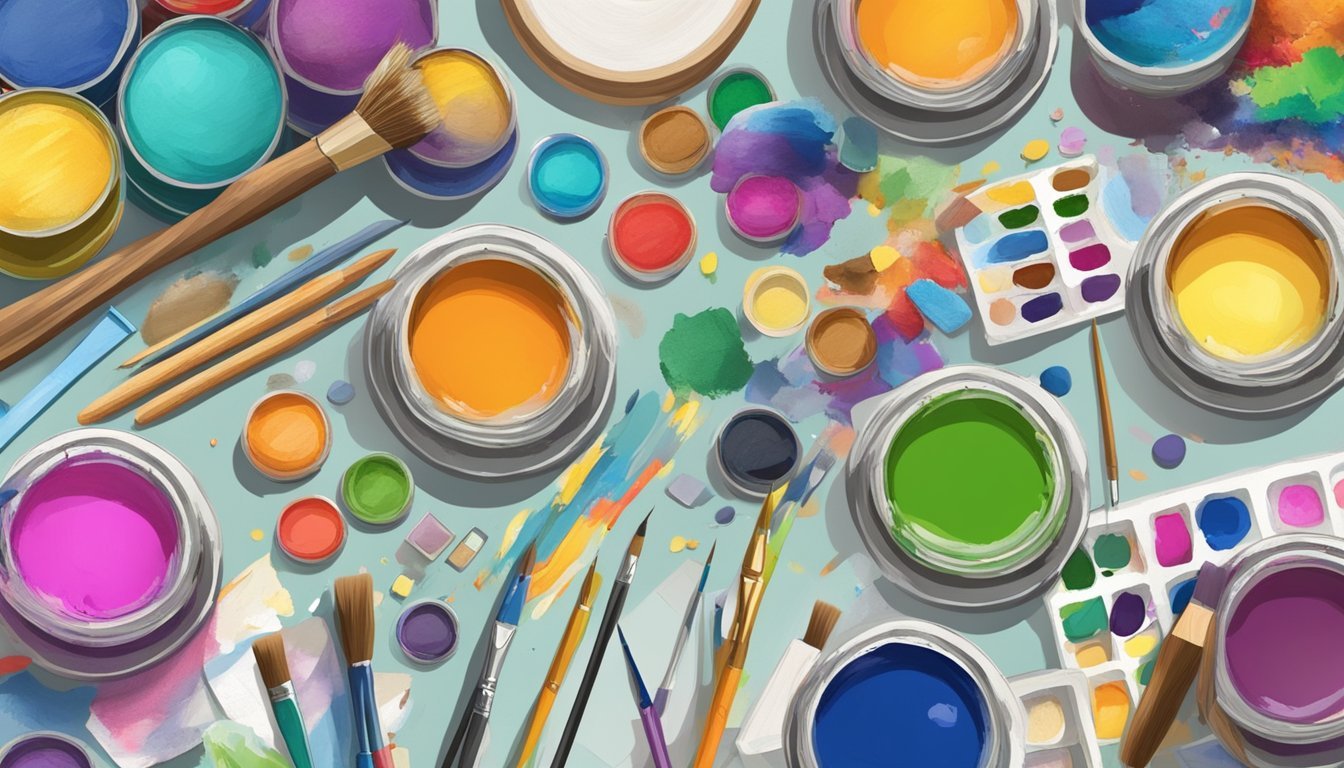
Start by gathering your materials, including paintbrushes and acrylic paints in your favorite colors.
Before you begin painting, make sure to clean the gnome’s surface.
This ensures the paint adheres well.
You can choose vibrant colors or go for a more rustic look, depending on your style.
Think about adding details like expressive eyes or a playful hat.
These small elements can significantly enhance the character of your gnome.
Don’t be afraid to experiment with different techniques, like sponging or dry brushing, to create texture.
Once painted, let your gnome dry completely.
You can seal it with a clear coat for added durability if you plan to place it outdoors.
Enjoy displaying your personalized garden gnome in your yard or giving it as a quirky gift!
Design Your Tote Bag
Designing your tote bag is a fun way to express your creativity.
Grab a plain canvas or cotton tote as your base.
You can use fabric paints to create a colorful masterpiece.
Start by sketching your design on paper.
This will help you visualize how it looks before you start painting.
If you prefer something more structured, try using stencils.
They can give you clean lines and shapes.
Just place the stencil on the bag and paint over it for a precise design.
Embroidery is another fantastic option.
Using embroidery floss, you can stitch your initials, a favorite quote, or any design that inspires you.
Don’t forget about fabric markers for quick and easy customization.
They are perfect for adding your unique touch without too much fuss.
Once you’ve finished your design, let it dry completely.
This ensures your artwork stays vibrant and intact.
Enjoy your personalized tote bag!
DIY String Art Star
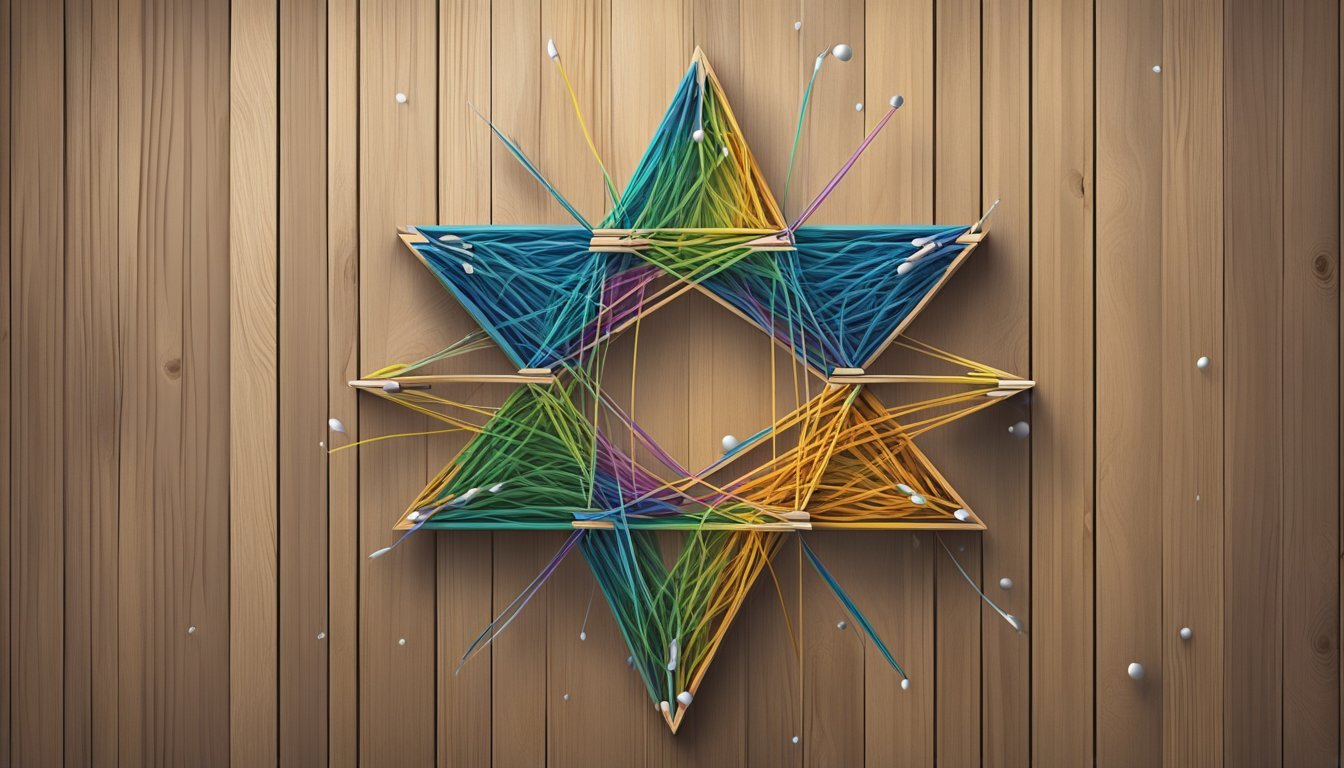
Creating a string art star is a fun way to add a personal touch to your space.
You don’t need to be a pro; just gather a few supplies and follow some simple steps.
Start with a wooden board as your base.
Choose a size that fits your project—around 20×20 cm is a good choice.
Sand the surface for a smooth finish.
Next, you’ll need nails and string.
Hammer nails into your board in the shape of a star.
Be sure to space them evenly for a clean look.
Once your nails are in place, grab some string.
Tie one end of the string to a nail and start weaving it around the others.
Get creative with your pattern! You can use different colors to make your star pop.
Keep wrapping the string until you’re happy with the design.
When you’re done, tie off the string and trim any excess.
This simple project can brighten up any room and show off your crafty side.
4) Custom Mug Painting Set
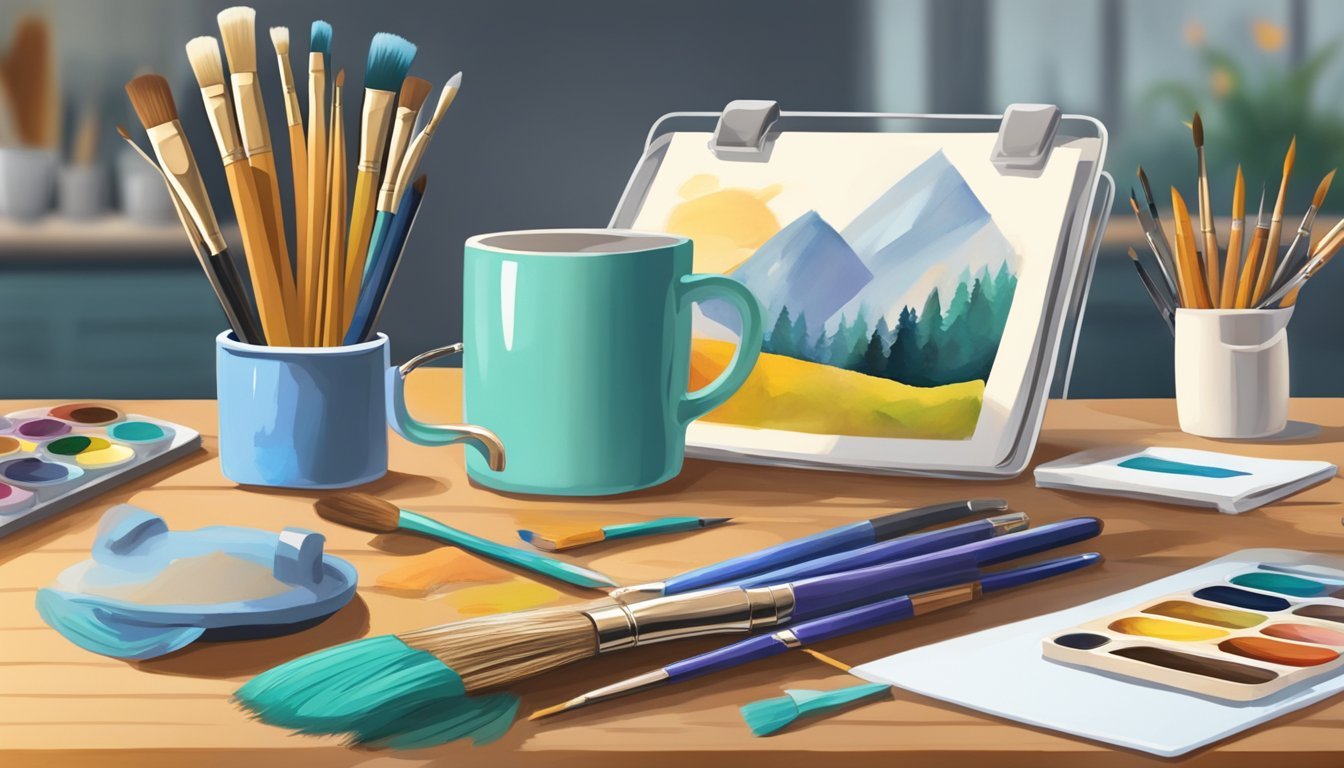
Transforming a basic mug painting kit into a personalized masterpiece is a fun and rewarding project.
Start by selecting a kit that includes ceramic mugs and a variety of paint colors.
Once you’ve gathered your materials, let your creativity flow.
You can use stencils, paintbrushes, or even your fingers to create unique designs.
Remember, there are no rules in art!
After finishing your masterpiece, it’s crucial to set the paint properly.
Place your painted mugs in a cool oven, then bake them at 375°F for about 30 minutes.
This ensures the paint adheres well and becomes microwave and dishwasher safe.
Let the mugs cool down before handling them.
Now you have custom mugs that are not only beautiful but also practical.
They make great gifts or can be a wonderful addition to your own kitchen.
Enjoy sipping your favorite beverage in style!
Create Your Beaded Necklace
Making a beaded necklace is a fun way to personalize your jewelry collection.
Start by gathering your supplies: beads, string, and a clasp.
Choose a color scheme that speaks to you.
Plan your layout before you start stringing.
This helps you see how the beads will look together.
Keep the tension on the string consistent, but don’t pull it too tight; that can make your necklace stiff.
As you string the beads, consider using a thin needle for smaller holes.
This can make the process smoother.
When you’re done stringing, it’s time to finish with the clasp.
Use crimp beads to secure the ends of the string.
Feed the wire through the clam shell bead tip first, then slide on a crimp bead.
Make sure everything is snug and secure.
With a little patience and creativity, you’ll transform those basic craft supplies into a beautiful, unique necklace that showcases your style.
Enjoy the process, and don’t hesitate to experiment with different bead sizes and shapes!
6) Felt Animal Making Kit
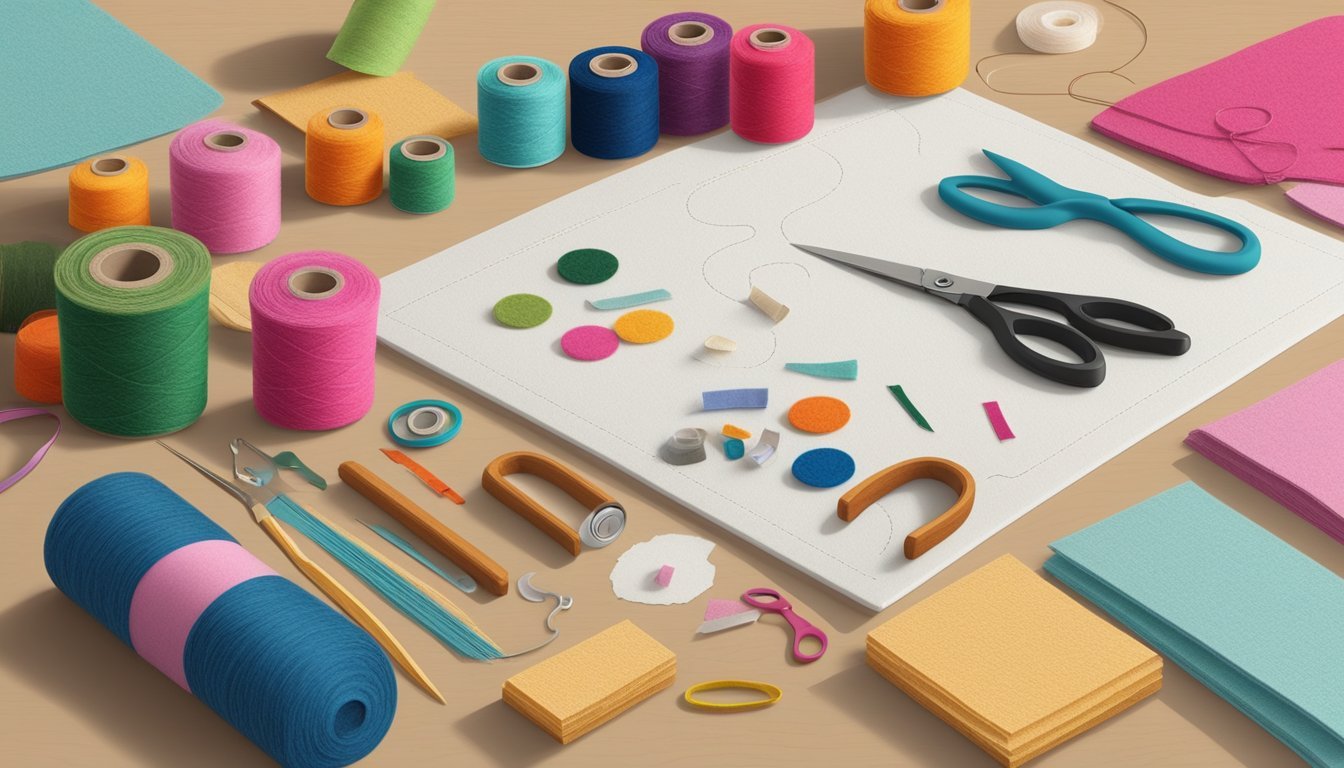
A felt animal making kit can be a fun, creative way to bring your ideas to life.
These kits usually come with all the necessary materials, including wool roving and felting needles.
You can create adorable animals with just a few basic techniques.
Start with the torso, then add legs, a head, and finish with details like ears and tails.
The process is simple enough for beginners but allows for creativity as you gain skills.
You can experiment with colors and styles to make each piece unique.
These kits often include instructions, making it easy to follow along.
Remember, with some patience, your felted creations can be impressive.
Don’t be intimidated by the sharp needles; just take your time.
Enjoy the crafting experience as you transform simple materials into delightful animals.
7) Clay Pottery Sculpting Kit
A clay pottery sculpting kit is a fantastic way to unleash your creativity.
These kits typically include all the essentials you need to get started, such as high-quality air-dry clay, sculpting tools, and even paints.
When using a beginner’s clay kit, start by familiarizing yourself with the different tools.
Each tool has a specific purpose that helps shape your clay into unique forms.
The instructions provided are usually straightforward and easy to follow.
You can create simple sculptures, pots, or decorative items.
Working with air-dry clay means you don’t need a kiln, which simplifies the process a lot.
Just shape your creation, let it dry, and then paint it to add that personal touch.
Don’t forget to take your time and enjoy the process.
The beauty of a clay sculpting kit is that it can help you turn a lump of clay into something truly special.
Let your imagination guide you as you experiment and refine your skills.
Build Your Wooden Birdhouse
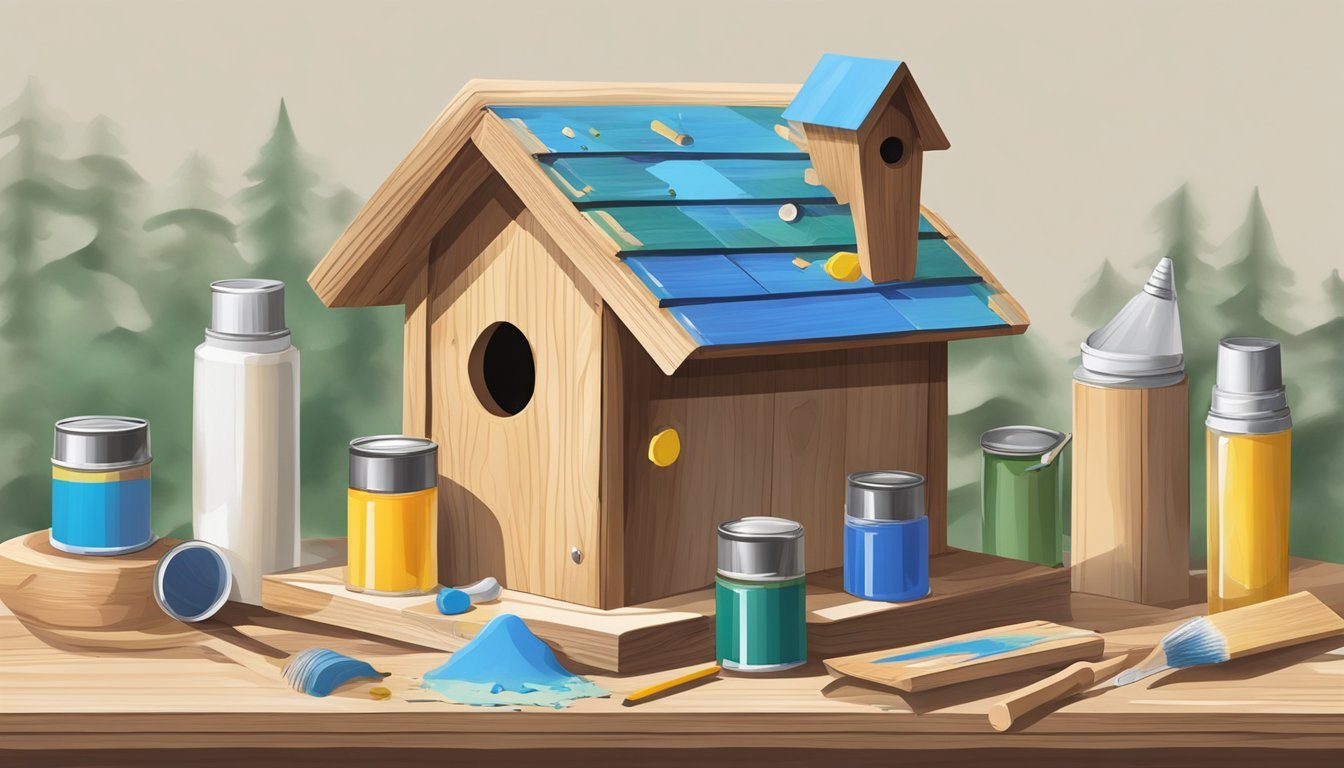
Building a wooden birdhouse is a fun and rewarding project.
It’s a great way to express your creativity and support local wildlife.
Start by gathering your materials.
You’ll need untreated wood, nails, a hammer, and some basic tools.
A birdhouse kit can simplify the process, making it easy for beginners.
Choose a simple design to follow.
Look for plans that fit your skill level.
Many kits come with pre-cut pieces, so all you have to do is assemble them.
When constructing, make sure to drill a hole for the entrance.
It should be large enough for your chosen bird species.
Ventilation holes are also important to keep the interior comfortable.
After building, let your birdhouse dry completely.
You can paint or stain it if you want to add a personal touch.
Just make sure to use non-toxic materials that are safe for birds.
Finally, choose the right location to hang your birdhouse.
It should be sheltered from harsh weather and away from predators.
Enjoy watching the birds that come to visit!
9) Jewelry Making Kit: Bracelet Edition
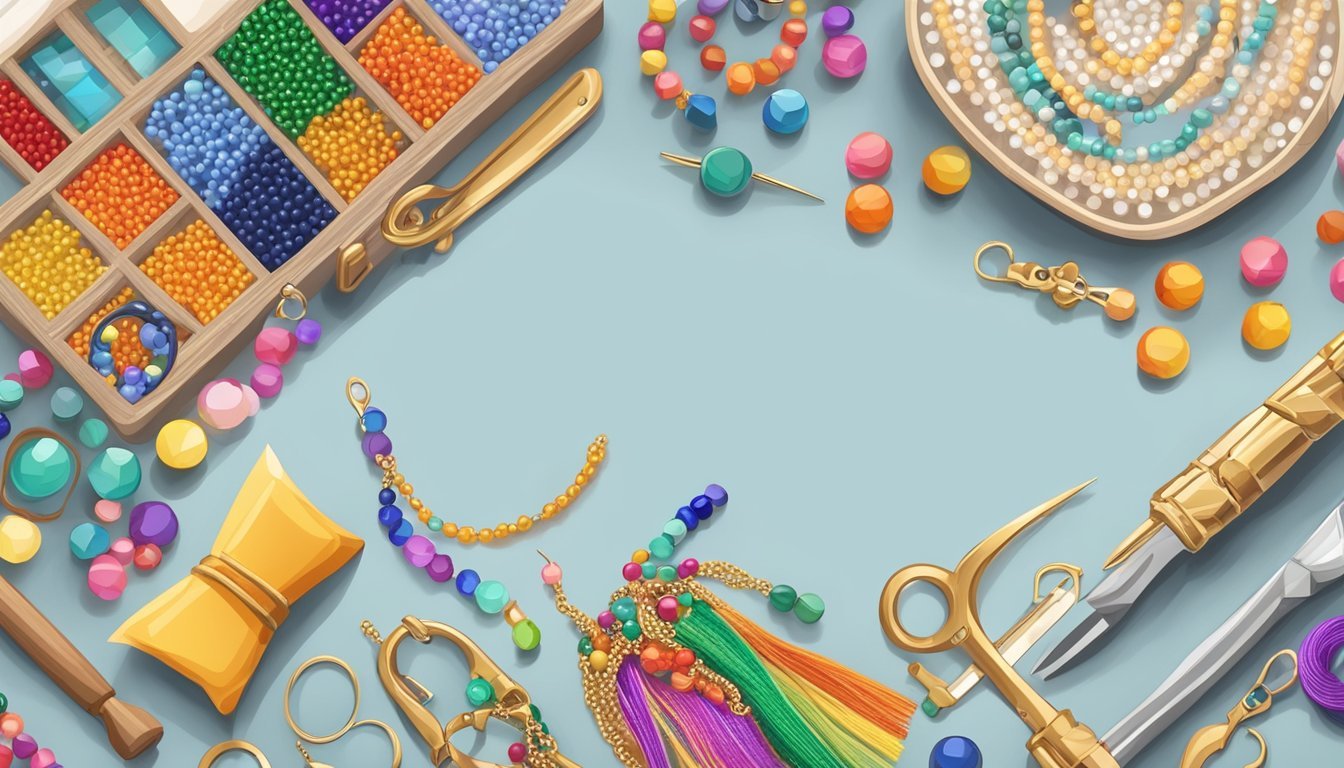
Creating unique bracelets can be a fun way to express your style.
A jewelry-making kit focused on bracelets often includes everything you need to get started.
Look for kits that come with pre-made bracelets so you can easily add your charms.
This allows you to customize your pieces without starting from scratch.
Kits like the Sabrikas Giftware offer metal charms that you can enhance with crystals or colorful enamels.
If you’re looking for versatility, some kits include various types of beads and materials.
This way, you can mix and match to create one-of-a-kind designs.
Tools such as jewelry pliers and cutters may also be included, essential for crafting and resizing.
Keep in mind that many kits are beginner-friendly.
They provide clear instructions, making it easy to follow along.
As you gain confidence, you can start experimenting with more complex designs.
Using a jewelry-making kit, you can transform basic materials into beautiful bracelets that showcase your creativity.
Enjoy the process and wear your handmade creations proudly!
Weave Your Wall Hanging
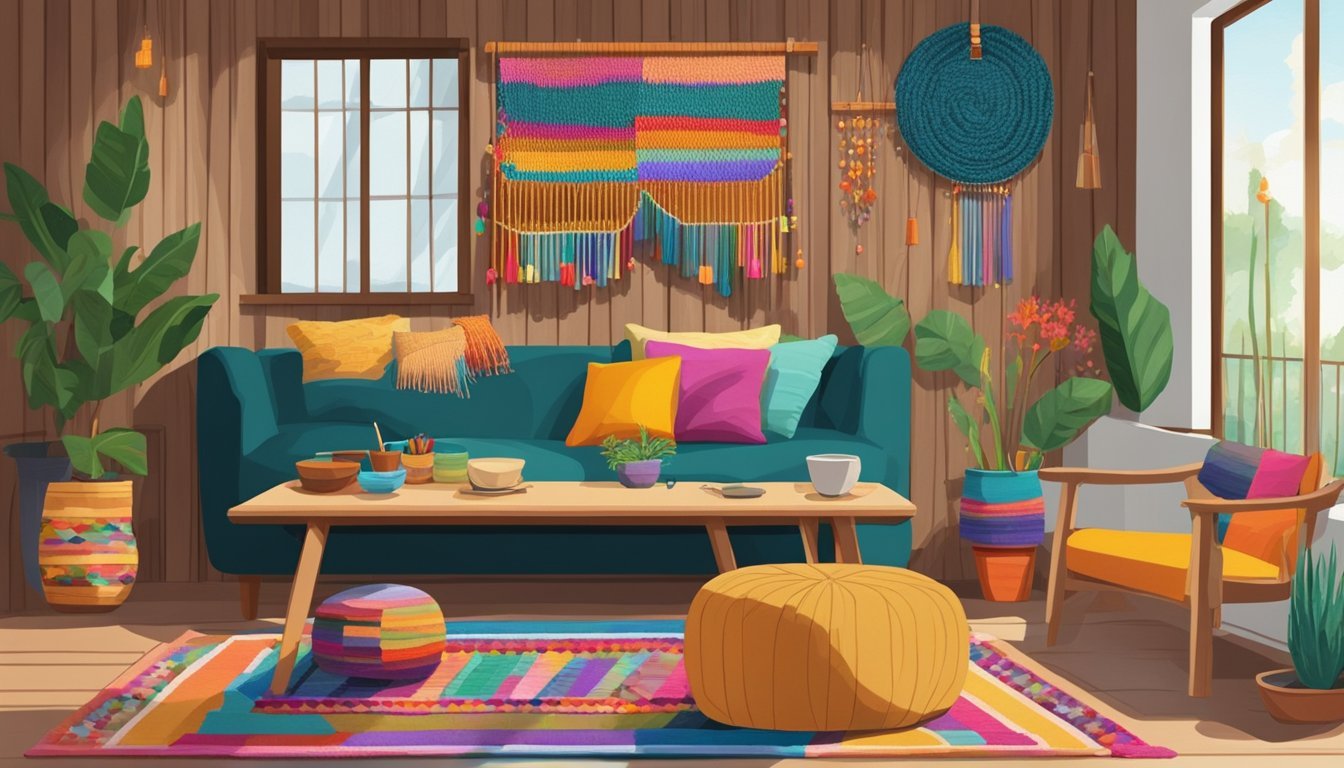
Creating a woven wall hanging is a fun way to showcase your creativity.
Start with a basic weaving kit or gather some yarn and a frame.
You can use various materials like thick yarn, twine, or even fabric scraps.
Get inspired by different textures and colors.
Begin by setting up your frame with warp strings.
This is the foundation of your piece.
Once that’s ready, you can start weaving.
Incorporate layers and fringe for added depth.
For fringe, fold your yarn in half and attach it to your warp.
This gives a nice finish to your wall hanging.
Don’t hesitate to mix techniques.
Knotting can add unique elements and styles to your design.
As you weave, experiment with patterns and colors that resonate with your space.
Remember, there are no strict rules in crafting; let your imagination run wild.
Once finished, hang your masterpiece proudly.
It’s a great talking point and a wonderful way to personalize your home.
Understanding Design Principles
Grasping the basics of design principles can elevate your craft projects significantly.
These elements will help you create visually appealing pieces that stand out.
Color Theory and Application
Color is more than just a visual element; it sets the mood and draws attention.
Understanding color theory enables you to use colors effectively.
Here are some key concepts:
- Color Wheel: Familiarize yourself with primary, secondary, and tertiary colors. This helps you create harmonious palettes.
- Complementary Colors: Use opposites on the color wheel for contrast. This technique adds vibrancy to your designs.
- Analogous Colors: Select colors next to each other for a cohesive look. This can make your project feel more unified.
Always experiment with different color combinations.
Your craft kit likely has a variety of shades; don’t hesitate to mix them until you find the perfect combination.
Balancing Elements
Balance in design is essential for creating a pleasing aesthetic.
It ensures that no single element overwhelms the others.
Here are ways to achieve balance in your projects:
- Symmetrical Balance: Distribute elements evenly. This is a classic approach that creates formality.
- Asymmetrical Balance: Arrange elements of varying sizes and weights in a way that feels balanced. This adds dynamism to your design and keeps it interesting.
Consider using the Golden Ratio
Techniques to Elevate Your Craft

Enhancing your craft can be as simple as adding layers or incorporating different materials.
These techniques not only create visual interest but also allow you to express your unique style.
Layering and Texture
Layering is a fantastic way to add depth to your projects.
Start with a base layer using paper, fabric, or other materials.
From there, you can build up with contrasting colors or patterns.
Utilizing adhesive foam pads can create a three-dimensional effect.
Consider adding texture through various techniques, such as:
- Ribbons: Use them to create waves or folds.
- Stencils: Apply them with paint or ink for a textured look.
- Embellishments: Think buttons, beads, or lace for added tactile experience.
Mixing different materials, like combining wood with fabric, can also elevate your craft.
Don’t hold back—experiment with layering up until you achieve a rich, dynamic composition.
Incorporating Mixed Media
Mixed media opens up a world of creativity.
Blending various craft supplies can create something truly special.
For example, combining painting with collage can add complexity to your piece.
Some ideas to explore include:
- Washing and Staining: Use watercolors or acrylic washes to add color.
- Found Objects: Incorporate things like leaves, fabric scraps, or even old jewelry for unique textures.
- Digital Elements: Print photographs or use digital designs for a modern touch.
Be playful with your selections.
The combination of different elements not only personalizes your work but also tells a story that reflects your artistic journey.