

Making unique jewelry with polymer clay is a fun and creative way to express your personal style. With just a few basic tools and materials, you can craft custom pieces that reflect your taste and creativity. This versatile medium allows you to explore endless design possibilities, from colorful beads to intricate charms.
Whether you’re a beginner or have some experience, the process of shaping, baking, and finishing your jewelry can be both relaxing and rewarding.
You can mix colors, experiment with patterns, and even incorporate different textures to make your jewelry stand out.
Dive into the world of polymer clay, and let your imagination take the lead!
Choose Your Clay Colors Wisely
Choosing the right colors for your polymer clay jewelry is essential.
Start by picking colors that resonate with your personal style or the occasion for which you’re creating.
Think about color combinations that complement each other.
Using a color wheel can help you identify complementary or analogous colors.
This can make your pieces visually appealing.
Don’t be afraid to experiment with different shades.
Mixing colors can lead to unique results and add depth to your design.
Consider the final effect you want to achieve.
Bright, bold colors can make a statement, while softer tones can create a more subtle look.
Take into account how the colors will work together in the final piece.
Pay attention to patterns you may want to incorporate, like marbling or layering techniques, which can add interest and texture.
Always remember to condition your clay.
This ensures that the colors blend well and stay true during the baking process.
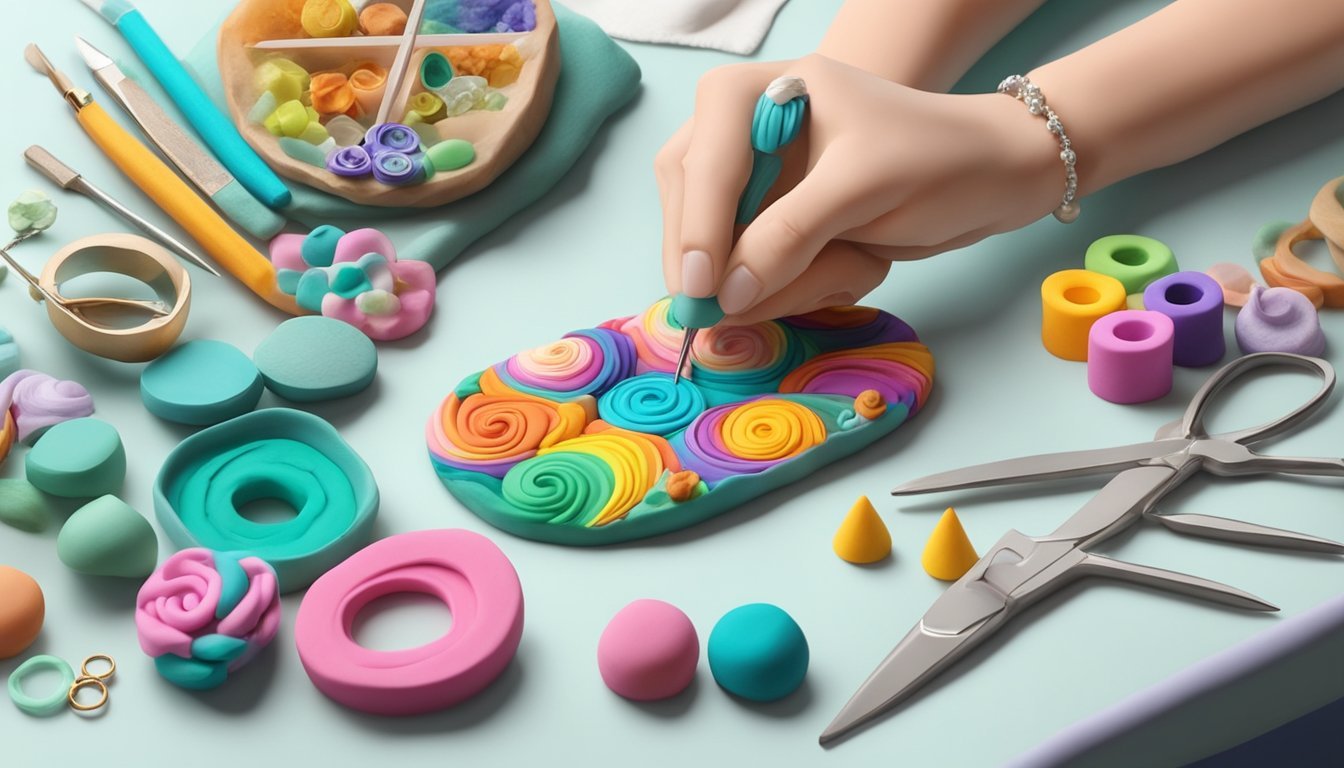
2) Create a Statement Necklace
Creating a statement necklace with polymer clay is a fun and rewarding project.
Start by gathering your materials, including polymer clay in various colors, jewelry findings, and tools like scissors and pliers.
Begin by conditioning your clay.
Roll it out to your desired thickness, then cut it into shapes that catch your eye.
Think about mixing colors or adding textures for added interest.
You can create geometric shapes, floral designs, or abstract forms.
Once your pieces are ready, bake them according to the manufacturer’s instructions.
This process will harden the clay and make it durable.
After baking, let the pieces cool completely.
Next, you’ll need to attach your clay pieces to a necklace chain.
Use jump rings to link your clay components together.
Make sure everything is secure and looks balanced.
To finish off, add any additional embellishments like beads or charms.
This can enhance the look and make your necklace truly unique.
Enjoy wearing your handmade statement piece or give it as a thoughtful gift!
3) Mix and Match with Metallic Accents

Incorporating metallic accents into your polymer clay jewelry can elevate your designs.
Metallic colors add a touch of sophistication and contrast beautifully with vibrant clay hues.
You can use metallic alcohol inks to create stunning pendants.
Simply mix the ink with the clay or apply it to the surface for a shiny finish.
Experimenting with different metallic shades can lead to unique outcomes in each piece.
Try combining metallic elements with textured clay.
Stamped or carved designs paired with a metallic glaze can make your jewelry pop.
The interplay between matte and shiny surfaces adds visual interest and depth.
Don’t hesitate to layer metallic pieces.
For instance, stack metallic pendants with colorful clay beads to create a pendant necklace that’s both eye-catching and trendy.
Mix and match different sizes and shapes for a playful look.
Remember to seal your creations.
A clear glaze can help protect the metallic finish and enhance its shine, ensuring your jewelry looks great for a long time.
Enjoy the creative process and let your personal style shine through!
Incorporate Natural Elements
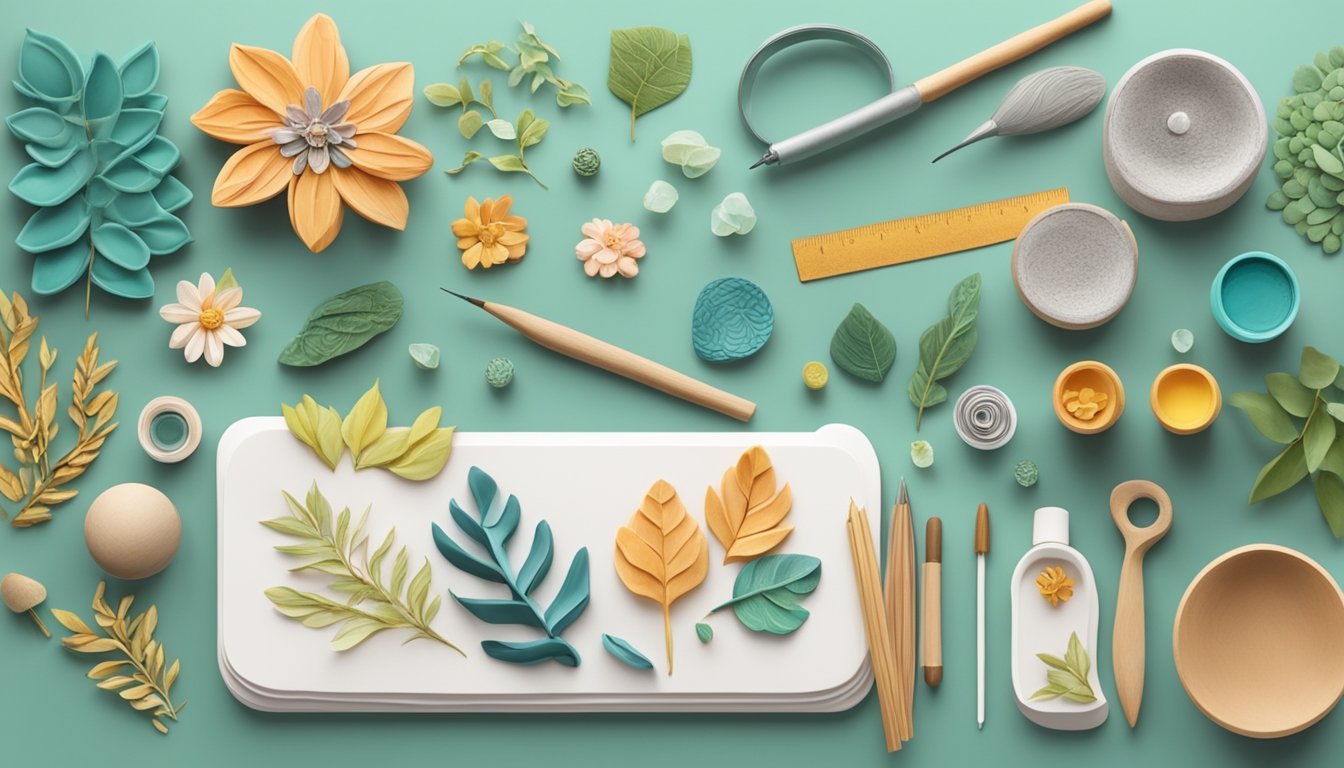
Bringing natural elements into your polymer clay jewelry can add a unique touch.
Think about using real leaves or flowers to create impressions in your clay.
This technique offers an organic vibe to your pieces.
You can also integrate natural materials like stones or wood.
Combining these with your polymer clay can create interesting contrasts and textures.
For example, embedding small gemstones can add a pop of color.
Another idea is to mimic nature’s patterns, such as those found in shells or tree bark.
Use your tools to sculpt these designs into the clay.
This process enhances the handmade feel of your jewelry.
To finish, consider using natural pigments or earth tones in your color palette.
These hues resonate well with the nature theme and create a cohesive look.
Embrace the beauty of the outdoors, and let it inspire your creations.
5) Experiment with Texture Tools
Texturing your polymer clay jewelry can add a unique touch.
You can use a variety of tools for this purpose.
Rubber texture sheets are great for creating patterns.
Simply press the clay against the sheet to transfer the design.
Sculpting tools can help you add finer details.
Use them to create lines, dots, or even intricate designs on your pieces.
Don’t be afraid to get creative.
Household items like forks or sponges can also produce interesting textures.
Try layering different textures for a more complex look.
The contrast can make your jewelry stand out even more.
The key is to experiment.
Each tool and method will yield different results.
Embrace the process and enjoy discovering what works best for your style.
6) Sculpt Abstract Shapes
Sculpting abstract shapes with polymer clay is a fantastic way to express your creativity.
Start by choosing a color palette that inspires you.
Begin with a base shape, like a ball or a cube.
From there, you can manipulate the clay by rolling, twisting, or flattening it.
Experiment with different forms and see where your imagination takes you.
Don’t hesitate to blend colors or add textures.
You can use tools like flexible spatulas or even household items to create interesting surfaces.
Once you’re satisfied with your shapes, bake them according to the polymer clay instructions to set your designs.
After they cool, you can sand edges or paint details to enhance your pieces.
These abstract shapes can be turned into earrings, pendants, or even brooches.
Enjoy the process, and let your unique style shine through!
Customize with Name Stamps
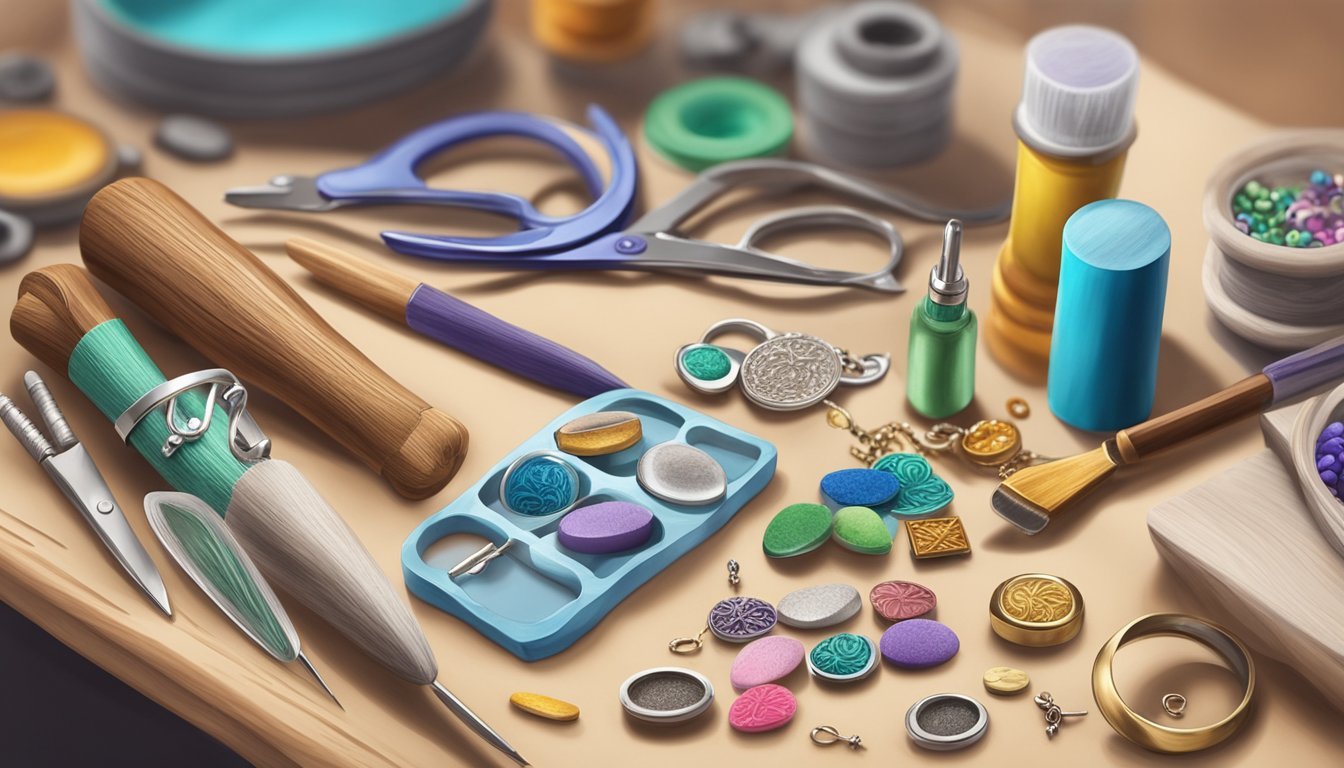
Adding a personal touch to your polymer clay jewelry can make it truly unique.
One effective way to do this is by using custom name stamps.
You can create personalized stamps with your name, logo, or a special design.
These stamps leave a crisp, raised impression on your clay pieces, enhancing their individuality.
To make your own signature stamp, consider using materials like rubber or polymer clay itself.
It’s an easy DIY project that doesn’t require advanced skills.
Just press the stamp into the conditioned clay before baking.
This ensures your design stands out and adds a special meaning to your jewelry.
Experiment with different placements on your pieces.
Try the back of a pendant or the edge of earrings for a subtle touch.
Remember, practice makes perfect.
Your first impressions might not be flawless, but with a bit of trial and error, you’ll get the hang of it.
With these custom name stamps, your creations will not only be eye-catching but also reflect your unique style.
8) Add a Pop with Colorful Beads
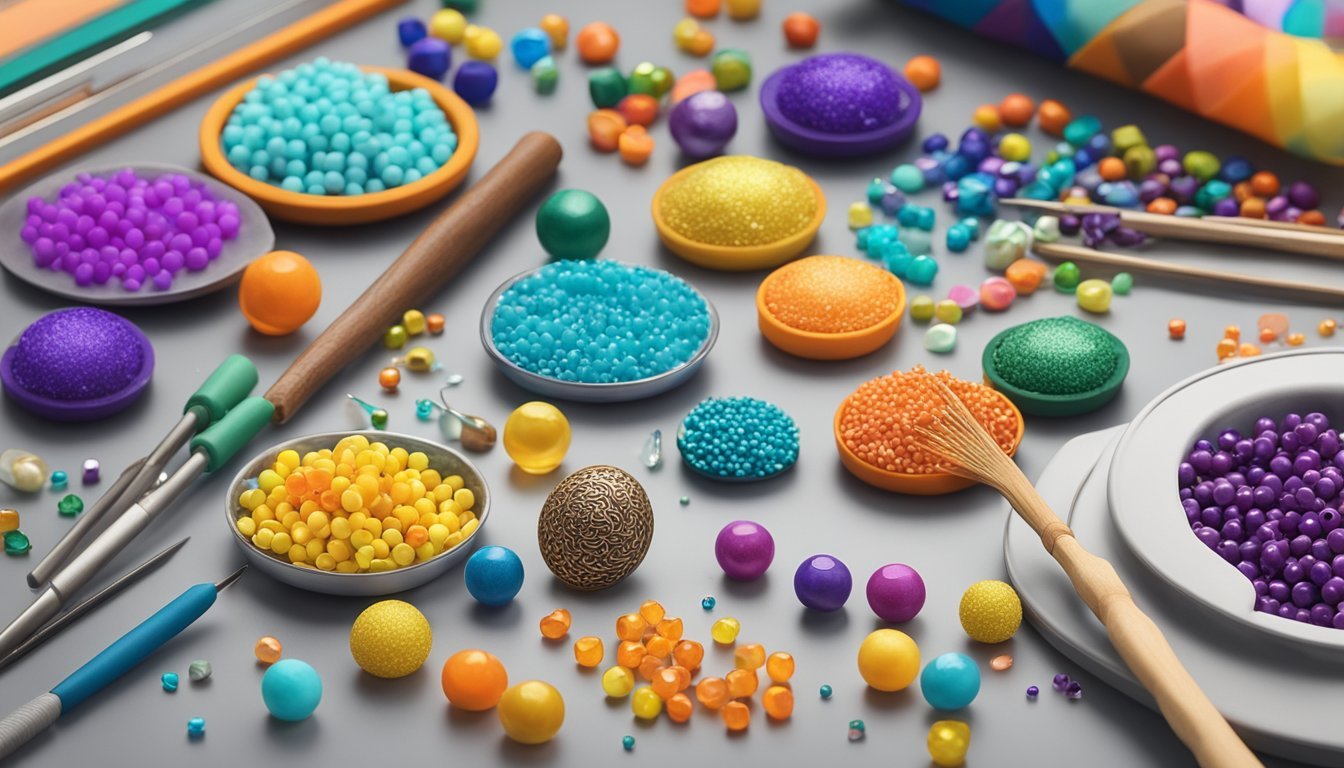
Adding colorful beads to your polymer clay jewelry can really elevate your designs.
You can create unique clay beads in various shapes and sizes using different colors of polymer clay.
Start by rolling your clay into a thin tube.
Slice it into equal pieces, then roll each piece into a ball for round beads or shape them into any form you like.
Experiment with color combinations to create striking contrasts.
You can also mix in materials like gold leaf or paint to give your beads a little shimmer.
This adds visual interest and makes your pieces stand out.
To incorporate these beads into your jewelry, use jewelry findings such as jump rings and clasps.
Arrange the beads in fun patterns or balance them with larger clay components for a cohesive look.
Don’t be afraid to mix textures and colors.
The beauty of polymer clay allows you to play with your creative vision, making each piece truly one-of-a-kind.
9) Try Gradient Color Techniques
Gradient techniques can really make your polymer clay jewelry stand out.
You can create stunning visual effects by blending colors smoothly from one to another.
One popular method is the Skinner blend.
This technique helps you mix colors seamlessly, transitioning from dark to light.
It’s perfect for making gradient sheets that can be shaped into beads or earrings.
To start, roll out your chosen colors into thin sheets.
Layer them, then fold and roll them out.
Keep repeating until the colors blend nicely.
For a more organic look, try marbling.
Twist different clay colors together before rolling them out.
This technique gives a unique, random gradient effect that’s eye-catching.
Remember to experiment! Each project can yield different results, depending on how you layer and blend your colors.
Enjoy the process, and let your creativity shine through your gradient designs.
10) Use Molds for Consistency
Using molds is a fantastic way to ensure consistency in your polymer clay jewelry.
It allows you to create multiple pieces that look similar, which is especially useful for making sets.
Molds come in various shapes and sizes.
You can find silicone molds specifically designed for jewelry, which can help you form pendants, earrings, and more with ease.
Simply press the polymer clay into the mold, let it cure according to the instructions, and you’ll have uniform pieces ready for your collection.
You can even make your molds! Using found objects, you can create unique shapes that reflect your personal style.
Just ensure they are clean and smooth for the best results.
With molds, you can seamlessly produce jewelry that’s consistent in size and detail, giving your creations a polished look.
Enjoy experimenting with different designs while maintaining that professional edge!
Getting Started with Polymer Clay
Starting your journey with polymer clay is exciting and accessible.
You’ll need the right tools and materials to create unique jewelry pieces.
Additionally, understanding how to choose the best type of clay will set you up for success.
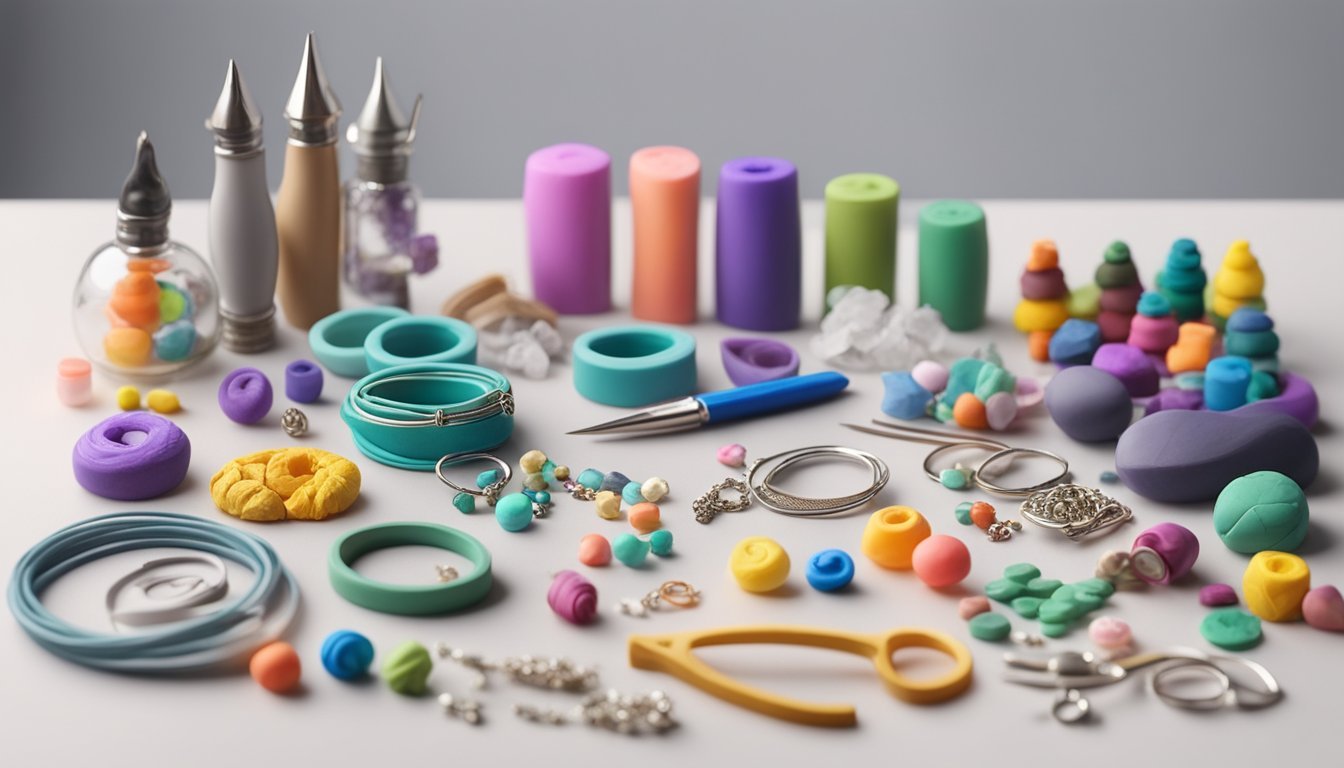
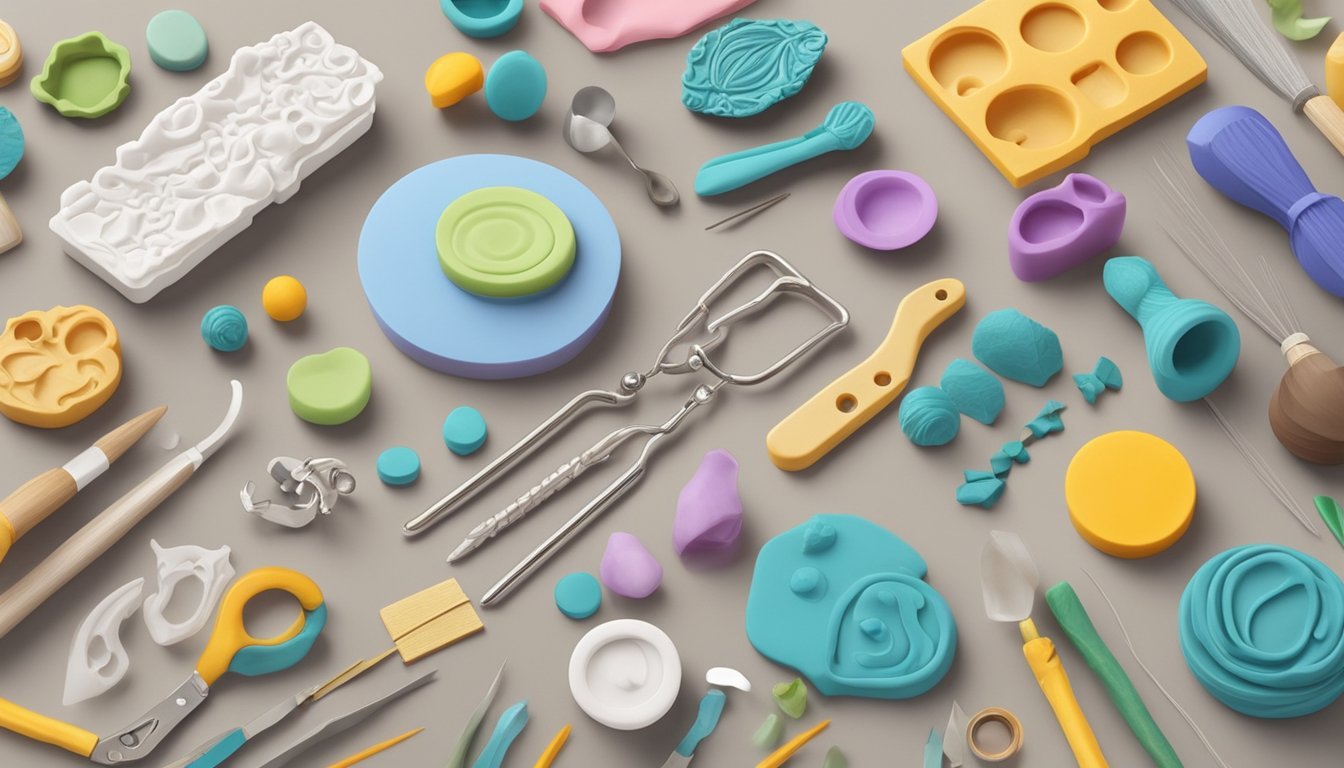
Essential Tools and Materials
To get going, gather a few essential tools.
Here’s a quick list to help you:
- Polymer Clay: Choose quality brands like Sculpey or Fimo.
- Rolling Pin: For flattening clay evenly.
- Cutting Tools: Sharp blades or cookie cutters for shaping.
- Texture Tools: Rubber stamps or other textured items for detailing.
Other useful materials include brushes for applying finishes, a craft blade for intricate cutting, and a baking sheet for curing your pieces.
Make sure to have a clean workspace.
Prepare your area with a non-stick surface like wax paper to prevent sticking.
Organization leads to creativity!
Choosing the Right Clay
Selecting the right polymer clay can influence your project’s outcome.
You’ll want to consider these factors:
- Color Range: Look for clays with a wide array of colors; this allows for creative freedom.
- Baking Temperature: Most polymer clay cures between 265°F to 275°F. Always check package instructions.
Different types of clay cater to various purposes.
For jewelry, you might prefer a softer clay for easy manipulation or a firmer one for defined edges.
Trial and error is part of the process.
Experiment with a few types to see which you prefer for your unique designs.
Techniques for Unique Designs
Creating unique jewelry with polymer clay involves experimenting with textures, patterns, and mixed media elements.
These techniques can elevate your designs and add a personal touch that reflects your style.
Adding Textures and Patterns
Texturing your polymer clay can bring your creations to life.
You can use everyday objects like fabric, leaves, or stamps to imprint unique patterns onto the clay.
Step-by-step:
- Choose a Texture Tool: Anything from a textured rolling pin to natural elements like tree bark works well.
- Press Gently: Firmly press the tool onto the clay surface to leave an impression without flattening it.
- Seal the Texture: If desired, a clear glaze after baking will enhance and protect the texture.
Experiment with varying pressures and angles to create depth.
Remember, layering textures can also add interest, so don’t shy away from combining different techniques!
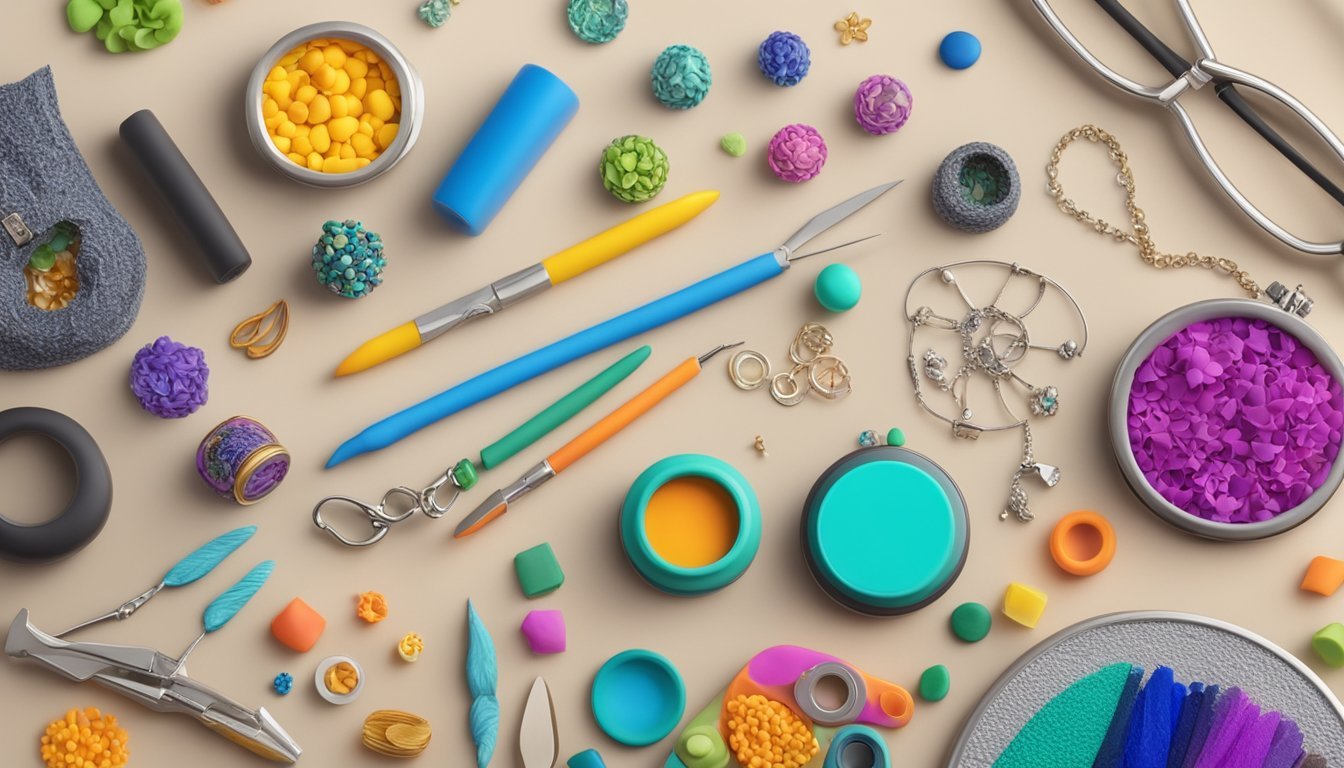
Incorporating Mixed Media Elements
Mixing materials can make your pieces stand out.
Incorporating elements like beads, wire, or metal findings can create dynamic designs.
Consider these ideas:
- Beads: Embed clay beads directly into your earrings or pendants. This adds dimension and color.
- Wire: Use wire to create hooks or frames. Wire wrapping can give a professional touch.
- Dried Flowers: Encapsulate small flowers or leaves within the clay for a natural aesthetic.
Each mixed media component should complement your clay design.
Don’t hesitate to experiment with different styles and combinations to find what resonates with your creativity!