

Charcoal and graphite are versatile mediums that can unleash your creativity in unexpected ways.
Whether you’re a seasoned artist or just starting out, exploring different projects can help you develop your skills and express your unique style. These two materials offer endless possibilities for creating diverse artworks that range from realistic portraits to abstract designs.
Experimenting with these materials allows you to combine traditional techniques with modern approaches, giving life to your ideas.
You’ll find that charcoal is great for bold, expressive strokes, while graphite can add fine details and subtle shading.
Engaging in creative projects with charcoal and graphite not only enhances your technical skills but also provides a fulfilling artistic experience.
1) Charcoal Portrait Drawing
Creating a charcoal portrait can be a rewarding experience.
You’ll find that charcoal offers a unique flexibility, allowing you to blend and manipulate tones easily.
Start with a sketch using light strokes.
This makes it easier to adjust features as you go.
Once you’re happy with the outline, you can layer on the charcoal for depth and texture.
Consider using graphite for the skin tones and charcoal for the hair.
This contrast highlights different textures and brings your portrait to life.
Experiment with various tools like charcoal pencils for fine details.
They can help you create sharp lines where needed.
Don’t forget to use a fixative spray when you finish.
This protects your artwork from smudging and keeps it vibrant.
2) Graphite Sketch of a Landscape
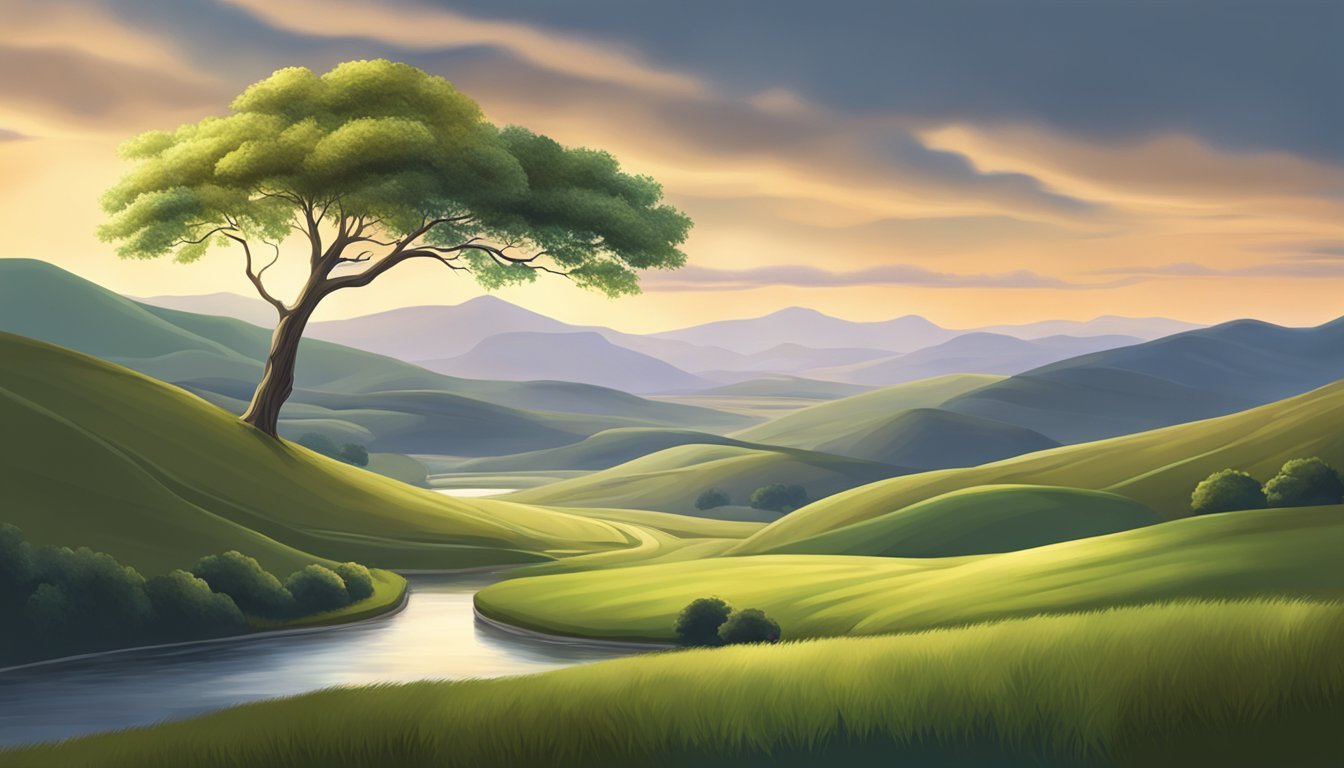
Creating a graphite sketch of a landscape can be a relaxing and rewarding project.
Start by gathering your materials.
You’ll need a range of graphite pencils, from 2B to 8B, and some smooth sketch paper.
Begin with light pencil strokes to outline the basic shapes of your landscape.
Focus on elements like hills, trees, and water.
This initial sketch serves as your foundation.
As you progress, build up layers of shading.
Use softer pencils for darker areas and harder ones for lighter sections.
This contrast will help create depth and dimension in your drawing.
Pay attention to how light interacts with the landscape.
Softly blend your graphite with a tortillon or your finger to achieve smooth gradients.
Feel free to add details, such as textures in tree bark or ripples in water.
Each touch enhances the realistic feel of your sketch.
Finally, remember to step back and evaluate your work.
Adjust any areas that need more definition or contrast.
3) Charcoal and Graphite Abstract Art
Creating abstract art with charcoal and graphite is a dynamic way to express your ideas.
These materials offer flexibility and depth, allowing you to experiment freely.
Charcoal is great for bold strokes and dramatic contrasts.
You can layer it for rich textures or smudge it for softer effects.
Graphite, on the other hand, provides fine lines and detailed shading, complementing charcoal beautifully.
To start, lay down some charcoal to establish the basic forms.
Use graphite to refine details and add depth.
Don’t be afraid to combine both mediums in unexpected ways.
Mixing them can produce unique color plays and effects.
Another fun approach is to use powdered charcoal mixed with watercolors.
This technique expands your palette and introduces new textures.
The combination allows you to create something truly unique.
4) Urban Scene Illustration in Graphite

Creating an urban scene using graphite can be a rewarding project.
The ability of graphite to produce fine lines makes it perfect for capturing intricate architectural details.
Start by choosing a location that inspires you.
Whether it’s a bustling street or a quiet corner, think about the mood you want to convey in your illustration.
Focus on perspective and composition.
Use light and shadow to add depth to your drawing.
Graphite is great for creating smooth gradients and sharp contrasts, which can enhance the overall look.
You can add elements like people or vehicles to bring life to your scene.
This adds a narrative and makes your artwork more engaging.
Keep practicing different techniques, such as cross-hatching or stippling.
These methods can help you develop your unique style while experimenting with the richness of graphite.
5) Nature-Themed Charcoal Drawing
Creating nature-themed charcoal drawings can be a rewarding experience.
You have a lot of inspiration to draw from, whether it’s trees, landscapes, flowers, or animals.
Start by observing your surroundings.
Look for interesting shapes and forms that invite your creativity.
Charcoal’s unique texture can lend itself beautifully to organic subjects.
To capture the essence of nature, focus on light and shadow.
Use blending tools like brushes or cloths to create soft transitions in your artwork.
This technique works great for depicting skies or water.
You could also explore details like the intricate patterns of leaves or the subtle movements of a flowing river.
Charcoal allows you to play with contrasts, making dark shadows pop against lighter areas.
Consider incorporating elements like sunsets or wildlife to add drama.
Use different charcoal grades to get a range of tones that enhance your subject.
6) Graphite Pencil Botanical Art
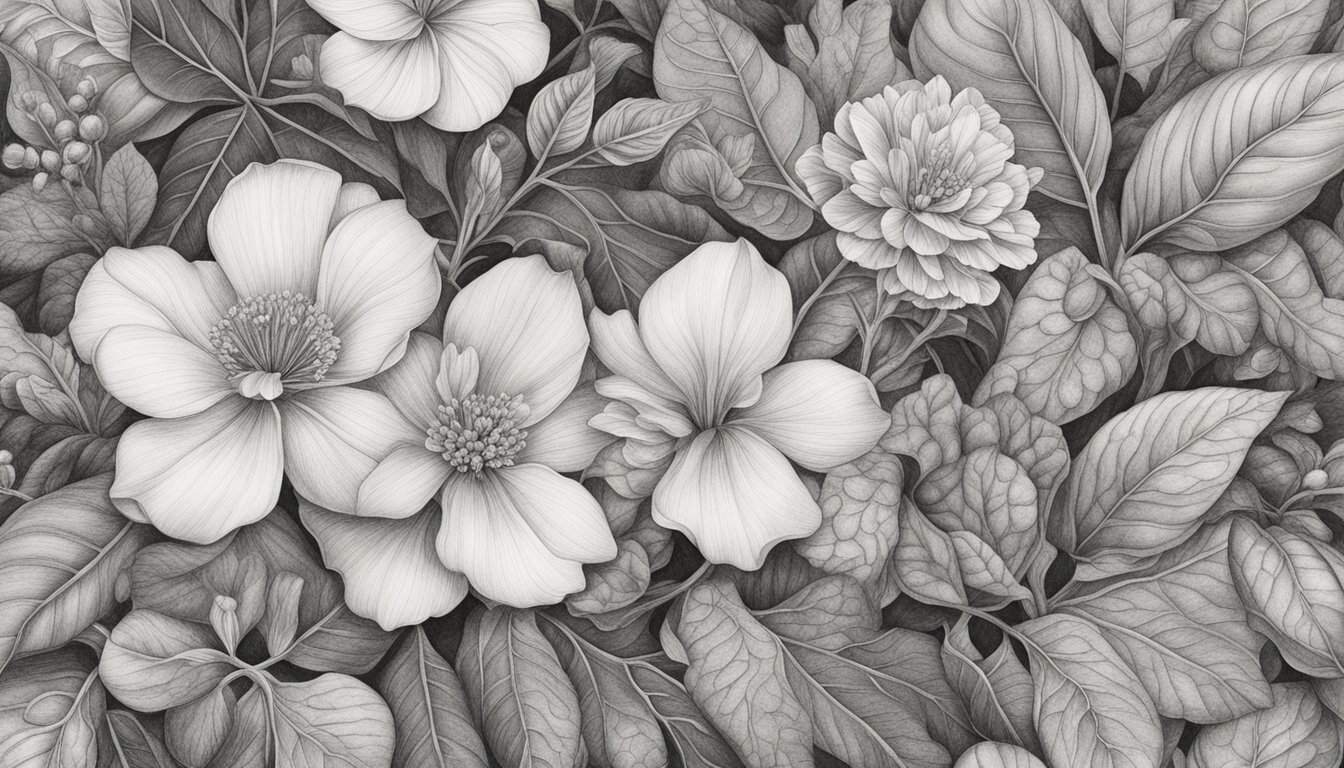
Graphite pencil is a great medium for creating botanical art.
It allows you to capture fine details and subtle textures of plants.
You can achieve a range of tones by varying your pressure.
Start with basic shapes to lay out your composition.
Sketch lightly at first, then gradually build up more defined lines and shading.
This approach helps maintain accuracy as you work.
Consider using different grades of pencils.
Hard H-grade pencils are ideal for sharp details, while softer B-grade ones can create richer dark areas.
Combining these can add depth to your artwork.
You might also find it helpful to explore online tutorials.
Platforms like YouTube have plenty of speed drawing videos.
These can give you tips on techniques and methods for botanical drawing.
Don’t forget to practice regularly.
The more you draw, the more your skills will improve.
Just enjoy the process of creating and experimenting with your botanical art!
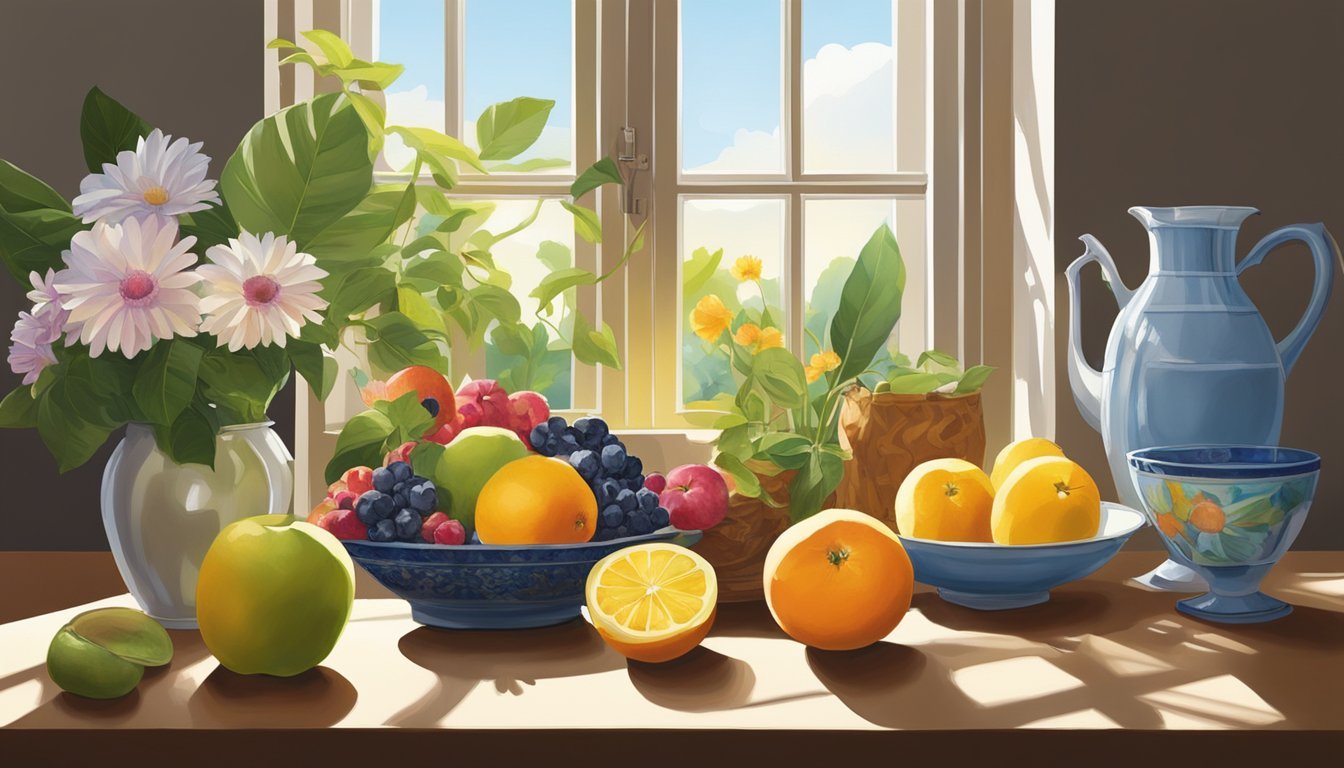
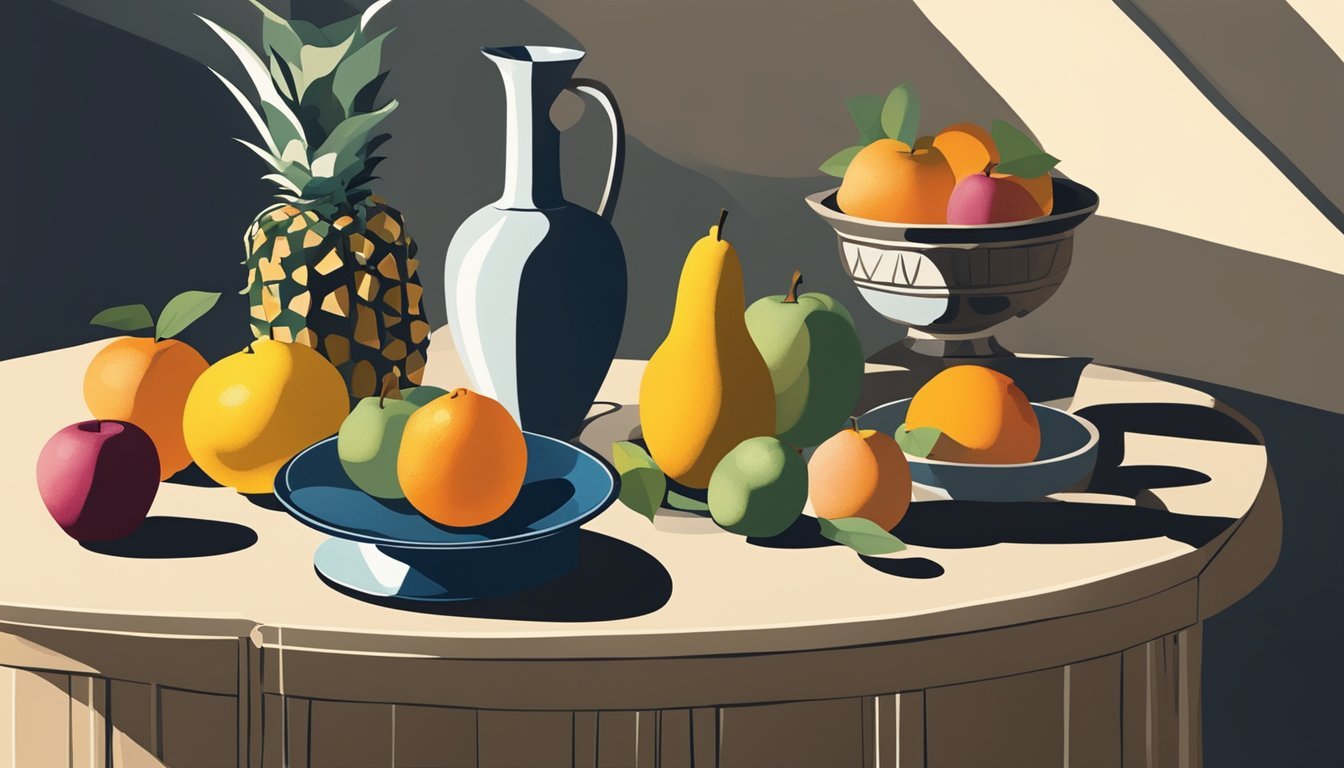
7) Charcoal Still Life
Charcoal still life is a fantastic way to explore light and shadow.
You can capture the essence of everyday objects in a unique way.
Choose items that interest you, like fruits, flowers, or even simple household objects.
The contrast that charcoal provides can help you highlight details and textures beautifully.
Start by sketching the outlines lightly.
Then, layer your charcoal to build depth.
Use erasers to create highlights, adding dimension to your work.
Experiment with gray-toned paper for a different effect.
It can enhance the richness of your charcoal and make your artwork pop.
Take your time to adjust the tones and blend them smoothly.
The final piece can be both striking and realistic, showcasing your creativity.
Enjoy the process and have fun with your charcoal still life!
Understanding Charcoal and Graphite
Charcoal and graphite are two popular drawing materials, each with unique characteristics that can influence your creative projects.
They offer different textures and effects, making them suitable for various artistic styles.
Differences Between Charcoal and Graphite
Charcoal is softer and provides a more expressive, bold feel in your artwork.
It produces deep blacks and allows for easier blending, which can create subtle shading effects.
You can achieve a range of styles by adjusting pressure and using the edges of the charcoal stick.
Graphite, on the other hand, offers precision with smoother lines and a broader range of tones, from light grays to dark blacks.
It’s ideal for detailed work and fine shading, making it the choice for intricate pieces.
The graded range for graphite typically extends from H (hard) to B (black), allowing for various line weights and depths.
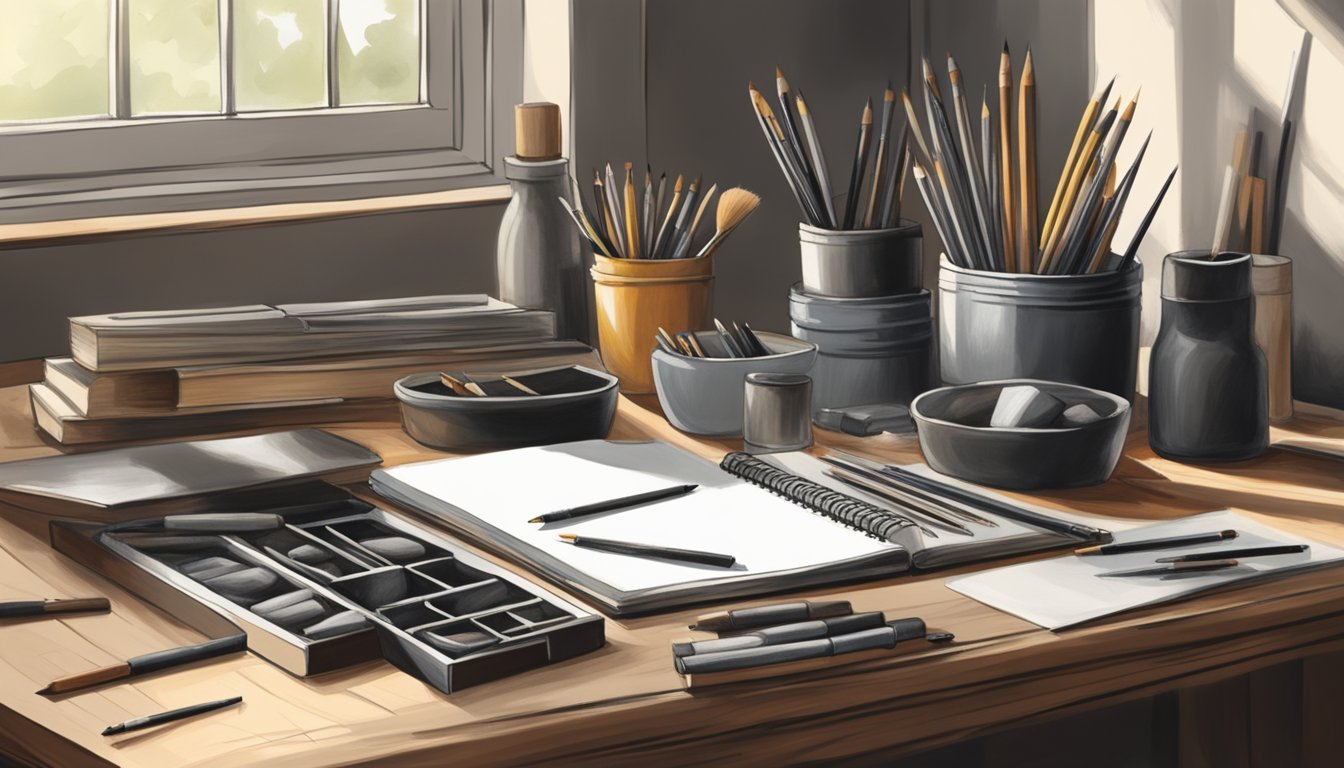
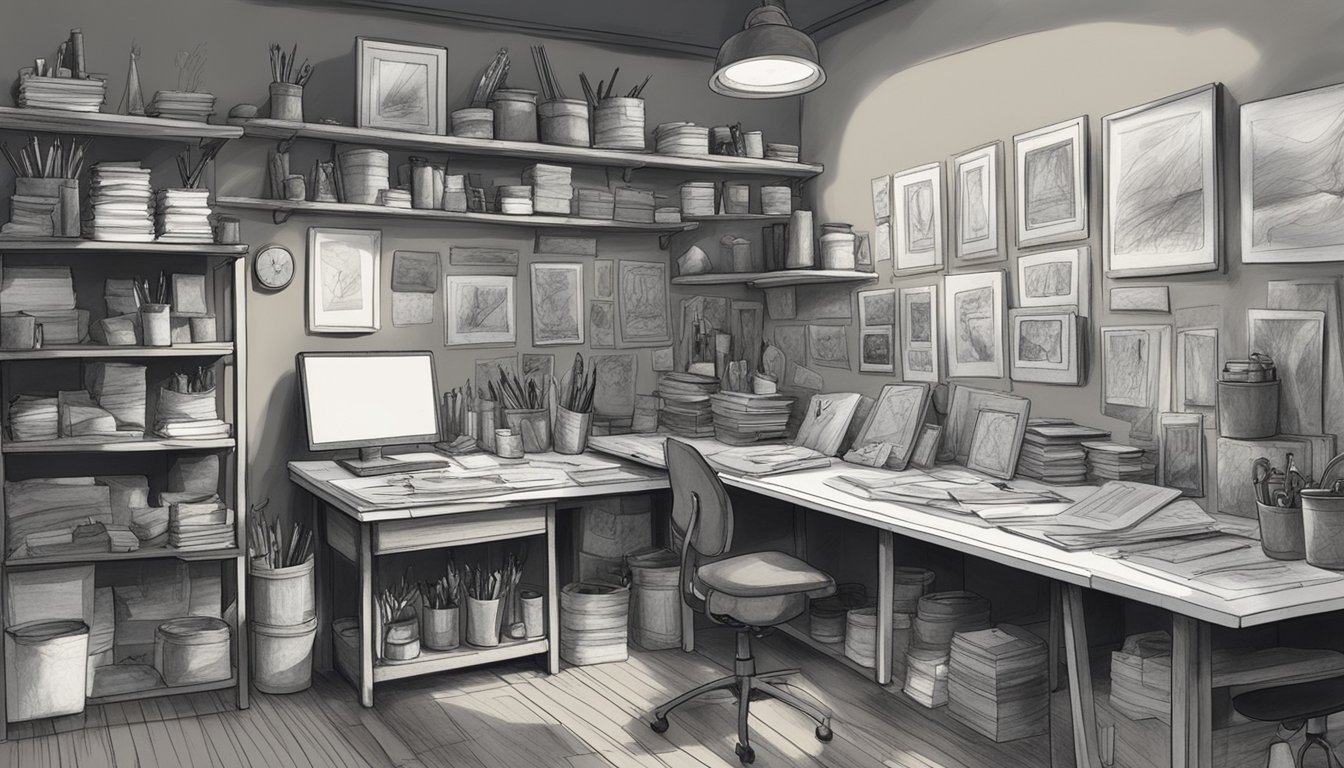
Best Tools and Supplies to Use
When choosing tools, consider these options for each medium:
For Charcoal:
- Charcoal Sticks: Available in soft, medium, and hard varieties for different effects.
- Charcoal Pencils: Great for fine details while maintaining the richness of charcoal.
- Blending Tools: Tortillons or your fingers can help create smooth transitions.
For Graphite:
- Graphite Pencils: Ranging from H (harder, lighter marks) to B (softer, darker marks).
- Mechanical Pencils: Perfect for consistent line width and detailed work.
- Erasers: Kneaded erasers are excellent for lifting graphite without damaging the paper.
These tools enhance the qualities of each medium and help you achieve the desired results in your artwork.
Techniques for Art Projects
When working with charcoal and graphite, mastering specific techniques can elevate your artwork.
Two essential areas to focus on are blending techniques and creating textures.
These skills help you achieve a more dynamic range in your drawings.
Blending Techniques
Blending is a game-changer for achieving smooth transitions and depth in your work.
Here are a few popular methods:
- Paper Stumps: Use a paper stump to smudge charcoal or graphite directly on your drawing. This tool creates a soft effect and is great for subtle gradients.
- Fingers: Don’t underestimate your fingers! They can be great for blending. Just remember to keep them clean to avoid unwanted smudges.
- Tissue or Cloth: A soft tissue or cloth can be used to lightly blend areas without leaving heavy marks. This method is useful for delicate highlights.
Experiment with different pressures to see how it affects the blending.
The more you practice, the better your transitions will become!
Creating Textures
Adding texture to your drawings gives them life.
Here are some techniques to create interesting surfaces:
- Hatching: Use parallel lines to build up depth and shadow. The spacing can influence the effect; closer lines create darker areas.
- Cross-Hatching: This involves layering crisscrossed lines to deepen shadows. It’s highly effective for creating intricate textures.
- Scumbling: This technique uses short, irregular strokes to create a sense of roughness or grain, perfect for depicting natural surfaces like tree bark or the ground.
Try combining these methods.
For instance, use hatching to establish shadows then apply scumbling on top for a rugged look.
The combo can add great interest to any project!
Maintenance and Preservation of Artwork
Keeping your charcoal and graphite artwork in great shape is essential.
Here are some easy tips to help you maintain and preserve your creations.
1.
Use Fixatives
- A good fixative can protect your drawings.
- Spray lightly over your finished artwork to avoid smudging.
- Make sure to choose one designed for charcoal or graphite.
2.
Proper Storage
- Store your drawings in archival folders or portfolios.
- Protect them from dust, moisture, and sunlight.
- Consider using a flat storage box to keep them safe.
3.
Cleaning Your Materials
- After use, knead your eraser to remove charcoal pigment.
- When the eraser is saturated, replace it to maintain cleanliness.
- Keep your workspace tidy to avoid transferring unwanted marks.
4.
Avoiding Smudging
- Be cautious when handling your artwork; oils from your fingers can smudge.
- You can also use a clean sheet of paper to cover your artwork while transporting it.
5.
Regular Checks
- Periodically check your stored artwork for any signs of wear or damage.
- Address any issues promptly to ensure long-lasting quality.