Polymer clay is a versatile and fun material that opens up a world of creative possibilities.
Whether you’re a beginner or have some experience, there are plenty of projects that you can try at home.
Here are ten simple projects that will help you unleash your creativity and make unique items for yourself or as gifts.
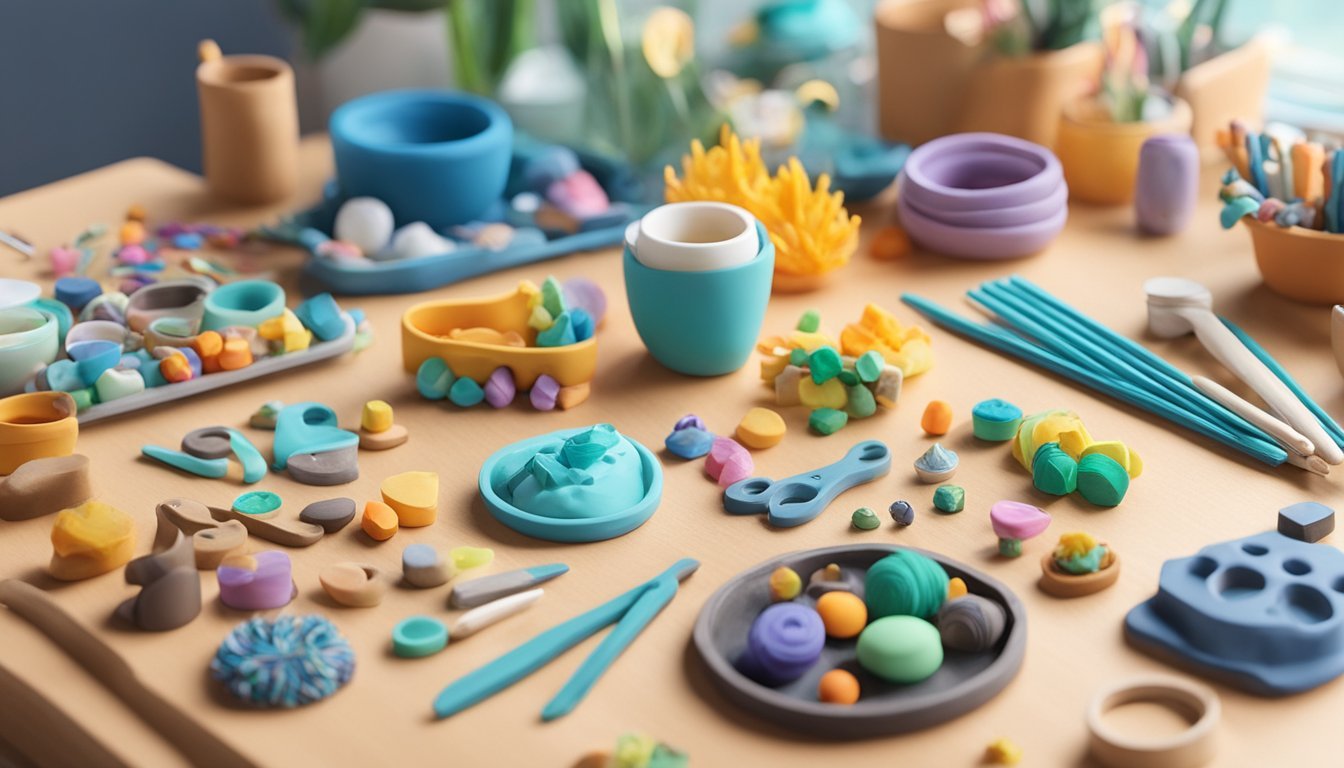
From decorative home accessories to cute jewelry pieces, the options are endless.
It’s an enjoyable way to spend your time and can even lead to some impressive results that showcase your personal style.
Dive into these simple projects and discover what you can create with just a bit of clay and your imagination.
1) Cute Cat Magnets

Creating cute cat magnets is a fun and easy project with polymer clay.
You can customize these magnets in various colors and designs to match your style.
Start by choosing your favorite cat shape.
You might opt for playful kittens, sleek black cats, or whimsical Kawaii designs.
Gather your polymer clay and mold it to your desired form.
Then, add details like eyes, whiskers, and even little accessories.
Use small tools or a toothpick for fine details.
Once you’re satisfied, bake the clay according to the package instructions.
After baking and cooling, attach a small magnet to the back.
This will turn your adorable creations into functional fridge decorations.
These magnets make great gifts for cat lovers, too!
Miniature Food Charms
Miniature food charms are a fun and creative way to use polymer clay.
You can make adorable little treats that look good enough to eat!
Start with basic shapes.
A simple round ball can become a cupcake or a cookie.
Use your tools to add details like frosting or sprinkles.
Experiment with colors to match your favorite desserts.
For instance, pastel shades work great for macaroons or bright colors for candy.
You can find many tutorials online that show you step-by-step how to create these delightful charms.
Some videos even demonstrate how to make a whole collection, from cakes to fruits.
Once you’re happy with your creations, add a jump ring and turn them into jewelry or cute keychains.
These charms make lovely gifts for friends or fun accessories for yourself.
No matter your skill level, making miniature food charms can spark your creativity and give you a new hobby to enjoy.
So gather your materials and start crafting your tiny culinary masterpieces!
3) Succulent Plant Pots
Creating your own succulent plant pots with polymer clay is a fun and creative project.
You can personalize them to match your style and home decor.
Start by shaping your clay into a small pot.
Make sure to leave enough thickness for durability.
It’s a good idea to add a drainage hole at the bottom.
This prevents water from pooling, which keeps your plants happy.
Consider using different colors of clay for unique designs.
You can twist, swirl, or layer the colors to create interesting effects.
Tiny details can really elevate your pots, like adding textured patterns or fun shapes.
Once your pots are shaped and baked, you can plant your favorite succulents.
These pots are not just functional; they serve as charming decor pieces.
Don’t forget to show off your creations on social media.
You might inspire others to dive into the world of polymer clay crafting!
4) Marbled Coasters
Making marbled polymer clay coasters is a fun project that’s easy to customize.
Start by choosing two or three colors of clay that you want to combine.
Knead the clay until it’s soft, then roll each color into a strip.
Twist and fold the strips together to create that beautiful marbled effect.
Once you’ve got the look you want, use a rolling pin to flatten the clay.
Aim for a thickness between 1/4 and 1/2 inch.
Use a round cookie cutter to cut out your coaster shapes.
Place your cutouts on a parchment-lined baking sheet.
Bake them according to the clay package instructions, usually around 225°F for about 30 to 40 minutes.
Let them cool completely.
You can even add a layer of sealant for extra durability.
These coasters not only protect your surfaces but also add a stylish touch to your decor.
5) Cactus Ring Holder
Creating a cactus ring holder is a fun and practical project.
You’ll need polymer clay in multiple colors, such as green for the cactus and white for the base.
Start by kneading the clay to soften it.
Form the white clay into a small dish to serve as the base.
Then, shape the green clay into a large cactus and two smaller pieces for the arms.
Press the arms into the sides of the large piece to create the cactus shape.
Make sure to blend the edges for a smooth finish.
Once your cactus is ready, attach it to the base.
Use a strong adhesive, like E-6000, to secure the cactus to the dish.
Hold it in place for a couple of minutes to ensure it sticks well.
After assembling, bake your creation according to the clay’s instructions for durability.
Once cooled, you’ll have a cute and functional ring holder to keep your accessories organized.
This project not only adds flair to your space but is also a delightful way to practice your clay modeling skills.
6) Animal Keychains

Creating animal keychains with polymer clay is a fun and straightforward project.
You can start by choosing your favorite animals, like a tiger, koala, or elephant.
To get going, mold small pieces of clay to form the body, head, and legs.
Use different colors to bring your animals to life.
Adding details like eyes, whiskers, or spots can make them even cuter.
A small tool or toothpick can help with fine details.
Once your design is ready, bake the clay according to the package instructions.
Once cooled, attach a keychain ring, and you’ve got a unique accessory.
These keychains not only showcase your creativity but also make great gifts for friends who love animals.
Each keychain tells a little story that reflects your personality and interests.
Enjoy the process and have fun experimenting with different animal designs!
7) Geometric Napkin Rings
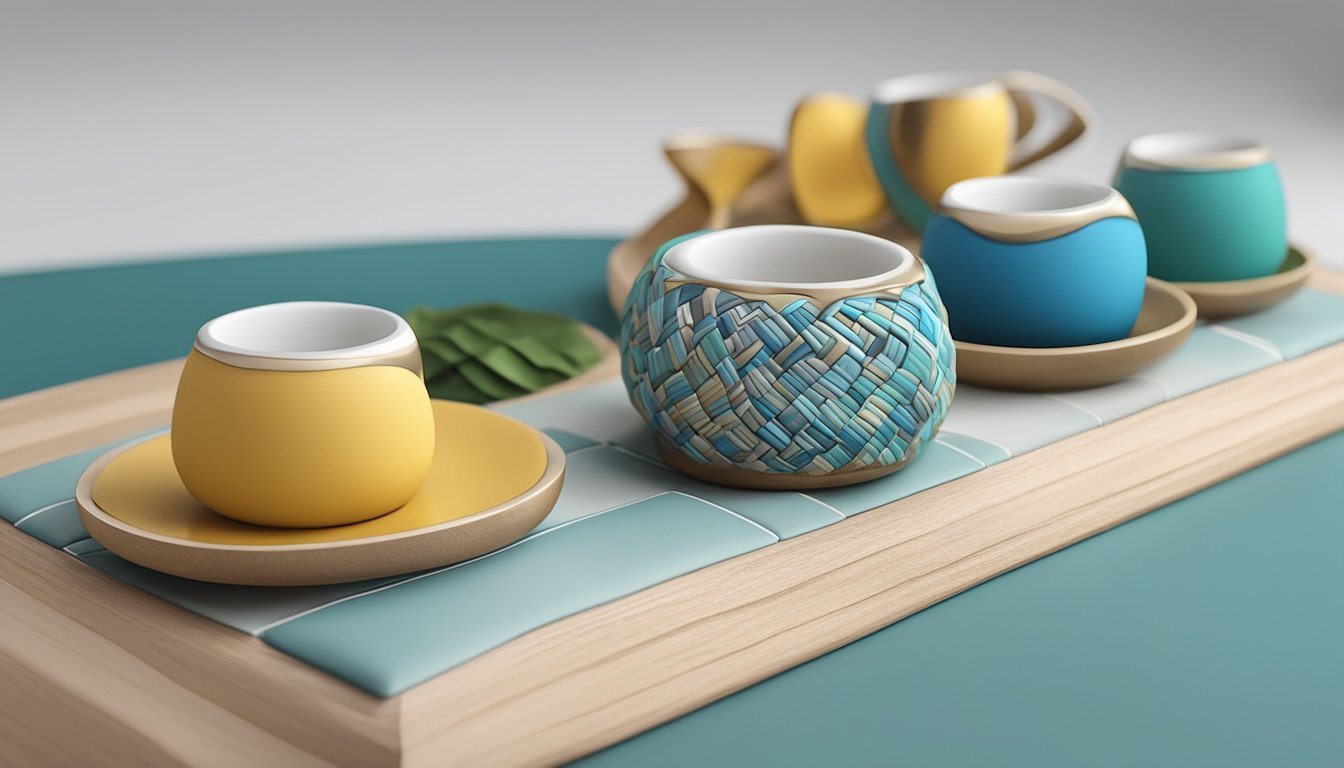
Creating geometric napkin rings with polymer clay is a fun and simple project.
You can customize these rings to match any table setting or occasion.
Start by choosing a color palette that suits your style.
This could be vibrant hues or muted tones for a more elegant look.
Take a good chunk of polymer clay and roll it into a ball.
Flatten it slightly and cut out your desired geometric shapes using a sharp knife or clay cutters.
Shapes like triangles, squares, and hexagons work well.
You can layer different shapes for added dimension.
Mix and match colors to create unique patterns.
Once you’re happy with your designs, gently bend each piece into a ring shape.
Ensure they are secure and will hold together after baking.
Follow the baking instructions on your polymer clay’s packaging.
Typically, bake for around 30 minutes to solidify your creations.
After they’ve cooled, your geometric napkin rings are ready for use.
They’ll add a modern touch to your dining table, making even casual meals feel special.
8) Leaf Earrings
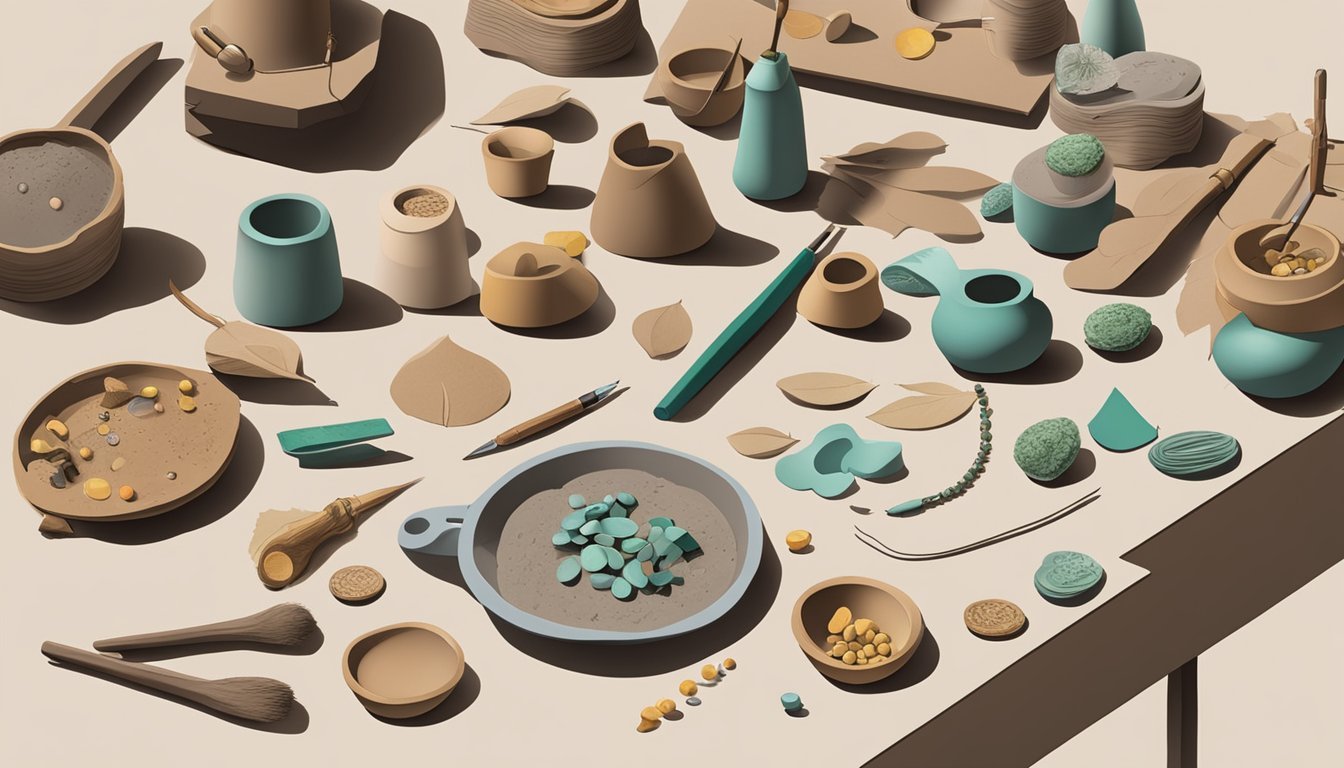
Creating leaf earrings with polymer clay is a fun and straightforward project.
You can design them in various styles, from realistic to colorful abstract shapes.
Start by rolling out your clay.
You can use leaf templates or outline shapes directly.
Imprint veins using a real leaf or a tool to give them texture.
Once shaped, poke holes at the top for jump rings.
After baking, these earrings will have a sturdy finish.
You can paint or glaze them for a unique touch.
Mix and match colors to reflect the changing seasons.
Consider autumn hues or vibrant greens for a fresh look.
These earrings are perfect for daily wear or special occasions.
Enjoy the process, and let your creativity shine!
9) Holiday Ornaments
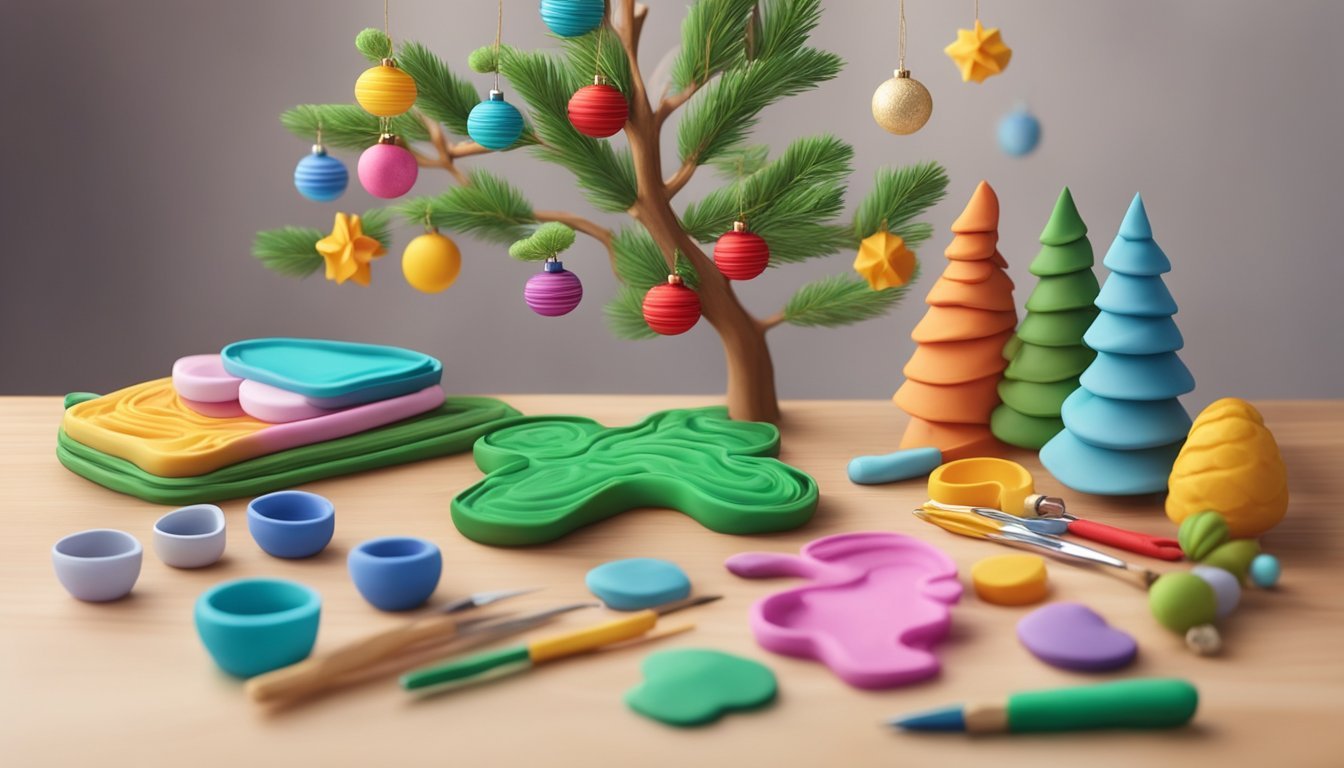
Creating holiday ornaments with polymer clay is a fun and creative way to personalize your decorations.
You can craft anything from classic holiday symbols to unique designs that reflect your style.
Start with basic shapes like stars, snowflakes, or even cute animals.
Use cookie cutters or mold the clay by hand for a more personal touch.
Once your shapes are ready, bake them according to the instructions to harden.
After they cool down, get creative with painting or adding glitter for some sparkle.
You can also use tools to carve patterns or textures into the ornaments before baking.
Don’t forget to make holes for hanging.
A simple string or ribbon will work perfectly for displaying your creations.
Each ornament you make can reflect family traditions or simply be a fun project you do together.
These handmade ornaments can be cherished for years and passed down as special keepsakes.
Plus, they make great gifts for friends and family during the holiday season.
Enjoy the process, and let your imagination guide you!
10) Alphabet Beads
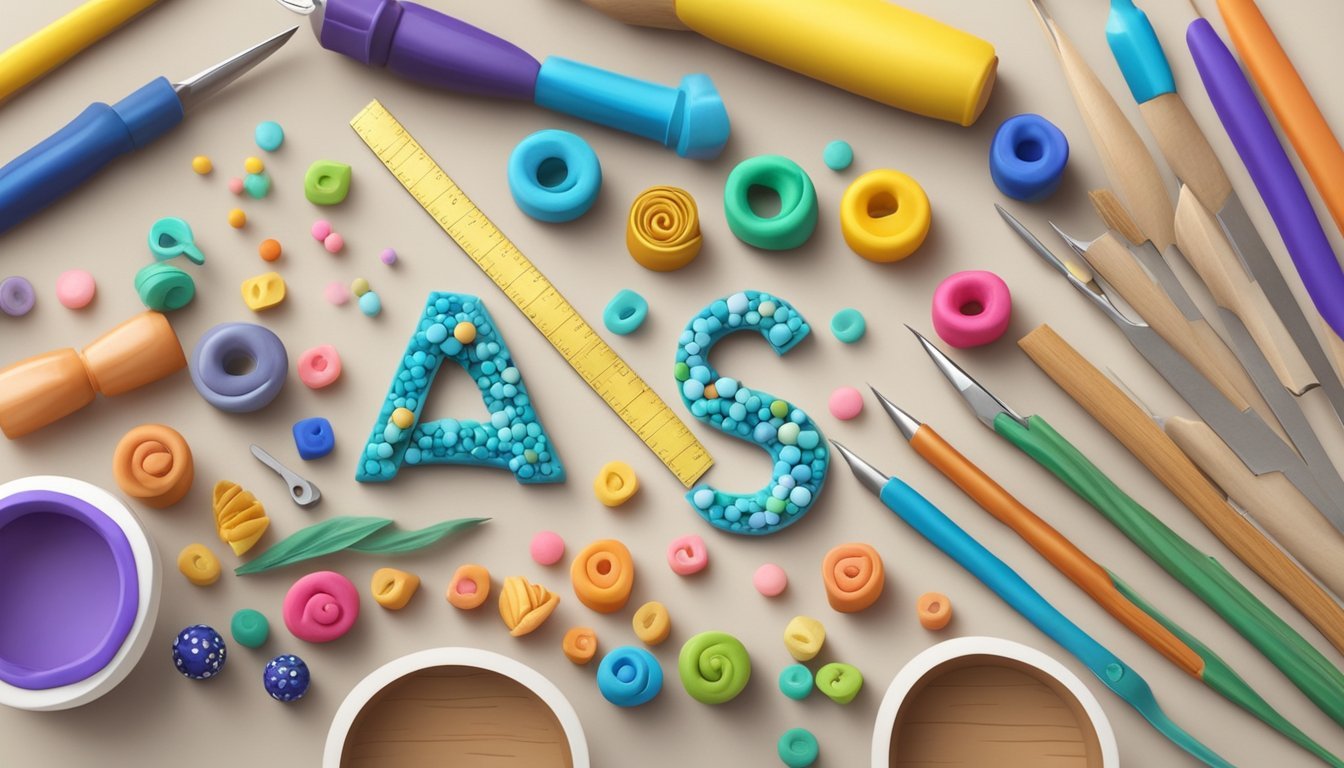
Creating alphabet beads is a fun and easy project with polymer clay.
You can spell names or craft personalized gifts, making them a great addition to any jewelry or craft collection.
Start by kneading your polymer clay until it’s soft and easy to work with.
Roll it out into an even sheet about 1/4 inch thick.
Use a small round cutter or straw to cut out circular shapes for your beads.
To add letters, you can use letter stamps.
Lightly press the stamps into each bead to create your desired letters.
This adds a unique touch that makes your beads special.
Next, you’ll need to create holes in your beads.
Use a toothpick or a needle to make a hole through the center.
This allows you to string your beads later.
Once you finish shaping and stamping, bake the beads according to the clay manufacturer’s instructions.
After baking, allow them to cool completely.
You now have alphabet beads ready for your next craft project!
Choosing the Right Polymer Clay
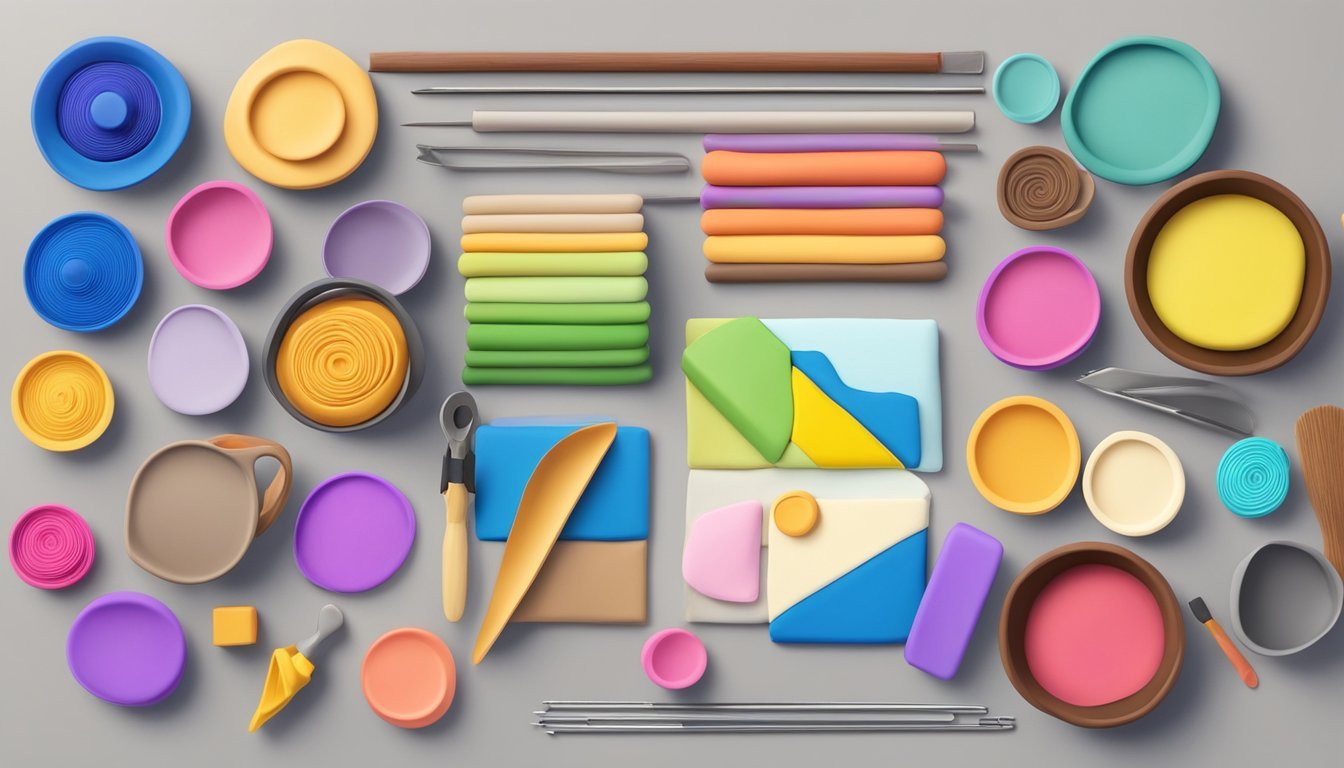
Selecting the right polymer clay can make a big difference in your project outcomes.
Different types cater to various needs, while having the right tools helps you achieve the best results.
Types of Polymer Clay
When choosing polymer clay, consider the different types available:
-
Sculpey III: This is the most common and beginner-friendly option. It’s easy to work with and great for basic projects. However, it can be a bit more rigid after baking.
-
Sculpey Soufflé: This clay remains flexible even after baking, making it ideal for items like jewelry that might need some bendability.
-
Premo: A favorite among many for its durability and wide color range, Premo offers good workability and strong results.
-
Fimo: Known for its firmness, Fimo is excellent for intricate detail work but may require a bit more effort to condition.
Your choice should depend on your project needs and personal comfort.
Tools and Supplies Needed
Creating with polymer clay requires some basic tools:
-
Clay Knife: A sharp blade is crucial for cutting and shaping your clay accurately.
-
Acrylic Roller: Use this to flatten your clay evenly, ensuring a good surface for your designs.
-
Baking Sheet: Line it with parchment paper to prevent sticking when you bake your creations.
-
Toothpicks or Sculpting Tools: Helpful for adding details and working with the clay’s surface.
When starting out, you might also want a workspace mat to keep your area clean.
These tools enhance your experience and make the crafting process smoother.
Basic Techniques for Beginners
Getting started with polymer clay involves understanding some fundamental techniques.
Two key areas to focus on are conditioning the clay and exploring simple shaping methods.
Both are essential to help you create your first successful projects.
Conditioning Clay
Conditioning is the first step to working with polymer clay.
It ensures your clay is soft and pliable, making it easier to shape and manipulate.
-
Cut the Clay: Start by cutting a piece of clay into smaller chunks. This makes it easier to work with and condition.
-
Knead the Clay: Roll and press the pieces with your hands. You can also use a pasta machine to achieve an even consistency. Kneading should be done until the clay feels smooth and warm.
-
Check for Uniformity: Make sure there are no cracks or dry spots. The goal is a consistent texture throughout.
-
Store Properly: Once conditioned, keep your clay in airtight containers to prevent it from hardening.
Simple Shaping Methods
Once you condition your clay, you can start shaping it.
There are various techniques you can use:
-
Rolling: Use your hands or a rolling pin to flatten the clay into even sheets. This is great for making coasters or flat shapes.
-
Molding: Press the clay into molds for consistent designs. This is perfect for beginners to achieve detailed patterns without much effort.
-
Cutting: Use knife tools or cookie cutters to create specific shapes.
Experiment with combining these methods to make unique designs.
The more you practice, the more comfortable you’ll become.


