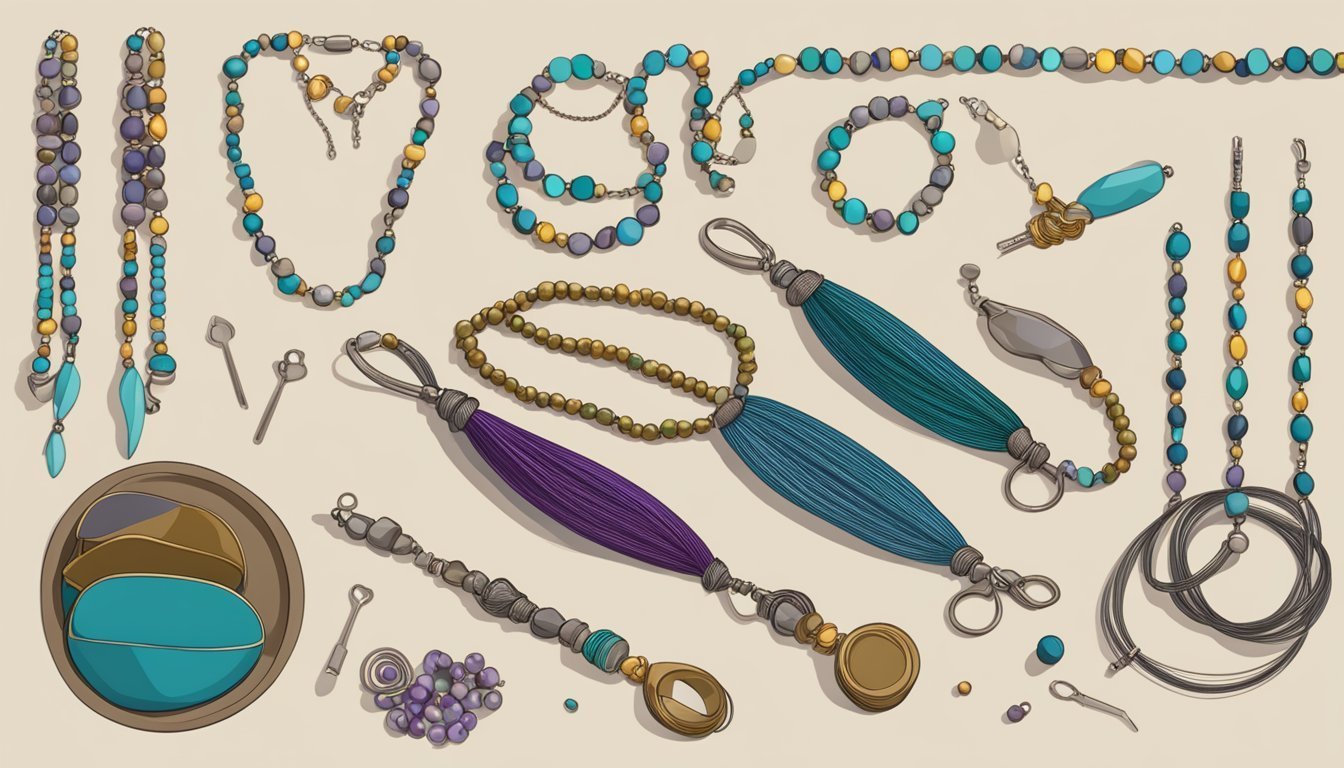
Using beading kits can be a fun and creative way to express your personal style through unique jewelry pieces.
These kits typically come with all the necessary materials and instructions, making it easy to get started, even if you’re a beginner. With the right beading kit, you can create customized jewelry that reflects your individuality and creativity.
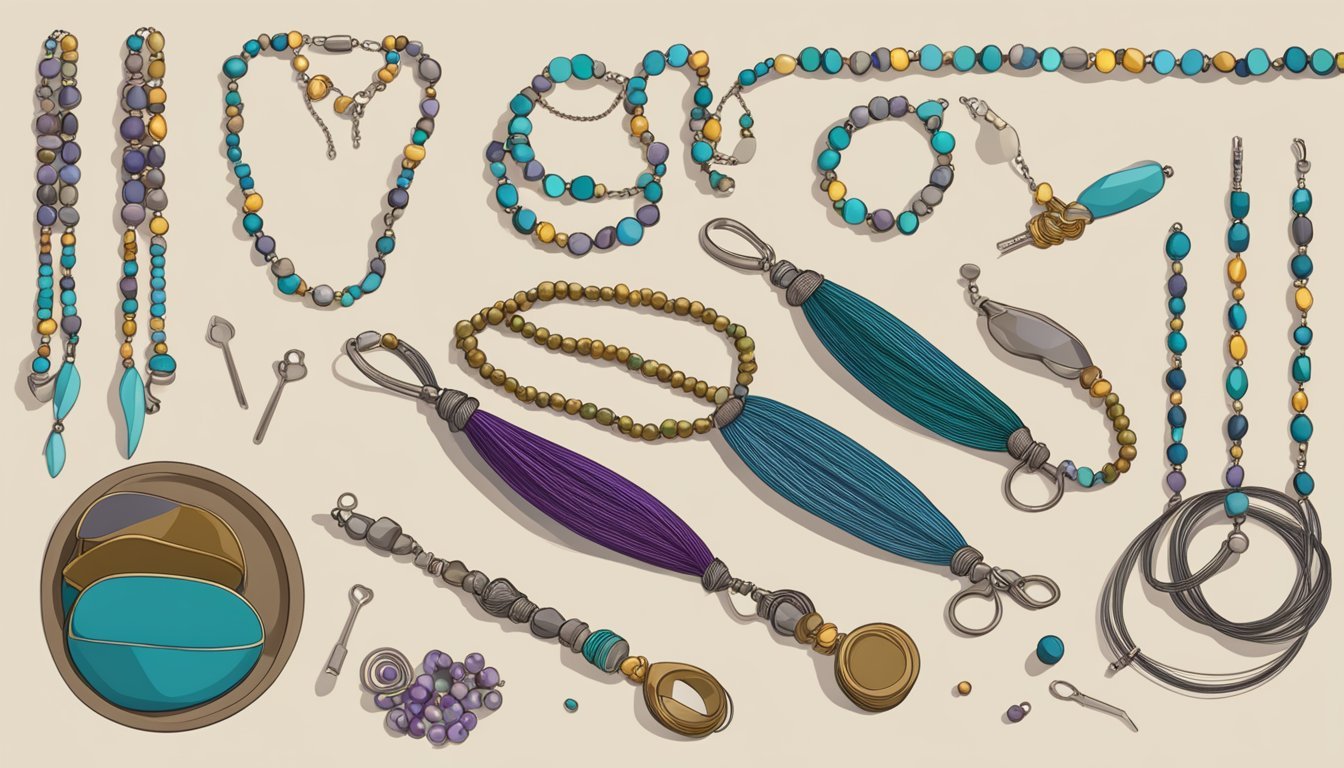
Whether you want to make simple earrings or intricate necklaces, there’s a beading kit that suits your needs.
The versatility of these kits allows you to experiment with different designs and techniques, enhancing your skills as you go along.
With just a little practice, you can transform basic components into stunning jewelry that you’ll be proud to wear or gift.
Choosing the Right Beading Kit
When selecting a beading kit, consider what kind of jewelry you want to create.
Kits come with different components, so choose one that matches your project, whether it’s a necklace, bracelet, or earrings.
Check the materials included.
A good kit should have beads, clasps, thread, and any necessary findings.
Extra beads are a plus, allowing you to play around with design choices.
Think about your skill level.
Some kits are more beginner-friendly, while others cater to experienced beaders.
If you’re just starting, look for kits with straightforward instructions.
Don’t forget about the style.
Pick a kit that reflects your taste.
Whether you prefer bold colors or subtle elegance, there’s a kit out there for you.
Lastly, read reviews if you can.
They can give you insight into the quality of the materials and the overall experience.
Essential Tools for Beginners
Getting started with beading is exciting, and having the right tools can make a big difference.
Here’s what you need to begin your jewelry-making journey.
First, grab a pair of wire cutters.
They are essential for trimming beading wire and cutting components to your desired length.
A good pair is sturdy and easy to handle.
Round-nose pliers are another must-have.
You’ll use them to create loops in your wire, which is crucial for connecting different parts of your jewelry.
Flat-nose pliers help you grip and bend wire without distortion.
They provide a firm hold, making it easier to manipulate your materials.
Lastly, keep a bead mat on hand.
It prevents your beads from rolling away and makes your workspace a bit more organized.
With these basic tools, you’ll be ready to tackle any beading project that comes your way.
3) Exploring Bead Types
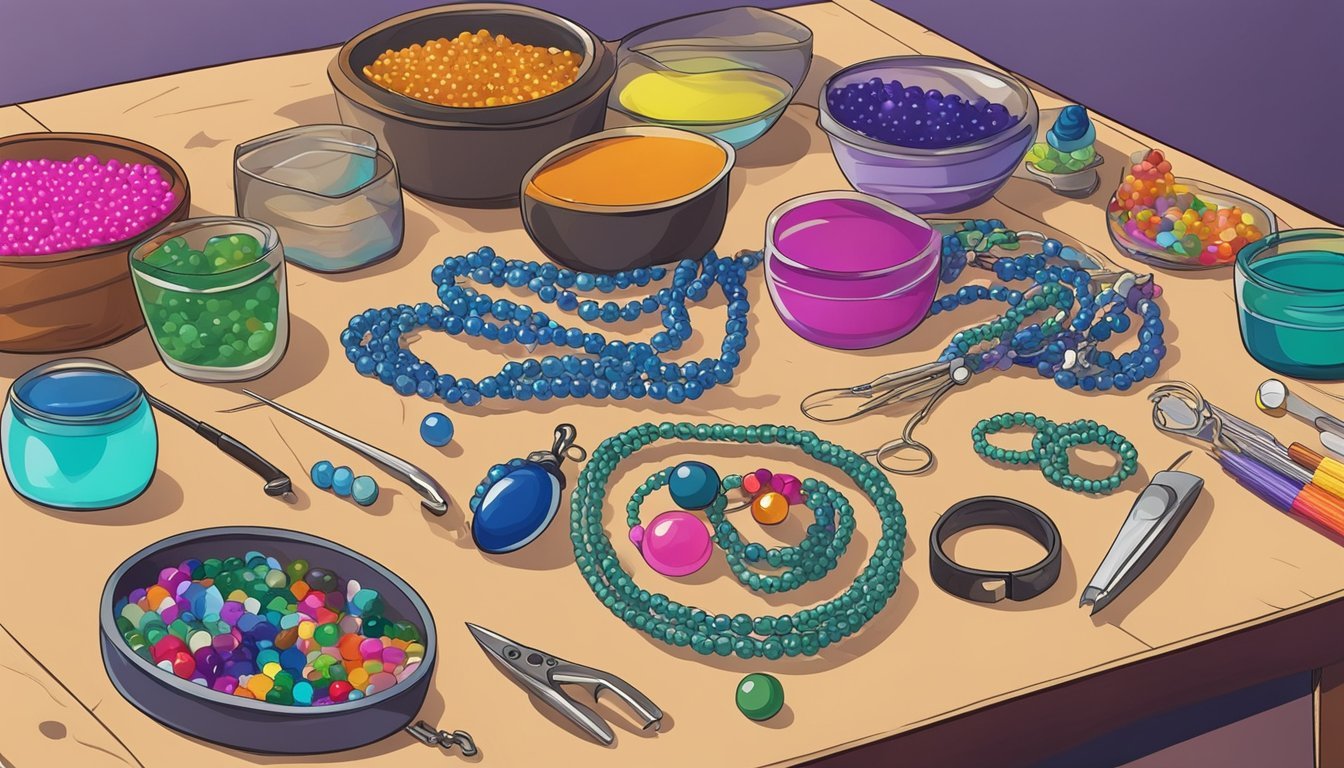
When you start using a beading kit, you’ll encounter a variety of bead types.
Each brings its own flair to your projects.
Czech beads are popular for their quality and unique designs.
Fire polish beads, for instance, have a shiny finish and come in many colors.
They add a classic touch to any jewelry.
Then there are seed beads, which are tiny but mighty.
They come in various shapes and sizes, allowing you to create detailed patterns.
Miyuki seed beads are a favorite for their consistency and vibrant hues.
Don’t overlook natural materials like wood or stone.
These beads provide an earthy vibe that can complement any design.
Base metal beads, such as brass or aluminum, are affordable options.
They can be polished for a bright shine and often mimic the look of more expensive materials.
Experiment with different types to see what fits your style best.
Mixing various beads can lead to stunning, one-of-a-kind pieces that reflect your creativity.
4) Stringing Techniques
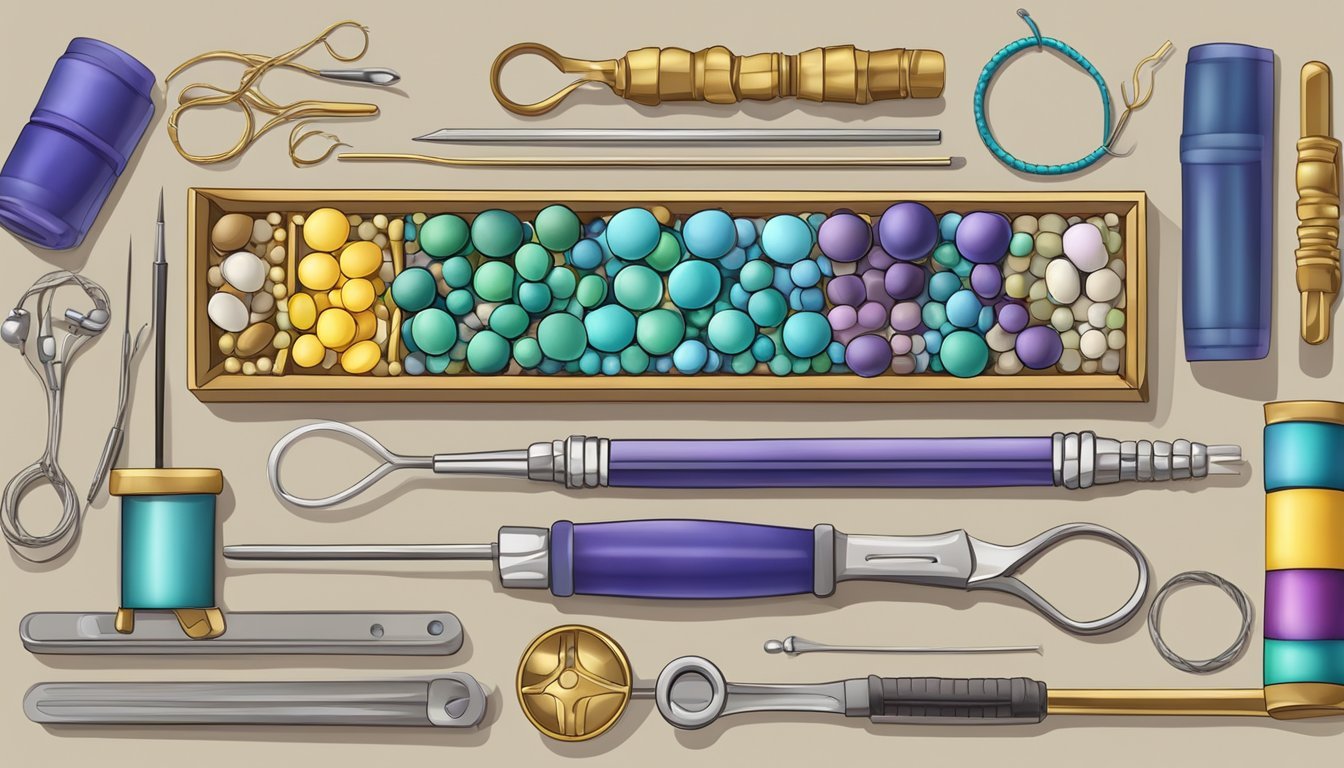
When you start working with beading kits, mastering stringing techniques is key.
It’s the foundation that brings your jewelry to life.
First, choose the right type of string.
For bracelets, stretch cord is a great choice.
It’s easy to work with and allows for a snug fit.
For more structured pieces like necklaces, consider using beading wire or memory wire.
These options provide durability and shape retention.
Once you have your materials, thread your first bead onto the string.
Leave some space at the end for your knot.
This helps you secure your design later on.
As you string, remember to arrange your beads in a pattern or color scheme that appeals to you.
This part is all about creativity.
Don’t rush the process.
Take your time to enjoy each step.
With practice, you’ll become more confident in your stringing techniques.
5) Mastering Bead Weaving
Bead weaving is a fantastic way to create unique jewelry pieces.
You can use seed beads and thread to form flat shapes or complex three-dimensional designs.
Start simple.
Get familiar with basic stitches like peyote or brick stitch.
These foundational techniques will enhance your skills and boost your confidence.
Using a bead loom can streamline the process.
The loom keeps your warp threads taut, making it easier to weave beads securely.
It’s a valuable tool for consistent tension.
Don’t rush the learning process.
Take your time experimenting with different patterns and colors.
Always keep your supplies organized for easy access.
Practice is key.
The more you weave, the better you’ll get at reading patterns and placing beads precisely.
Before long, you’ll find yourself crafting intricate designs with ease.
Consider using DIY bead kits.
They provide everything you need to get started, including beads, string, and detailed instructions.
This can simplify your initial projects and guide you along the way.
6) Creating Color Combinations
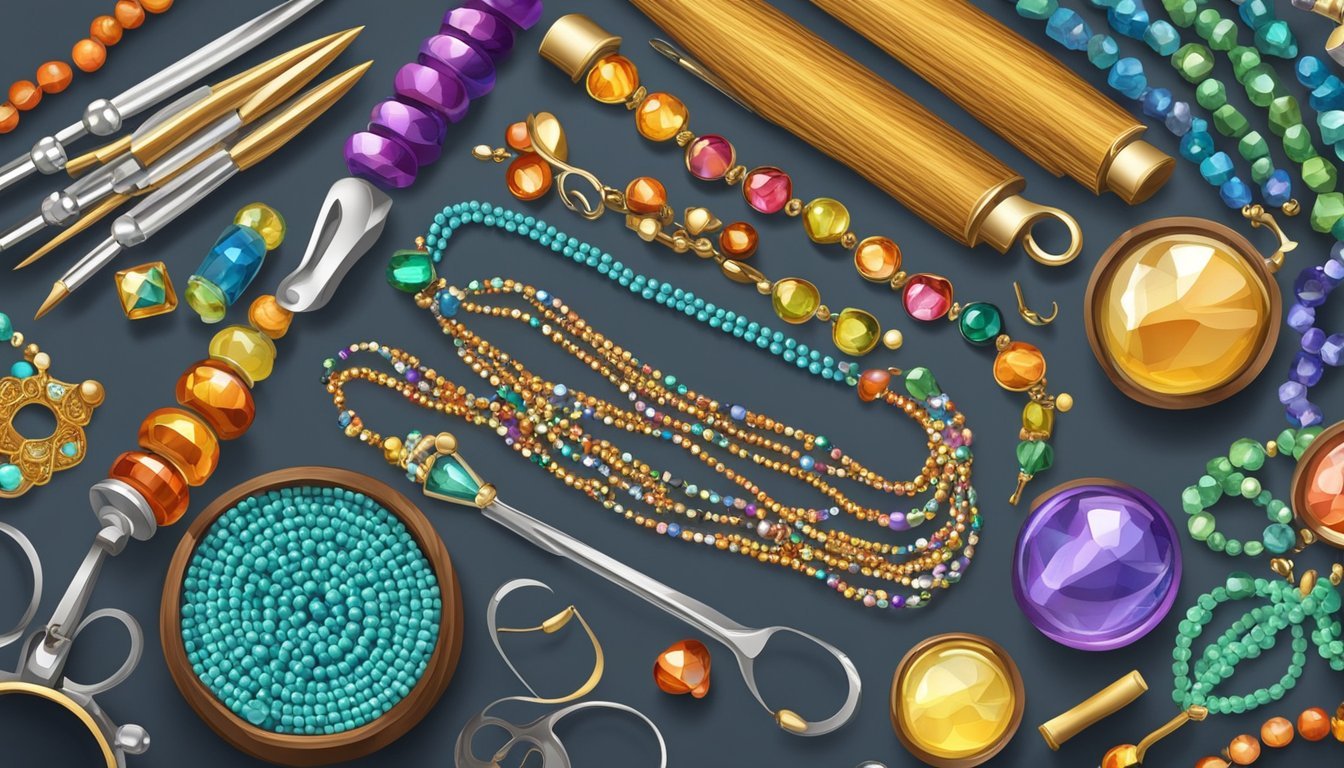
Choosing the right colors can elevate your jewelry design.
Start with a focal color that speaks to you.
This is the main color that will set the tone for your piece.
Next, look for complementary colors.
These shades enhance your focal color and add visual interest.
Consider colors opposite each other on the color wheel for a striking contrast.
Neutrals can be your best friend.
Incorporating whites, blacks, or beiges helps to balance bold colors.
This makes your design versatile and easy to wear.
Don’t forget inspiration from your everyday life.
Look at your favorite clothes or home decor.
Those colors can give you a fresh perspective and spark creativity.
Experimenting with different tones of your focal color is also fun.
For example, if you choose red, play with shades like crimson and vermilion.
This creates a harmonious yet dynamic effect.
Trust your instincts and have fun with the process.
The right combination can turn a simple piece into something truly unique.
Enjoy mixing and matching until you find a palette that feels just right!
7) Adding Charms and Pendants

Adding charms and pendants can really take your beaded jewelry to the next level.
These small decorative elements allow you to showcase your personal style and make each piece unique.
You can find charms in various colors, materials, and themes.
This variety helps you match them with your beads perfectly.
For example, if you’re working with a colorful bracelet, consider adding a charm that complements those colors.
To attach charms, use jump rings or split rings.
These simple findings make it easy to connect charms to your design without any fuss.
Tutorials and instructional videos can guide you through the attachment process if you’re unsure.
Don’t hesitate to get creative! You can make charm bracelets, necklaces, or earrings featuring multiple charms.
Think about mixing different types of charms, like animal shapes or glass beads, to add some fun to your pieces.
Also, consider the placement of your charms.
This can change the entire look of your jewelry.
Just a few charms in the right spots can add interest and character.
8) Working with Wire Beads
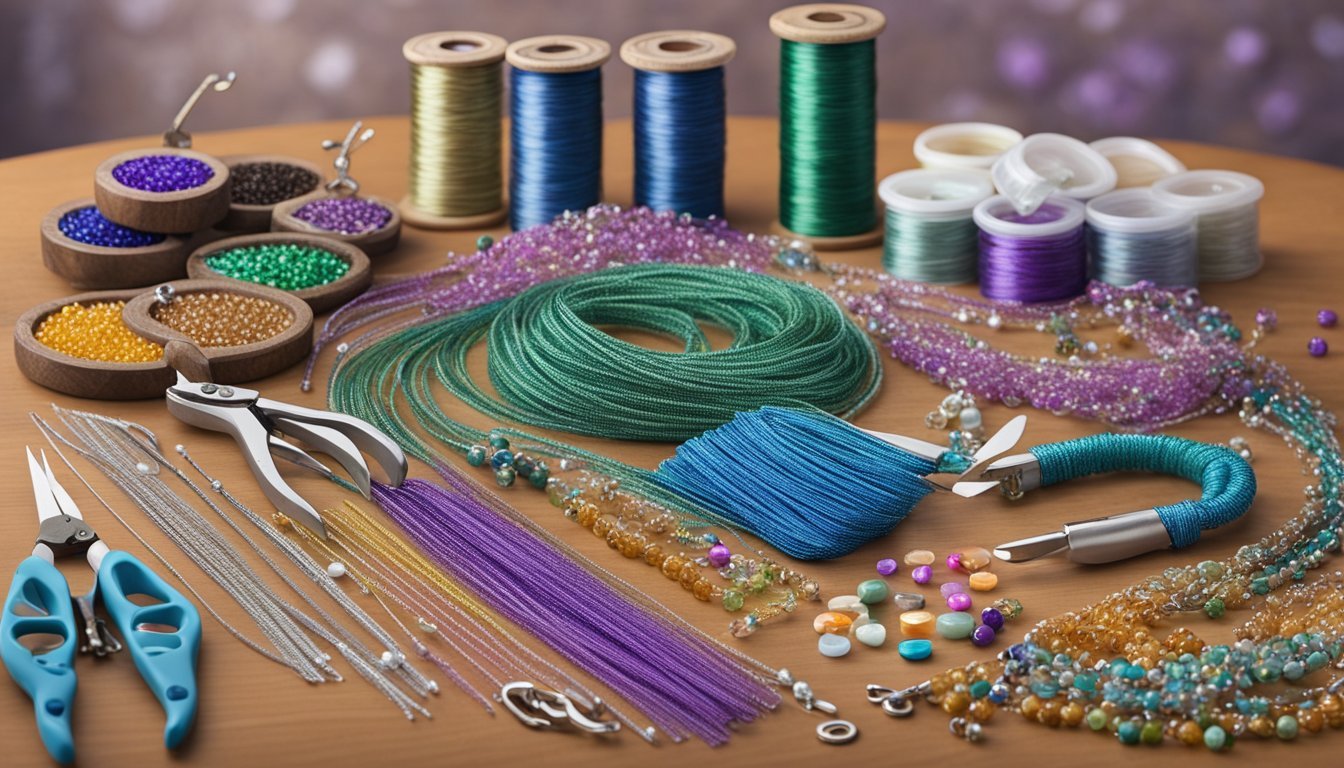
When working with wire beads, you’ll find they offer versatility in your jewelry designs.
They can be used for creating both structure and beauty in your pieces.
Start by selecting the right type of wire for your project.
Jewelry wire comes in various thicknesses, so choose one that matches the beads and overall design.
For delicate designs, opt for thinner wire, while thicker wire adds sturdiness.
Wire wrapping is a popular technique.
It allows you to secure beads in place and create stunning decorative elements, especially for earrings and bracelets.
This skill can enhance your projects, making them more unique.
Experimenting with wire components can lead to creative designs.
Mix wire shapes and sizes to create texture and contrast.
Don’t hesitate to try different techniques like spirals or loops.
Lastly, practice makes perfect.
Working with wire takes some getting used to, but you’ll improve with each project.
Keep experimenting and enjoy the process of bringing your vision to life.
Designing a Statement Necklace
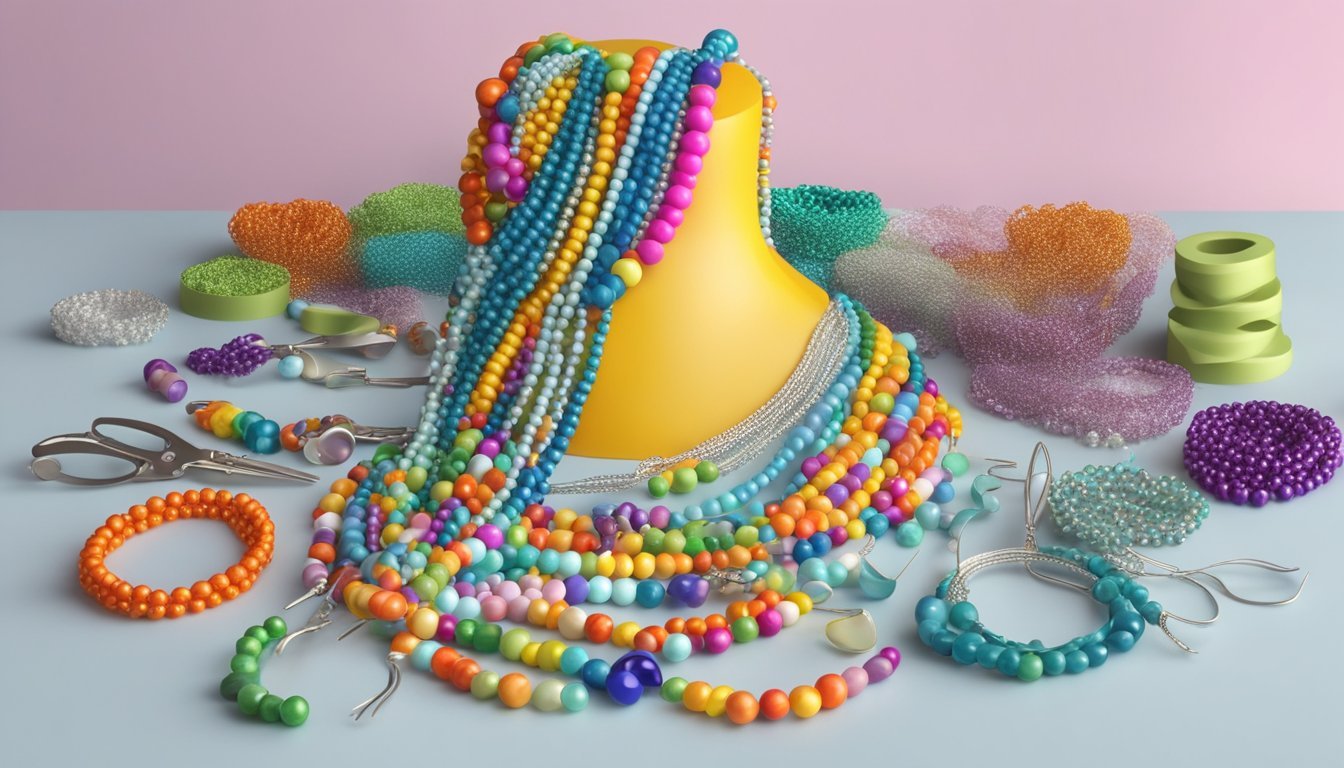
Creating a statement necklace can be a fun and personal project.
Start by gathering your materials, including beads, wire, and any additional embellishments you want to use.
Choose a color palette that reflects your style.
Mixing textures and shapes can add depth to your design.
Lay out your beads on a flat surface to see how they’ll look together.
When you’re ready, cut your beading wire to your desired length.
A typical length is around 18 to 30 inches, but adjust based on your design.
Use crimp beads and jump rings to secure your strands properly.
As you bead, take your time.
Add beads one at a time, ensuring they fit your vision.
If you run out of wire, don’t worry—just attach a new piece using a crimp bead.
Finish with a clasp that complements your design.
This makes it easy to wear and take off.
Trust your instincts, and have fun experimenting with different combinations.
Your unique statement necklace will be a reflection of your creativity!
Customizing for Personal Style
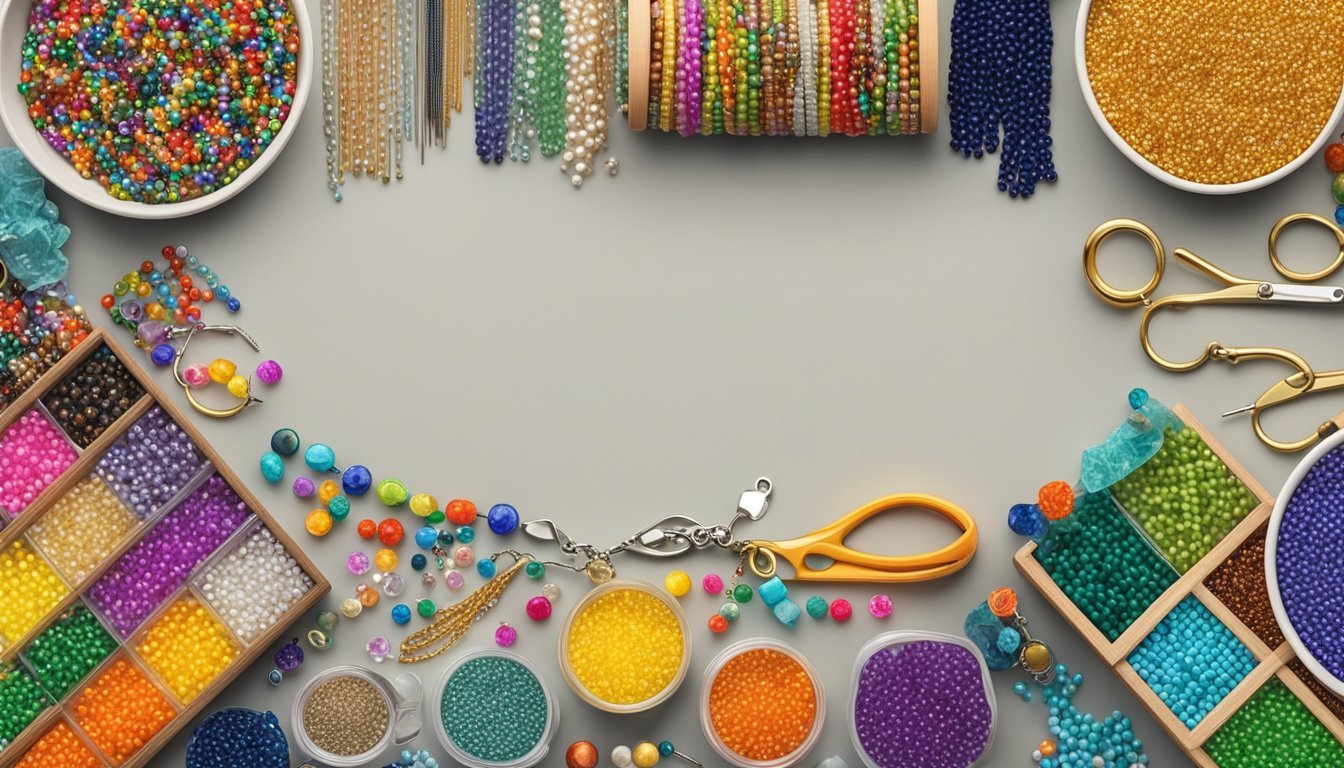
When you use beading kits, you can personalize your pieces to match your style.
Choose beads, colors, and charms that resonate with you or reflect a special meaning.
Think about your wardrobe and what accessories you often wear.
Selecting items that complement your favorite outfits will ensure your jewelry gets plenty of use.
Mixing different materials like glass, gemstones, and metal can add texture and variety.
Don’t hesitate to incorporate themes or motifs that you love.
Whether it’s nature-inspired designs or bold geometric shapes, these details make your jewelry unique.
Experiment with different patterns and arrangements.
Laying out your beads before stringing them allows you to visualize your design and make adjustments as needed.
Finally, consider adding a personal touch, like initials or symbols, for a truly one-of-a-kind piece.
Customizing your jewelry is all about expressing who you are, so have fun with it!
Getting Started with Beading Kits
Getting started with beading kits can be a fun and creative experience.
You’ll want to choose the right kit that fits your skill level and explore the essential tools to bring your jewelry ideas to life.
Here’s how to dive in.
Choosing the Right Beading Kit
When you select a beading kit, you should consider your goals.
If you’re a beginner, look for kits that include detailed instructions and all necessary materials like beads, wires, and clasps.
Some popular options include:
- Beginner Kits: Focus on simple designs and basic techniques.
- Themed Kits: Choose kits with specific themes, like nature or colors you love.
- Gift Kits: Ideal for friends; these often include extra tools and instructions to get started.
Make sure to read reviews or watch unboxing videos to understand what comes included.
A kit with quality materials will make a big difference in your finished project.
Essential Tools and Materials
Beyond your beading kit, having the right tools is crucial for making your jewelry.
Here’s a quick list of essential tools:
- Wire Cutters: Perfect for trimming wire and cord to the desired length.
- Round-Nose Pliers: These help create loops and bend metal wire smoothly.
- Flat-Nose Pliers: Use these for gripping and holding materials firmly.
You may also need additional materials depending on your design.
Common supplies include thread, clasps, and decorative elements.
Consider organizing your workspace with small containers for easy access to supplies.
This setup will keep your creative flow uninterrupted.
Techniques for Creating Unique Jewelry
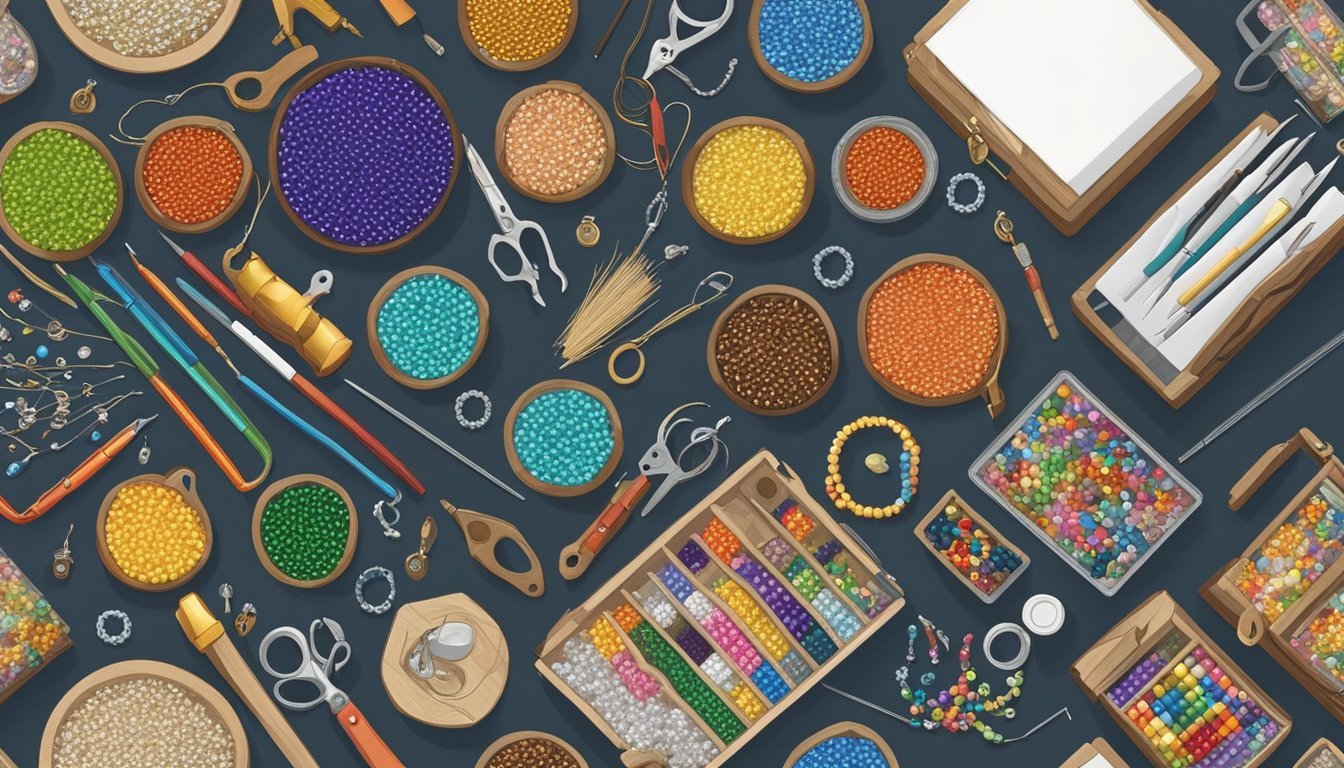
Getting creative with your beading kit can take your jewelry-making skills to the next level.
Two effective approaches include mixing different types and colors of beads, as well as incorporating metal findings to enhance your designs.
Each method offers a way to express your personal style.
Mixing Bead Types and Colors
Experimenting with various bead types and colors adds depth and uniqueness to your jewelry.
Consider combining materials like glass, wood, and gemstones for contrast.
- Color Schemes: Choose a color palette that resonates with you. For instance, pairing earthy tones with vibrant accents can create an eye-catching look.
- Shapes and Sizes: Use a mix of shapes (round, cube, and teardrop) and sizes to create visual interest.
You can also incorporate patterns or themes that reflect your personal style.
Just remember to keep balance; too much variety can overwhelm the design.
Use complementary colors or shades to maintain harmony.
Incorporating Metal Findings
Metal findings aren’t just functional; they can also elevate your jewelry’s aesthetic.
Use components like clasps, jump rings, and wire to enhance your pieces.
- Types of Findings: Silver, gold, and copper findings can add elegance and sophistication. Choose metals based on the color palette of your beads.
- Textural Elements: Mixing smooth, shiny beads with textured metal findings can create a dynamic effect.
Don’t be afraid to experiment with different placements and combinations.
For example, a decorative clasp can be used not just for function, but also as a focal point in the design.


