
Creating realistic water effects in art can elevate your paintings and bring them to life.
Mastering a few key techniques can help you capture the dynamic nature of water and enhance the overall impact of your work.
Whether you’re using acrylics, oils, or watercolors, understanding how to depict reflections, waves, and movement will make your art more engaging.

Water is a complex subject, full of nuances and subtle details.
Knowing how to manipulate colors, brushstrokes, and textures will enable you to recreate its beauty accurately.
As you experiment and practice, you’ll find that your confidence and skill in painting water will grow, allowing you to create stunning visuals that resonate with viewers.
Use Thin, Diluted Layers – Start with Light Washes
To create realistic water effects, start with thin, diluted layers.
This technique helps you build depth gradually without overwhelming your canvas with color.
Begin by mixing your paint with water.
A good rule of thumb is to aim for a consistency similar to tea.
This will allow the colors to blend smoothly and mimic the transparency of water.
Apply your first wash lightly.
Focus on larger areas and let the paint flow naturally.
This creates a soft base for your water effects.
Once dry, assess the areas that need more depth or detail.
You can layer additional washes to enhance shadows or highlights.
Remember, patience is key.
Don’t rush the process; let each layer dry completely before adding more.
This will help you maintain control over the color intensity and overall effect.
Experiment with different colors and blends.
Water is rarely just one shade.
Mixing blues, greens, and even hints of browns can give your water a more dynamic and realistic look.
Observe Real Water Sources – Study Natural Water
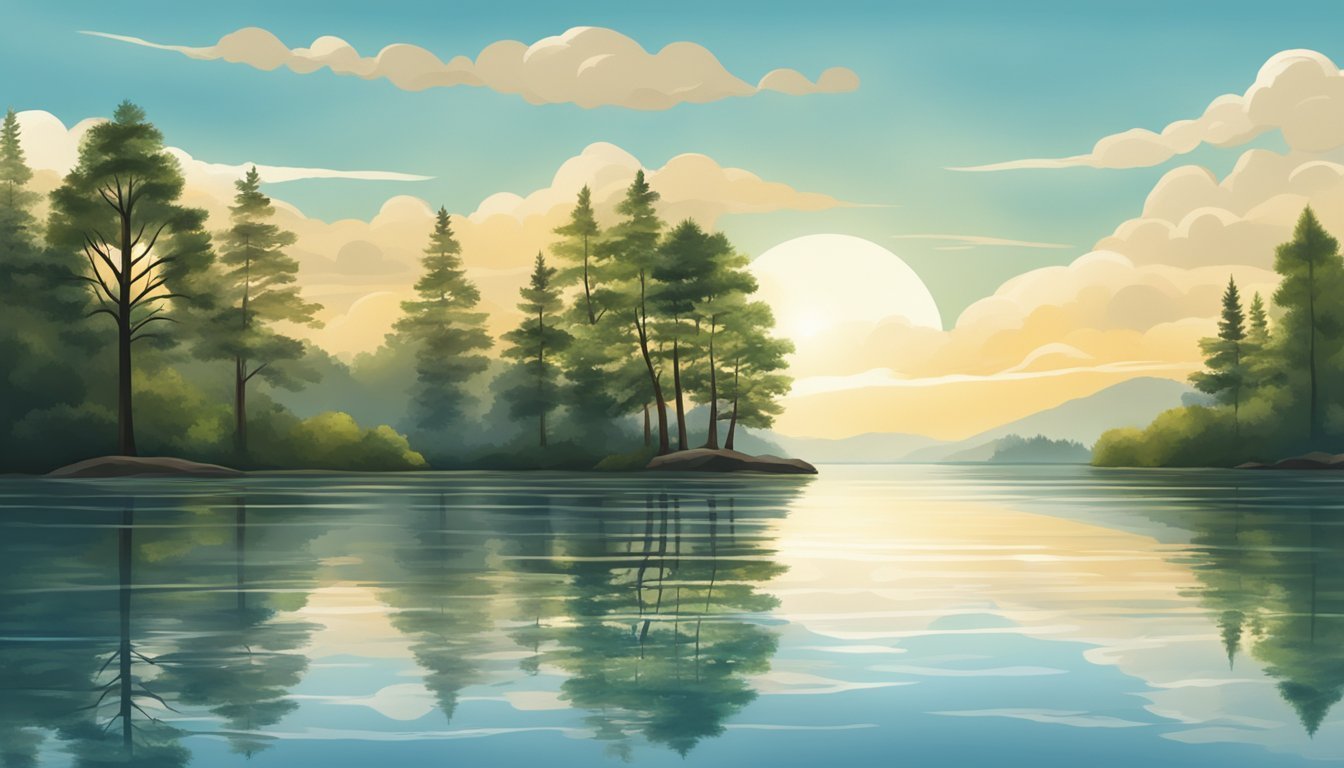
To paint realistic water effects, start by observing natural water sources.
Look at lakes, rivers, or oceans.
Notice how the light reflects off the surface.
Pay attention to the color variations in the water.
Different depths and movements create unique shades.
You’ll see blues, greens, and even browns.
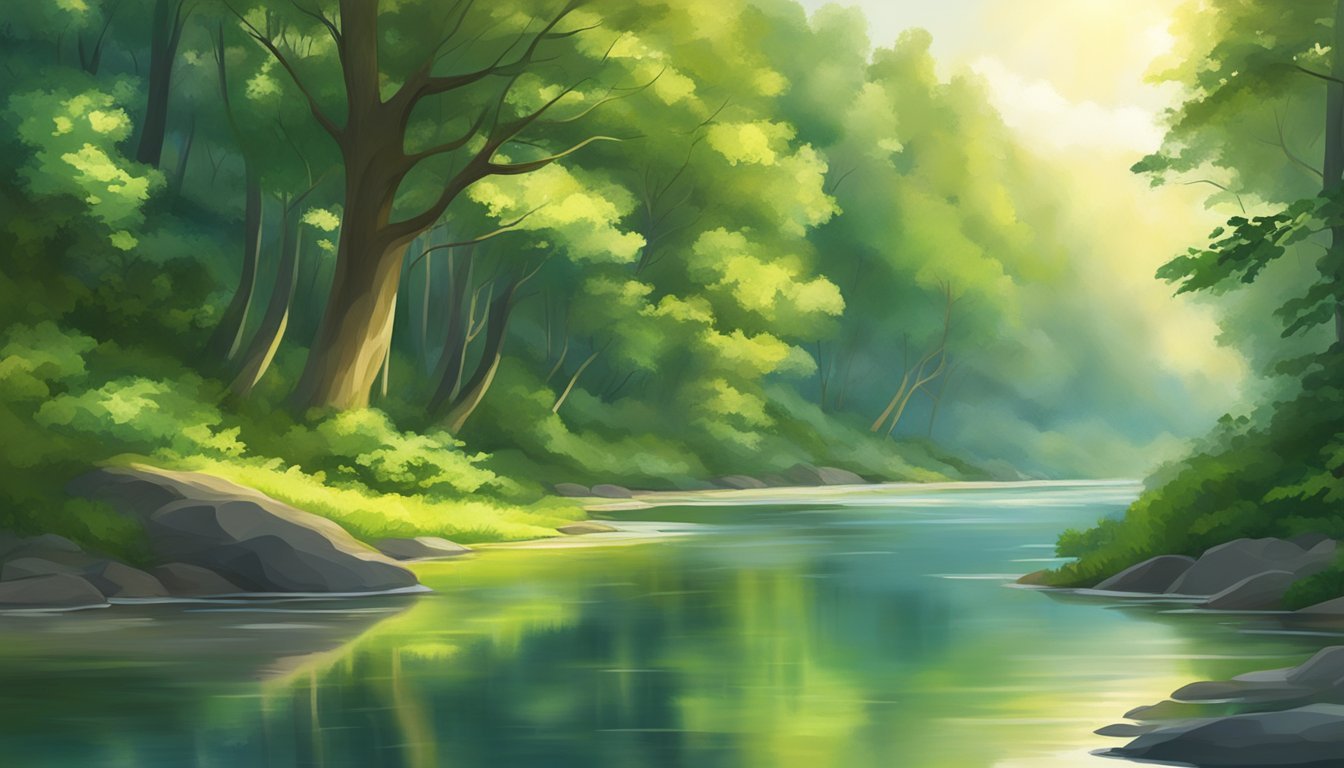
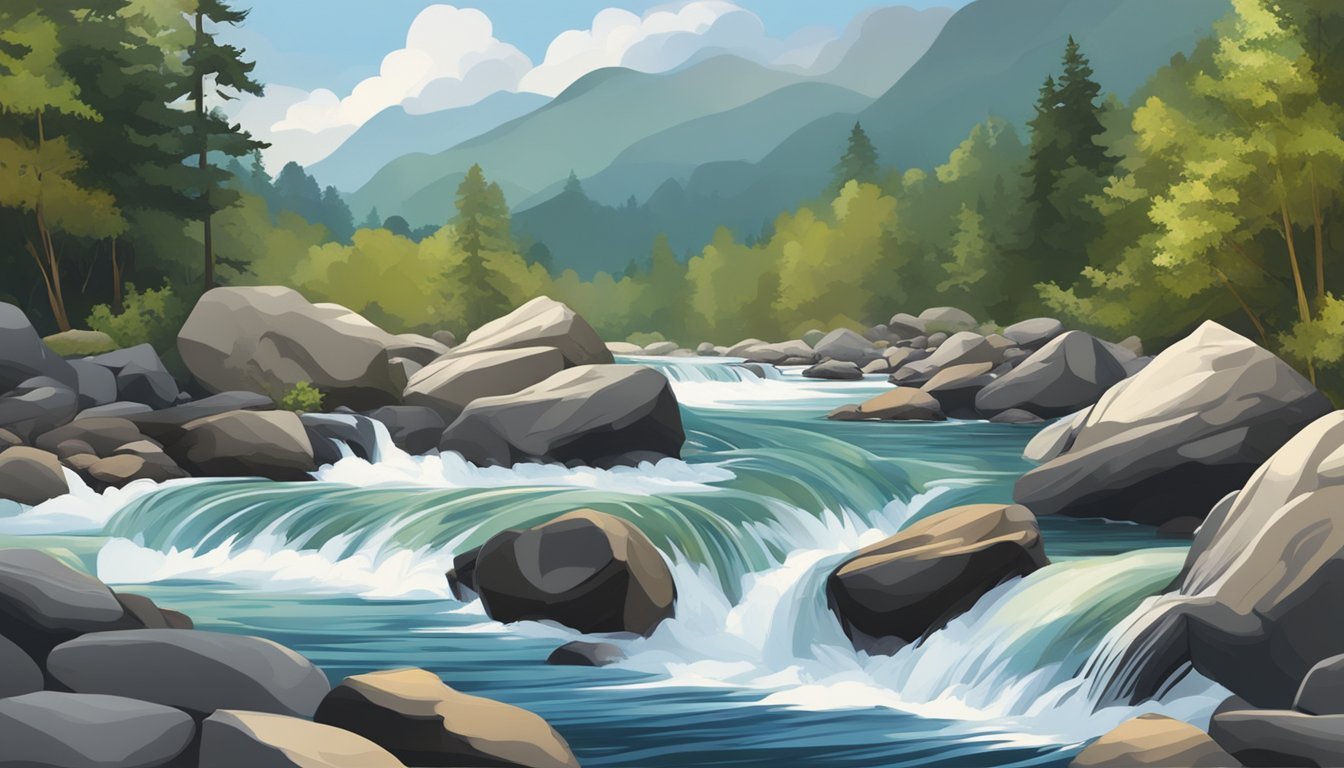
Observe how the water interacts with its surroundings.
Look at the way it flows around rocks or cascades over a ledge.
These details will enhance your understanding of movement.
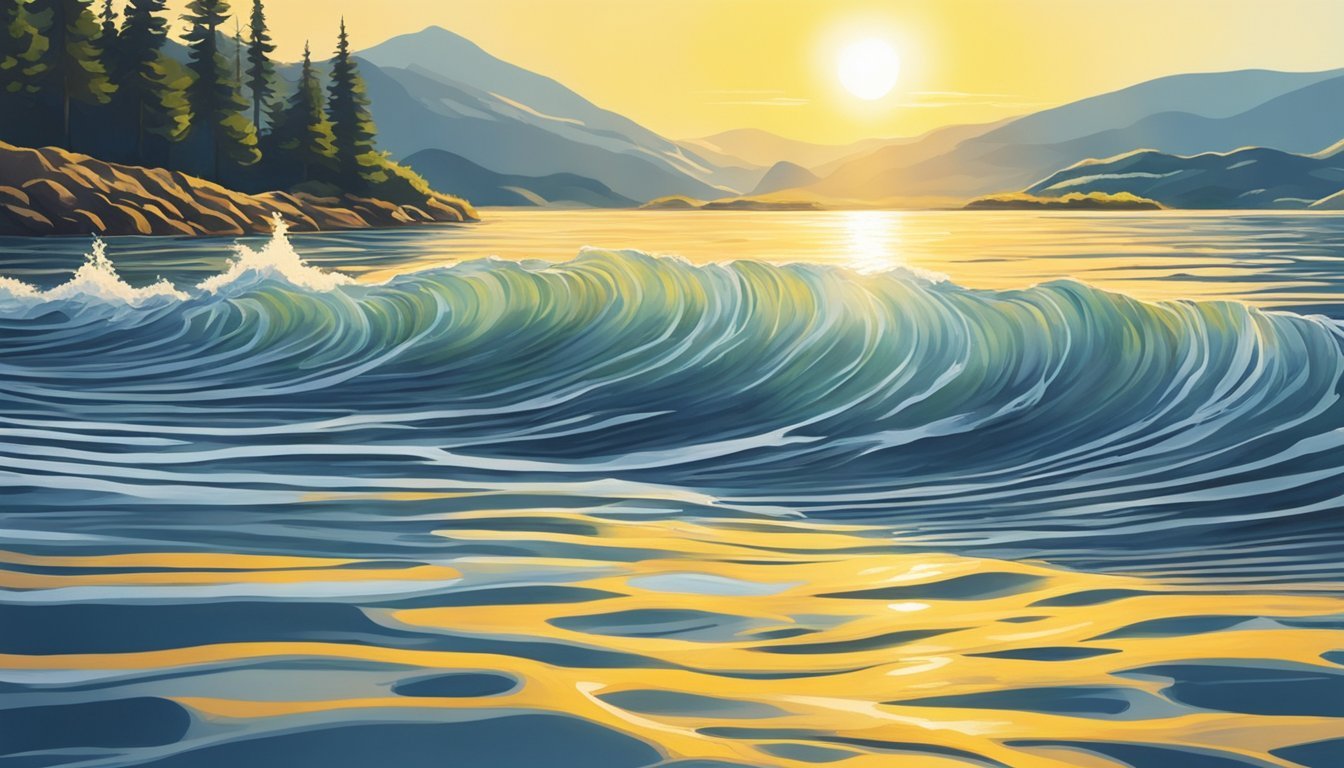
Watch for the effects of wind on the surface.
Ripples, waves, and distortions change how light appears.
Take note of reflections in the water.
Objects and colors can look different when mirrored.
This can inform your brushwork.
Lastly, don’t forget to take photos or sketch what you see.
This will serve as a reference for your art.
Using real-life observations will elevate your painting skills.
Experiment with Different Brushes – Use a Fan Brush
Using a fan brush can significantly enhance your water painting techniques.
This brush’s unique shape allows you to create soft, flowing textures that mimic the movement of water.
To begin, load your fan brush with paint and lightly drag it across the canvas.
You can create ripples or wave patterns that look natural and fluid.
Adjust the pressure you apply for different effects—gentler strokes yield softer water, while firmer strokes can depict stronger currents.
Don’t be afraid to mix colors on your palette.
Trying out various color combinations with your fan brush can add depth and interest to your water scenes.
The key is to keep experimenting until you find the look you want.
Remember, practice is essential.
Spend time just playing with the fan brush and get a feel for how it interacts with the paint and canvas.
You’ll discover new techniques and styles along the way that will contribute to your realistic water effects.
4) “Incorporate Reflections” – Add reflection details
When painting water, adding reflections can create depth and realism.
Start by observing your environment.
Notice what’s around the water’s edge that can reflect in the water.
Use colors from your surroundings to represent these reflections.
If there’s a tree nearby, mix in greenish tones where the tree’s image meets the water.
This brings a natural look to your painting.
Keep your brushwork light and transparent.
Applying color lightly allows for a soft blending with the ripples you’ve created.
Aim for subtlety; you want the reflections to enhance the water, not overwhelm it.
Consider the direction of light.
Reflections tend to be distorted and softer compared to direct images.
Mimic this by using less defined edges for the reflected shapes.
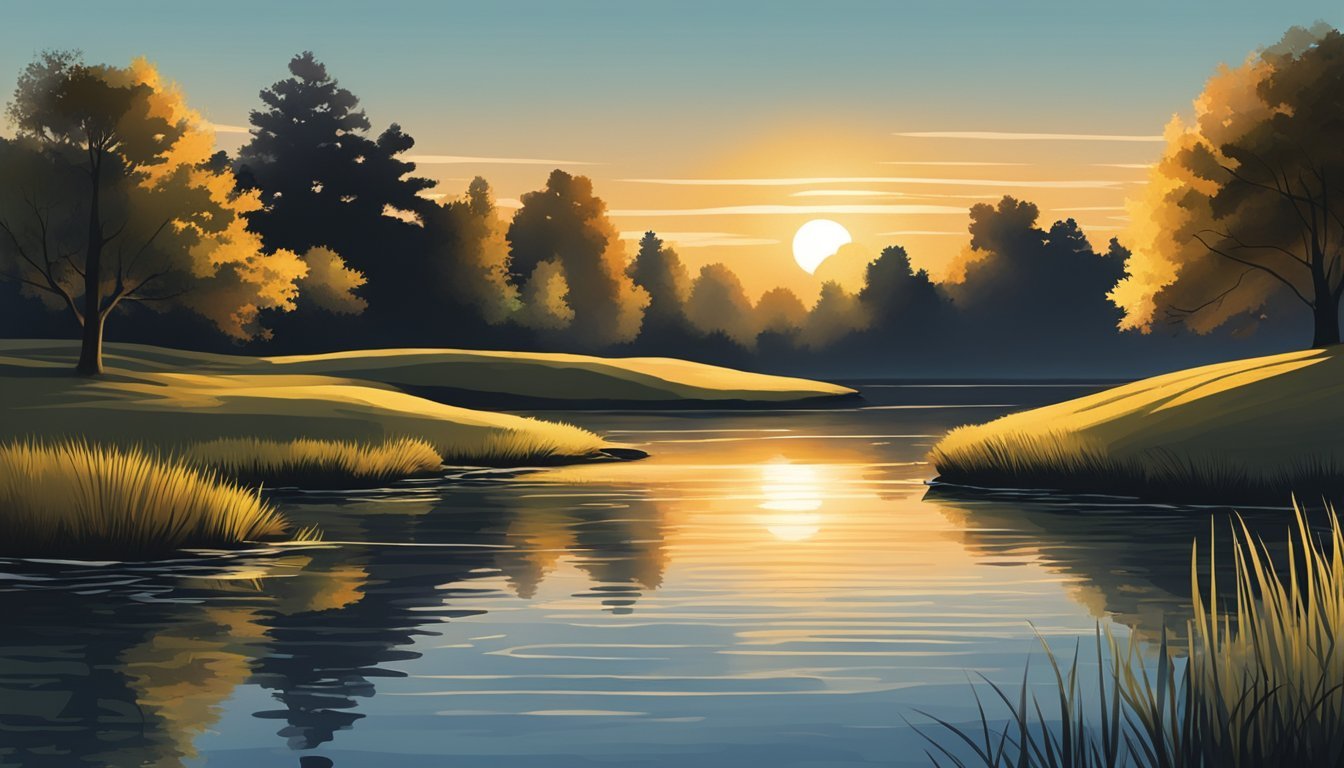
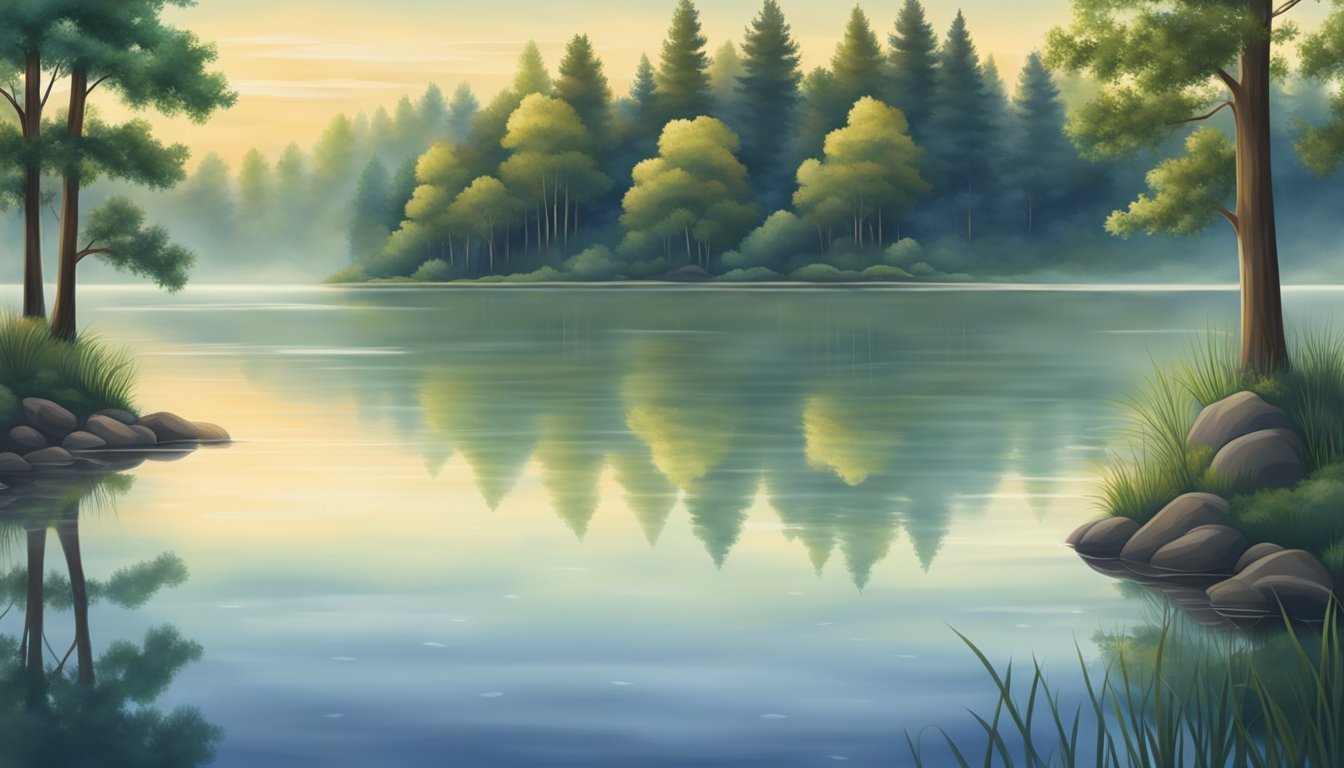
Don’t forget about the mood of the scene.
A serene lake might have calm reflections, while a river could show more movement.
Adjust your techniques to match the water’s character for a more believable effect.
5) “Play with Light and Shadow” – Emphasize contrasts
Creating realistic water effects relies heavily on how you use light and shadow.
By playing with these elements, you can add depth and vibrancy to your artwork.
Start by identifying your light source.
Is it coming from above, below, or off to the side? This will guide how you depict both highlights and shadows.
Use lighter colors to create highlights on the water’s surface.
These areas mimic reflections from above, adding a shiny, dynamic look.
In contrast, deeper hues can represent shadows.
These darker spots can create a sense of depth and movement, making your water look more realistic.
Experiment with blending techniques to soften the transitions between light and shadow.
This will enhance the fluidity that water naturally possesses.
Remember, contrast is key.
Without it, your water may appear flat, lacking the vibrancy it deserves.
Take time to observe real water.
Notice how light interacts with it in different environments.
This observation will help you make informed choices in your painting.
6) “Choose a Limited Palette” – Stick to blues and greens
When painting realistic water effects, selecting a limited color palette is essential.
Focus on blues and greens to create depth and vibrancy.
This approach helps unify your artwork and makes it easier to work with.
By sticking to just a few shades, you can better manage how colors interact.
For water, consider hues like cerulean blue and emerald green.
They mimic natural watercolors, giving a more authentic feel.
You can also experiment with lighter and darker tones of these colors.
This variation adds dimension and realism.
Don’t shy away from mixing in a touch of white or black to adjust your shades.
Using fewer colors allows you to explore shapes and textures without being overwhelmed.
You’ll find that this simplicity can lead to striking and cohesive results.
7) Use Glazing Techniques – Layer Transparent Colors
When painting realistic water effects, glazing techniques are essential.
These involve applying thin, transparent layers of paint over your base colors.
This method allows you to achieve a sense of depth and luminosity.
Start with a base layer that captures the general color of the water.
Once it dries completely, you can then add subsequent layers of color.
This will enhance the richness of the water’s surface and create a more lifelike appearance.
Choose colors that reflect the environment.
For instance, if you’re painting a sky, consider how the blue might ripple in the water.
By blending transparent colors, you can mimic the way light interacts with water.
Experiment with different mediums to adjust the transparency of your paint.
A glazing medium can help achieve the desired effect while maintaining clear, vibrant colors.
Don’t rush the process; allow each layer to dry before applying the next.
This ensures that your colors remain bright and defined, contributing to the realistic effect you’re aiming for.
Embrace the layering process to create beautiful, dynamic water surfaces in your artwork.
8) “Capture Movement” – Create a sense of flow
To create realistic water effects, focus on capturing the movement and flow of water.
This can be done through your brushwork and the choices you make in shaping the water.
Use directional brush strokes that follow the natural lines of the water.
This helps in mimicking the way water flows and creates a sense of continuity in your painting.
Experiment with varying edge techniques.
Soft edges can represent gentler flows, while hard edges can suggest more forceful movement.
Combining soft, broken, and hard edges adds dimension and interest.
Don’t be afraid to mix mediums.
Using both watercolors and pastels can help you emphasize movement.
For instance, watercolor can create a fluid background while pastels add weight and texture.
Keep your palette varied.
Shades of blue, turquoise, and even hints of green can make your water look vibrant and alive.
Remember to let your colors blend naturally to enhance the flow.
Finally, keep it loose.
If you overwork areas, you might lose the energy and spontaneity that makes water feel alive.
Stay relaxed, and let your instincts guide your brush.
9) Highlight Ripples and Waves – Add Texture

Adding texture to ripples and waves can make your water look more realistic.
Start by using a fine brush or a palette knife to create subtle lines and curves.
Focus on the direction of the light.
Lighter tones can help highlight the peaks of the waves, while darker shades can add depth to the troughs.
This contrast will create a dynamic look.
Don’t forget to vary your brush strokes.
Short, flicking motions can mimic the appearance of tiny ripples, while longer strokes can represent larger waves.
Experiment with different techniques to see what works best for you.
Layering is key in achieving texture.
Start with a base layer and gradually build up the highlights and shadows.
This method gives your water depth and makes it more lifelike.
Remember to consider the surrounding environment.
Reflections and shadows from nearby objects can enhance the overall texture of the water.
Pay attention to how these elements interact with the waves.
10) “Mix in White Gouache” – Enhance Highlights
Mixing in white gouache can elevate your water paintings significantly.
It adds brightness and creates striking highlights that mimic the glint of sunlight on water.
When you want to enhance the reflective quality of water, use gouache to pinpoint specific areas.
A tiny amount can go a long way.
Apply it sparingly to avoid overpowering your base colors.
A thin layer of gouache will create a soft glow that feels natural.
Experiment with different consistencies.
A thicker application can serve for bold highlights, while a more diluted mix provides subtle touches.
Remember to consider the surrounding colors; the contrast will help the highlights stand out even more.
Keep practicing to find the right balance in your pieces.
Understanding Water in Art
Grasping the nature of water is essential for creating realistic effects in your artwork.
Water exhibits unique physical properties and interacts with light in fascinating ways.
Let’s explore these aspects to enhance your painting.
The Physical Properties of Water
Water is dynamic and fluid, constantly changing shape and texture.
Its transparency allows you to see through to its depths, while movement creates ripples and waves, influencing how you depict it.
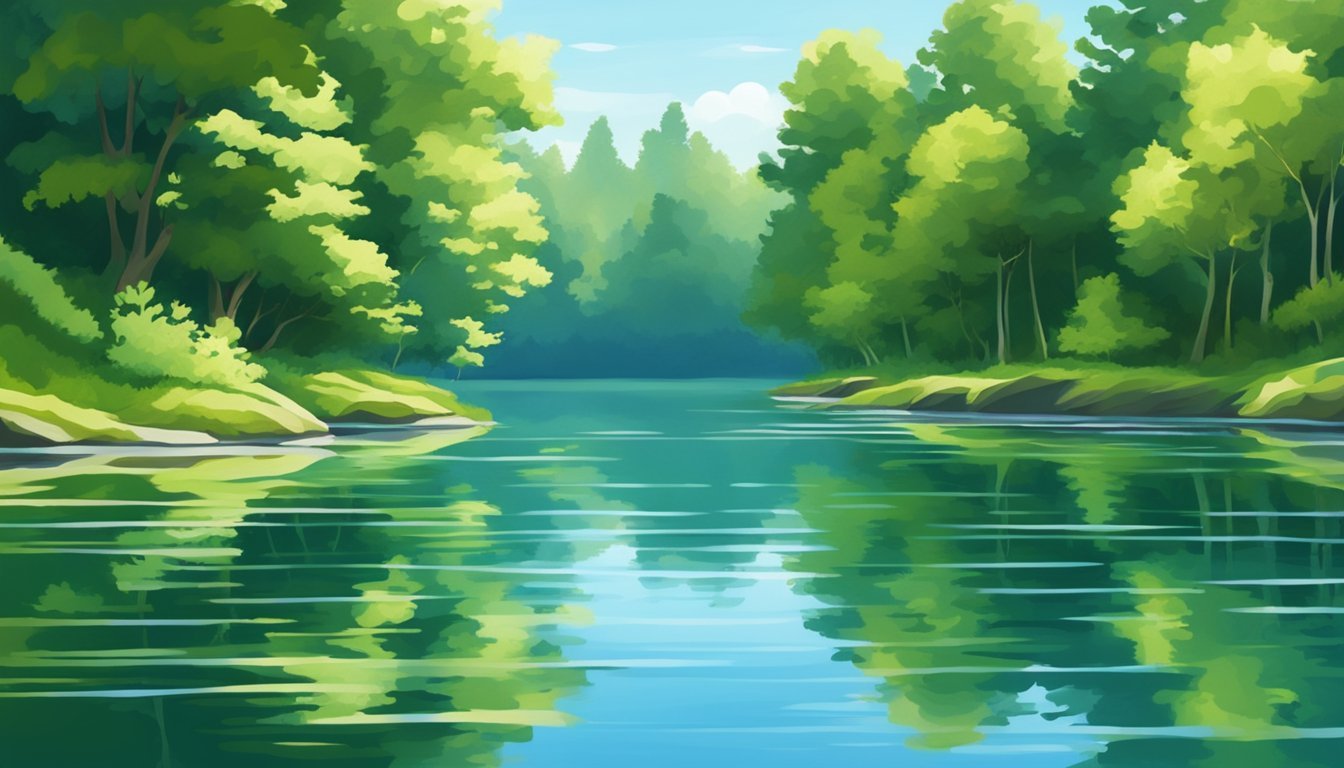
When you paint water, consider its color.
Use a range of blues and greens to capture the reflections of the sky and surrounding environment.
Darker shades convey depth, while lighter hues suggest shallowness.
Additionally, water often holds elements like foam, bubbles, and reflections from nearby objects.
Incorporating these details can add realism and interest to your artwork.
Think about how light interacts with these features as you paint.
Light and Reflection on Water Surfaces
Light plays a vital role in how water is perceived.
The way it reflects and refracts light can create stunning visual effects.
On a calm surface, you’ll see clear reflections of the sky and surroundings.
When painting, use a mix of lighter shades for highlights where light hits the water and darker tones to indicate depth and shadow.
Remember to layer your colors to achieve a more realistic look.
For moving water, capture the essence of ripples and waves by using dynamic brush strokes.
Use a dry brush technique to create the appearance of foam or splashes.
This approach emphasizes the liveliness of the water, enhancing the overall impact of your artwork.
Techniques for Painting Realistic Water

When painting water, effective techniques play a crucial role in achieving realism.
Focusing on brushwork, stroke methods, and color selection can significantly enhance your artwork.
Brushwork and Stroke Techniques
Using the right brushwork is essential for capturing the movement and texture of water.
A fan brush works well for creating wave crests and foamy textures. Here’s how to do it:
- Loading the Brush: Mix white paint with a light blue or green.
- Applying Pressure: Hold the brush perpendicular to the canvas. Press down lightly and flick for dynamic wave effects.
- Detailing with Precision: Use a fine synthetic rigor brush for small, detailed dots to mimic light reflecting on the water’s surface.
These techniques create realistic ripples and movement.
Choosing the Right Colors and Tones
Selecting appropriate colors will enhance the depth and vibrancy of your water.
Consider the following:
- Base Colors: Start with darker tones for deeper water areas. Then, gradually blend in lighter shades for shallower regions.
- Adding Highlights: Use thick applications of lighter colors for highlights, especially where the water meets the light.
- Mixing Techniques: Combine colors on your palette to achieve variations, mimicking nature’s unpredictability.
Varying your colors and maintaining tonal contrasts will give your water a believable and lively appearance.