
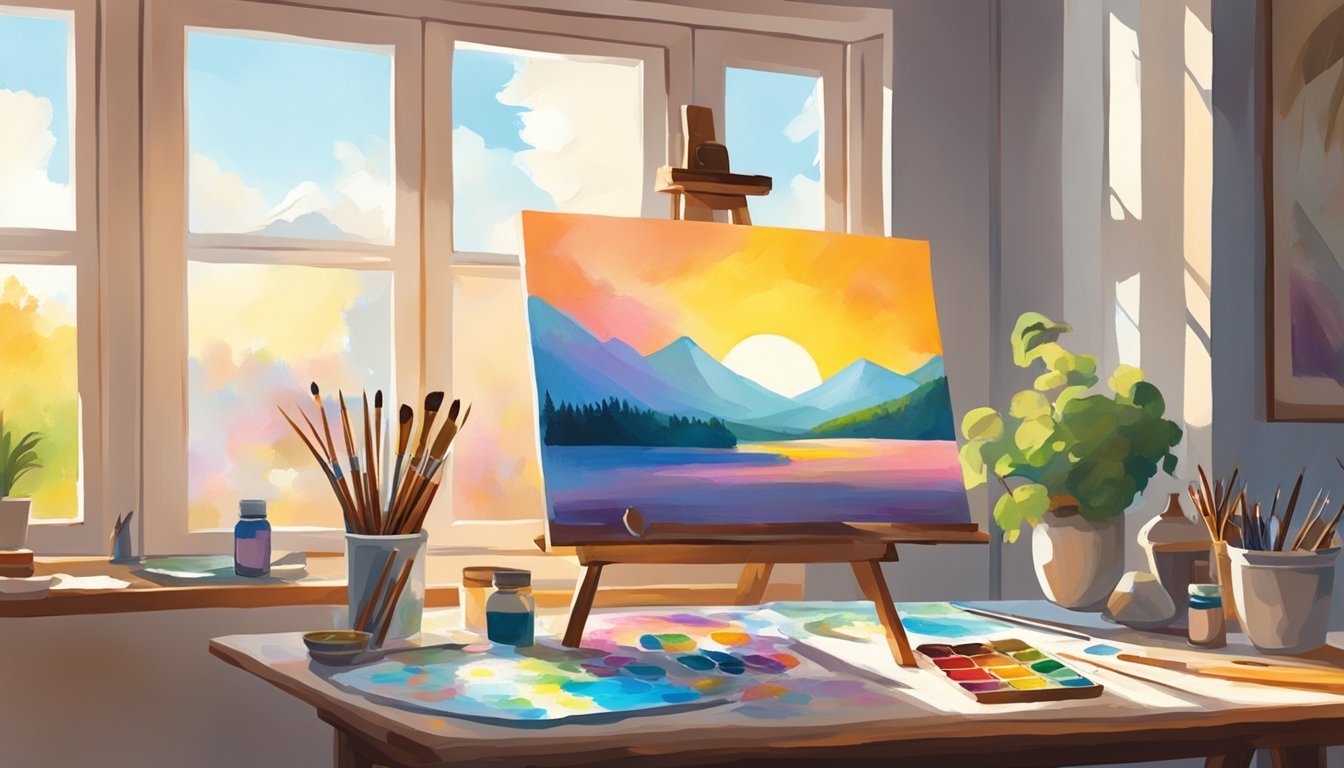
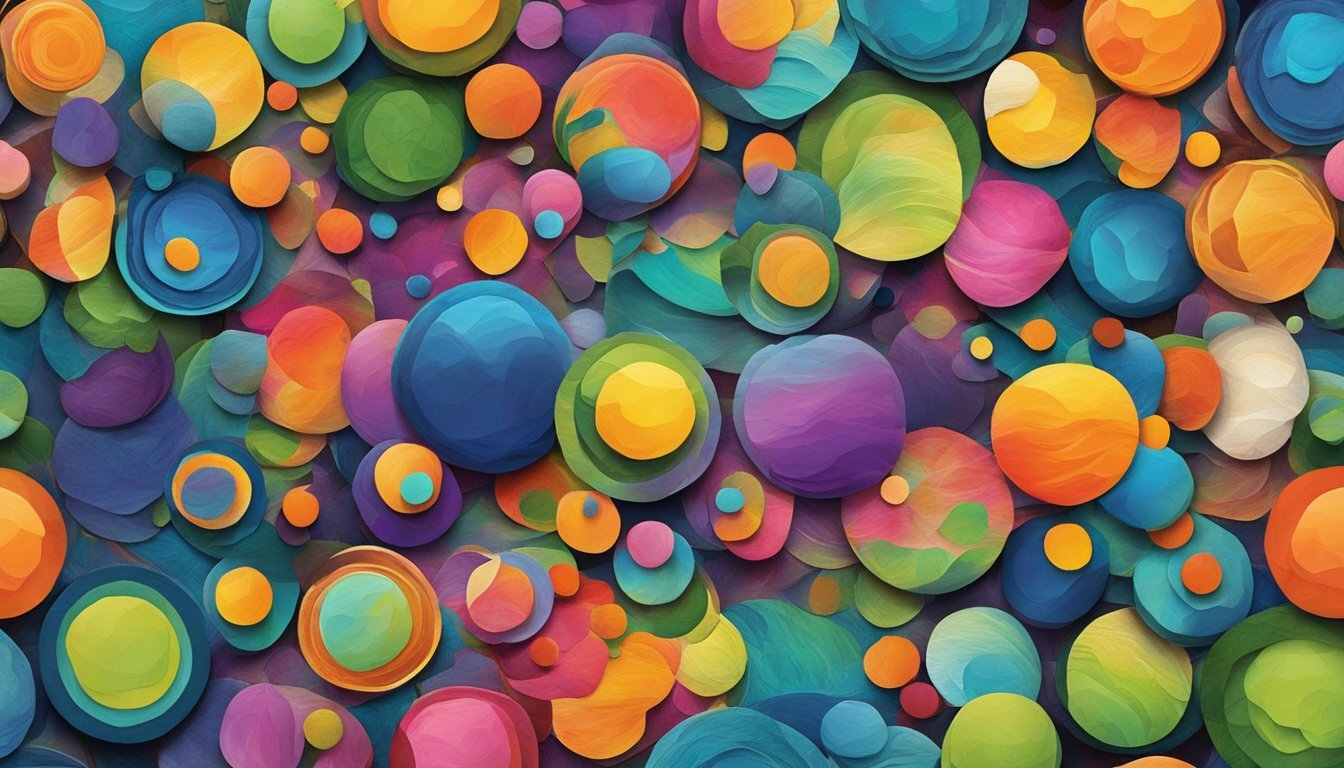
Mixed media art offers a fun and expressive way to unleash your creativity by combining various materials and techniques.
With endless possibilities at your fingertips, you can explore different textures, colors, and forms, allowing your imagination to run wild. Learning a few simple techniques can elevate your projects and boost your confidence.
Whether you’re a beginner or someone looking to refine your skills, diving into mixed media can be a rewarding experience.
This art form encourages experimentation and personal expression, making it perfect for artists of all levels. Understanding the fundamentals and trying out some straightforward methods can help you create stunning pieces that truly reflect your unique style.
Layering with Watercolors
Layering with watercolors is a fun way to add depth to your artwork.
Start with a light wash as your base layer.
This will create a smooth foundation for the additional layers.
Once the first layer dries, use a slightly darker shade to build dimension.
You can apply this layer with a wet-on-dry technique to maintain sharp edges.
Experimenting with transparency is key.
A semi-transparent layer allows the earlier colors to show through, creating a beautiful interplay of hues.
Don’t be afraid to mix in some mixed media elements.
Adding textures or patterns can enrich your piece while providing new visual interest.
Remember to let each layer dry before adding the next.
This prevents colors from becoming muddy and helps maintain clarity in your work.
Try incorporating collage elements with tissue or scrapbook paper, as these can add another unique dimension to your watercolor layers.
Enjoy the process and allow your creativity to guide you!
2) Collage Using Found Objects
Creating a collage with found objects can be a fun and creative way to express yourself.
Start by gathering items from around your home.
Look for anything that catches your eye, like old buttons, fabric scraps, or interesting packaging.
Once you have your collection, decide on a base for your collage.
You can use a canvas, wood panel, or even a piece of heavy paper.
This will be the foundation for your artwork.
Arrange your found objects on the base.
Play with different layouts until you find a composition that you like.
Don’t be afraid to overlap pieces or experiment with textures.
When you’re happy with the arrangement, secure everything in place using a strong adhesive.
You can use glue, Mod Podge, or any collage medium you prefer.
Make sure to smooth out any air bubbles.
Feel free to add paint, markers, or other materials around your objects.
This will help create a cohesive look and enhance your collage.
Mixing different textures and materials will make your artwork more dynamic.
Enjoy the process and let your creativity flow!
Combining Acrylics with Ink
Combining acrylics with ink can elevate your mixed media artwork.
Acrylics offer a vibrant base, while ink adds detail and depth.
Start by applying a layer of acrylic paint as your foundation.
This dries quickly, allowing you to work faster.
Once dry, you can introduce acrylic ink for added color or detail.
You might enjoy using different techniques like splattering or brushwork with the ink.
This can create texture and visual interest.
Experiment with various brands of liquid acrylic inks to find the look you like best.
Consider working in a sketchbook.
This allows you to test different combinations without committing to a larger piece.
You can play with layering, blending, and even using stencils to create cool patterns.
Don’t hesitate to use a hairdryer to speed up the drying process.
Once dry, you can continue adding more layers without muddying previous work.
This combination opens up endless possibilities for creativity.
4) Texture with Modeling Paste
Using modeling paste is a fantastic way to add texture to your mixed media projects.
It’s versatile and can create a range of effects, from subtle to bold.
You can start by applying modeling paste through stencils.
Simply place the stencil on your surface and spread the paste using a palette knife.
This technique gives you clean shapes and dimension.
Another option is to mix modeling paste with watercolors.
This combination can create interesting textures while maintaining vibrant colors.
Experimenting with different ratios can lead to unique results.
If you’re feeling adventurous, try layering modeling paste.
Apply a first coat, let it dry, and then add another layer.
This builds depth and character in your artwork.
Homemade modeling paste is also an option if you prefer DIY projects.
It’s easy to make and can be customized to your liking.
Incorporating modeling paste into your art can elevate your pieces, making them more engaging.
Just remember to let each layer dry thoroughly before moving on to the next step for the best results.
Enjoy exploring the possibilities!
Photo Transfers on Canvas
Photo transfers on canvas can add a personal touch to your mixed media art.
It’s an easy technique that allows you to incorporate photos into your artwork.
Start by selecting a photo and make a photocopy using a laser printer.
Make sure it’s printed on plain paper for the best results.
Next, apply a layer of gel medium over your canvas.
Place the photocopy face down onto the gel, and gently smooth out any bubbles.
Let it dry completely, which usually takes about a few hours.
Once dry, dampen the paper with water and carefully start rubbing it off.
You want to reveal the image underneath without tearing it.
This method creates a unique, textured look that’s hard to achieve with traditional prints.
Experiment with different papers and images to see what works best for your style.
Mix and match these transfers with other materials for a layered effect.
The more you practice, the better your photo transfer skills will become.
Enjoy the process and have fun creating!
6) Stenciling Techniques
Stenciling is a fun and versatile technique in mixed media art.
You can use various materials for stencils, like plastic, cardboard, or even paper.
The choice affects how the paint or medium applies.
Start with a simple stencil design.
Position it on your canvas and secure it with tape to prevent any shifting.
This step is crucial for achieving clean edges.
Use spray paints or daub paint with a sponge or brush.
This method allows for precise control over how much paint you apply.
Experimenting with different colors can add depth to your artwork.
Consider making your own stencils for unique designs.
You can cut shapes from various materials.
This adds a personal touch to your creations.
Layering stencils can create interesting effects.
Place one stencil over another, allowing sections of your base layer to show.
This adds complexity and visual appeal.
Finally, don’t hesitate to combine stenciling with other techniques.
You can mix it with watercolors or collaging to create captivating mixed media pieces.
Enjoy the process, and let your creativity flow!
7) Using Charcoal for Depth
Charcoal is a versatile tool that can add depth and dimension to your mixed media art.
It allows you to create striking contrasts and enhance the visual interest of your pieces.
Start by sketching light lines with charcoal to outline your main shapes.
This gives you a foundation to build on without overwhelming the canvas.
Then, use shading techniques to create shadows.
Hatching and cross-hatching can help illustrate depth and form effectively.
Feel free to blend and smudge the charcoal for softer transitions.
This can create a more three-dimensional look within your artwork.
Incorporate layers with other media.
Charcoal works well alongside inks, paints, and colored pencils.
The contrast between these materials can give your art a rich, dynamic quality.
Experiment with different types of charcoal.
Compressed charcoal gives you darker, more intense lines, while vine charcoal offers a lighter touch.
This variety can further enhance the depth in your work.
8) Incorporating Old Newspapers
Using old newspapers in your mixed media art can add unique textures and stories to your work.
They bring a sense of history and surprise to your creations.
Start by tearing or cutting the newspaper into different shapes.
You can layer these pieces onto your canvas for added depth.
Consider using articles or images that resonate with your theme.
Adhesive mediums work well for sticking newspaper down.
Experiment with gel mediums or glue to see how different finishes can affect the look of your art.
Don’t shy away from painting over the newspaper once it’s applied.
This can create interesting contrasts between the text and imagery, enhancing your composition.
You might also explore the idea of transferring images from newspaper to your surface.
Techniques like photo transfer can add a striking element to your piece.
Incorporating old newspapers opens up countless possibilities.
Your creativity is the limit, so enjoy the process and see what stories emerge through your art.
9) Spraying Alcohol Inks
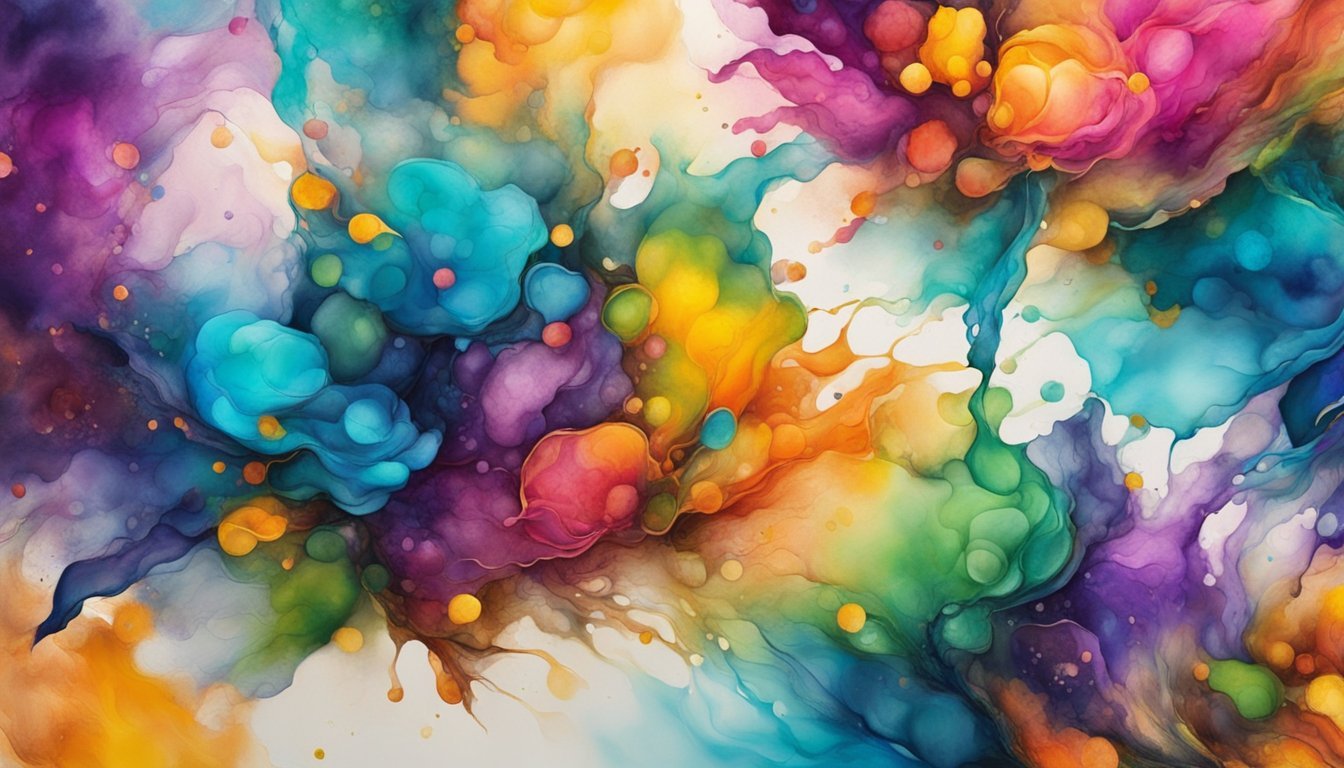
Spraying alcohol inks can create unique effects in your mixed media art.
It’s a fun technique that adds depth and vibrancy to your projects.
Start by choosing your colors.
You can mix different shades or stick with a single hue to keep it simple.
Prepare your workspace by laying down a protective covering.
Alcohol inks can be messy, so be ready for any splashes.
Fill a spray bottle with isopropyl alcohol and add a few drops of your chosen alcohol ink.
Shake the bottle gently to mix them.
When you spray, hold the bottle about 6 to 12 inches from your surface.
This distance helps prevent too much ink from pooling in one spot.
Experiment with different surfaces like paper, canvas, or fabric.
Each will react differently to the inks.
You can layer colors by allowing one layer to dry before adding another.
This technique creates more dimension and interest in your artwork.
Remember to work in a well-ventilated area since alcohol fumes can be strong.
Have fun exploring the fluid nature of alcohol inks and see where your creativity takes you!
10) Creating Resist with Oil Pastels
Using oil pastels for resist techniques can add depth and interest to your mixed media art.
This method involves applying oil pastels first and layering other media on top.
Start by sketching your design with oil pastels.
The slick texture of the pastels makes them resist water-based paints and inks.
This means that any color you layer on top will not stick to the areas where you applied oil pastel.
Once your oil pastel design is complete, choose a water-based medium, like watercolor or acrylic paint.
Apply it over the entire surface.
You’ll notice that the paint will bead up over the oil pastel, creating a striking contrast.
Let it dry, and then you can enhance your artwork further.
Experiment with various colors to achieve different effects.
This technique allows your creativity to flow while giving you control over the results.
Just remember, the key is to have fun and explore how oil pastels work with other materials.
Enjoy the unique textures and visual effects that this resist technique can bring to your art.
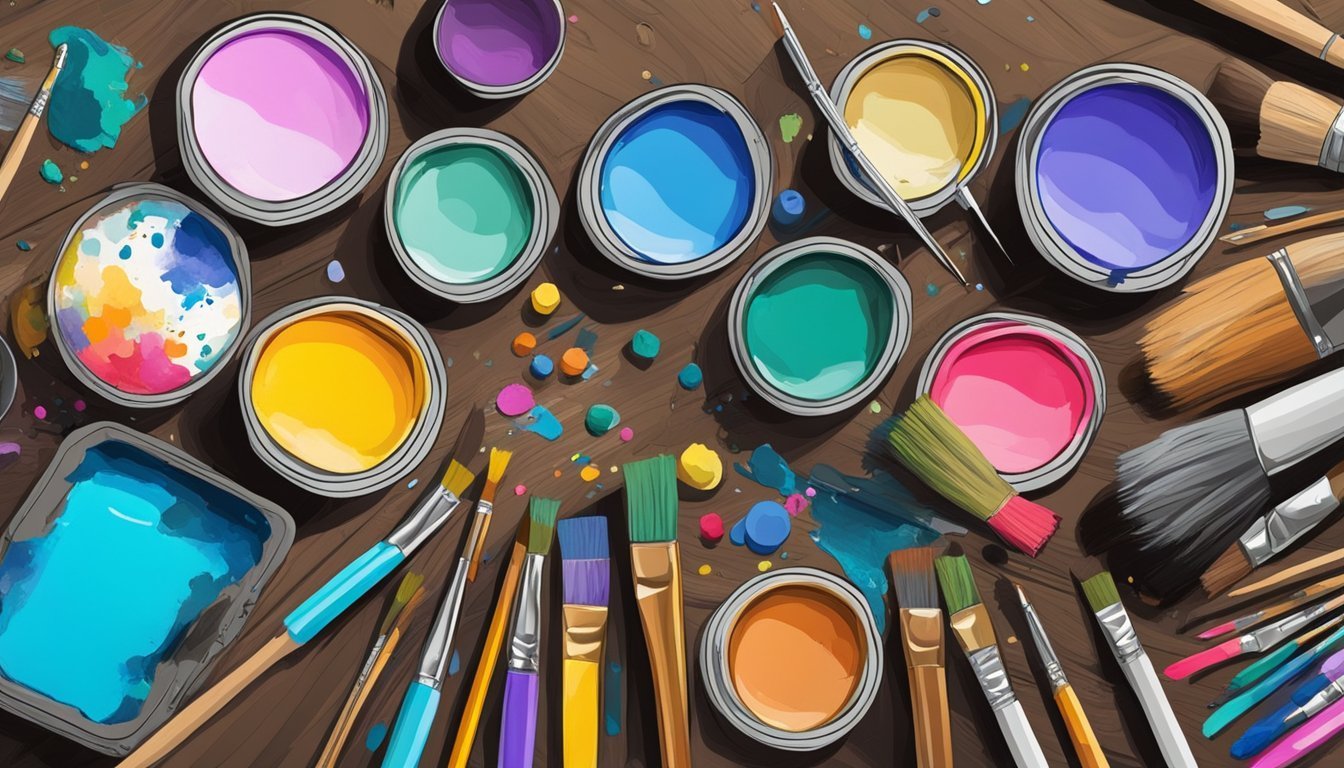
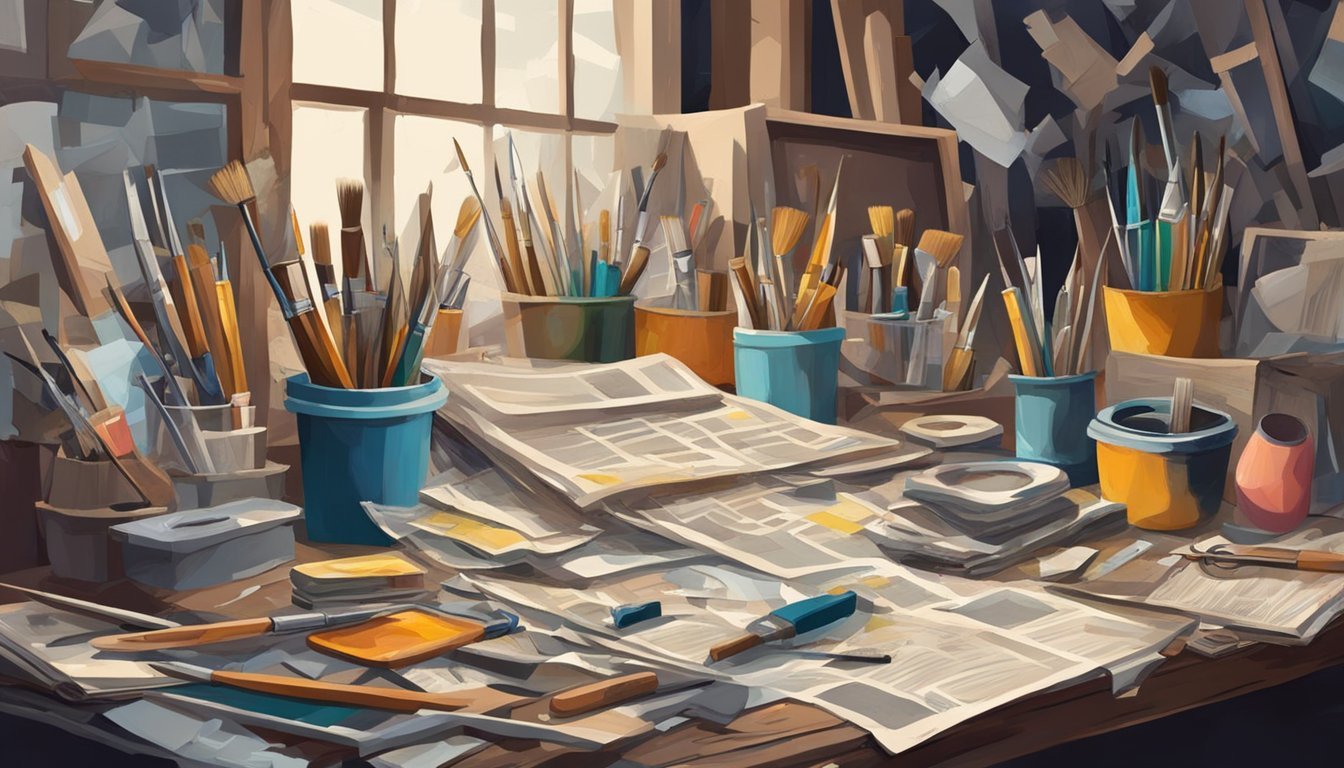
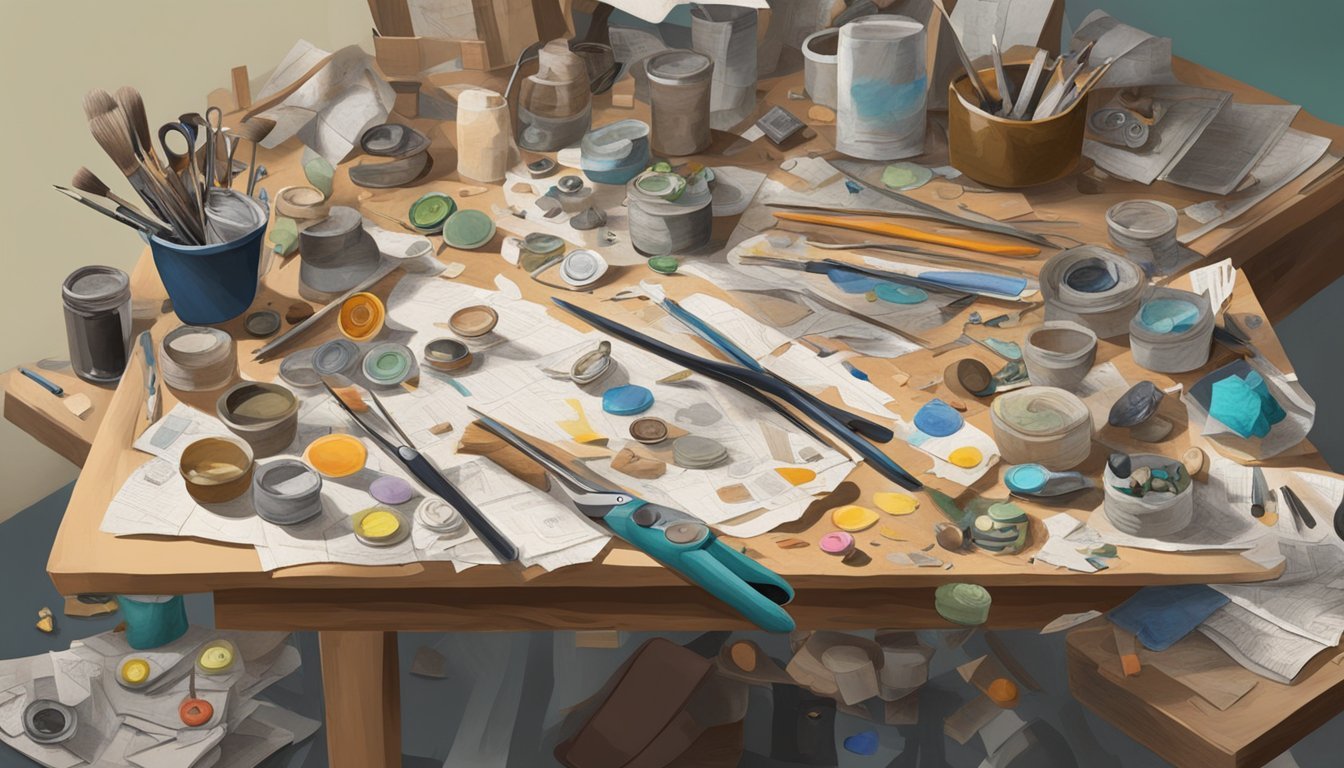
Essential Materials and Tools
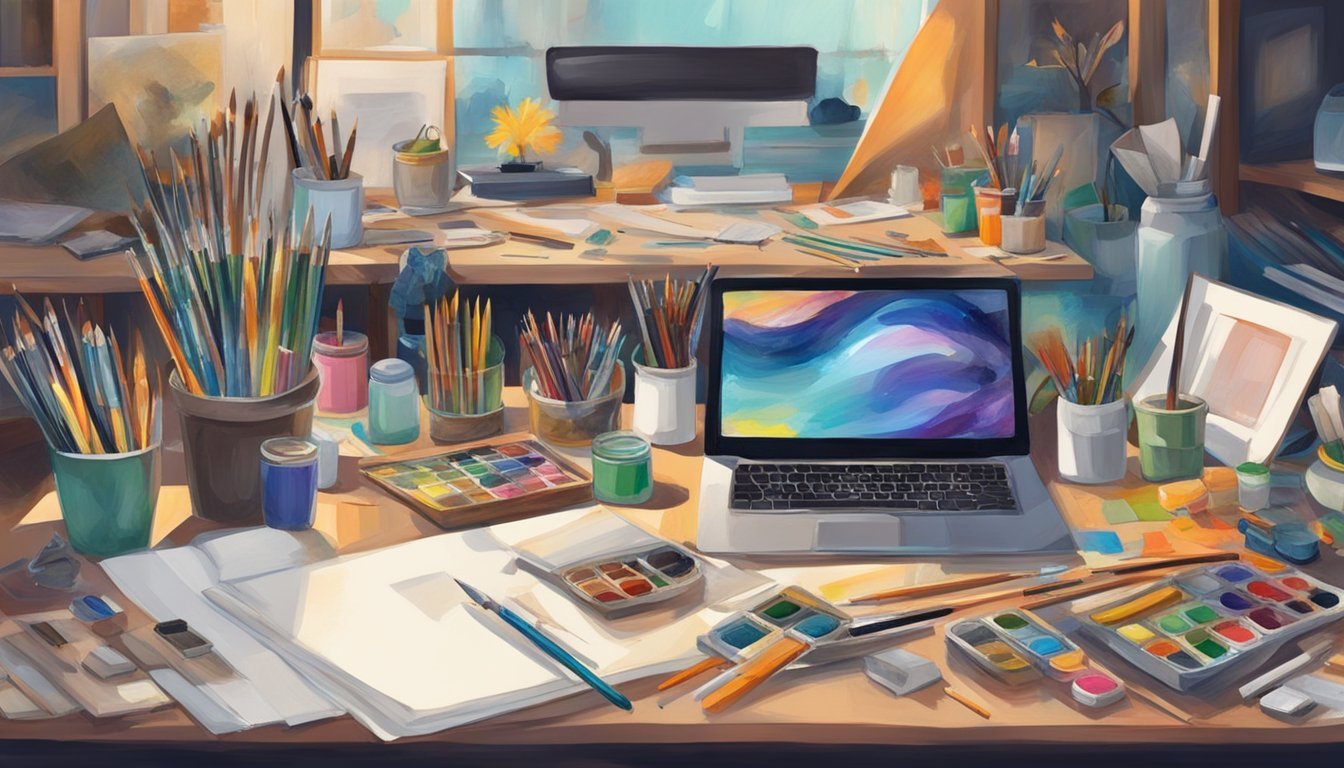
To embark on your mixed media art journey, having the right materials and tools is crucial.
The following sections will guide you in selecting the best paper and brushes, which are foundational for creating vibrant pieces.
Choosing the Right Paper
Choosing the correct paper is essential for mixed media art.
You need a sturdy surface that can handle various materials without warping or tearing.
- Mixed Media Paper: Look for papers designed specifically for mixed media. Strathmore’s Mixed Media Papers are popular for their durability and versatility.
- Weight Matters: Opt for paper that is at least 200 gsm, which can withstand wet and dry mediums.
- Texture: Consider the texture of the paper. Some artists prefer a rough texture, while others like a smooth finish, depending on the techniques used.
Additionally, mixed media journals are great for experimenting, as they combine a variety of papers suited for different media types.
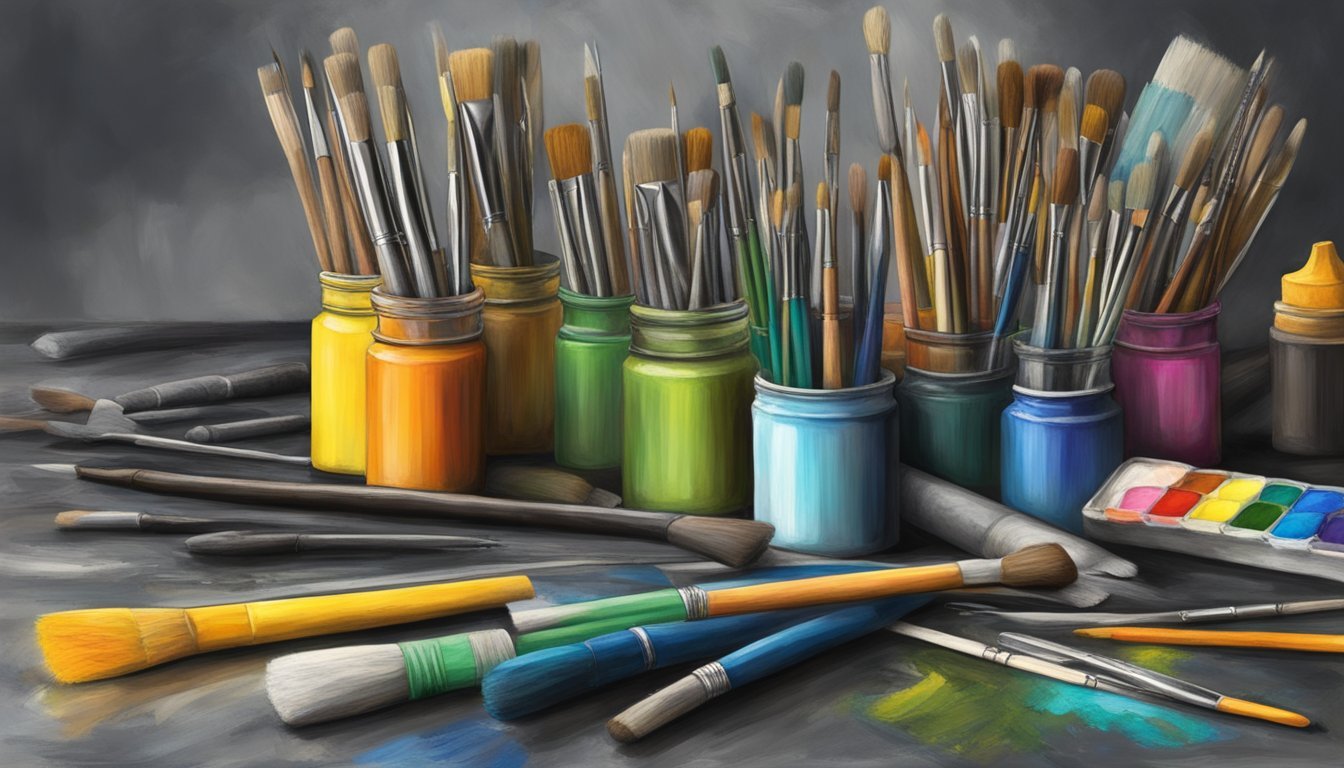
Must-Have Brushes
Your brushes play a vital role in bringing your mixed media artwork to life.
Here’s what you need to know to make the right choices.
- Variety of Sizes: Invest in brushes of different sizes. A mix of small detail brushes and larger flat brushes can accommodate diverse techniques.
- Brush Types: Use synthetic brushes for acrylic paints and softer brushes for mediums like watercolor. Natural brushes can also add unique textures.
- Maintenance: Take care of your brushes by cleaning them immediately after use. This preserves their shape and longevity.
By selecting the right brushes, you ensure your techniques are applied smoothly, achieving the desired effects in your artwork.
Techniques for Layering
When creating mixed media art, layering techniques can significantly enhance your artwork’s depth and interest.
Two key areas to focus on are blending colors and creating texture.
These techniques add dimension, making your pieces more dynamic and engaging.
Blending Colors
Blending colors effectively can bring richness and harmony to your art.
Start by choosing colors that complement each other.
Use wet media techniques, such as watercolors or acrylics, to allow colors to merge smoothly.
To blend, apply one color, then use a clean brush or sponge to gently feather the edge with another color.
This creates a gradient effect.
Consider the wet-on-wet method for softer transitions.
For more control, wet-on-dry can produce sharper lines.
Keep experimenting until you find the right balance for your composition.
Creating Texture
Texture adds a tactile element to your artwork, making it visually interesting.
There are many ways to incorporate texture in mixed media.
Here are a few techniques:
- Collage: Scavenge for different materials like fabric scraps, old book pages, or magazine clippings. Layer these to create unique backgrounds.
- Stencils: Use stencils to apply patterns or shapes with paint, creating raised textures.
- ** gels and pastes**: These can be used to build dimension and create texture on your canvas surface.
Combining these elements with paint can result in stunning effects.
Don’t be afraid to play around; layering textures can lead to unexpected and delightful results.
Incorporating Found Objects
Incorporating found objects into your mixed media art adds texture, depth, and a personal touch.
The right pieces can transform your artwork and offer unique storytelling opportunities.
Here’s how to choose the right items and attach them effectively.
Choosing Pieces that Inspire
Look around your surroundings for interesting objects.
You might find buttons, old photographs, bottle caps, or even small toys.
Consider items that have personal significance or evoke memories.
Think about color, texture, and shape.
Mixing materials like wood, metal, and fabric can create compelling contrasts.
Items with varied textures enhance the sensory experience of your artwork.
When selecting found objects, keep an open mind.
Visit thrift shops, flea markets, or nature trails for inspiration.
Don’t hesitate to experiment; even everyday items can contribute to unique art pieces and serve as conversation starters.
Attaching Elements Safely
Once you’ve gathered your found objects, you’ll need to attach them securely to your artwork.
Use strong adhesives like hot glue, PVA glue, or mod podge.
Choose based on the materials involved.
For instance, hot glue works well on porous surfaces, while PVA is better for paper.
For heavier pieces, consider using small nails or screws.
If you’re concerned about damaging your objects, think about using removable adhesive putty.
Make sure the attachment method complements your design.
Clean the surfaces of your found objects before gluing to ensure a solid bond.
Lastly, test the attachments before finalizing your artwork to ensure everything stays in place.