Making your own embellishments can elevate your craft projects and add a personal touch that you just can’t get from store-bought options. Creating custom embellishments allows you to tailor them to fit your unique style and the specific themes of your projects.
Whether you’re working on scrapbook pages, cards, or other home decor items, using personal touches can make your creations truly stand out.
A little creativity and a few basic supplies are all you need to get started.
You’ll discover that repurposing materials like leftover paper scraps not only enhances your projects but also keeps costs down.
Plus, the process can be a great way to unleash your artistic side while making something special.
Fabric Yo-Yos
Fabric yo-yos are a fun and versatile embellishment for your craft projects.
They add a charming, vintage look and can be made in various sizes.
To get started, cut a circle from your fabric.
Make sure the circle is about twice the diameter of the desired finished yo-yo, plus an extra half inch for seam allowance.
For example, if you want a 4-inch yo-yo, cut an 8.5-inch circle.
Next, fold under about a quarter-inch of the fabric’s edge and sew running stitches around the circle’s perimeter.
Keep your stitches even and tight.
As you pull the thread, the fabric will gather.
Once you have pulled the thread enough to create a cute little puff, secure it with a knot.
You can easily shape and flatten your yo-yo using your fingers until the gathers look even.
Use these fabric yo-yos to embellish everything from quilts to hair accessories.
With so many fabric options, you can create a unique look for any project.
Enjoy experimenting with colors and patterns to make them truly your own!
Button Flowers
Making button flowers is a fun and simple craft project.
You can use them to embellish cards, gift wraps, or home decor.
Start by gathering your materials.
You’ll need buttons in various sizes and colors, some wire or strong thread, and a base such as cardstock or felt.
To create the flower, thread your wire through the button holes.
If you’re using thread, tie knots to secure the buttons in place.
Leave enough wire at the bottom for your stem.
Once you have your flower assembled, attach it to your base.
Cut a small piece of cardstock or felt and glue the flower in the center.
This step will help stabilize your flower, making it easier to display.
You can get creative by adding more layers with additional buttons or mixing materials, like fabric or decorative paper.
This gives each flower a unique look.
Button flowers are great for any occasion and can be made in minutes.
They make excellent personalized gifts or simply brighten up your craft projects.
Enjoy experimenting with colors and designs!
3) Paper Rosettes
Making paper rosettes is a fun and simple way to add a unique touch to your craft projects.
You can customize the size and design to fit your needs.
Start by choosing your paper.
Scrapbook paper or cardstock works well.
Cut strips that are double the desired width.
For a 6-inch rosette, cut strips about 3 inches wide and 12 inches long.
Next, fold the paper in an accordion style.
Use 1 cm increments for the folds, alternating directions.
This creates the pleated effect.
Once you have your accordion folded, secure one end with glue.
Then, bring the other end around and attach it to create a circular shape.
Press gently to ensure it holds.
You can embellish your rosette further with stickers, buttons, or glitter.
Attach it to cards or gift packaging for an extra pop.
Enjoy experimenting with different colors and patterns!
Stamped Clay Charms
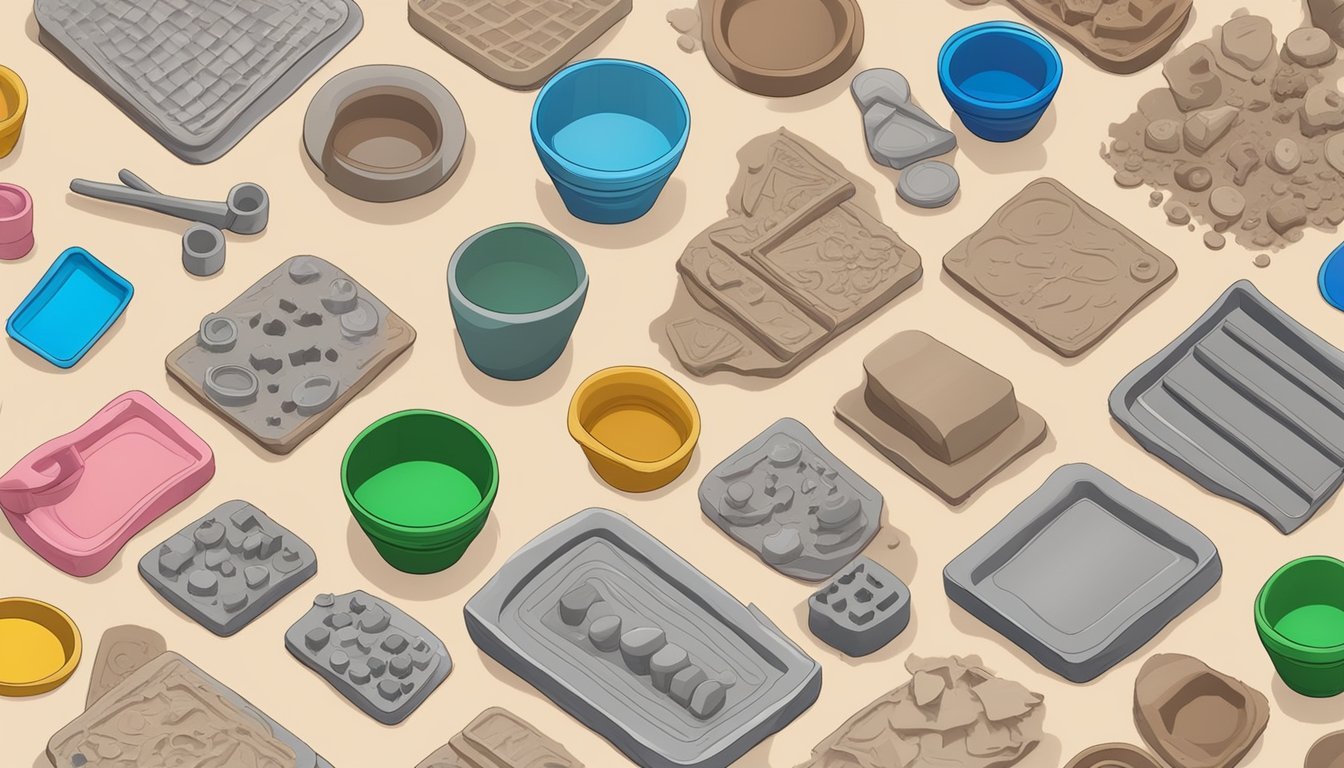
Making stamped clay charms is a fun and easy way to add personalization to your craft projects.
You’ll need some polymer clay, stamps, and simple tools.
Start by rolling out your clay to a thickness that suits your design.
Use cookie cutters or just your hands to shape the charms.
Next, grab your stamps.
These can be letters, patterns, or images.
Press them into the clay gently to make an impression.
Don’t forget to add a hole for attaching the charm later.
Once you’re satisfied with your design, bake the clay according to the package instructions.
This usually takes about 15-30 minutes at the specified temperature.
After they cool, you can paint or glaze your charms for a polished look.
Attach jump rings or twine, and they’re ready to use in your projects.
Have fun experimenting with different shapes and designs!
5) Glitter Washi Tape
Glitter washi tape is a fun and versatile addition to your craft projects.
Its shimmering surface adds instant sparkle to any creation, making it ideal for embellishments.
You can use glitter washi tape to decorate cards, scrapbook pages, and gift packages.
Simply tear off a piece and apply it wherever you want a touch of glamour.
Try layering different colors of glitter tape for a unique look.
You can create stripes, polka dots, or even geometric patterns by using multiple tapes together.
Another idea is to cut the tape into shapes, like stars or hearts, for easier customization.
These can be used as fun accents on various projects.
You could also combine glitter washi tape with other materials.
Pair it with sequins or enamel dots for added texture.
Don’t forget that glitter washi tape can also be used to wrap around everyday items like pens or photo frames to give them a personalized touch.
Your crafts will shine brighter with this simple embellishment.
6) Embossed Cardstock
Embossed cardstock adds a unique texture and dimension to your craft projects.
You can easily make your own by using an embossing folder and a die-cutting machine.
First, choose a piece of cardstock in a color that complements your project.
Place it inside the embossing folder and run it through the machine.
The results will give you raised designs that stand out.
You can also manually emboss using a stylus and a foam mat.
Simply trace your design on the backside of the cardstock.
This method lets you create custom patterns for any occasion.
Once embossed, you can use this cardstock as card backgrounds, tags, or even cut it into shapes for embellishments.
Don’t hesitate to experiment with different colors and patterns.
Your embossed cardstock can really enhance the visual interest of your crafts.
Plus, it’s a fun way to elevate your basic materials into something special.
7) Painted Wooden Shapes
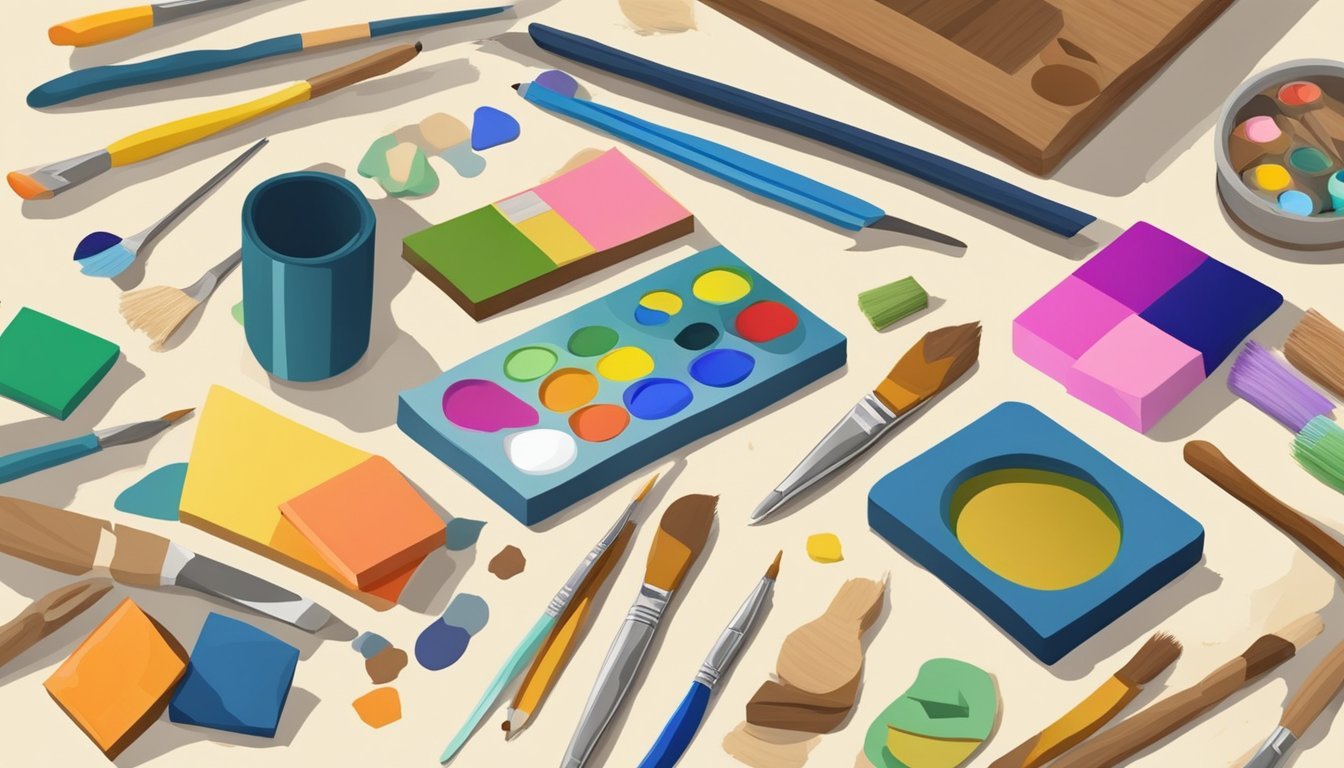
Creating painted wooden shapes is a fun way to enhance your craft projects.
You can start by selecting small wooden cutouts from your local craft store or making your own using wood or sturdy cardstock.
Once you have your shapes, choose your favorite acrylic paints.
It’s best to use multiple thin coats instead of one thick layer for a smoother finish.
Let each coat dry before applying the next.
After your shapes are painted, you can attach them to various surfaces.
Use hot glue or craft glue for a secure hold.
Craft glue can help keep the piece flat, making it easier to integrate into your design.
Consider adding details like glitter or stickers after the paint dries.
This gives your wooden shapes an extra flair and makes your projects more unique.
Painted wooden shapes are versatile and can be used in scrapbooking, home decor, or any other creative endeavor you have in mind.
Layered Felt Shapes
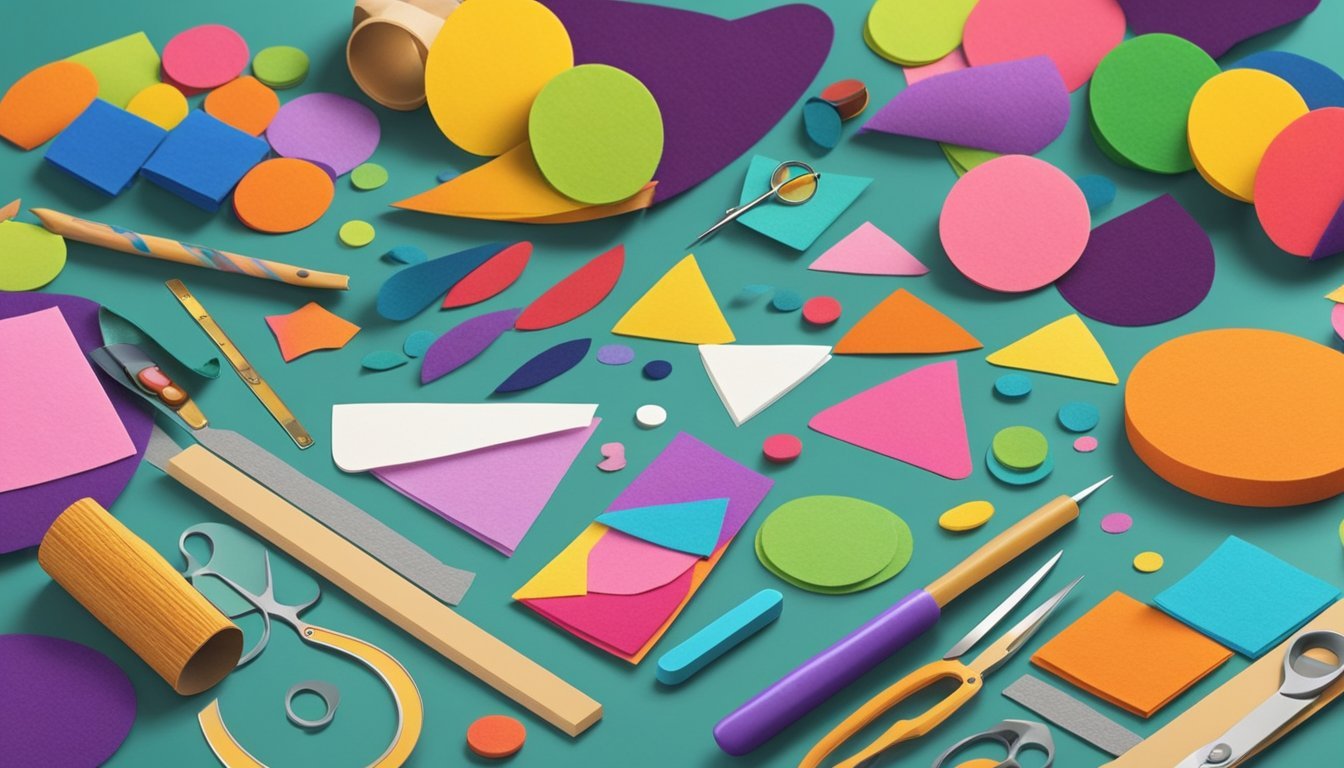
Creating layered felt shapes is a fun way to add dimension to your craft projects.
Start by selecting your favorite felt colors.
You’ll need at least two contrasting colors for a nice layered effect.
Use templates to cut out shapes like flowers, hearts, or stars.
You can make two or three sizes of the same shape for added interest.
For example, a larger flower with a smaller flower on top looks great.
Once you have your shapes, pin the smaller one onto the larger piece.
This keeps everything in place while you stitch.
Use a simple running stitch or a decorative stitch to attach them together.
Feel free to get creative! You can add embellishments like buttons or beads to your layered felt shapes.
This not only enhances the design but also gives it a personal touch.
Layered felt shapes are perfect for scrapbooking, card making, or any other craft project that needs some flair.
With just a few materials and your imagination, you can create beautiful pieces that stand out.
9) Lace Cutouts
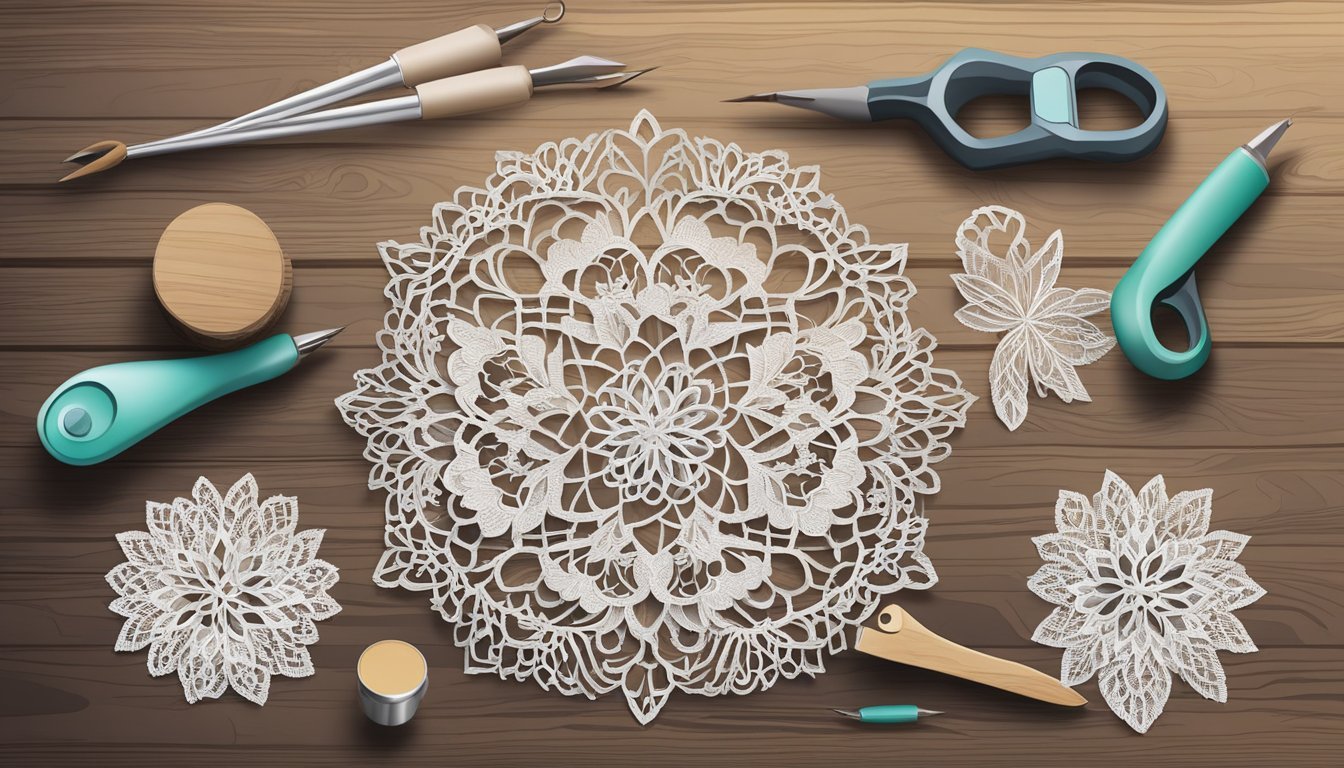
Lace cutouts can add a delicate touch to your craft projects.
They’re easy to make and can be used in various creative ways.
Start by selecting the lace you want to use.
You can find lace at craft stores or repurpose old lace items.
Lay the lace flat and secure it to a cutting mat.
Use scissors or a craft knife to cut out shapes.
Flowers, hearts, or simple geometric designs work well.
Don’t worry if they’re not perfect; the charm is in their handmade look.
Once your cutouts are ready, attach them to your projects with glue.
They work great on cards, gift wrap, or fabric items.
You can also layer different colors and textures for added effect.
Experiment with layering lace cutouts on top of each other.
This gives depth and visual interest to your designs.
Lace also pairs beautifully with other embellishments like beads or ribbons.
Incorporating lace cutouts into your crafting routine can elevate your projects.
You’re not just adding a decorative touch; you’re making your work uniquely yours.
Beaded Trim
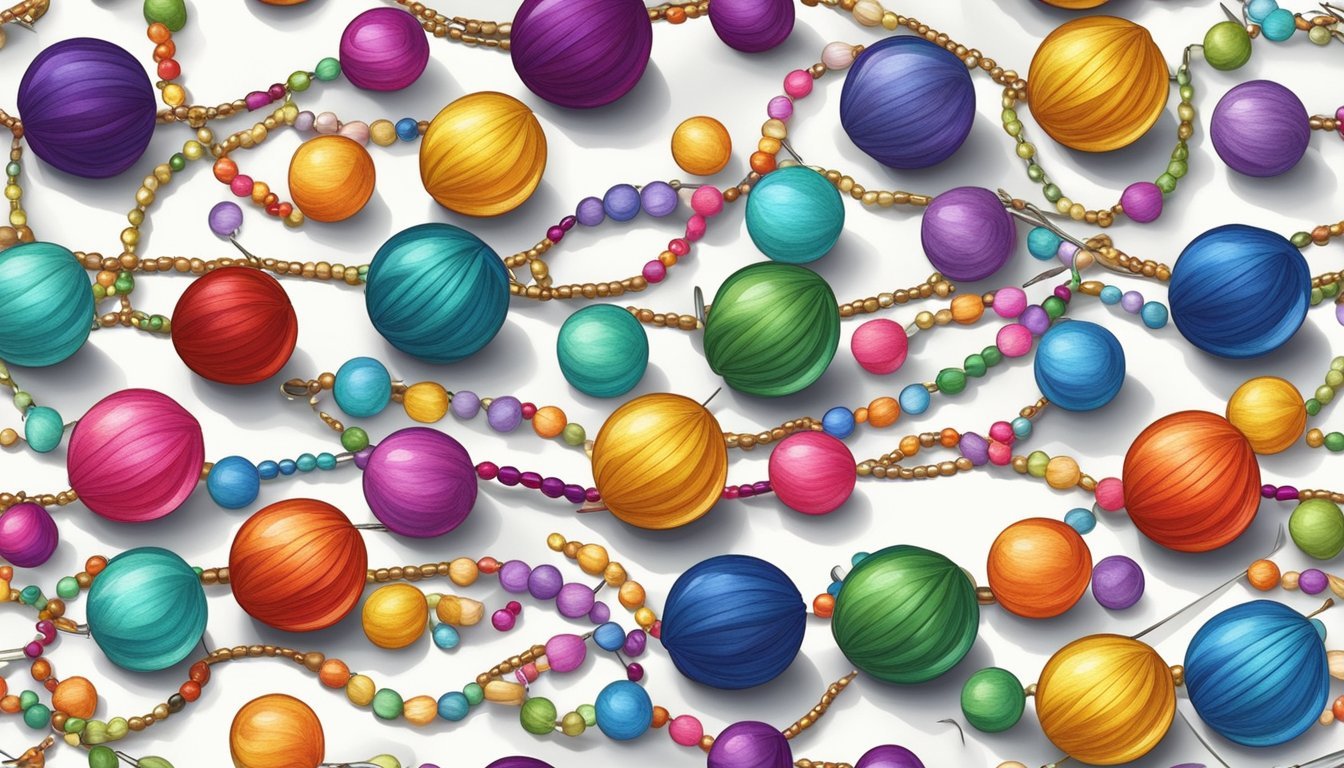
Creating your own beaded trim can add a unique touch to any craft project.
You can make it with just a few materials, making it an accessible option.
Start by gathering your supplies.
You’ll need wire, crimp tubes, and beads in your favorite colors.
Choose beads that complement your project for a cohesive look.
Cut the wire to your desired length.
String a crimp tube and one end of your clasp onto the wire.
Then, pass the wire back through the crimp tube and crimp it securely.
Next, get creative with bead placement.
You can alternate between larger focal beads and smaller spacers.
Don’t be afraid to mix shapes and colors—this will add dimension and interest.
Once you have your design set, repeat the pattern as needed.
Finish by adding the other half of the clasp to the end of the wire.
Secure everything with more crimp tubes, ensuring it’s tightly fastened.
Beaded trim is versatile.
Use it on bags, garments, or home decor projects.
You’ll enjoy the personal flair it brings to your crafts.
Choosing the Right Materials
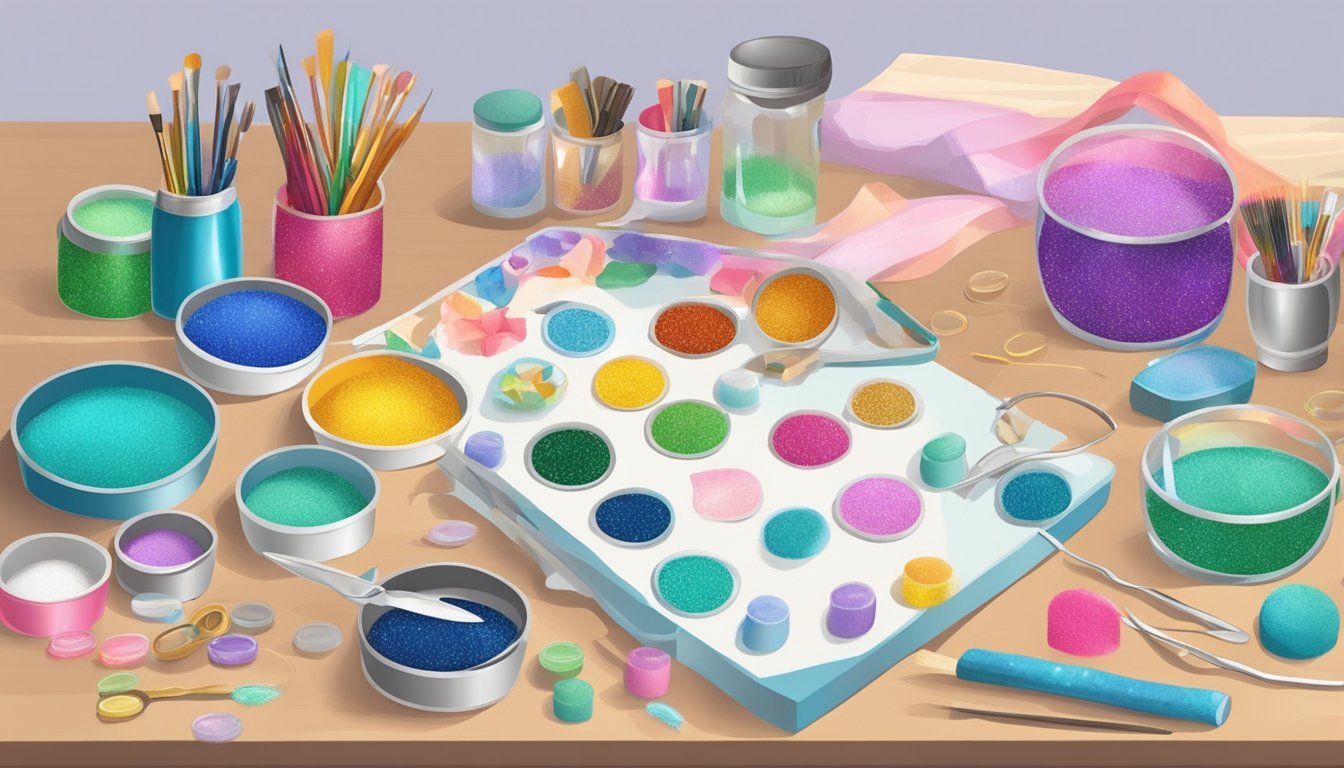
Selecting the right materials is essential for crafting your own embellishments.
The right choices can enhance your projects and make the creative process more enjoyable.
Here’s what you need to consider.
Best Materials for Beginners
When starting, it’s helpful to choose materials that are easy to work with and readily available.
Here’s a list to get you going:
- Cardstock: Thick, sturdy paper ideal for various embellishments like shapes and layered pieces.
- Patterned Paper: Adds interest and can be used for backgrounds or accents.
- Glue: Craft glue or hot glue works best for adherence, providing a strong bond.
- Scissors: A good pair is essential for precise cutting.
Consider using punches or die-cutters for uniform shapes.
They simplify the process and enhance your designs.
Stick to basic colors and patterns to build your confidence before experimenting with more complex elements.
Eco-Friendly Options
If you’re environmentally conscious, there are fantastic materials that meet your crafting needs.
Check out these eco-friendly choices:
- Recycled Paper: Using paper made from post-consumer waste can add unique textures.
- Natural Fibers: Materials like jute or cotton can be used to create rustic embellishments.
- Biodegradable Glues: Opt for glues that break down naturally over time for a greener choice.
Also, think about repurposing scraps from other projects or household items.
Things like old magazines or fabric remnants can provide creative new elements without additional waste.
Crafting sustainably not only feels good but can also inspire innovative designs.
Techniques for Creating Embellishments
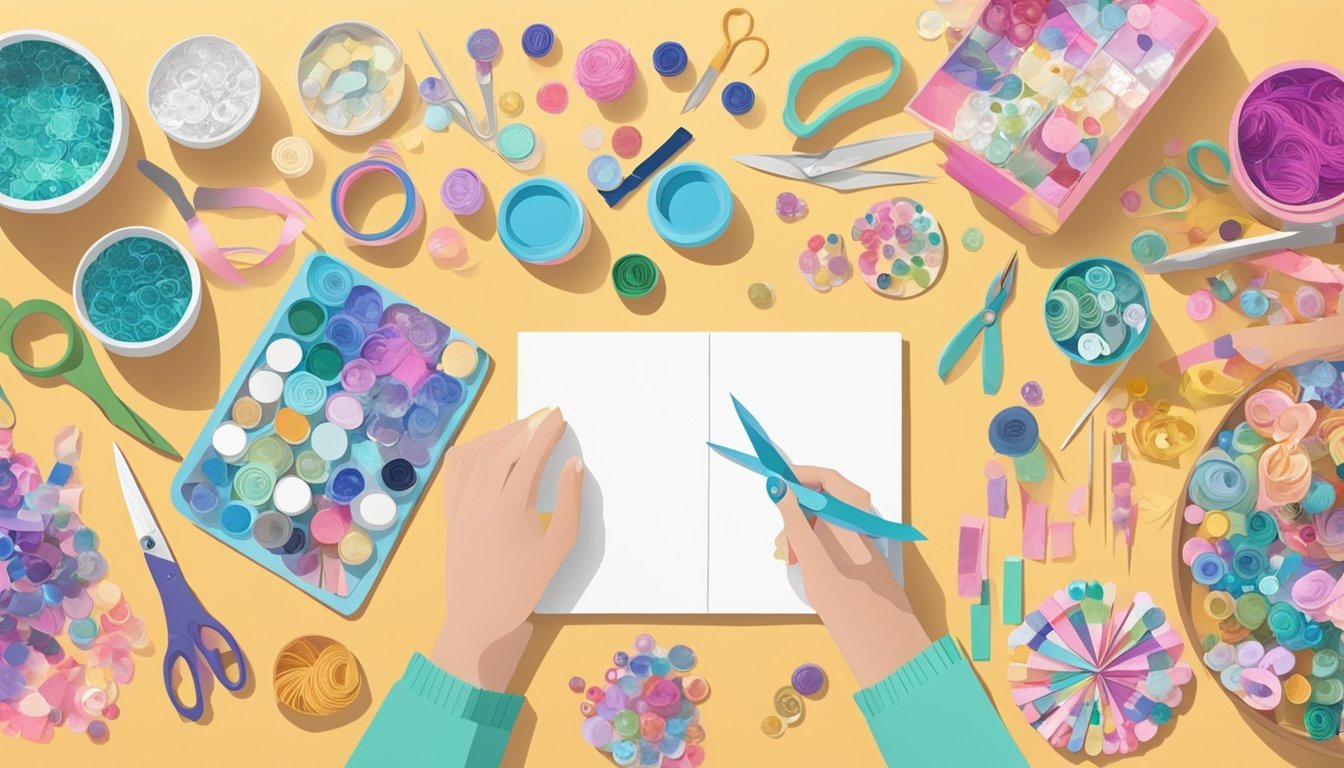
Creating your own embellishments can elevate your craft projects with personal touches.
You’ll find numerous techniques to suit your style, whether you prefer handcrafted items or utilizing materials you already have.
Handcrafted vs. Machine-Made
When making embellishments, you have two main options: handcrafted or machine-made.
Handcrafted embellishments allow for creativity.
You can use scissors, punches, or craft knives to shape materials into unique designs.
Layering different textures, like paper or fabric, adds depth and interest.
On the other hand, machine-made embellishments, such as die cuts or embossed shapes, offer precision.
Craft machines can produce consistent designs, ensuring uniformity across your projects.
Using tools like Cricut or Sizzix can save time, especially when making multiple pieces.
Using Recycled Materials
Recycling materials can lead to stunning embellishments while being environmentally friendly.
Start with items like old greeting cards, scrap paper, or fabric remnants.
These can be transformed into unique shapes and designs.
For example, cut old cards into flowers or shapes.
Use punches for uniformity, or freehand for a personal touch.
You can also incorporate bottles, caps, and buttons for a mixed-media look.
Painting or distressing these materials allows for versatile color schemes.
Experimenting with what you have can lead to unexpected and delightful results, adding character to your projects without added costs.


