Creating your own art supplies at home can be a fun and rewarding experience.
Whether you’re an aspiring artist, a parent looking for creative projects with your kids, or just someone who loves to craft, making your own materials can be both economical and enjoyable. You’ll discover how easy it is to bring your artistic ideas to life with supplies you can whip up right in your kitchen or workspace.
Homemade art supplies not only encourage creativity, but they also offer a chance to learn about the materials you use.
From making paint to crafting your own clay, the process of creating these items can spark inspiration and lead to unique artistic expressions.
This article will guide you through simple steps to get started, making art accessible and enjoyable for everyone.
Eggshell Chalk
Making your own chalk from eggshells is easy and fun.
You’ll need some clean eggshells, flour, hot water, and optional food coloring.
Start by rinsing out the eggshells and removing any membranes.
Let them dry completely.
When they’re dry, crush them into a fine powder.
A coffee grinder works perfectly for this.
In a bowl, mix 1 teaspoon of flour with 1 teaspoon of hot water to create a paste.
Add 1 tablespoon of the eggshell powder and combine everything well.
If you want colored chalk, stir in some food coloring at this stage.
Once mixed, pack the chalk mixture tightly into a log shape using your hands.
Roll this log in paper towel and leave it to dry for about 3 to 5 days.
After it’s dry, you’ll have soft, homemade chalk ready for all your artistic projects.
Enjoy making your colorful creations!
Homemade Watercolors
Making your own watercolors is a fun and easy project.
You can start with a few simple ingredients that you probably have at home.
First, gather gum Arabic, which acts as your binder.
You’ll want to grind it into a fine powder.
Mix one part of this powder with three parts boiling water to dissolve it.
Next, add a humectant.
You can use honey or glycerin.
This helps keep the paint moist and easier to work with later.
A good ratio is one part humectant to your gum Arabic mixture.
Now, it’s time to introduce color.
Use dry pigments, which you can find at art supply stores or online.
Combine one tablespoon of pigment with your binder mixture.
Adjust the pigment amount for desired color intensity.
For a little extra flair, consider adding a drop of clove oil, which helps preserve your paint.
Now, mix everything well and pour it into containers to dry.
Once dry, your homemade watercolors will be ready for your artwork.
Enjoy creating with your unique, DIY paint!
DIY Oil Pastels
Making your own oil pastels at home can be a fun and rewarding project.
It allows you to customize colors and save money.
Start with a simple recipe: mix 1 part linseed oil and 3 parts mineral oil with 3 parts beeswax.
You can use metal containers like washed soda cans for your mixing.
Combine the pigment with the oil carefully.
It’s helpful to mull the mixture for a smoother pastel, or you can let it sit overnight for better absorption.
Once mixed, use your palette knife and fingers to shape the doughy blend into your desired pastel shapes.
Place them on a paper towel to dry thoroughly, which usually takes about 24 to 48 hours.
Avoid rushing this drying process, as it might lead to crumbling pastels later on.
Enjoy your homemade oil pastels and get creative!
4) Baking Soda Clay
Making baking soda clay is simple and fun.
You’ll need basic ingredients you probably have at home: baking soda, cornstarch, and water.
Start by mixing 2 cups of baking soda and 1 cup of cornstarch in a pot.
Add 1¼ cups of water and stir until combined.
Place the pot on the stove over medium heat.
Keep stirring almost constantly.
You’ll notice the mixture begin to thicken, reaching a consistency similar to whipped mashed potatoes.
Once it pulls away from the pot, remove it from the heat.
Let it cool for a few moments.
Knead the clay until smooth and not sticky.
This clay is great for various projects and dries on its own, making it perfect for all kinds of artistic creations.
You can also customize it with food coloring while mixing.
Enjoy your crafting session!
5) Recycled Crayons

Making recycled crayons is a fun and easy project.
You can turn those old, stubby crayons into new creations without much hassle.
Start by gathering your broken crayons.
Remove the paper from each crayon and sort them by color.
Don’t worry about being too precise; mixing similar colors can create interesting shades.
Next, preheat your oven to 200°F (about 93°C).
Place your silicone molds on a baking sheet for stability.
Fill the molds with crayon pieces, packing them in tightly.
Bake the molds in the oven for about 15 to 20 minutes.
You’ll know they’re ready when the wax has melted completely.
After baking, let them cool.
For a quicker process, pop them in the freezer for a little while.
Once cool, simply pop the new crayons out of the molds.
You now have colorful, custom crayons ready for your next art project!
6) Fabric Paint from Acrylics
Making fabric paint from acrylics is a simple and fun DIY project.
You can transform your regular acrylic paints into fabric paint with just a few adjustments.
Start by mixing your acrylic paint with a fabric medium.
This helps the paint adhere better to the fabric and maintain its flexibility.
A good brand to consider is Liquitex Fabric Medium.
If you want to create your own fabric medium, combine equal parts white vinegar and glycerin with double the amount of water.
This mixture can thin your acrylic paint, preparing it for application on fabric.
Before painting, apply a small amount of the fabric paint to a test area on your chosen fabric.
Let it dry and check for color and adhesion.
Adjust your mixture if necessary.
For setting the paint, let it dry for 48 to 72 hours.
You can later heat-set it by ironing the reverse side of the fabric or placing it in the dryer on medium heat for about 20-30 minutes.
This will help ensure the color lasts.
Upcycled Cardboard Easel

Making your own easel from cardboard is a fun and sustainable project.
You can use cardboard boxes you already have at home.
Start by cutting away the top and bottom flaps of your box, keeping two sides intact for support.
Cut down the two remaining sides to create two hinged pieces.
Next, take a long piece of duct tape, around 26 inches.
Attach one end of the tape to the bottom of one cardboard piece and fold it over to create a hinge.
Secure the other end to the bottom of the second piece.
Once the hinge is set, your easel will stand upright.
You can adjust the angle by changing the position of the pieces.
For added functionality, use tape or clips to attach your canvas or paper.
This lightweight easel is perfect for painting or drawing projects.
Plus, it’s easy to store when you’re not using it.
8) Natural Dye Brushes

Creating your own natural dye brushes can enhance your artistic experience.
You can use materials found around your home or garden.
Start by gathering natural materials like twigs, grasses, or feathers.
These will serve as the brush handles and bristles.
Once you have your materials, trim them to the desired length.
You can tie them together with string or natural twine for a secure grip.
Next, dip your brush in homemade natural dyes.
These dyes can be made from various plants, fruits, or even spices like turmeric for vibrant colors.
Experiment with different combinations of natural materials to create unique brush effects.
Each brush will yield different textures in your artwork.
You can also mix dyes to achieve various shades.
This adds depth and creativity to your pieces.
Enjoy the process of making and using these brushes as you explore your artistic style!
9) Scratch Art Paper
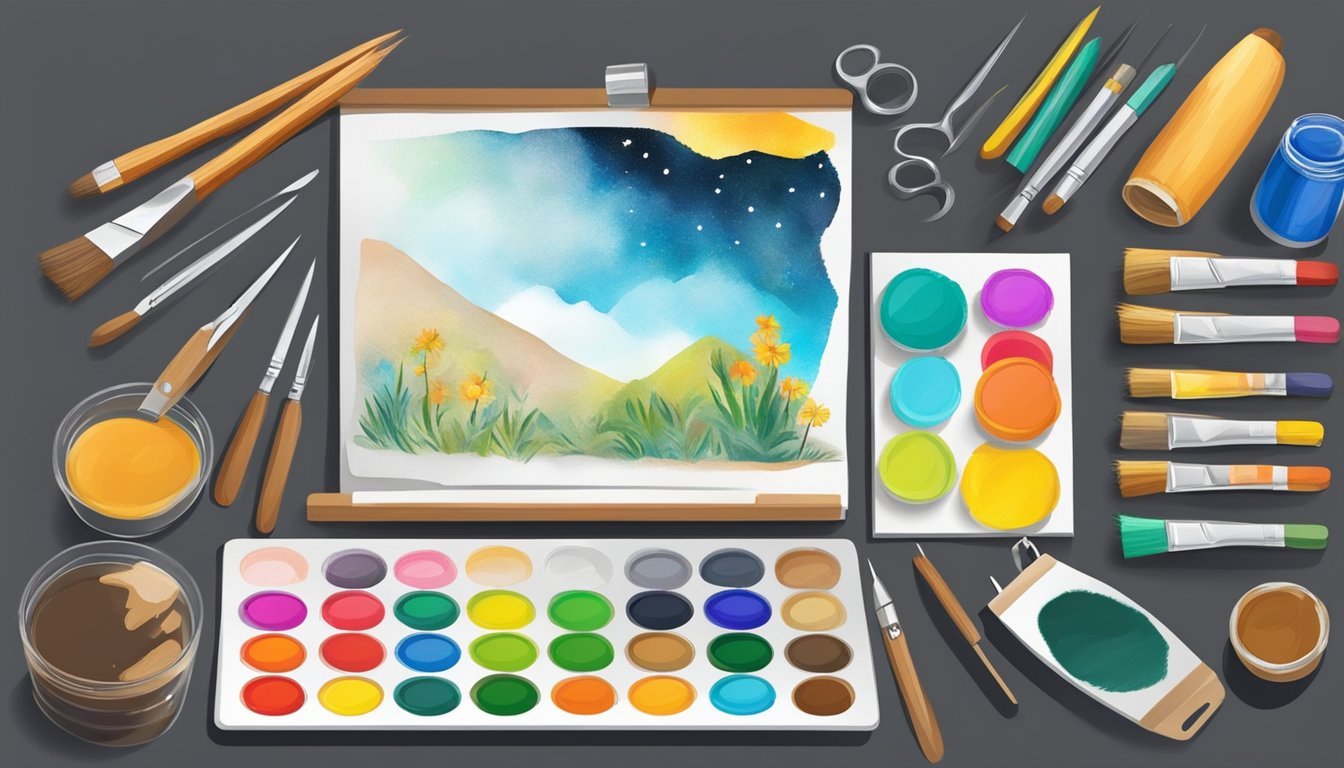
Making your own scratch art paper is simple and fun.
First, gather some white cardstock, oil pastels or wax crayons, black acrylic paint, and dish soap.
Start by coloring your cardstock with vivid shades of crayon or pastel.
Make sure to color hard so the colors are bright.
It’s easier if you color all the way to the edge of the paper.
Next, mix two parts black acrylic paint with one part dish soap in a bowl.
This helps the paint stick better.
Gently stir the mixture to avoid creating bubbles.
Once mixed, paint over your colored cardstock, ensuring that everything is covered.
Allow the paint to dry completely.
Your scratch art paper is now ready! Use a scratch tool or a coin to reveal the vibrant colors beneath the black surface.
Enjoy creating unique designs!
10) Glue from Flour
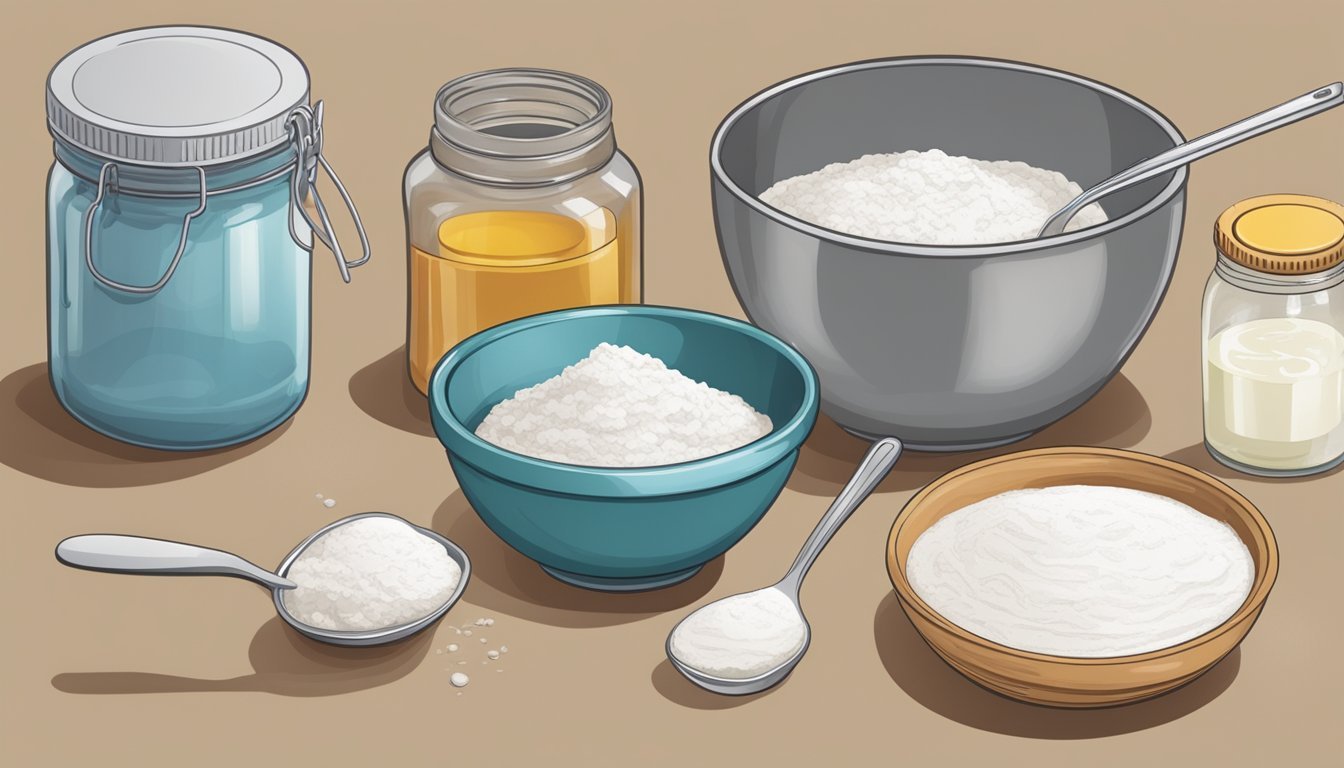
Making glue from flour is simple and cost-effective.
You’ll need just a few ingredients: flour, water, and a pinch of salt.
Start by mixing equal parts of flour and water in a bowl.
For a thicker consistency, you can adjust the ratios; use less water if you want it stickier.
Another option is to heat your mixture.
Combine flour and water in a saucepan, stirring constantly.
This will help achieve a smooth, glue-like texture.
If you prefer a bit of preservation, add a small amount of salt.
It helps to enhance the shelf life of your glue.
Once your glue reaches the desired consistency, let it cool before use.
You can then apply it with a brush for various craft projects.
This homemade glue works well for paper crafts, making it a great choice for kids’ activities.
Enjoy creating with your DIY flour glue!
Benefits of Making Your Own Art Supplies
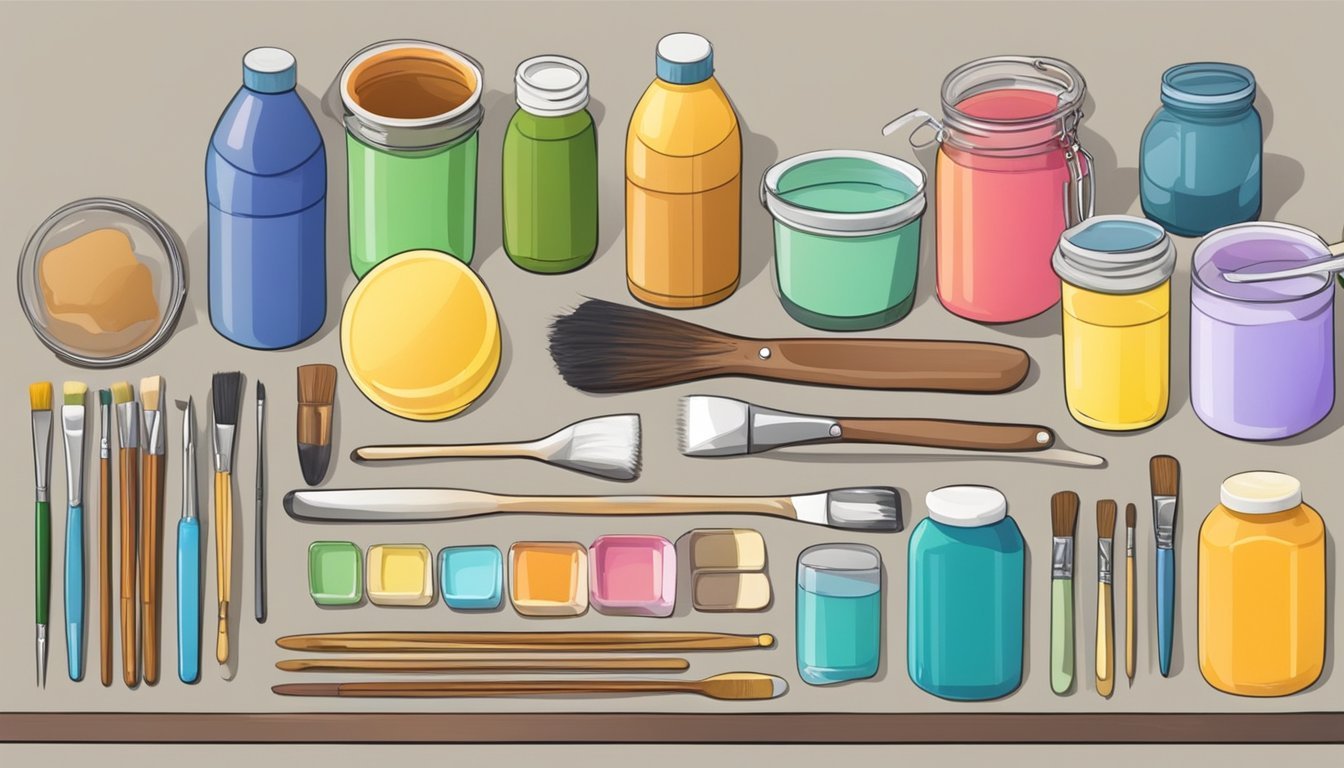
Creating your own art supplies offers significant perks, particularly in terms of cost savings and the freedom to express your creativity.
You can customize your materials to fit your projects, all while keeping your budget in check.
Cost Savings
Making your own art supplies can be a budget-friendly choice.
Basic ingredients found in your kitchen, like flour, salt, and sugar, can be mixed to create paints, doughs, and more.
For instance, homemade watercolor paint can be made from common pantry items like baking soda and corn syrup.
Consider these savings:
- Store-bought paint: $10 for a small set.
- Homemade paint: Less than $2 for multiple colors.
Making supplies reduces the need to purchase high-cost art materials, allowing you to stretch your budget further.
Plus, it’s an exciting way to utilize items that might otherwise go to waste.
Creative Freedom
When you make your own art supplies, you gain complete control over what you create.
This means you can experiment with different colors, textures, and finishes.
Want metallic paint? Just mix in some food coloring with your base.
You can also customize the consistency to suit your artistic needs—thicker mixes for bold strokes or thinner for washes.
Key benefits include:
- Unique materials tailored to your style.
- Flexible recipes to adapt for various projects.
This hands-on approach encourages inventiveness, making each project uniquely yours.
You’ll find that experimenting with different ingredients not only enhances your creativity but also makes the artistic process much more engaging.
Safety Tips for DIY Art Supplies
Creating your own art supplies can be a fun and rewarding experience.
Keeping safety in mind ensures that your crafting is enjoyable and free from hazards.
Using Non-Toxic Materials
When making DIY art supplies, always opt for non-toxic ingredients.
This is especially crucial if children will be involved.
Many store-bought paints and glues contain harmful chemicals that can lead to skin irritation or respiratory issues.
Here are some safe materials to consider:
- Flour: Great for making dough and paste.
- Cornstarch: Perfect for creating textures in paints.
- Food coloring: Adds vibrant colors to homemade paints without toxicity.
Before you start, check labels and research each ingredient.
If you’re unsure about safety, look for dedicated non-toxic brands.
Remember, your safety is just as important as the fun you’ll have!
Proper Storage
Storing your DIY art supplies properly is essential to prevent accidents.
Use airtight containers for liquids like paints or glues.
This helps avoid spills and keeps them fresh longer.
Label your containers clearly.
You should be able to know what’s inside without having to open every jar.
A simple marker or label maker can do wonders here.
Additionally, keep supplies out of reach of small children.
A high shelf or a locked cabinet can be effective solutions.
Make sure all bottles are tightly sealed after use to prevent drying out.


