Making your own custom jewelry at home can be a rewarding and creative experience.
It allows you to express your personal style and create unique pieces that reflect your personality.
You can craft beautiful jewelry that is truly one of a kind with a few simple materials and some basic techniques.
Whether you’re looking to make a statement piece or simple everyday accessories, the process can be fun and fulfilling.
You don’t need to be an expert to get started; anyone can learn the basics with a little patience and practice.
Dive into the world of DIY jewelry making, and discover the joy of creating something special just for you.
Gather Tools
To get started with making your own custom jewelry, the right tools are essential.
Here’s a list to help you out.
First, you’ll need some basic tools like pliers, wire cutters, and crimping pliers.
These will help you manipulate metal and beads easily.
A jewelry saw is useful if you plan to work with metal pieces.
It lets you cut shapes and designs accurately.
Don’t forget a soldering torch if you want to join metal pieces.
This tool is key for creating sturdy connections.
You might also want a beading mat or tray.
It helps keep your materials organized while you work on your designs.
Lastly, gather your jewelry findings, like clasps and jump rings.
These are small components that can make a big difference in finishing your pieces.
Take your time to collect these tools.
Having everything in one place will make your jewelry-making process smoother and more enjoyable.
Choose Your Style
Selecting a style for your custom jewelry is a fun and personal step.
Think about what speaks to you.
Do you prefer something classic, modern, or perhaps a bit eclectic?
Browse through different designs, from simple pendants to intricate bracelets.
Sketch your ideas or create a mood board to visualize your vision.
This can help narrow down your options.
Consider the materials you want to use, such as gemstones, metals, or beads.
Each material gives a different look and feel to the final piece.
Also, think about how you plan to wear the jewelry.
Is it for everyday use or a special occasion? This can guide your style choices.
Don’t hesitate to mix elements.
A unique combination of styles can make your piece stand out and truly be yours.
Go with what resonates and feels right to you.
3) Select Materials

Choosing the right materials is key to creating your custom jewelry.
Start with deciding on the type of jewelry you want to make, like necklaces, bracelets, or earrings.
For beads, you can opt for glass, wood, or even gemstones.
Each material gives a different look and feel.
If you’re making earrings, consider lightweight materials to ensure comfort.
Metals like sterling silver or gold fill are great for hooks and jump rings.
Don’t forget about stringing materials.
Beading wire is popular, but you can also use threads or cords, depending on the style you’re going for.
Clasp options are essential for bracelets and necklaces.
Look for lobster clasps or toggle clasps that match your chosen metal.
In addition to beads and clasps, consider embellishments like charms or pendants to add personality to your pieces.
Tools are also part of your material selection.
Pliers, crimp beads, and cutting tools will help you assemble everything neatly.
Take some time to browse local craft stores or online shops for inspiration.
Having a variety of materials on hand can spark creativity.
4) Design Your Piece
Designing your own jewelry piece is an exciting step in the process.
Start by choosing what type of jewelry you want to create.
Think about a necklace, bracelet, or earrings.
Next, sketch out some ideas.
This doesn’t have to be perfect—just a rough outline of what you envision works.
Consider the styles you like and any themes that speak to you.
Once you have a design in mind, think about the materials you’ll use.
You can choose from various beads, metals, and charms.
Each material can give your piece a different look and feel.
Don’t forget to measure! If you’re making something that needs to fit, like a bracelet, measure your wrist first.
This ensures your design will look great and fit comfortably.
Feel free to browse online jewelry design tools or apps for inspiration.
They can spark creativity and help you visualize your piece better.
Let your personality shine through in your design.
Custom jewelry is all about making something unique that reflects you.
Enjoy the process and have fun with your creative choices!
5) Cut the Wire
When making your custom jewelry, begin by selecting the right gauge of wire.
A common choice is 0.8mm for rings, but you can adjust it based on your design.
Measure the length you need for your project.
To make a ring, cut approximately 55 cm of wire for a standard size.
Feel free to shorten the length if you prefer a tighter fit.
Once you have your wire cut, check for any kinks or imperfections.
Straighten it gently by running it through your fingers.
This step helps maintain a polished look for your final piece.
Using sharp wire cutters, make a clean cut at the desired length.
Ensure the ends are smooth to prevent any scratching or snagging during wear.
Keeping a tidy workspace will also help you manage your materials better.
6) Shape Your Base
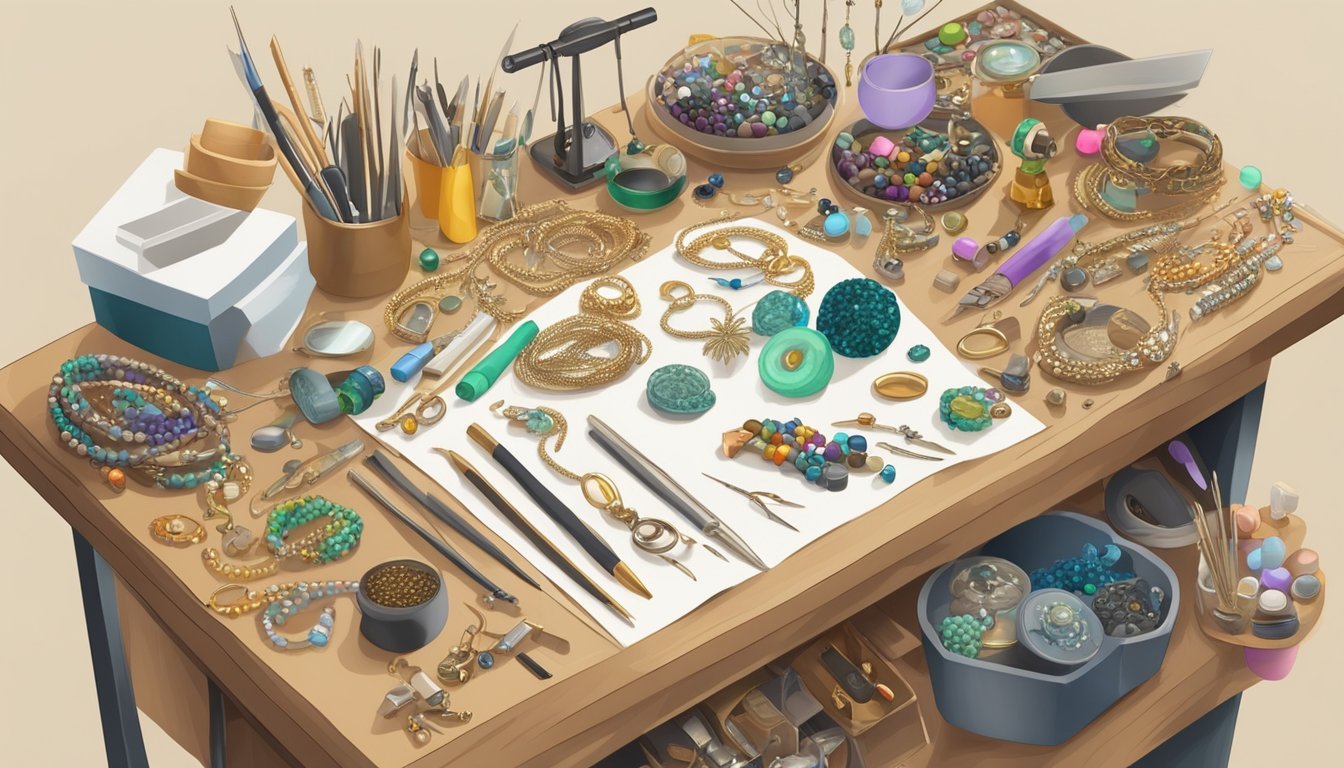
Shaping your base is a key step in making custom jewelry.
Start with the material you’ve chosen, whether it’s metal, clay, or beads.
Each material has its technique, so make sure you’re familiar with the properties of what you’re working with.
If you’re using air-dry clay, roll it out to your desired thickness before cutting shapes with a knife or cookie cutters.
For metal, you might want to cut your pieces before shaping them with tools or your hands.
Make sure to take your time during this process—you want a finished piece that looks just right.
If you’re making something like a bracelet, check that the size fits comfortably on your wrist.
For wire or metal pieces, bending or soldering can help you achieve exactly the shape you’re aiming for.
Use pliers or your hands to create curves or angles, and be patient while adjusting.
Once you’ve shaped your base, it’s ready for the next steps in your jewelry-making journey!
7) Attach Findings
Attaching findings is a crucial step in custom jewelry making.
Findings are the components that help you finish and wear your creations, like clasps, ear wires, and jump rings.
To attach findings, start by gathering the necessary tools, like needle-nose pliers and wire cutters.
You’ll need these to handle small pieces with precision.
If you’re using jump rings, open them gently by twisting, never pulling apart.
This minimizes the risk of losing their shape.
Once open, slide in your beads or components, then carefully close the jump ring.
If you’re making earrings, you might use ear wires.
Simply thread the bead or charm onto the wire and secure it.
Making your own findings can also be a fun option to ensure they match your design perfectly.
Lastly, secure clasps by threading them onto the last links of your creation.
Make sure everything is tight and sturdy, so your jewelry remains intact when worn.
Add Beads
Adding beads is where your creative flair truly shines.
Start by arranging your selected beads on a flat surface or beadboard.
This helps you visualize the final design before stringing them.
Cut your beading thread or wire, leaving an extra 4 inches for adjustments.
Begin by threading a crimp bead and your clasp onto the wire.
Loop the wire back through the crimp bead and use pliers to secure it tightly.
Now, it’s time to bead! Slide the beads onto the thread in your desired order.
Take your time to mix colors and shapes for a unique touch.
If you’re using a stretch cord, ensure the beads are snug but not too tight.
Once you’ve added all your beads, finish your piece with another crimp bead.
Loop the end of the wire back through to secure it.
Snip any excess thread or wire, and your custom jewelry is ready to wear!
9) Incorporate Charms
Adding charms to your custom jewelry is a fun way to express your style.
Charms come in various shapes, colors, and materials, making them versatile for any piece.
You can create a charm bracelet using a mix of beads, pearls, or gemstones.
Each charm can represent something meaningful to you, making the bracelet uniquely yours.
Charm necklaces are also popular.
You can customize them by selecting charms that reflect your interests or significant life events.
This lets you carry reminders of what you love every day.
If you want to try something different, consider highlighting a single charm on a simple chain.
This minimalist approach lets the charm stand out and creates an elegant look.
Remember to play around with different combinations.
Mixing and matching charm styles and sizes can lead to a personalized touch that makes your jewelry truly original.
10) Connect Chains
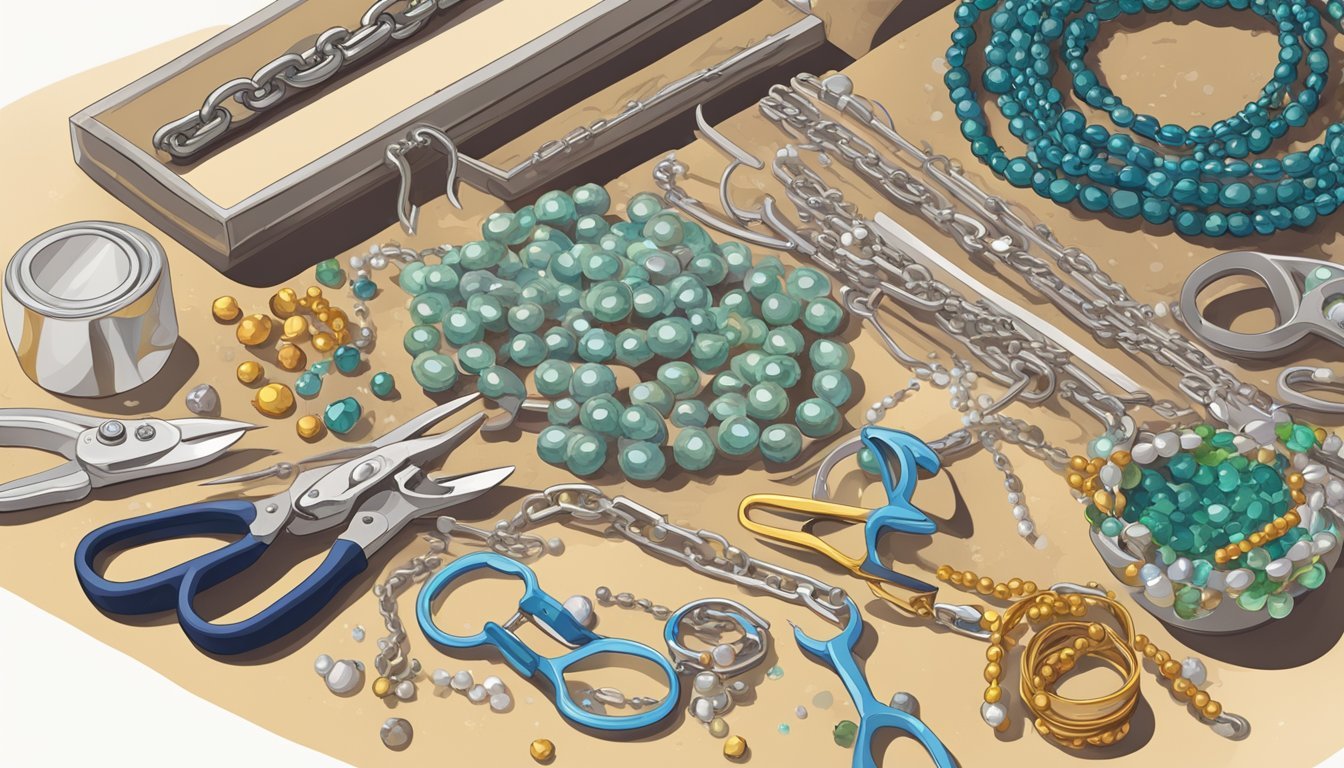
Connecting chains can add a stylish touch to your custom jewelry.
You can use them to link different elements or create adjustable lengths.
Start by choosing the type of chain that fits your design.
There are delicate options for a subtle look or thicker chains for something bolder.
Make sure the chain complements your pieces.
To connect chains, you’ll typically need jump rings.
These are small metal rings that can open and close easily.
Use pliers to open a jump ring, attaching it to the ends of the chains you want to connect.
Then simply close the ring securely.
Don’t forget about adding connectors.
These can be decorative elements that enhance the overall appearance while serving a practical purpose.
Experiment with different styles and lengths of chain to find what works best for your project.
Connecting chains allows you to express your creativity and customize your jewelry to fit your unique style.
Choosing Your Materials
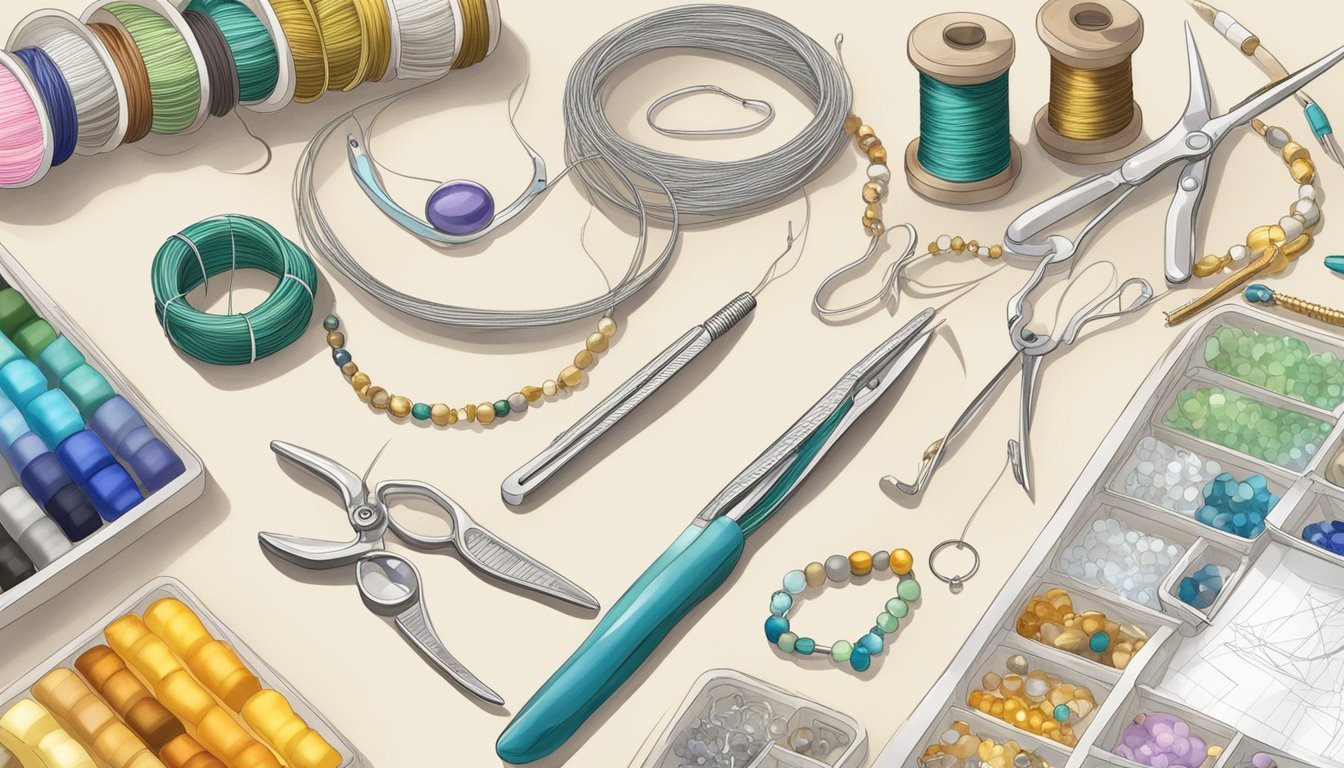
Choosing the right materials is crucial for creating custom jewelry that matches your vision and stands the test of time.
Consider both the types of metals and gemstones you want to work with, as each has unique properties and aesthetics.
Understanding Different Metals
When selecting metals for your custom jewelry, think about durability, color, and hypoallergenic properties.
Here are some common metal options:
- Sterling Silver: It is affordable and popular for its shiny finish, but it can tarnish over time.
- Gold: Comes in various karats (14K, 18K), with options like yellow, white, and rose gold. It’s durable and valuable but can be more expensive.
- Copper: Inexpensive and easy to work with, but it may tarnish and cause skin reactions for some.
- Aluminum: It is lightweight and available in many colors, making it a good choice for fun and casual designs.
Your choice should reflect your design intentions and how you want the finished piece to wear over time.
Selecting the Right Gemstones
Gemstones can elevate your jewelry’s look and add personal meaning.
Here are key points to consider when selecting stones:
- Type of Stone: Options include natural gemstones like diamonds, sapphires, and emeralds, or synthetic ones like cubic zirconia. Natural stones may provide unique colors and patterns.
- Durability: Check the Mohs hardness scale to ensure your gemstones can withstand daily wear.
- Color and Clarity: Consider how colors work together with your chosen metal. Clarity affects the stone’s overall aesthetic.
- Budget: Some gemstones can be costly, so factor this into your decision.
Take your time when selecting gemstones, as they can significantly impact the final appearance of your custom pieces.
Tools You’ll Need
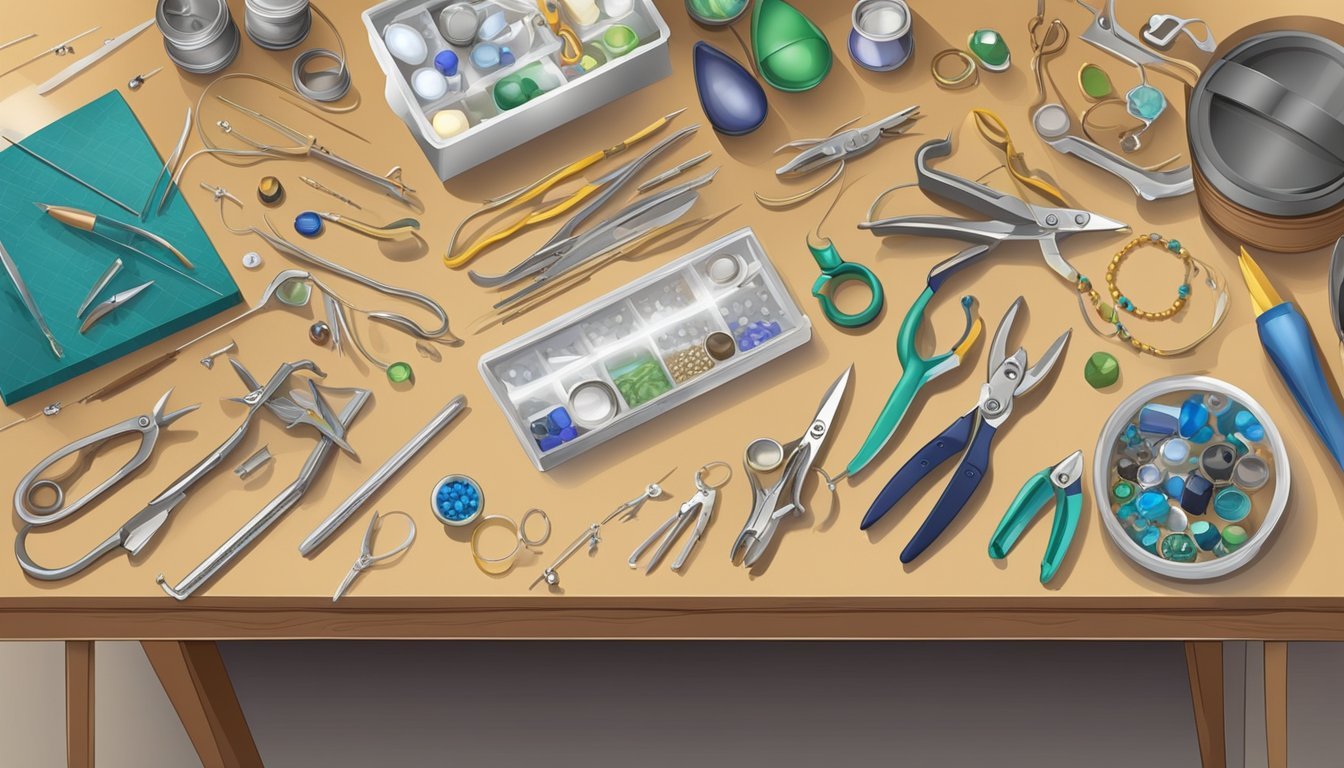
To create custom jewelry at home, having the right tools makes a significant difference in your crafting experience.
You’ll need essential hand tools for shaping, cutting, and assembling, along with proper safety gear to protect yourself while you work.
Essential Hand Tools
Here’s a list of must-have tools for your DIY jewelry journey:
-
Round Nose Pliers: Perfect for making loops and curves in wire. Their cone-shaped tips allow you to create different-sized loops depending on where you grip the wire.
-
Chain Nose Pliers: Use these for gripping and bending wire without leaving marks. They’re great for making precision adjustments.
-
Wire Cutters: A pair of sharp wire cutters will help you trim excess wire cleanly and efficiently.
-
Crimping Tool: This tool secures beads and findings to your stringing material, ensuring your jewelry holds together well.
-
Beading Mat: While not a tool per se, a beading mat can help keep your beads organized and prevent them from rolling away while you work.
Each tool serves a specific purpose, so investing in quality ones will enhance your crafting experience.
Safety Gear
Safety should always be a priority when working with jewelry-making tools.
Here’s what you should consider:
-
Safety Glasses: Safety glasses protect your eyes from flying debris. This is especially important when cutting wires or working with small parts.
-
Ear Protection: If you’re using power tools or soldering, consider earplugs or earmuffs to protect your hearing.
-
Work Gloves: Wearing gloves can help prevent cuts and scrapes when working with sharp objects. However, it’s essential to find ones that offer dexterity.
-
Dust Mask: If you’re soldering or working with materials that create dust, a mask can prevent inhalation of harmful particles.


