
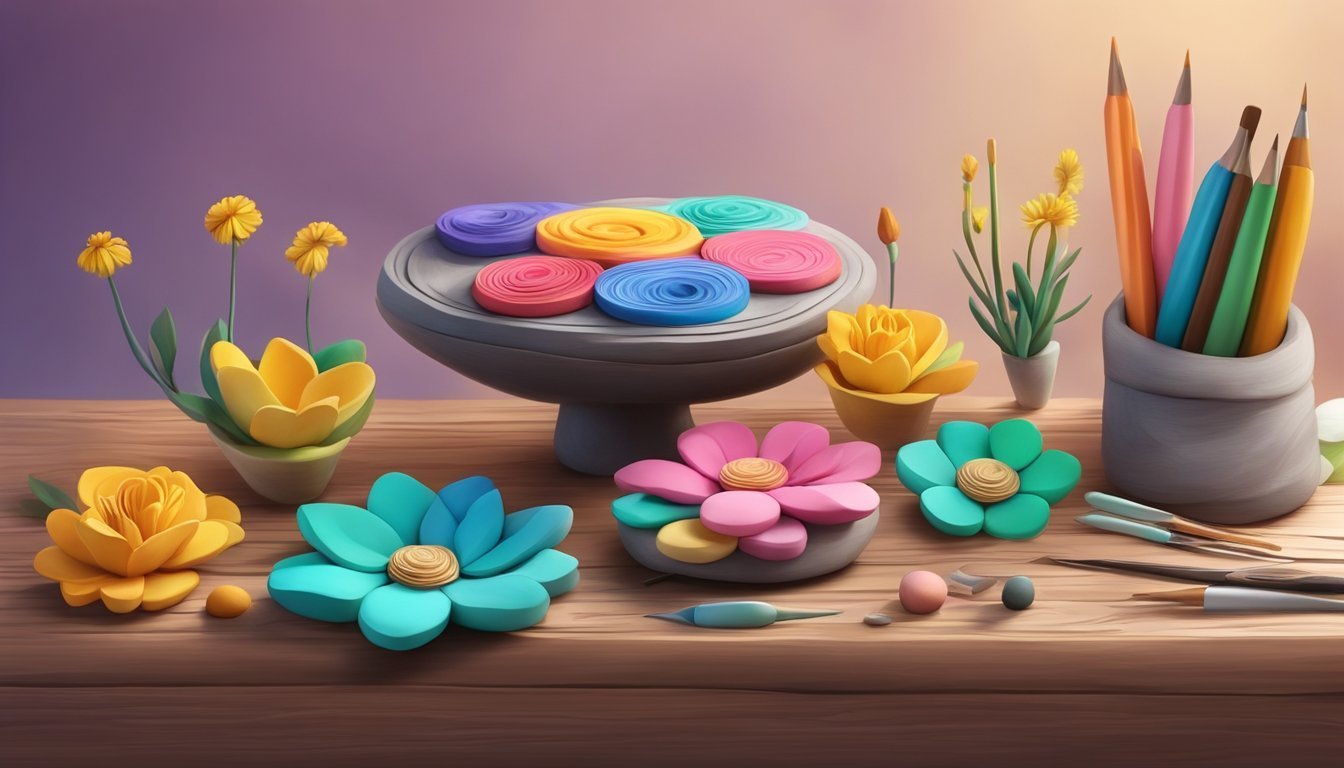
Sculpting with polymer clay is a fun and rewarding hobby.
You can shape, mold, and bake the clay to bring your creative ideas to life, making it an excellent medium for beginners and experienced artists alike.
Whether you’re interested in making small figurines, jewelry, or decorative items, polymer clay offers endless possibilities.

As you explore this versatile material, you’ll discover various techniques and tools that enhance your sculpting experience.
From conditioning the clay to proper baking methods, understanding the process will elevate your projects significantly.
Embrace your creativity and let your imagination guide you in making beautiful sculptures.
Choose The Right Clay Brand
Choosing the right polymer clay brand can make a big difference in your sculpting experience.
Each brand has its unique characteristics, so knowing what you’re looking for is essential.
Popular brands like Sculpey, Fimo, and Cernit offer different textures and colors.
Sculpey is known for being easy to work with, making it great for beginners.
Meanwhile, Fimo tends to be firmer and holds details well, which can be perfect for intricate designs.
Consider your project when selecting a brand.
If you’re making detailed sculptures, look for a brand that offers a firmer consistency.
For larger pieces, a softer clay might be easier to manipulate and shape.
Don’t forget to check for color options, as some brands have a wider variety than others.
Experimenting with different brands can also help you find one that suits your style.
Lastly, look at the baking temperature and time required.
Different brands have varying recommendations, and following these instructions is crucial for the best results.
Happy sculpting!
Condition Your Clay
Before you start sculpting, it’s important to condition your polymer clay.
This process makes the clay softer and easier to work with.
Begin by kneading the clay in your hands.
This warms it up and helps break down any stiff areas.
If the clay feels too hard, you can also use a clay conditioning machine for an even blend.
You can mix different colors of clay to create new shades.
Just be sure to condition them together thoroughly so the colors are evenly distributed.
If your clay is very dry, you might consider adding a small amount of clay softener.
Use it sparingly to avoid making the clay too sticky.
Once conditioned, your clay should be smooth and pliable.
This ensures your sculptures will have a better form and detail.
Now you’re ready to start shaping your masterpiece!
3) CreateYourSketch
Creating a sketch is an essential step in making sculptures with polymer clay.
Start by brainstorming ideas for your sculptural project.
Think about the shapes, themes, or characters you want to bring to life.
Once you have an idea, grab a pencil and paper.
Sketch out your vision from different angles.
This helps you visualize proportions and details before you start working with clay.
You don’t need to be an expert artist.
Simple outlines and rough shapes are enough.
Just focus on getting your ideas down.
If you’re making a figure, pay special attention to the body parts and their placements.
Having a sketch will guide you during the sculpting process.
It’s a roadmap for your project and can save you time when shaping your clay.
Plus, it allows for adjustments as you go.
Feel free to experiment with different designs in your sketches.
Sometimes, the best ideas come from improvisation.
Just have fun with it!
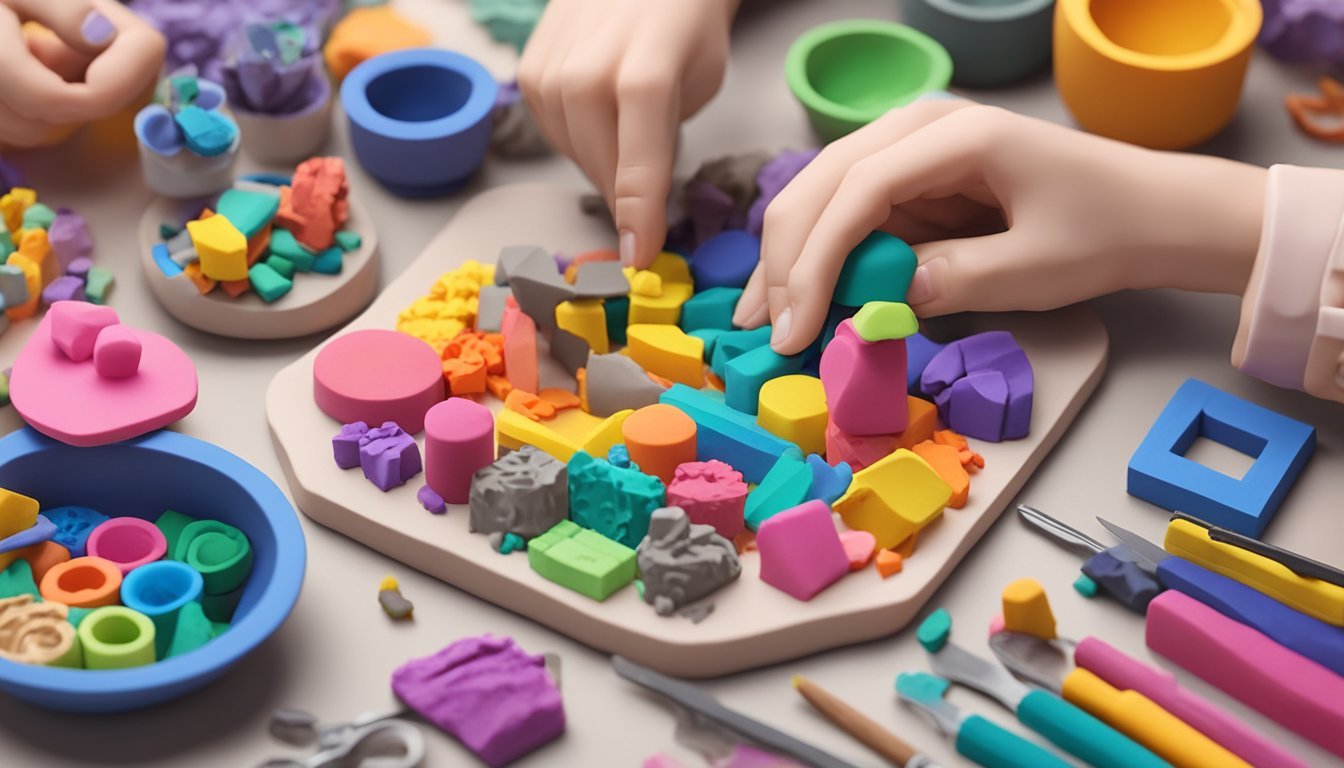
4) ShapeTheBase
To start shaping the base of your sculpture, you’ll want to gather your polymer clay.
Choose a suitable color for the foundation, as this will affect the final look of your piece.
Begin by rolling a ball of clay to create a solid core.
This helps in providing stability, especially for larger sculptures.
You can then flatten this ball into your desired shape.
Use your fingers or tools to refine the shape.
Pinching, rolling, and smoothing are key techniques here.
Don’t forget to check for proportional balance as you work.
For added detail, you can layer different colors of clay.
This technique allows for depth and texture.
You might also consider using stamps or molds to incorporate unique patterns into your base.
Once you’re happy with the shape, remember to bake the clay according to the instructions.
Preheating the oven and using a suitable baking surface will help prevent any mishaps.
Make sure to tent your sculpture with aluminum foil to avoid color changes during baking.
With a solid base, you’re well on your way to creating an impressive sculpture!
5) Add Fine Details
Adding fine details is where your sculpture really comes to life.
You can use various tools, like clay knives, rubber-tipped shapers, or even household items like old toothbrushes to create textures.
Start by pinching or rolling small pieces of clay for features such as eyes or fingers.
Position them carefully on your model.
Make sure to blend the edges well so they look natural.
For additional texture, you can press stamps or molds into the clay.
This technique enhances the surface and adds depth to your sculpture.
Once you add details, use a small amount of isopropyl rubbing alcohol on a brush to clean up any fingerprints or tool marks.
This step ensures a smooth finish before baking.
Remember, fine details can really elevate your work, so take your time.
Enjoy the process and let your creativity shine through!
6) Smooth The Surface
Smoothing the surface of your polymer clay sculpture can make a big difference in its final look.
Start by using a small amount of water.
Dip your finger in it and gently rub the surface.
This helps remove small imperfections.
Be careful not to over-wet the clay.
Too much moisture can make the clay too soft, causing it to lose its shape.
A light touch is key here.
Once your piece is dry or baked, you can refine it further with sandpaper.
Begin with a coarse grit, around 400, to tackle major imperfections.
Use circular motions to rub the sandpaper over the surface.
After that, switch to a medium grit, like 800.
This step will help achieve a smoother finish.
Always remember, you’re sanding the clay, not a wooden table.
For deeper cracks, you might mix clay dust from sanding with epoxy glue.
This putty can fill gaps before you give the sculpture another round of sanding.
Keep working on it until you achieve the smoothness you desire.
7) Bake Your Sculpture
Baking your polymer clay sculpture is a crucial step.
It ensures your creation hardens properly and retains its shape.
Preheat your oven to the temperature specified on the clay package.
This is typically around 265°F to 275°F (130°C to 135°C).
Using an oven thermometer can help you maintain accurate heat.
Place your sculpture on a baking pan lined with parchment paper.
Make sure it’s stable and not touching the sides of the pan.
Bake for the recommended time, usually 15 to 30 minutes per quarter inch of thickness.
You can extend the baking time a little, but avoid increasing the temperature.
Once finished, carefully remove the pan using oven mitts.
Allow your sculpture to cool on a heat-safe surface for 30 to 60 minutes.
Don’t rush this step—cooling helps prevent cracks.
After cooling, your sculpture should be firm and ready for any finishing touches you want to add.
Enjoy your newly baked creation!
GlazeForShine
To give your polymer clay sculptures a shiny finish, glazing is the way to go.
Glaze enhances the colors and provides a protective layer.
It also gives your pieces a professional look.
First, make sure your sculpture is completely baked and cooled.
You don’t want any heat affecting the glaze application.
Use a soft brush to apply a thin layer of glaze evenly over the surface.
Let the glaze dry as per the instructions on the product you’re using.
Depending on the glaze, you might need to bake your piece again to set the shine.
Always read the label to ensure you’re following the right process.
If you’re using liquid clay as glaze, it can create a high-gloss finish.
Just spread it carefully and bake it for about 15 to 30 minutes at the recommended temperature.
Remember, not all glazes are the same.
Some may turn cloudy or peel if not applied correctly.
Testing on a small piece first can help you determine what works best for your project.
Enjoy making your sculptures shine!
9) Add Final Touches
Once your sculpture is baked and cooled, it’s time for the final touches.
This step can elevate your piece from good to stunning.
Start by cleaning up any small imperfections.
You can use 91% isopropyl rubbing alcohol on a brush to smooth out any fingerprints and tool marks.
Just be careful not to disturb the shape you’ve created.
Consider painting your sculpture for extra flair.
Acrylic paints work well on polymer clay and can bring your creation to life with vibrant colors.
Make sure the surface is clean before applying paint.
If you want a glossy finish, use a clear glaze.
This adds a nice sheen and protects the surface.
Apply it in thin layers and let each layer dry fully for the best results.
Experiment with adding textures.
You can incorporate stamps or molds to create patterns on the surface.
Just press lightly to avoid distorting your sculpture.
Finally, find a perfect spot to display your work.
Choosing the right location can make your sculpture stand out even more.
Enjoy your creation!
DisplayWithPride
Once you’ve created your polymer clay sculpture, it’s time to showcase your hard work.
Find a spot where your piece can shine without too much interference.
Consider natural light; it brings out the colors and details beautifully.
A shelf, table, or dedicated display case can make a great home for your sculpture.
If the piece is larger, use stands or pedestals.
This can elevate it and make it more visible.
Don’t forget about safety.
Ensure your display area is away from high-traffic zones to avoid accidental bumps.
You want your art to be appreciated, not damaged.
Think about the background too.
A simple wall or complementary decor can enhance your sculpture’s visual impact.
Change it up every now and then! Rotating your displays keeps things fresh and gives you a chance to show off different pieces.
Plus, it keeps your creative spirit alive.
Above all, take pride in your work.
Each sculpture reflects your effort and creativity, so don’t shy away from displaying it proudly!
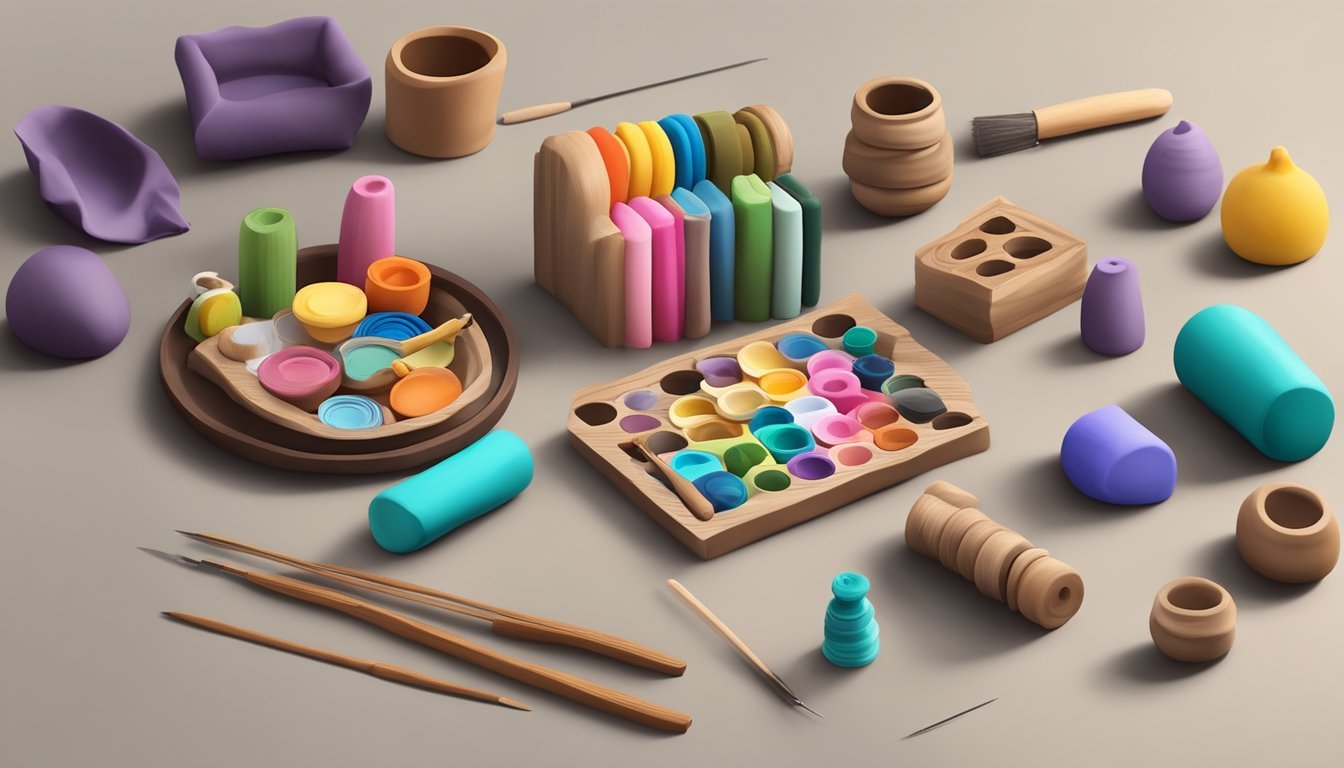
Choosing the Right Polymer Clay
Selecting the appropriate polymer clay is crucial for the success of your sculpture.
Different types of clay vary in texture, flexibility, and ease of use.
Understanding these factors will help you make an informed choice.
Different Types of Polymer Clay
There are several types of polymer clay available, each suited for specific projects.
Here are some popular options:
- Sculpey Original: Soft and pliable, ideal for beginners. It’s great for easy shaping and color blending.
- Sculpey III: A bit firmer than Sculpey Original, this clay holds its shape well but is still manageable for most users.
- Sculpey Soufflé™: Known for its flexibility after baking. Excellent for creating items that need some movement.
- Fimo Professional: More rigid and durable, making it suitable for detailed work.
Factors to Consider When Selecting Clay
When looking for the best polymer clay, consider your project’s unique needs:
- Skill Level: If you’re a beginner, softer clays like Sculpey Original are recommended. They’re easier to manipulate and shape.
- Project Type: Think about whether your sculpture needs to be sturdy or flexible once baked. For flexible pieces, Sculpey Soufflé™ is a good choice.
- Color Blending: If blending colors is important, opt for clays that are known for their smooth texture.
- Baking Requirements: Different clays have specific baking temperatures. Ensure your chosen clay can be baked in your home oven.
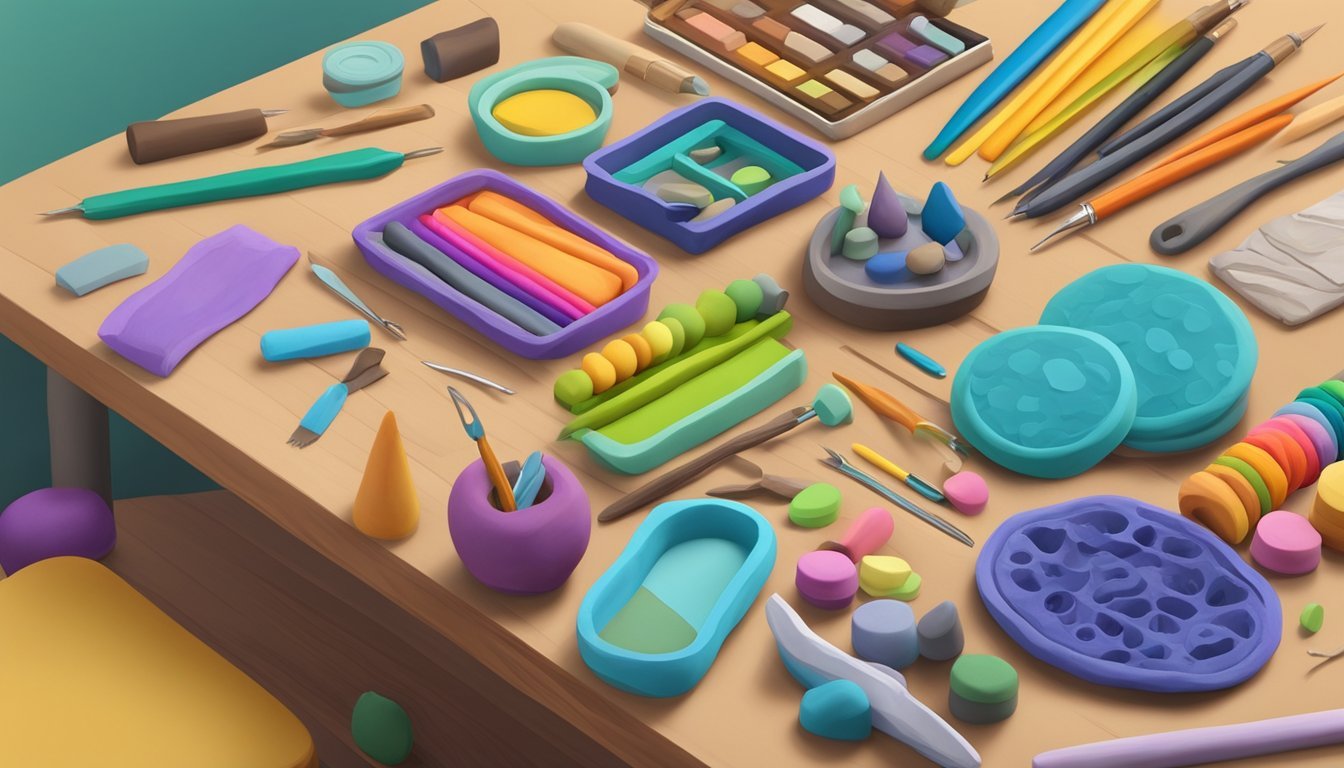
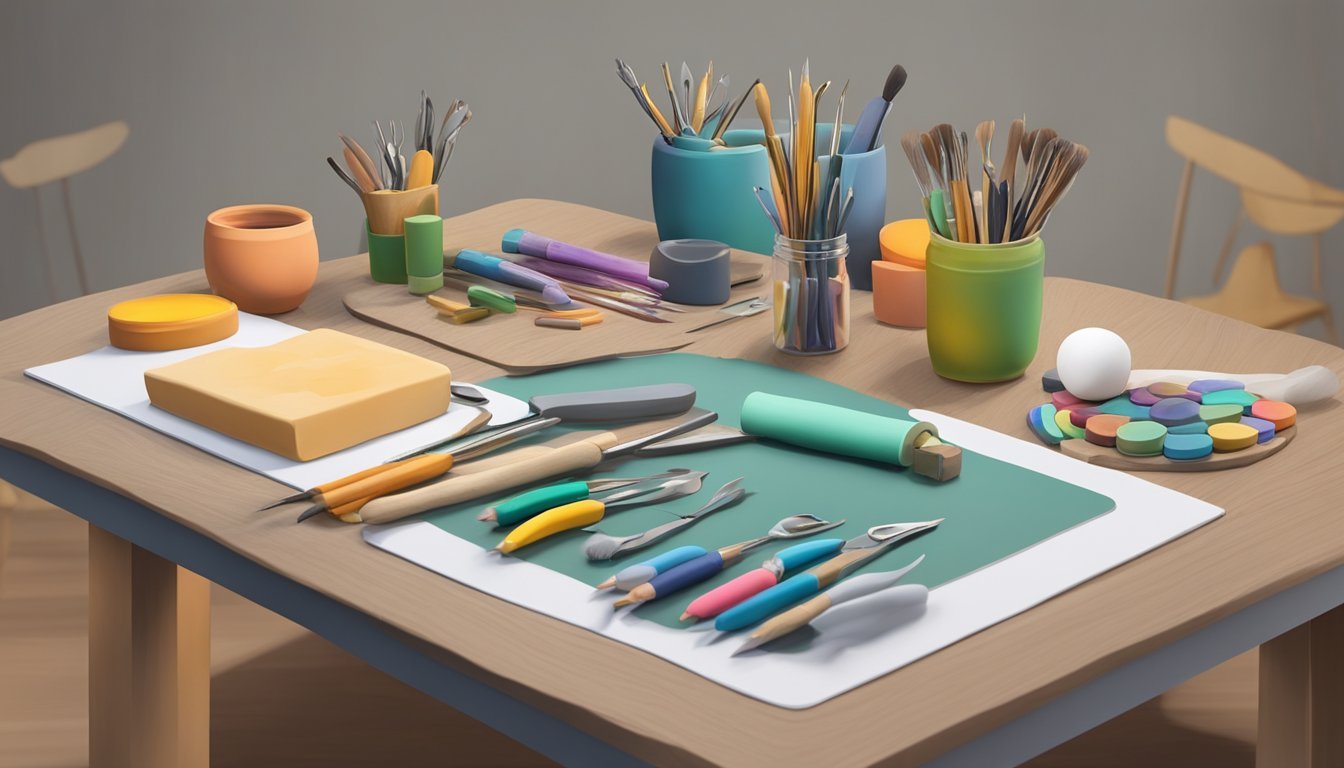
Essential Tools for Sculpting
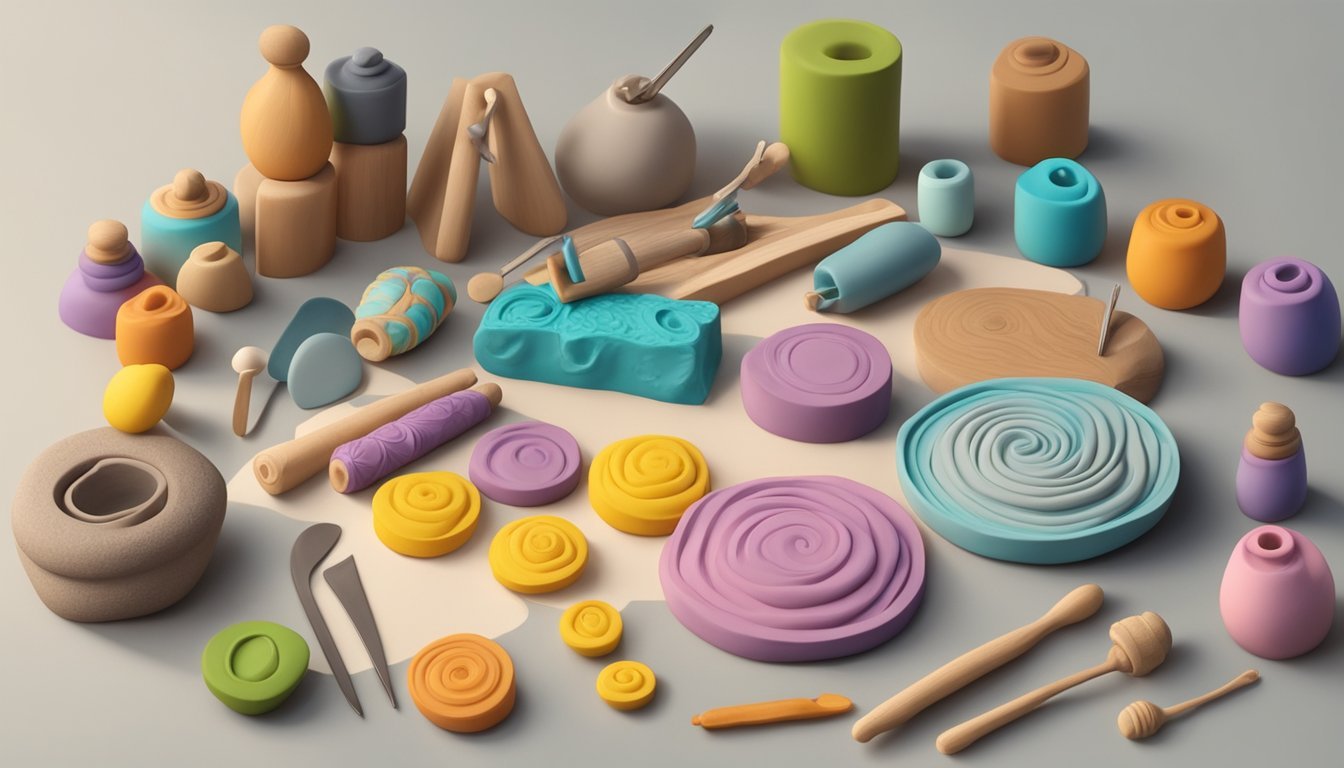
When you’re getting started with polymer clay sculptures, having the right tools makes all the difference.
Here’s a look at some of the must-have tools you’ll need, from basic to more advanced options.
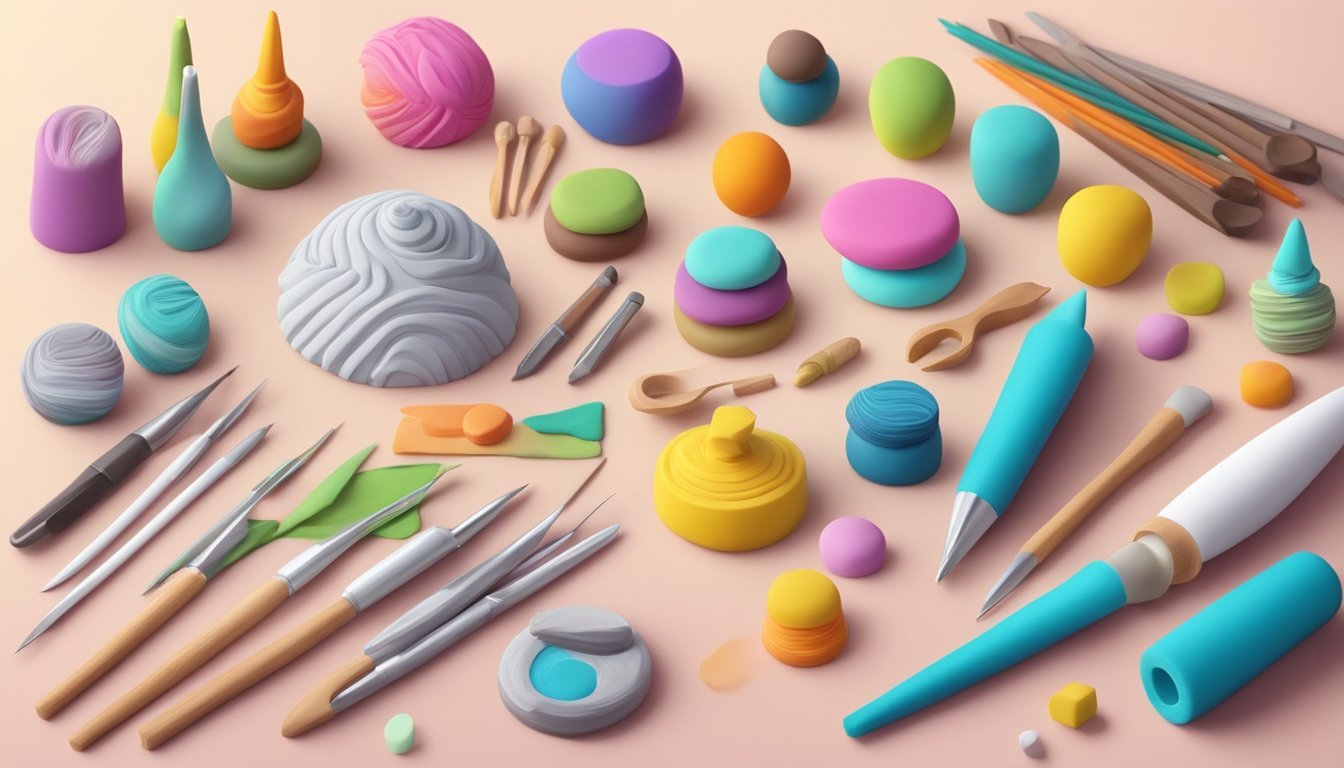
Basic Sculpting Tools
Starting simple is key.
Here are a few essential tools you should have in your toolkit:
- Sculpting Tools: These come in various shapes, such as spatulas and pointed tips. They help you refine shapes and add intricate details.
- Rolling Pin: Use this to flatten your clay to a uniform thickness. It’s perfect for creating bases or sheets.
- Blade: A sharp blade is vital for cutting shapes and sections of clay, so you can create clean edges.
- Needle Tool: Great for detailing, this tool can help you make fine lines and textures.
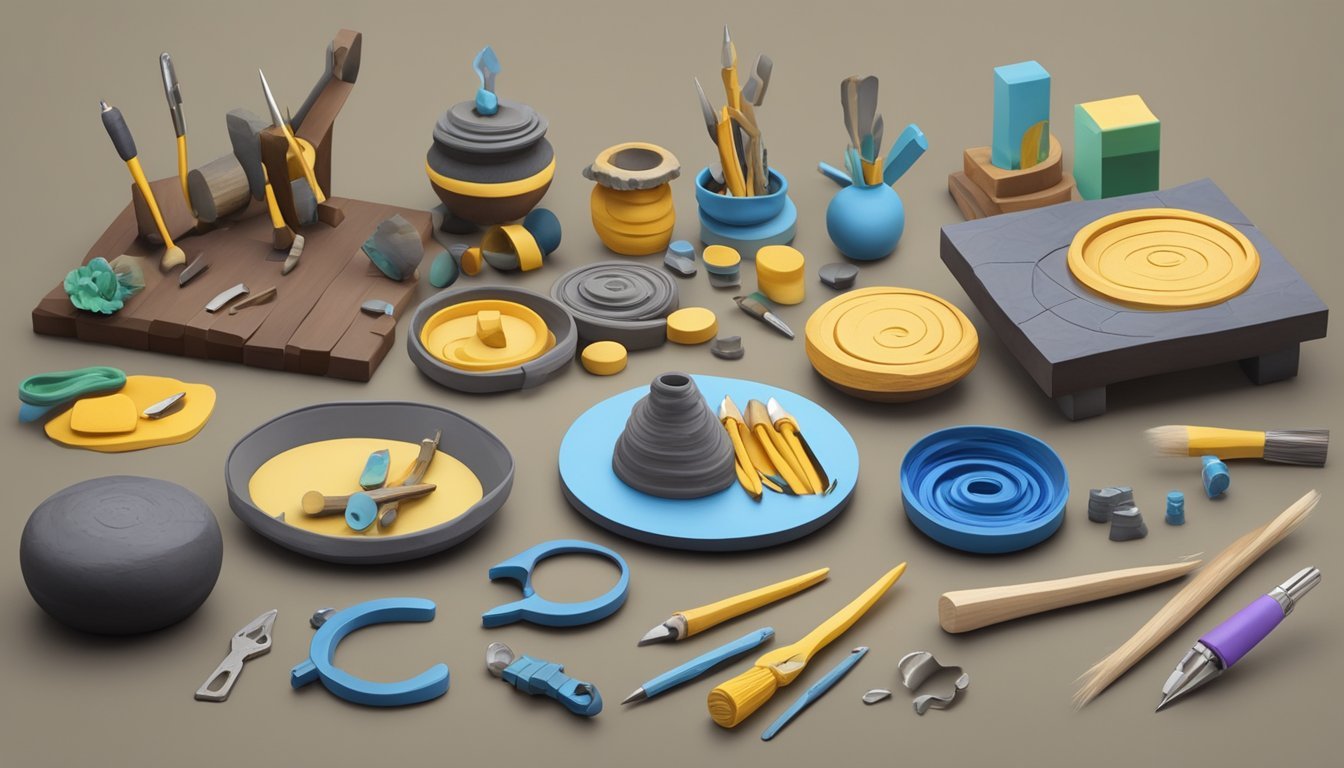
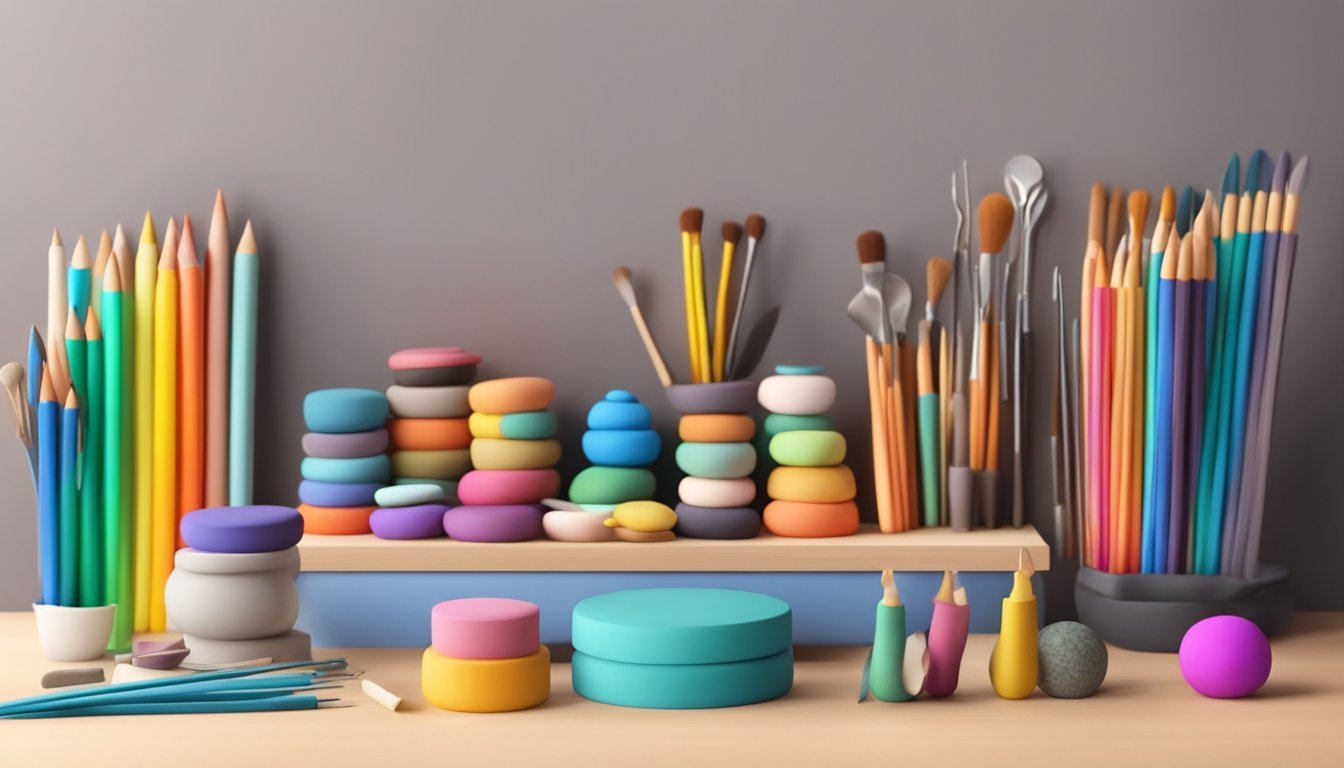
Advanced Tools for Professionals
Once you’re comfortable with the basics, consider expanding your toolkit for more advanced techniques:
- Clay Extruder: This tool lets you create consistent shapes and patterns. It’s particularly useful for making limbs or hair.
- Silicone-Tipped Tools: These are fantastic for smoothing surfaces without leaving marks, giving your sculpture a refined finish.
- Oven Thermometer: Ensuring your clay bakes at the correct temperature is crucial to avoid burning. An accurate thermometer helps with this.
- Dremel Tool: If you’re looking to carve or sand your finished piece, a Dremel can give you the precision you need.
Techniques for Shaping Polymer Clay
When working with polymer clay, mastering the techniques for shaping it can significantly enhance your sculpting skills.
Understanding how to condition your clay and create unique textures will give your sculptures a professional touch.
Conditioning and Softening Clay
Conditioning your polymer clay is essential for achieving the right consistency.
Start by breaking off small pieces and kneading it in your hands.
This warms the clay, making it easier to manipulate.
If the clay feels too hard, you can mix in a few drops of clay softener or add a small quantity of translucent clay.
Here are some tips for effective conditioning:
- Use a Pasta Machine: It can quickly soften and evenly condition larger amounts of clay.
- Avoid Excessive Heat: Too much heat can change the clay’s properties, so be mindful of how long you work with it.
Once softened, your clay is ready for shaping.
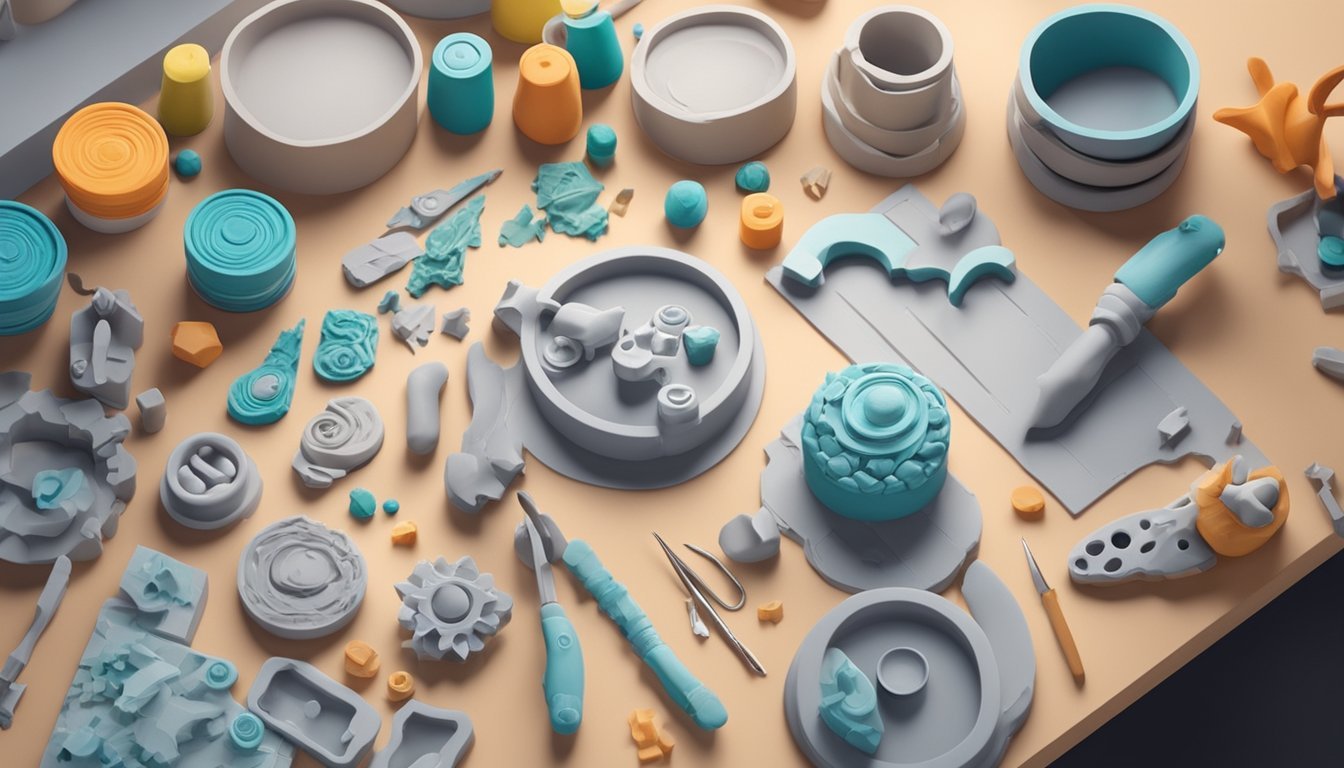
Creating Textures and Details
Adding textures and details can elevate your sculpting.
You might use various tools to achieve different effects.
Consider using stamps, molds, or silicone tipped tools.
Common techniques include:
- Pinching and Rolling: This helps form basic shapes and add bulk to your sculpture.
- Using Textured Tools: Items like brushes or fabric can create patterns on your clay surface.
For more complex designs, take advantage of layering.
Combine different colors or pieces of clay to enrich your sculpture visually.
This not only improves detail but also adds depth to your work.