

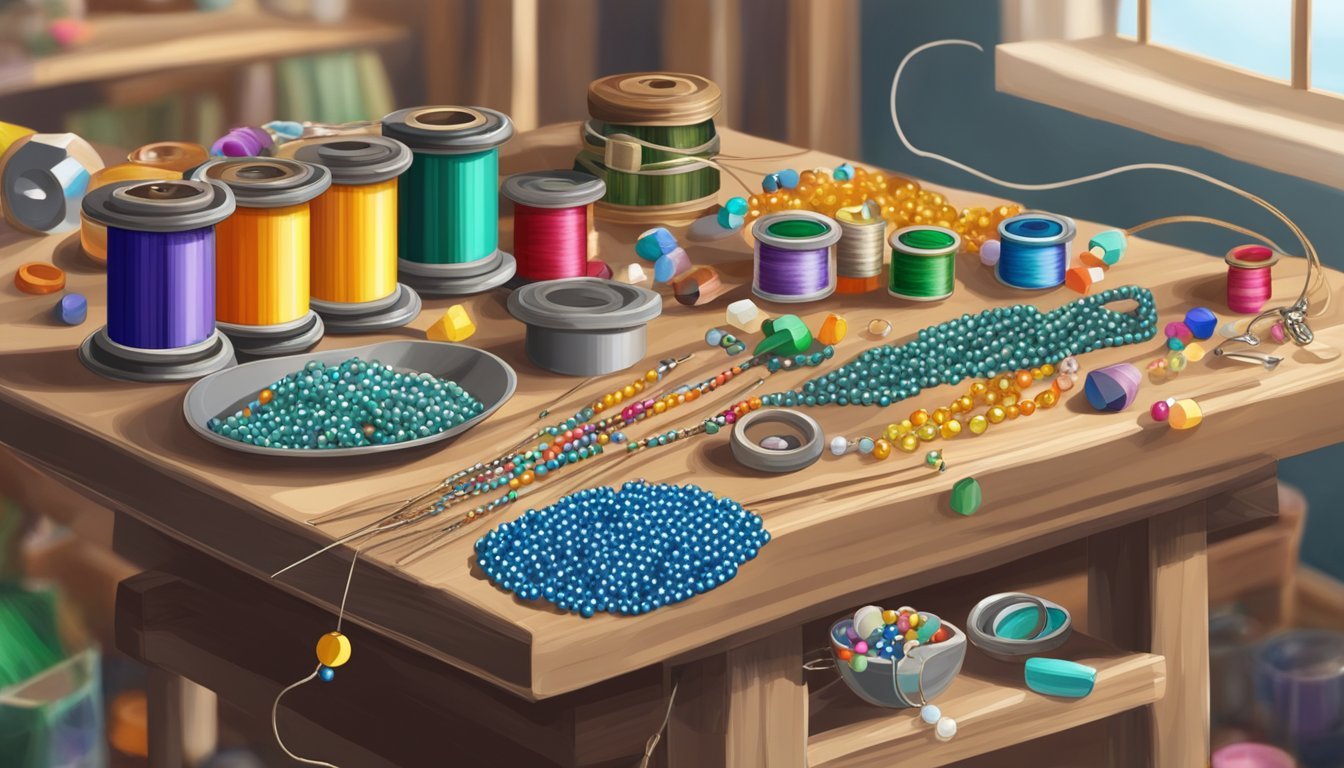
Making your own jewelry using beads and wire is a fun and creative way to express your style.
With just a few simple materials, you can craft unique pieces that showcase your personality.
Anyone can dive into this enjoyable craft and create something beautiful.
Whether you’re looking to make a simple bracelet or a more intricate necklace, this DIY approach allows you to experiment and personalize your designs.
With various wire types and bead options available, the possibilities are virtually endless.
Get ready to unleash your creativity and enjoy the satisfaction of wearing handcrafted jewelry.
Choose Your Beads: Glass, Metal, or Wood
When selecting beads for your DIY jewelry, you have a variety of materials to consider.
Glass beads are popular for their vibrant colors and beautiful shine.
They can add a touch of elegance to your pieces and come in many shapes and sizes.
Metal beads offer a modern look and are often used for a more industrial style.
They can be found in different finishes, like silver or gold, which can enhance the overall aesthetic of your jewelry.
Wood beads provide a natural, earthy feel.
They can be lightweight and comfortable to wear.
Plus, they are available in various colors and grain patterns, making your designs unique.
Think about the style you want to achieve.
Mixing different types of beads can create interesting textures and visual contrast in your jewelry.
Choose beads that resonate with your personal style and the look you’re aiming for.
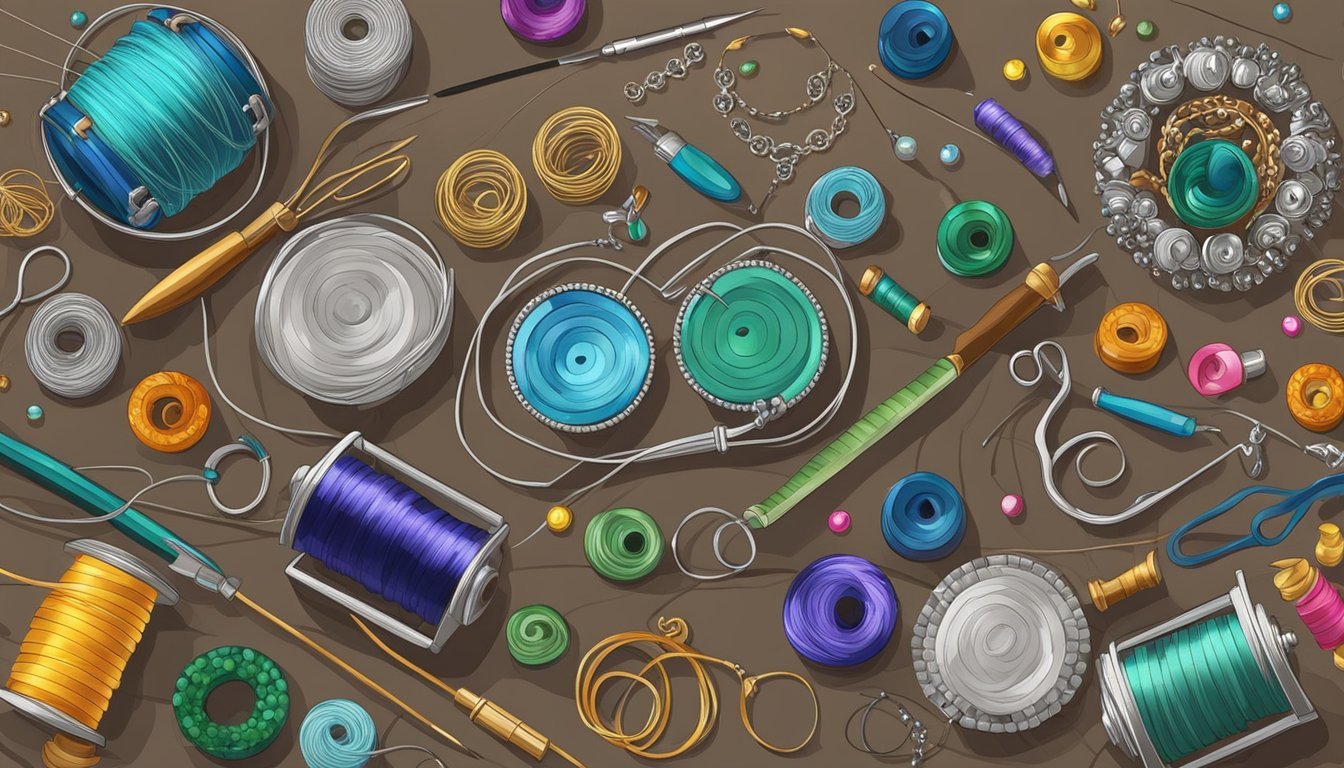
2) Pick a Strong Wire: Copper or Silver

When making DIY jewelry, choosing the right wire is essential for durability and appearance.
Copper and silver are popular choices, each with unique benefits.
Copper wire is widely used in jewelry making.
It’s strong and flexible, making it great for crafting intricate designs.
Plus, copper develops a natural patina over time, adding character to your pieces.
On the other hand, silver wire is elegant and doesn’t tarnish as quickly as copper.
It has a brilliant shine that enhances the beauty of beads.
However, silver can be more expensive than copper, so consider your budget.
If you’re a beginner, starting with copper might be a good idea.
It’s easier to work with and allows for various design styles.
Once you’re comfortable, you can try silver for a more refined look.
Always choose wire with an appropriate gauge for your project.
A thicker gauge offers more strength, while a thinner gauge allows for more intricate designs.
Experiment to find what works best for your jewelry style.
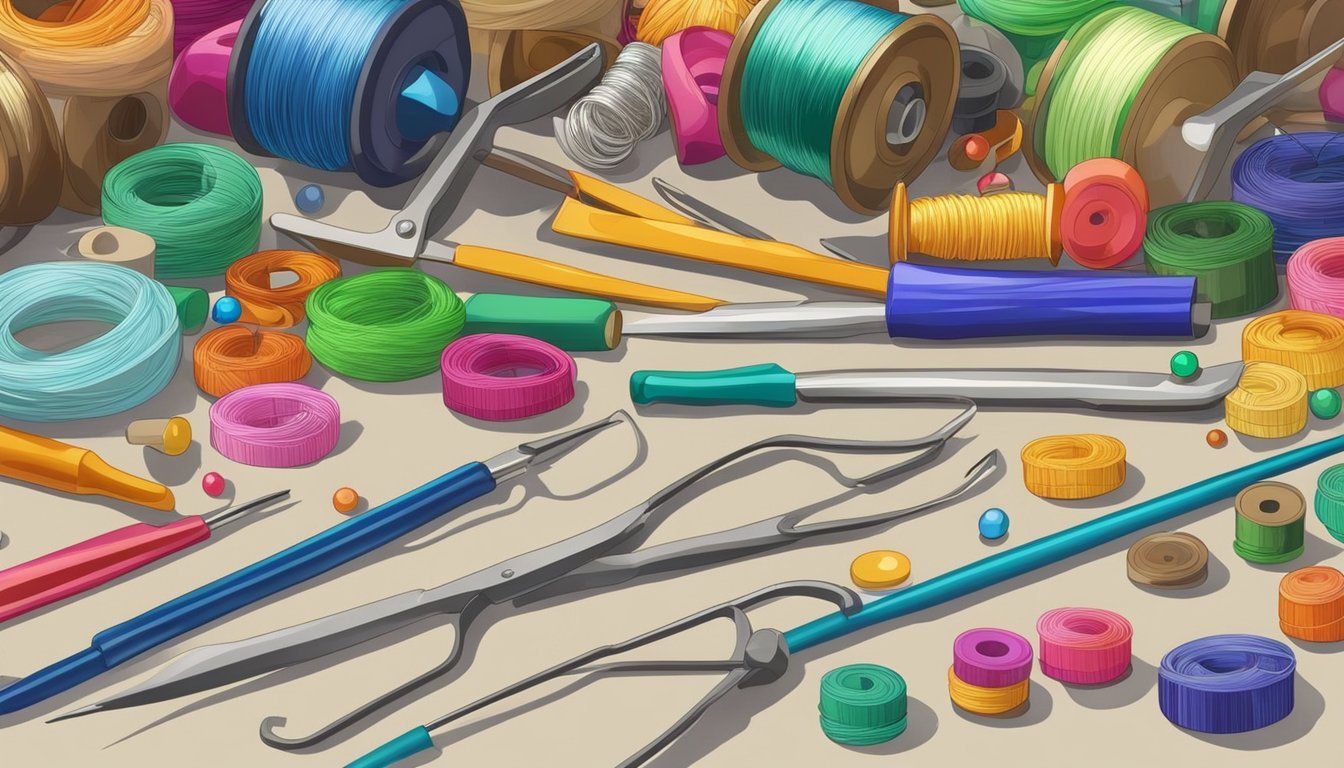
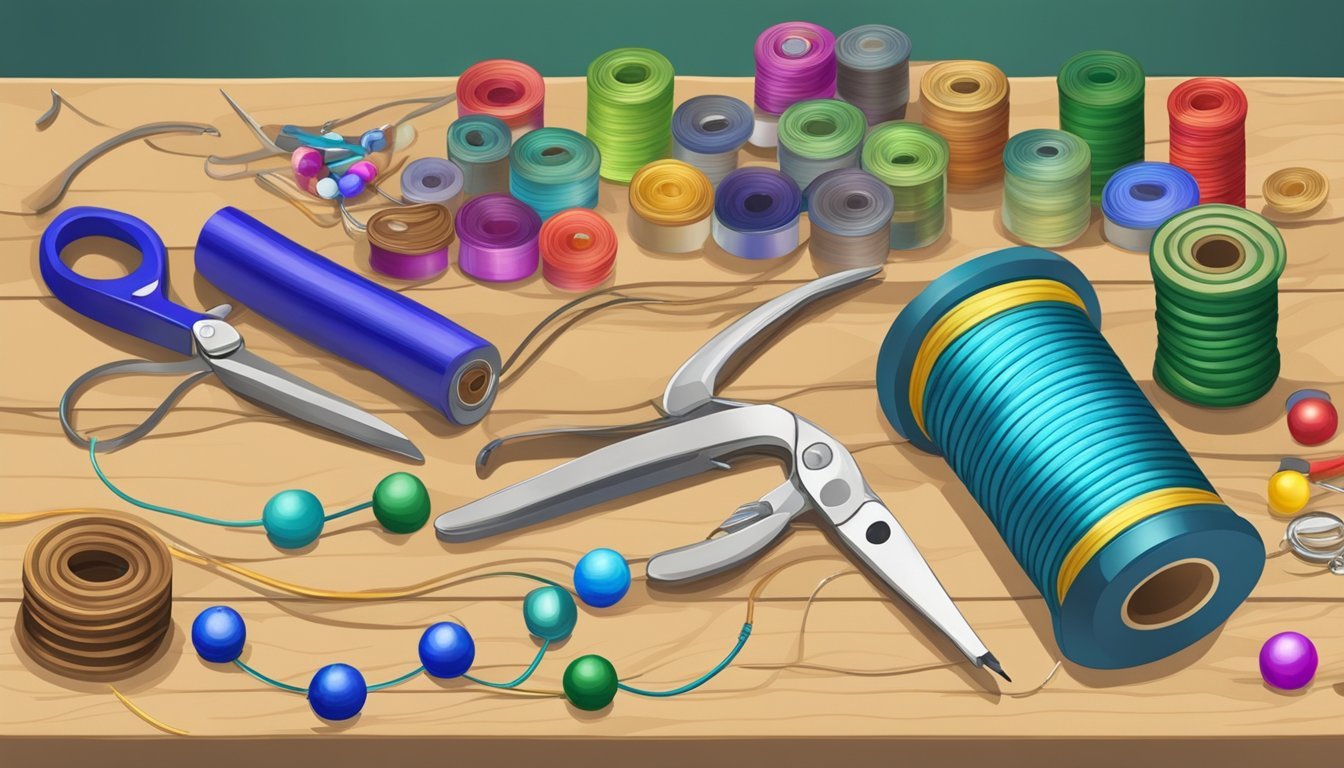
Get the Right Tools: Pliers and Wire Cutters
To start making DIY jewelry, having the right tools is essential.
You’ll mainly need wire cutters and a few types of pliers.
Wire cutters are crucial.
They allow you to cut wire cleanly without leaving sharp edges.
Flush cutters are ideal as they give you a flat cut, making your work look neat.
Next, you’ll need round nose pliers.
These are handy for creating loops in your wire, which is a common technique in jewelry making.
They allow you to easily shape your wire into beautiful curves.
Flat nose pliers come into play for gripping and bending wire.
They provide a firm hold and help you apply even pressure while working on your projects.
With these tools in hand, you’re set to explore various bead and wire designs.
Enjoy the process and let your creativity flow!
4) Plan Your Design: Sketch It Out
Planning your jewelry design is a fun first step.
Grab a pencil and paper, and start sketching your ideas.
Visualizing your project can help you see what works and what doesn’t.
Think about the colors and types of beads you want to use.
Lay out the beads to see how they might look together.
Consider the overall shape of your piece, whether it’s a necklace, bracelet, or ring.
Sketch different styles until you find one that clicks.
Don’t stress about making it perfect—this is about brainstorming.
Once you have a design you like, note the materials needed.
This will keep you organized when you start crafting.
Feel free to adjust your design as you go.
There’s no strict rule, so let your creativity flow!
5) Measure and Cut Your Wire Accurately
To start, grab your wire and a measuring tool.
It’s essential to measure the length you need for your project before cutting.
This prevents waste and ensures you have enough material for your design.
Once you have your measurement, hold the wire taut while marking the cut line.
You can use a marker or even make a slight bend to indicate where to cut.
For cutting, use wire cutters designed for jewelry making.
Make your cut clean and straight to avoid any rough edges that might snag later.
If you’re working on more intricate pieces, consider cutting a little extra wire.
This gives you some wiggle room as you shape your jewelry.
Remember to wear safety glasses when cutting wire, as small pieces can fly off unexpectedly.
Taking your time with measuring and cutting will make the rest of your jewelry-making experience smoother.
6) Master Basic Wire Wrapping Techniques
Wire wrapping is a fundamental skill in DIY jewelry making.
It allows you to create beautiful pieces and securely attach beads.
Start with simple loops.
Create a wrapped wire loop by bending the wire into a circle and wrapping it around itself.
This technique connects beads and makes it easier to add components.
Practice making spirals.
They add flair to your designs and can be used in various ways, like adding decorative elements to pendants.
When working with multiple beads, keep them in place using wire wraps.
This not only secures the beads but also creates a unique look.
Use different gauges of wire to see what works best for your projects.
Thicker wire offers durability, while thinner wire can create more intricate designs.
Remember to keep your tools handy.
Using round-nose pliers helps create clean loops and curves, while flat-nose pliers are great for holding the wire in place.
Finally, don’t be afraid to experiment.
Wire wrapping is all about creativity, so have fun while you learn the basics!
7) Experiment with Bead Combinations
Mixing different beads can bring your jewelry to life.
Try combining materials like glass, wood, and gemstone beads for a unique look.
Don’t be afraid to play with colors.
You might find that contrasting colors can create an eye-catching effect.
For example, pairing bright colors with softer tones can add interest.
Consider varying the sizes of your beads as well.
Using larger focal beads with smaller accent beads can create a balanced design.
Textures also matter.
Incorporate smooth, faceted, and matte beads to enhance the visual appeal of your piece.
You can even create a theme for your jewelry.
For instance, use all earthy tones for a natural feel or go bold with vibrant, playful colors.
Keep a few design ideas in mind, but be open to change as you work.
Sometimes the best results come from unexpected combinations.
Overall, have fun experimenting.
The creative process is just as important as the final piece.
Create a Simple Bracelet First
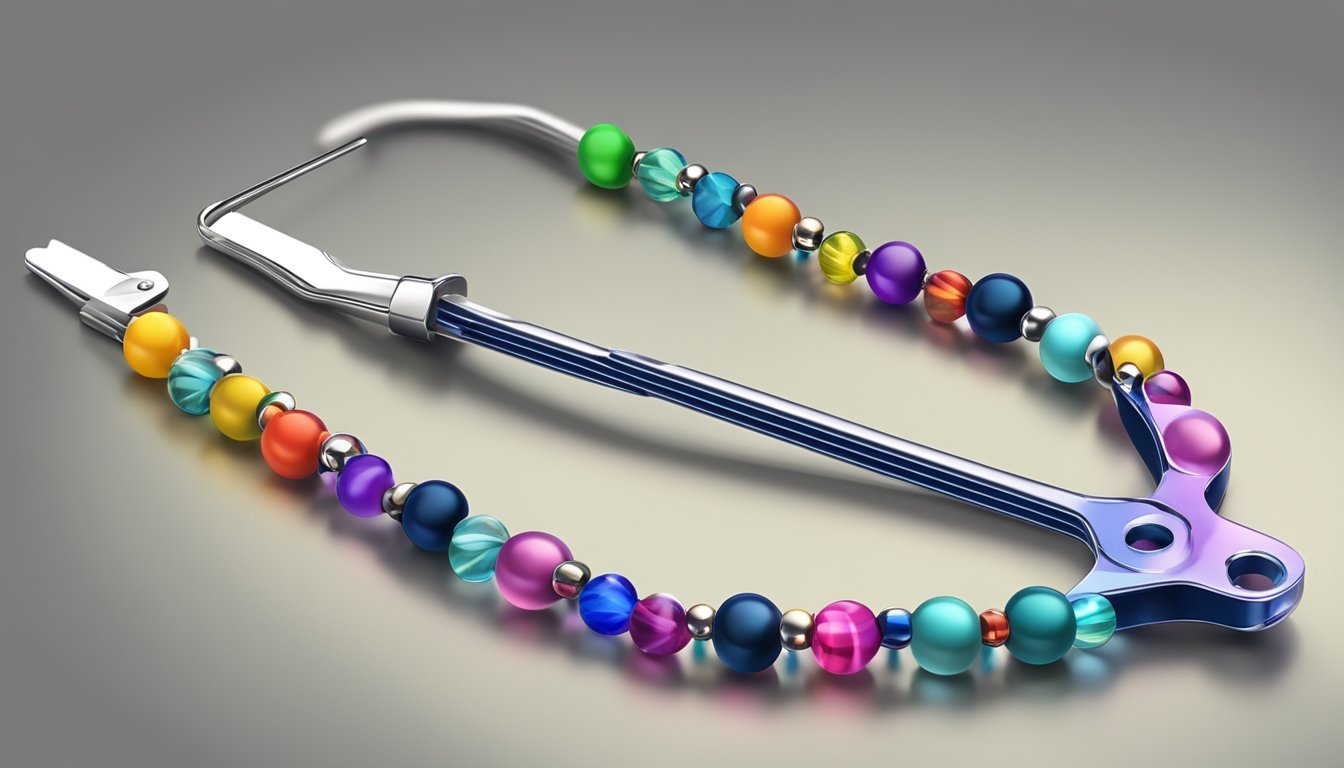
Making a simple bracelet is a great way to start your DIY jewelry journey.
It’s quick, fun, and allows you to experiment with different beads and colors.
Begin by gathering your supplies.
You’ll need beads, wire, and a clasp.
Choose beads that appeal to you; mix shapes and colors for a unique look.
Cut a piece of wire about six inches long.
String your beads onto the wire, creating your desired pattern.
Leave enough space at each end to attach the clasp.
Once you’ve added all your beads, it’s time to secure the ends.
Make a small loop at one end and attach the clasp.
For the other end, repeat the process to ensure everything stays in place.
Feel free to adjust the bracelet as you go.
If a bead doesn’t fit your vision, just remove it and try another.
This process is about personal expression, so have fun with it!
9) Try Dangly Earrings for Fun
Making dangly earrings is a great way to express your creativity.
They’re eye-catching and can suit any occasion, whether casual or formal.
Start with some beads that catch your eye.
Choose a mix of shapes, sizes, and colors to make your earrings pop.
You’ll need wire and jump rings to give your earrings movement and style.
Open the jump rings, attach your beads, and then close them securely.
Consider using different lengths of wire for added dimension.
This will create a fun, layered look that draws attention.
Experiment with various designs until you find one that resonates with you.
Dangle designs can be simple or intricate, depending on your style.
Don’t hesitate to mix in some sparkle with crystal beads or charms.
They can elevate your earrings and add that special touch.
Creating your own dangly earrings is not only fun but also rewarding.
You get a unique piece of jewelry to showcase or share with friends.
Enjoy the process and let your imagination guide you!
10) Make a Statement Necklace with Layering
Creating a statement necklace using layering is a fun way to showcase your style.
You can mix different lengths, materials, and beads to make something unique.
Start with a base layer using a simple chain.
Then, add a few shorter necklaces featuring colorful beads or charms.
Combining metallic tones with colored beads creates an eye-catching look.
Don’t be afraid to play with textures.
For example, pairing rocky gemstone pieces with delicate chains adds visual interest.
You could also include layered chokers for a trendy twist.
Use varying thicknesses of chains to add dimension and depth.
This gives the necklace a more dynamic appearance.
Remember to secure the layers with jump rings and crimp beads, ensuring everything stays in place.
Adjust the lengths of each layer for a balanced look.
Enjoy the process as you mix and match your favorite beads and chains.
It’s all about expressing your personal style and having fun with DIY jewelry!
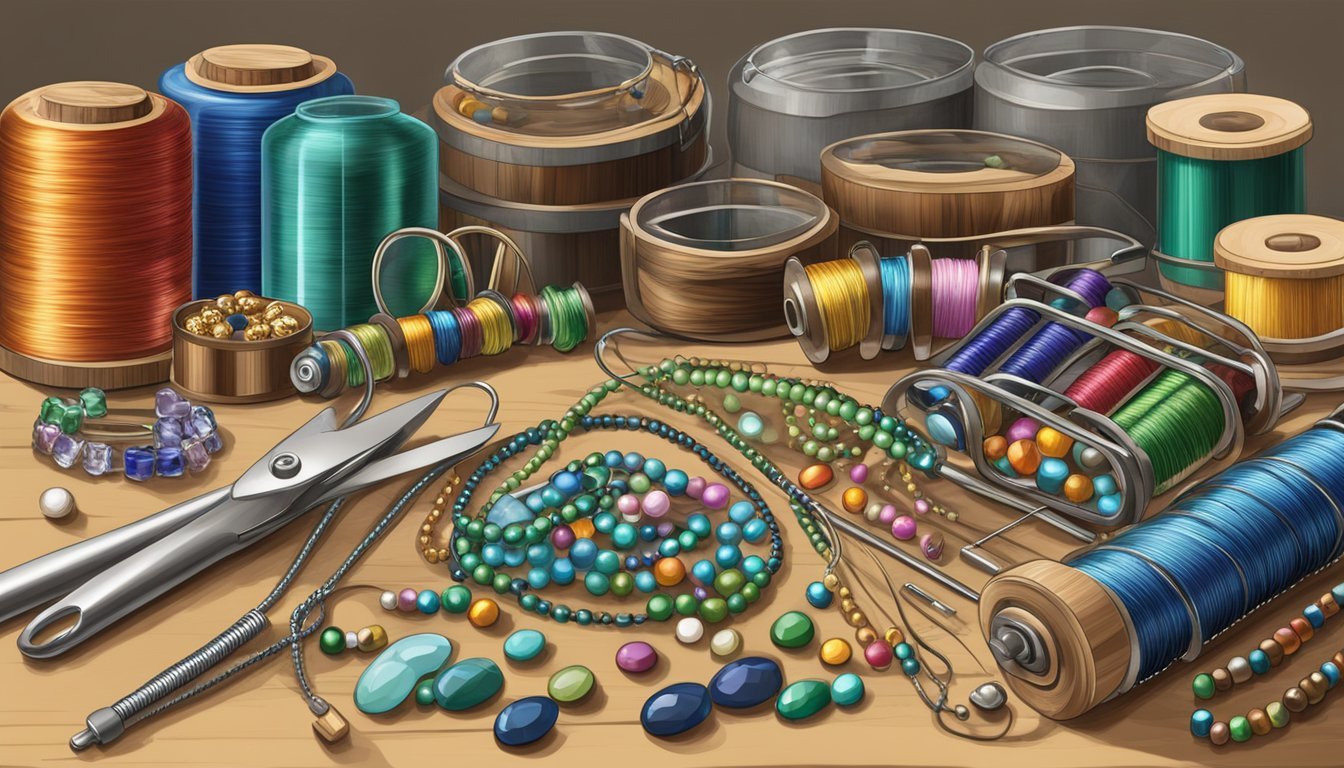
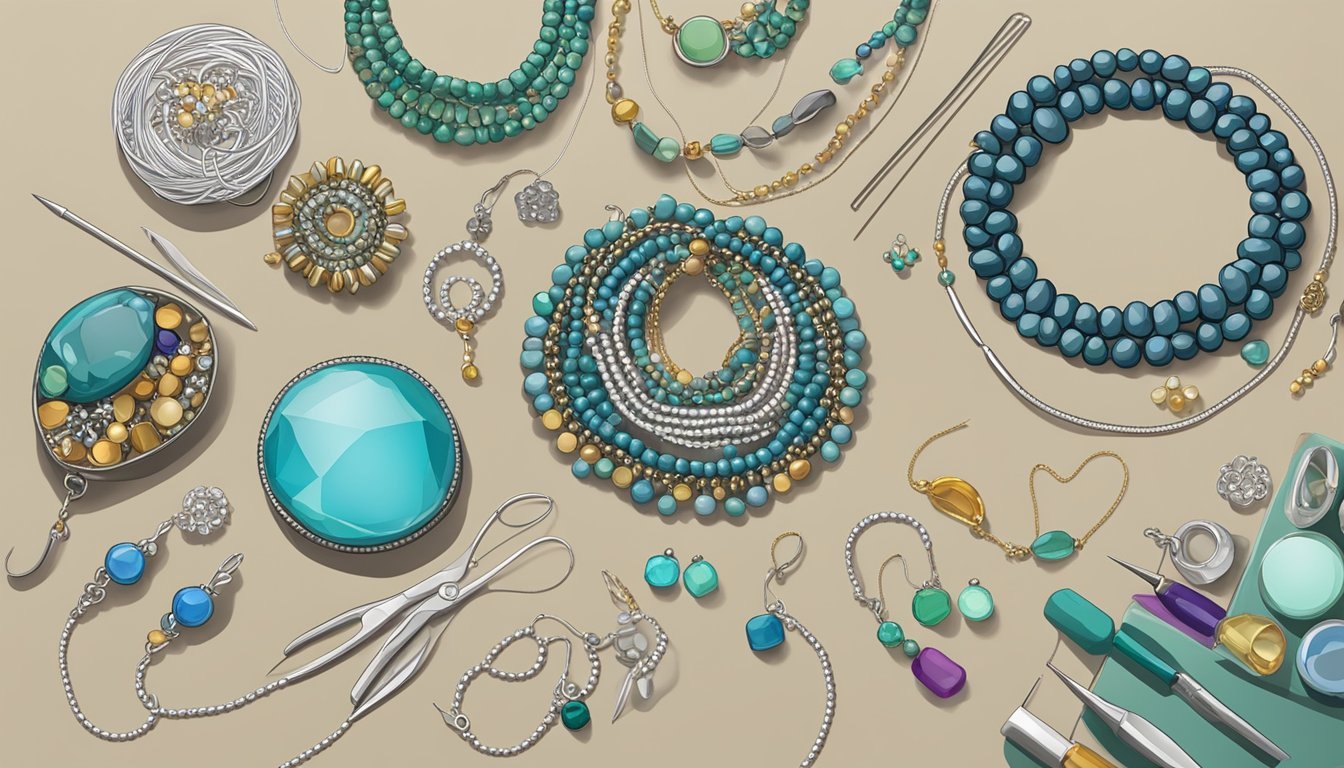
Choosing the Right Materials
Selecting the right materials is crucial for creating beautiful DIY jewelry.
The combination of quality beads and the right tools enhances both the aesthetic and durability of your pieces.
Types of Beads
When choosing beads, consider the following types:
- Glass Beads: Available in various colors, these are popular for their shine and versatility.
- Wooden Beads: Lightweight and natural, they offer a rustic look and are easy to paint or stain.
- Metal Beads: These provide an elegant touch and durability, perfect for more sophisticated designs.
- Seed Beads: Tiny and often colorful, they’re great for detailed work and intricate patterns.
Think about the design and weight of your jewelry.
Heavier beads, like gemstones, need stronger wire to support them.
Light beads pair well with delicate designs.
Ultimately, the bead type you choose will significantly influence the final look and feel of your creation.
Essential Tools for Wire Work
For effective wire work, you’ll need some essential tools:
- Wire Cutters: Perfect for cutting your wire to the desired lengths.
- Round-Nose Pliers: These help you create loops and curves in your wire.
- Flat-Nose Pliers: Use these for gripping and bending wire without marring its surface.
- Crimping Pliers: Ideal for securing crimp beads, ensuring your design stays intact.
Investing in quality tools makes a difference.
Look for tools that feel comfortable in your hands for better control while working.
With the right tools, you’ll find it easier to shape wire and create professional-looking pieces.
Basic Techniques for Beginners
Starting with DIY jewelry is fun and rewarding.
Mastering a few basic techniques will set you on the right path to creating beautiful pieces.
Here are two essential skills to get you going.
Wire Wrapping Basics
Wire wrapping is a fundamental technique that allows you to create unique shapes and secure beads in place.
You’ll need some basic tools: round-nose pliers, chain-nose pliers, and wire cutters.
-
Choose Your Wire: Start with 22 or 24-gauge wire; it’s manageable and sturdy.
-
Cut the Wire: Measure and cut a length of wire, usually about 6-12 inches.
-
Create a Loop: Use round-nose pliers to make a small loop at one end of the wire.
-
Wrap the Wire: Gently wrap the wire around itself and add in beads as desired.
-
Finish Off: Create a second loop at the end to secure everything.
Practice makes perfect, so don’t hesitate to experiment!
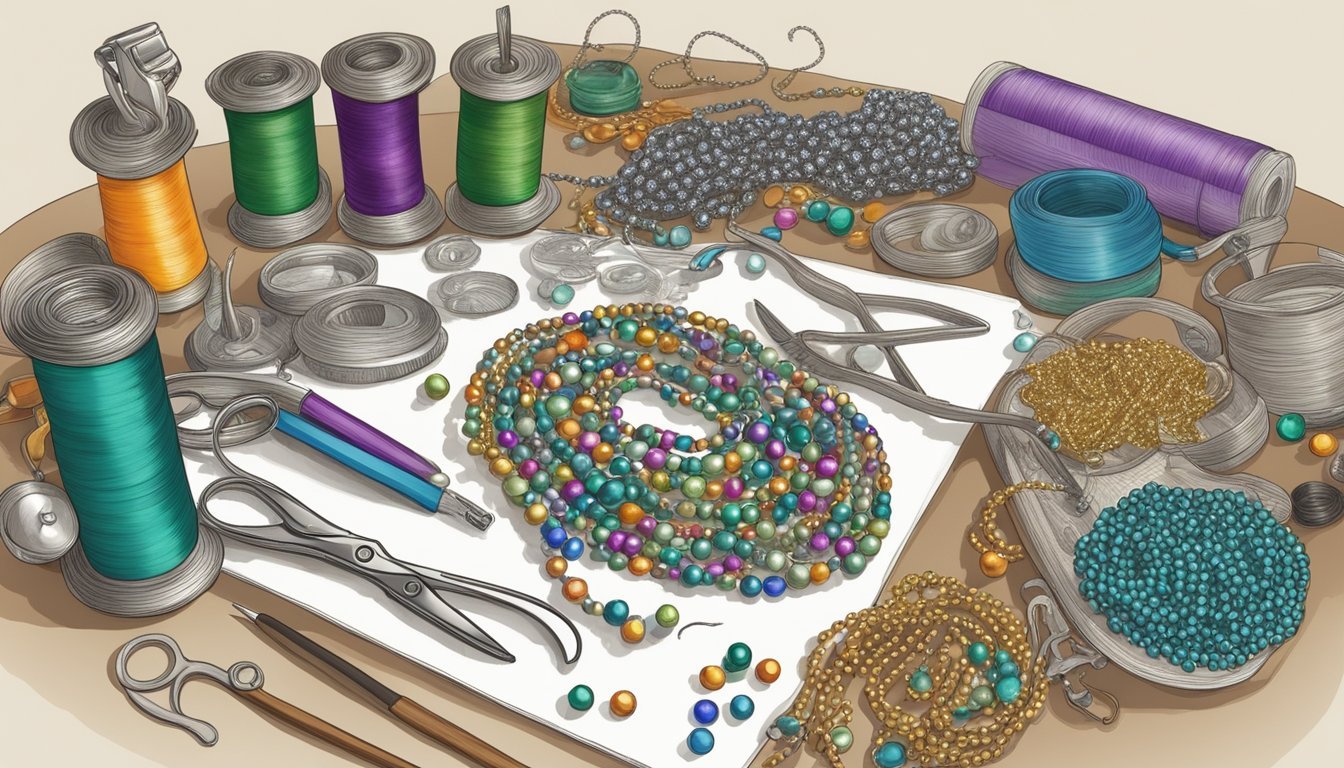
Creating Simple Beaded Designs
Creating beaded designs is straightforward and allows for a lot of creativity.
Gather your materials, including beads, string or wire, and a clasp.
-
Plan Your Design: Lay out the beads on a flat surface to visualize your final piece.
-
Cut the String: Measure the string or wire about 4-6 inches longer than the intended length.
-
String the Beads: Begin by adding a crimp bead and clasp to one end. Then, string your beads in the desired order.
-
Secure the Ends: Once you’re happy with the design, use a crimp bead to secure the end. Make sure to loop the wire back through the crimp to hold everything tightly.
-
Finish Up: Trim any excess wire and attach your clasp.
Each piece is a chance to express your style!