

If you’ve ever been curious about wood carving, you’re in the right place.
This craft offers a unique way to express your creativity while also honing some handy skills. Getting started doesn’t require a lot of fancy tools or extensive knowledge—just a willingness to learn and experiment.
There are various styles and techniques to explore, making it an exciting endeavor for beginners.
Whether you’re looking to whittle simple shapes or create detailed patterns, this guide will help point you in the right direction.
The world of wood carving is waiting for you to dive in.
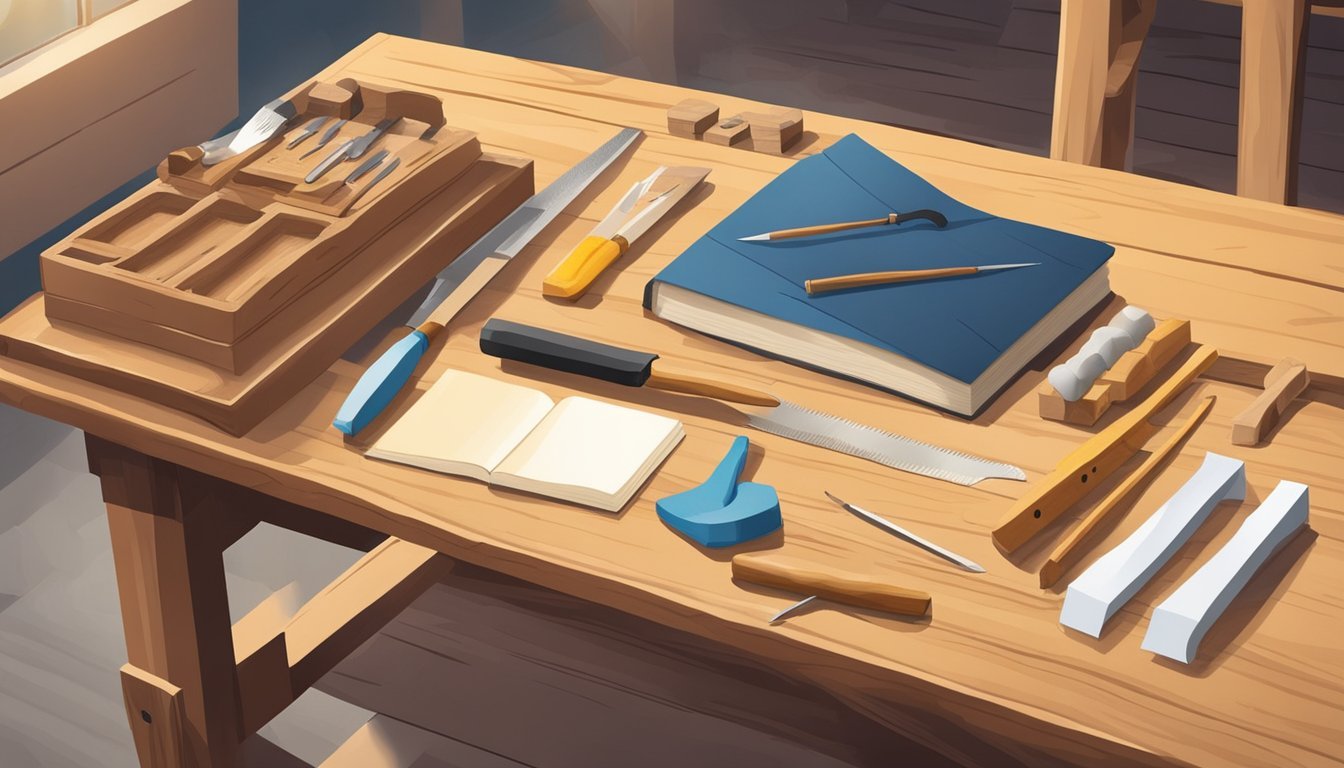
Get the Right Tools
Starting wood carving is exciting, but having the right tools makes all the difference.
You don’t need an entire workshop to begin, just a few essential items.
A good carving knife is crucial.
Look for a sharp, comfortable option that fits your hand well.
It will be your main tool for shaping wood.
Consider adding a hook knife, especially if you plan to carve spoons.
This tool has a curved blade that helps scoop out wood easily, giving you that nice concave shape.
Another handy tool is a gouge.
It helps in creating curves and detailing.
A few different sizes will let you tackle various projects.
Don’t forget about safety gear.
A durable glove will protect your hands from accidental cuts.
Also, a thumb guard can keep you safe while pushing your knife.
Keep your tools sharp.
Dull tools can lead to frustration and accidents, so invest in a simple sharpening kit to maintain your tools.
Choose Softwood for Practice
When starting with wood carving, choosing the right type of wood is essential.
Softwoods are ideal for beginners because they are easier to carve.
Basswood is a popular choice due to its softness and fine grain.
It allows for smooth cuts and detailed work.
Another good option is butternut, which offers a warm color and a gentle texture.
Balsa wood is also excellent for practice.
It’s extremely lightweight and very soft, making it easy to manipulate.
You can even soak it in water, which allows you to flex and shape it if needed.
Using softwoods helps you build confidence and control as you refine your skills.
These materials are forgiving, making mistakes less daunting.
As you progress, you can explore harder woods, but starting with softwoods sets a solid foundation for your carving journey.
3) Start with Simple Projects
Starting with simple projects is a great way to ease into wood carving.
You can focus on developing your skills without feeling overwhelmed.
Begin with basic items like a simple spoon or a heart shape.
These are perfect for practicing your technique and learning how to handle your tools.
Another easy option is a minimalist bird or a small fox.
These projects can be completed in a short time, which keeps your motivation high.
You might also try carving bowls or plates.
These classic projects help you understand how to use gouges and chisels effectively.
As you gain confidence, consider moving on to more intricate items.
Always remember to take your time and enjoy the process.
Learn Basic Cuts
Getting familiar with basic cuts is essential when starting your wood carving journey.
Mastering these cuts will help you create a variety of projects with more confidence.
One of the first cuts to learn is the straight cut.
It involves pulling the knife along the grain of the wood, creating clean lines.
This cut forms the foundation for many wood carving techniques.
Next, you should practice the push cut.
Here, you push the knife away from your body, which is great for shaping your piece.
It’s useful for larger areas where you need to remove material.
Another important technique is the stop cut.
This cut is made to define shapes and details.
By making a cut across the grain first, you can create more precise edges in your carving.
Lastly, the undercut allows you to add depth and dimension.
It’s often used for creating shadows and highlights in your work.
Start slow and give yourself time to get used to each cut.
As you practice, you’ll find these basic cuts become second nature.
Happy carving!
5) Understand Grain Direction
When you start wood carving, knowing the grain direction is crucial.
The grain refers to the alignment of the wood fibers.
Understanding this helps you carve more effectively.
Carving with the grain allows your tools to glide smoothly through the wood.
This technique gives you cleaner cuts and finishes.
When you carve against the grain, you may encounter resistance, which can cause splintering or rough edges.
Take a moment to observe the wood.
You’ll notice patterns and the way the fibers flow.
This can be key to your success in creating beautiful pieces.
If you are unsure about the grain direction, you can conduct a quick test.
Make a small cut in an inconspicuous area to see how the wood reacts.
This can help you gauge the best approach for your carving project.
By respecting the grain, you’re ensuring a better outcome and making the process more enjoyable.
Pay attention, and you’ll find it becomes easier to navigate different types of wood as you gain experience.
6) Join a Wood Carving Class

Joining a wood carving class is a fantastic way to kickstart your carving journey.
Classes provide hands-on instruction that helps you grasp the basics quickly.
You’ll learn about different tools and techniques, and having a knowledgeable instructor can be incredibly beneficial.
They can guide you, answer questions, and provide feedback on your work.
Many classes cater specifically to beginners, so you don’t need an extensive background in woodworking.
Engaging with fellow students who share your interests can be motivating and fun.
Look for local workshops or community centers offering classes.
Online options are also available, letting you learn at your own pace from home.
Whether you prefer face-to-face interaction or the flexibility of online lessons, there’s an option out there for you.
With the right class, you’ll be carving your own designs in no time!
7) Use Safety Gear
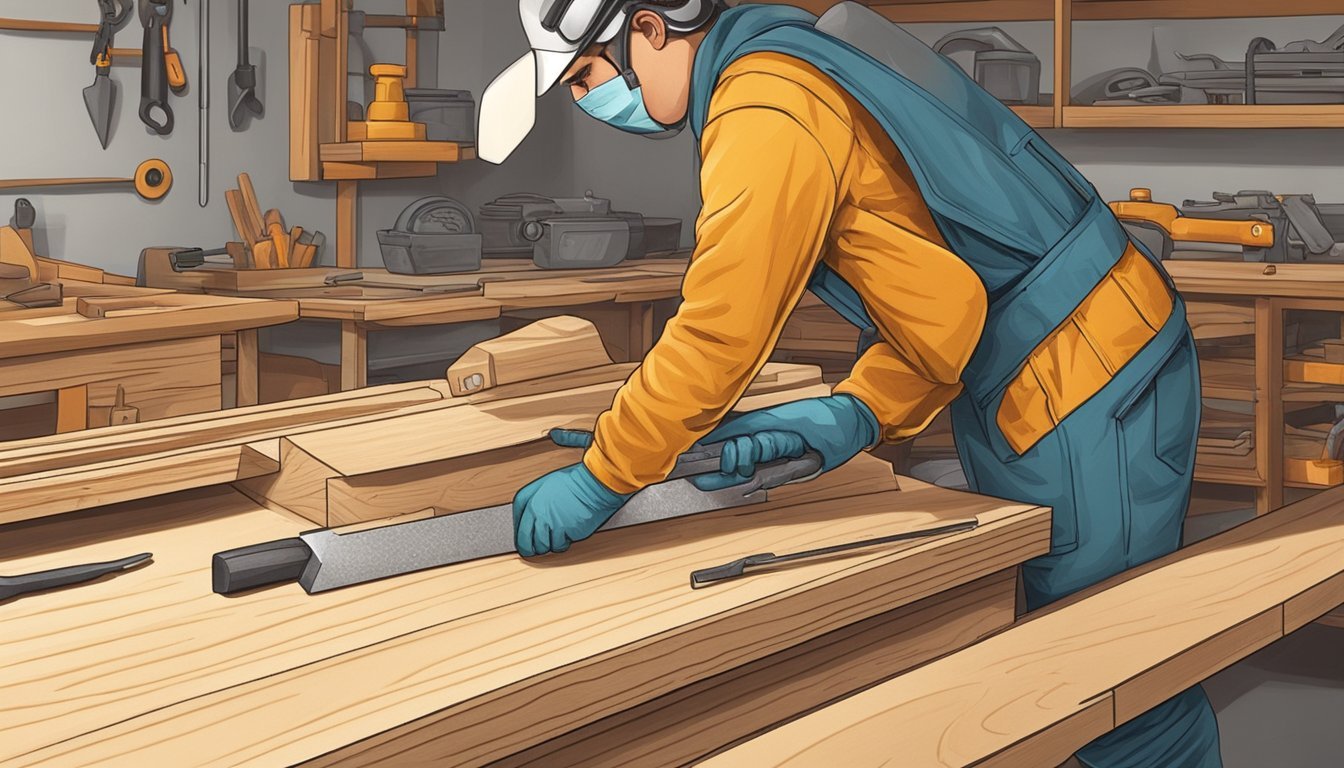
When starting your wood carving journey, safety should always come first.
Using the right safety gear can help protect you from potential injuries.
Begin with safety goggles to shield your eyes from flying wood debris.
It’s a simple step that makes a big difference.
Next, consider wearing cut-resistant gloves.
They’re essential for protecting your hands while you handle sharp tools.
You might also want to use a mask if you’re working with fine sawdust.
Breathing in that dust isn’t good for your lungs.
Lastly, make sure your workspace is well-lit and organized.
A tidy area reduces the risk of accidents, allowing you to focus solely on your carving.
By prioritizing safety gear, you can enjoy wood carving while minimizing risks.
8) Watch Online Tutorials
Watching online tutorials can really boost your wood carving skills.
YouTube is packed with beginner-friendly videos that show you everything from basic techniques to fun project ideas.
Look for channels dedicated to wood carving.
Many creators provide step-by-step guidance, making it easier to follow along.
You can see the tools in action and learn new methods that you might not have considered.
Don’t hesitate to search for specific topics, like whittling or using particular tools.
This can help you refine your skills based on your interests.
Try out different styles and techniques shown in the videos.
This way, you can find what resonates with you and what works best for your projects.
Plus, it’s a great way to connect with other enthusiasts in the comments and share tips.
Make sure to take notes while watching.
Jotting down key tips or techniques can be helpful for when you start carving.
It’s like having a mini workshop right at home!
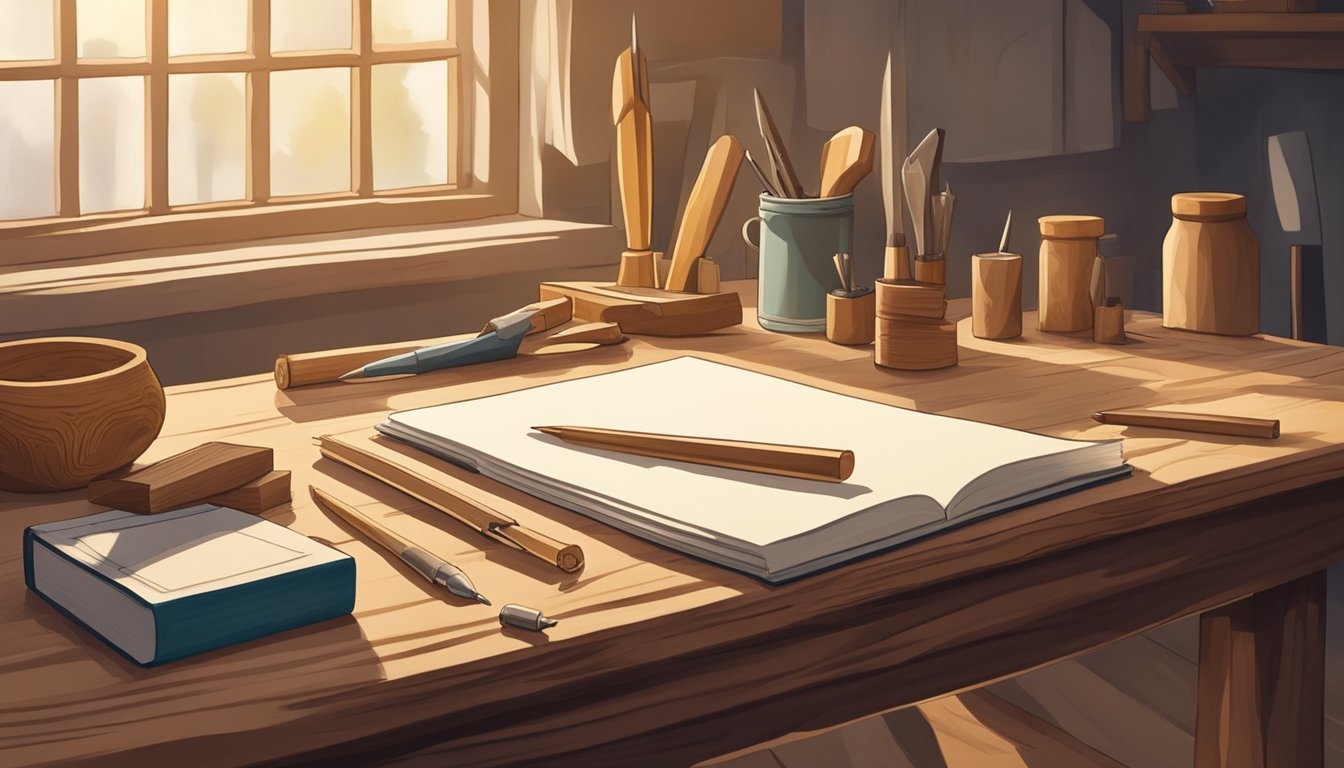
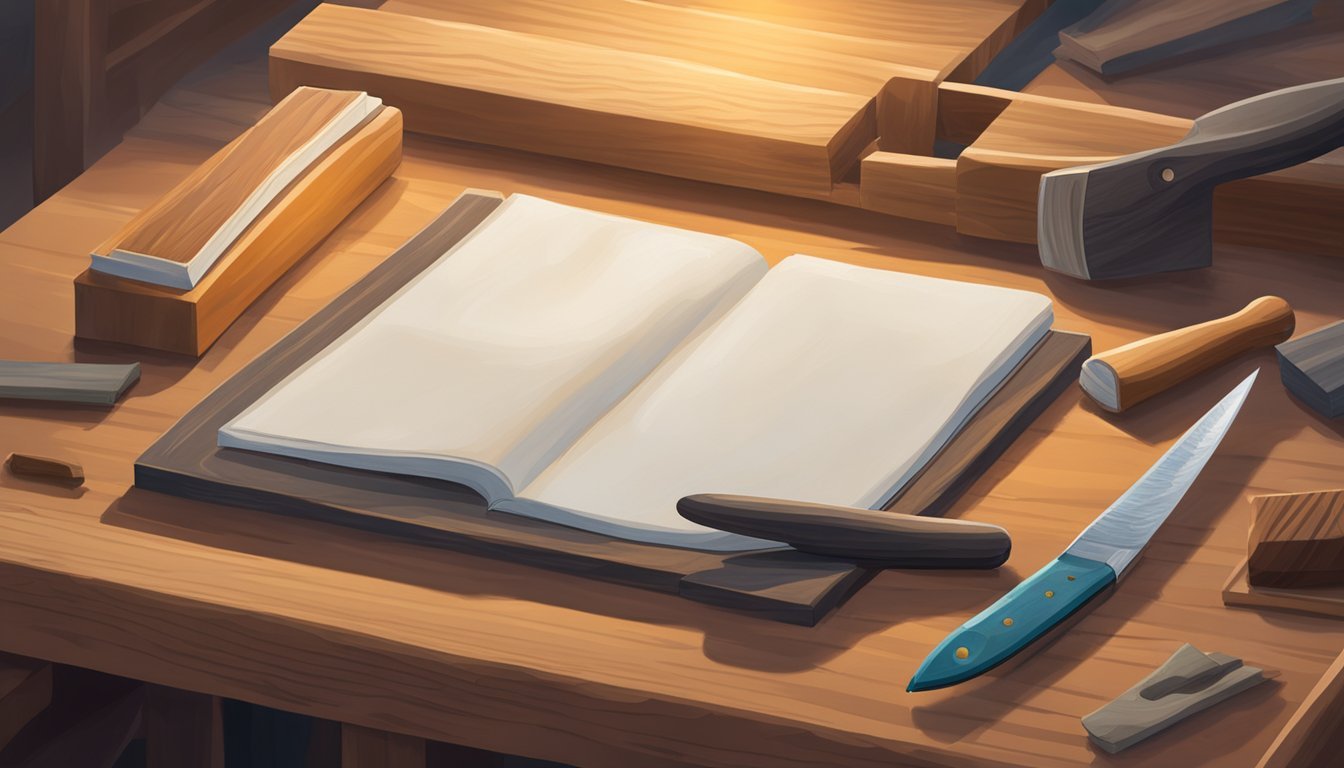
9) Sketch Your Design
Before you start carving, take a moment to sketch your design.
This helps visualize your project and makes the carving process smoother.
Use a regular pencil for easy modifications.
Start with simple shapes.
As you gain confidence, move on to more intricate designs.
You can even look at existing patterns for inspiration or create your own.
If you prefer, sketch the design on paper first.
This way, you can adjust it until you’re satisfied.
Once your sketch feels right, lightly transfer it onto the wood.
Remember, this is your creation, so have fun with it! The more you practice sketching, the better you’ll become at translating your ideas into wood.
The design serves as a roadmap, guiding your cuts and helping you stay focused.
10) Practice Regularly
To get better at wood carving, set aside time for practice.
Regular sessions help you develop your skills and boost your confidence.
Start with basic cuts and gradually take on more complex projects.
It’s okay to make mistakes; that’s part of the learning process.
Whittling is a great way to practice, as it allows you to carve simple shapes.
Use a few small blocks of wood to keep your sessions manageable.
Aim for consistency, even if it’s just a few minutes each week.
Over time, you’ll notice improvements in your technique and control.
Document your progress too.
Keeping notes or photos can motivate you and highlight how far you’ve come.
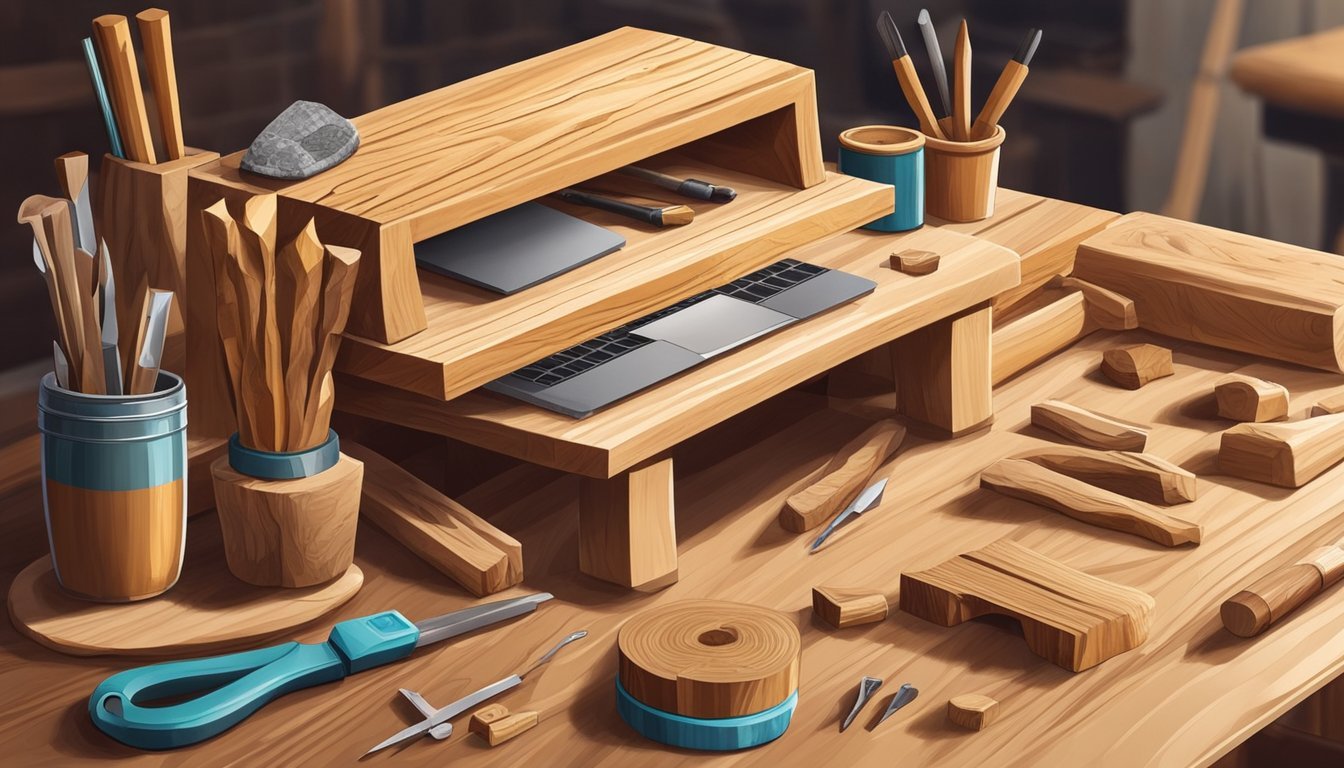
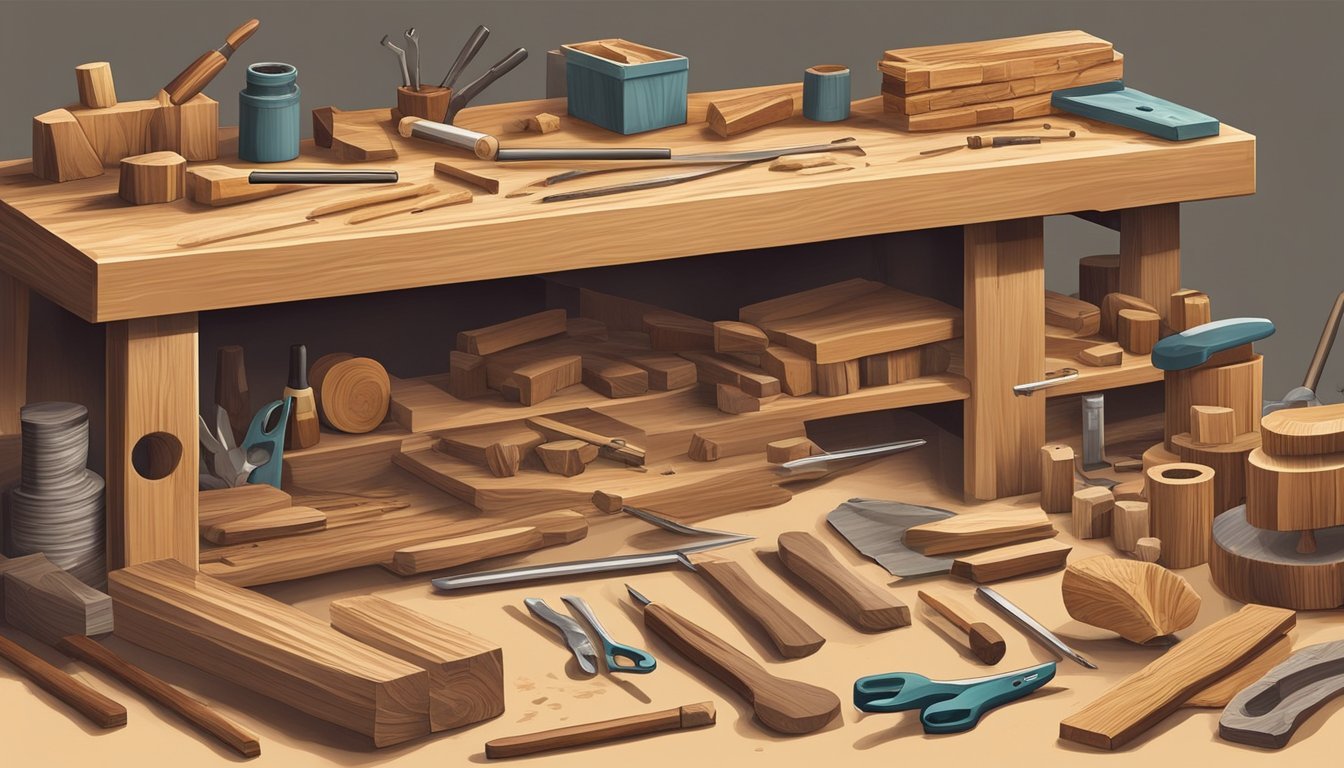
Choosing the Right Tools
Getting started in wood carving means selecting the right tools.
The right equipment can make all the difference in your projects.
Let’s explore the essential tools and some reliable brands tailored for beginners.
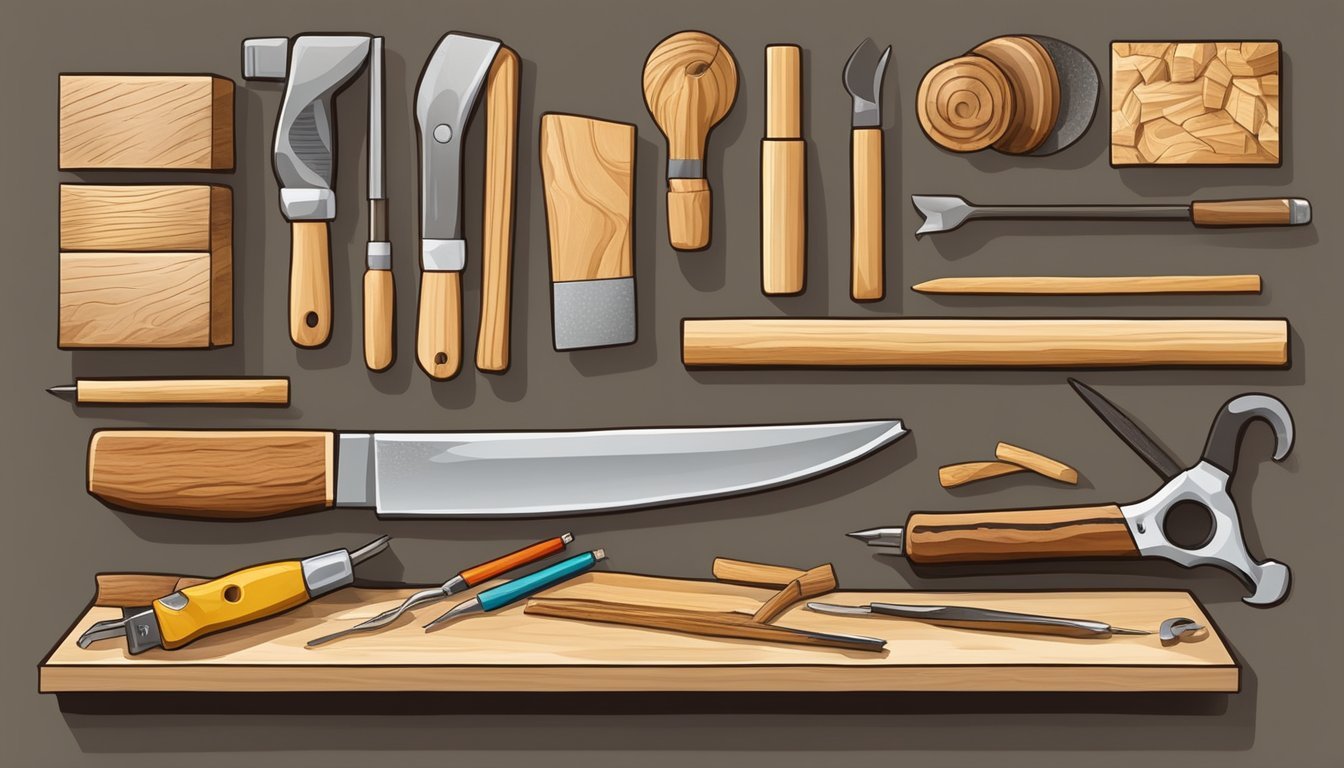
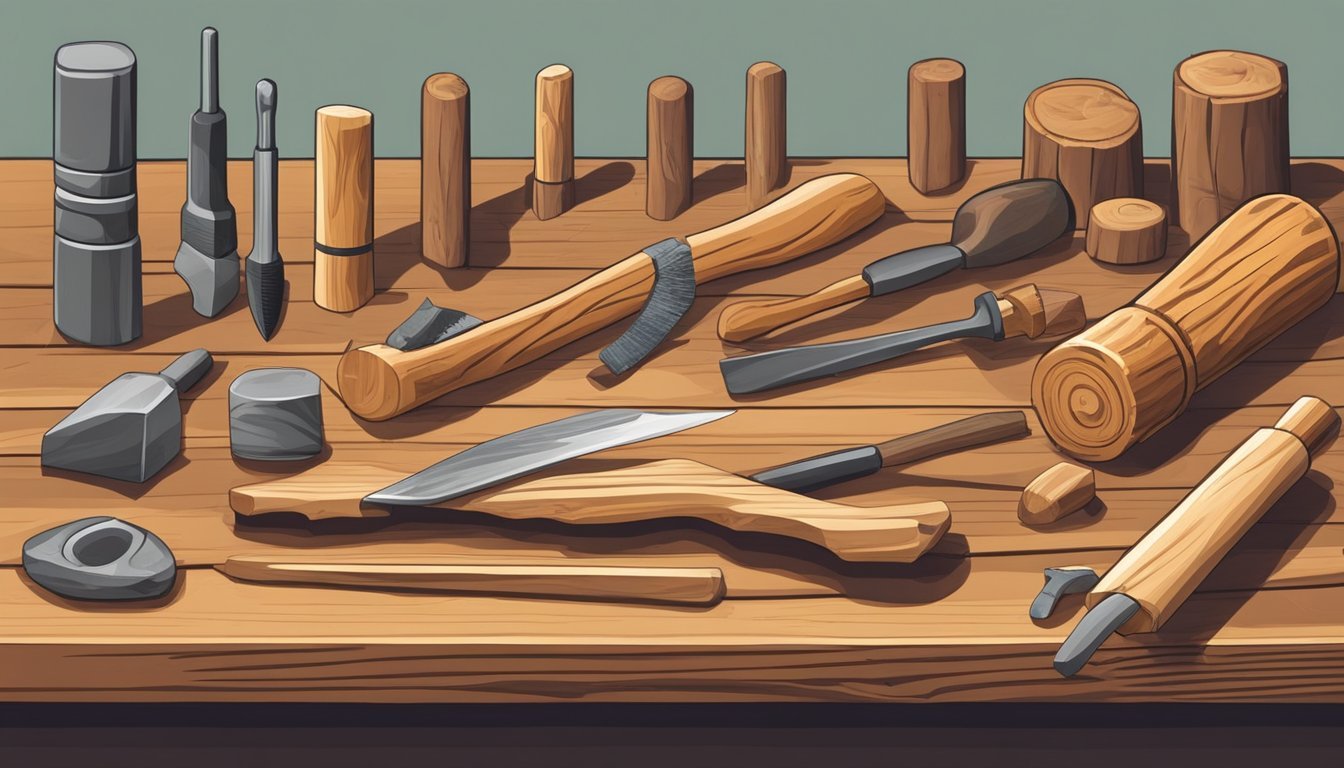
Essential Carving Tools
When you begin wood carving, you need to have the right set of tools.
Here are some essentials:
-
Carving Knives: Any carver must have these. Look for a basic initial knife, like a detail knife or a general carving knife.
-
Hook Knife: This tool has a curved blade to scoop out wood effectively. It’s especially handy for spoon carving.
-
V-Gouge: This tool is perfect for creating details and lines. It’s versatile for various designs.
-
Safety Gear: Don’t forget gloves or a thumb guard. Protecting your hands ensures you can carve safely while enjoying the process.
Having these tools will set you up for success as you start carving.
Recommended Brands for Beginners
Choosing the right brand can provide you with quality tools without breaking the bank.
Here are some recommended brands for beginners:
-
BeaverCraft: BeaverCraft offers pre-sharpened knives that help you get started right away. They are known for their beginner-friendly carving tools.
-
Flexcut: Their carving tools are durable and well-reviewed, making them great for learning and advancement.
-
Spoon Carving Tools by the Green Wood Guild: If you’re interested in spoon carving, consider specialized sets that offer a combination of essential tools.
-
Mora: A trusted name for knives, Mora tools are affordable, reliable, and widely available.
These brands provide quality and ease for anyone starting out in wood carving.
Understanding Wood Types
Choosing the right type of wood is crucial for your carving journey.
Different woods have distinct properties that can make your experience enjoyable or challenging.
Here’s a closer look at softwoods and hardwoods, as well as recommendations for beginners.
Softwoods vs Hardwoods
Softwoods come from coniferous trees, like pine, cedar, and fir.
They are generally lighter and easier to carve, making them suitable for beginners.
The grain in softwoods is often more uniform, which allows for smoother cuts and less risk of damaging your tools.
Hardwoods, such as oak, maple, and cherry, are denser and sturdier.
While they can produce beautiful results, they require more skill and patience to carve due to their toughness.
The intricate grain patterns can be stunning but can also be more challenging to work with, especially for those just starting.
Best Wood for Beginners
For those new to wood carving, it’s wise to start with softwoods.
Basswood is a top choice due to its fine grain and softness, allowing for detailed work without much effort.
Other great options include:
- Pine: Readily available and affordable, though it can be knotty.
- Cedar: Lightweight and fragrant, making it a pleasure to work with.
Hardwoods are better for advanced projects.
Starting with the right wood helps you build confidence and develop your skills without hitting too many obstacles along the way.