

Watercolor painting can be an exciting way to express your creativity, even if you don’t have a lot of fancy tools. With just a few basic supplies and some straightforward techniques, you can create stunning effects that bring your artwork to life.
Experimenting with watercolor opens up a world of vibrant colors and textures that can transform everyday scenes into mesmerizing pieces.
You don’t need to be an expert to enjoy the beauty of watercolors.
Many artists find joy in exploring different methods to achieve beautiful results, and you can do the same with minimal investment.
Whether you want to add depth to your paintings or try your hand at unique effects, there are plenty of tips and tricks to help you along the way.
Watercolor Paper Sheets
When selecting watercolor paper, weight matters.
You’ll find papers in various weights, typically ranging from 200 to 800 grams per square meter.
A medium weight paper is generally a safe choice for beginners.
Texture also plays a significant role.
Cold press paper has a slightly textured surface that can help you control your paint application.
It’s great for creating detailed work, especially if you’re just getting started.
On the flip side, hot press paper offers a smooth finish.
This type is perfect if you prefer sharp details and vibrant colors.
It allows for fine lines, making it ideal for intricate designs.
Make sure your paper is acid-free and pH neutral to ensure it stands the test of time.
Quality paper will absorb water beautifully, enabling you to experiment with different techniques without risking damage.
Choosing the right paper can elevate your watercolor painting experience.
Focus on the weight and texture that best match your style, and you’ll be set to create stunning effects with ease.
Round Brush No. 6
The Round Brush No. 6 is a versatile tool that can enhance your watercolor techniques.
This brush strikes a good balance between size and control, making it suitable for various applications.
You can create medium-sized splatters and broad strokes.
It’s great for painting both details and larger areas without switching brushes too often.
When using this brush, load it with enough paint for fluid motion.
You can experiment with pressure to achieve different effects, such as fine lines or broader washes.
The taper of the bristles helps you maintain precision, which is especially useful for outlining or adding intricate details.
For cleaner edges, try using just the tip of the brush.
This will help you achieve a more defined look on your artwork.
The Round Brush No. 6 is an essential addition to your watercolor kit, allowing you to explore various styles without needing numerous tools.
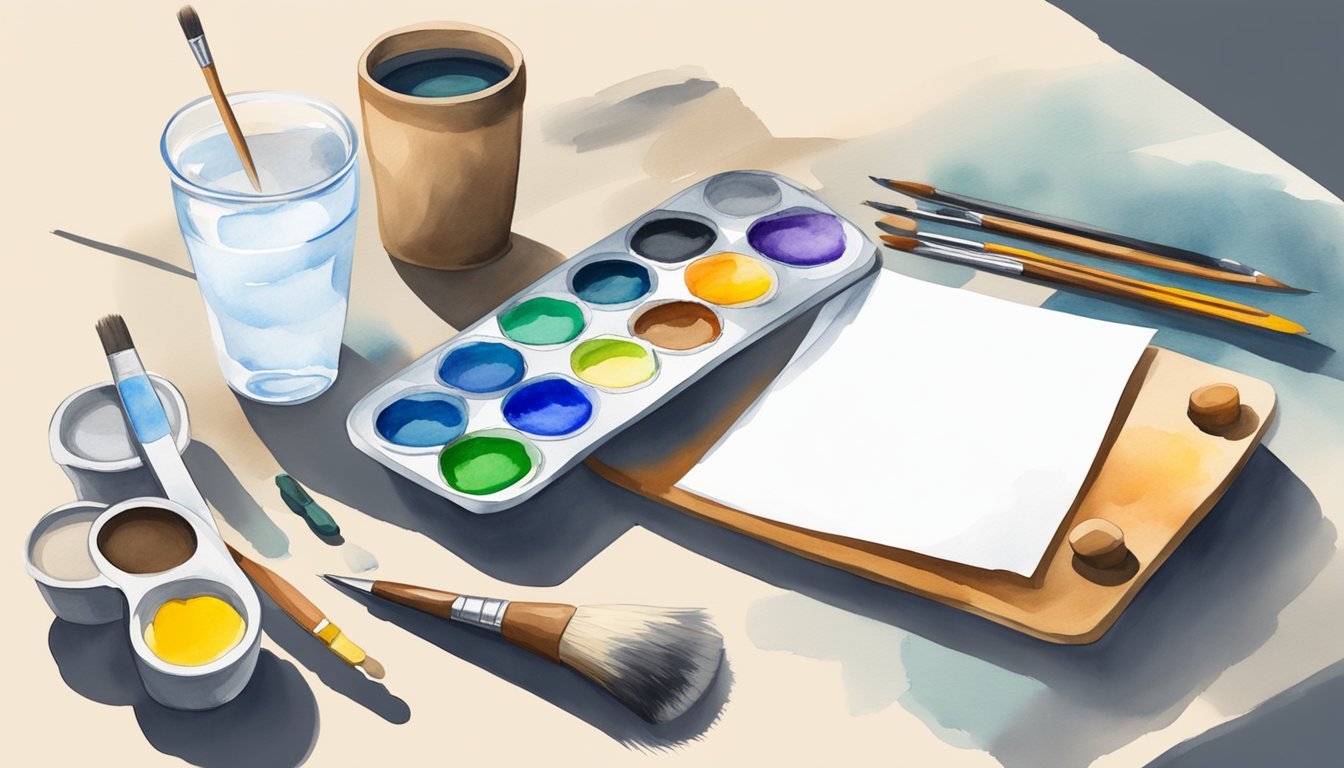
3) Palette for Mixing Colors
Creating your palette is an essential step in making stunning watercolor effects.
Start with a basic set of colors that includes both warm and cool tones.
This way, you can mix and create a wide range of colors.
Organize your palette into zones.
Place warm colors like reds and yellows on one side and cool colors like blues and greens on the other.
This setup helps you quickly find the colors you need.
When selecting colors, choose pigments that work well together.
Primary colors such as yellow, red, and blue serve as a great foundation for your palette.
You can mix secondary colors from these to expand your options.
Don’t forget to add some neutral colors like browns or grays.
They can help tone down vibrant hues when needed.
Lastly, always keep water handy.
A few drops can transform your paint’s consistency, helping you achieve the effects you desire.
Set of Watercolor Tubes
When starting with watercolor, a good set of tubes can make a big difference.
Watercolor tubes offer rich pigment and flexibility, allowing you to mix and create various shades easily.
Choose a basic set that includes primary colors.
This way, you can blend them to make secondary colors and expand your palette.
Look for brands known for high-quality pigments to ensure vibrant and lasting results.
Using tubes gives you control over how much paint you use.
Squeeze out only what you need, reducing waste and keeping your workspace tidy.
This is especially helpful if you’re trying to maintain a compact setup.
Don’t be afraid to experiment with different brands and formulations.
Some might be more transparent, while others are opaque.
Finding what suits your style can enhance your creativity and help you achieve stunning effects.
5) Masking Tape for Edges
Using masking tape can really elevate your watercolor paintings.
It helps create clean edges and prevents colors from bleeding into areas where you don’t want them.
Start by carefully placing the tape along the edges of your paper.
This will keep your surface secure while you paint.
Make sure to press the tape down to avoid any gaps.
After positioning the tape, you can apply your watercolor.
The tape will act as a barrier, allowing you to paint boldly without worrying about accidental smudges.
Once your painting is done and the paint is dry, gently remove the tape.
You’ll reveal sharp, well-defined edges that give your artwork a polished look.
Just remember to remove the tape while the paint is still wet to prevent any unwanted lifting of the paint underneath.
Experiment with different tape widths for various effects.
The right tape can make a significant difference in your final piece.
Enjoy the simplicity and effectiveness of this tool in your watercolor toolkit!
6) Jar of Clean Water

A jar of clean water is essential for any watercolor artist.
It serves multiple purposes that enhance your painting experience.
First, you’ll use it to wet your brushes and activate your watercolor paints.
Whether you’re using tubes or pans, a good amount of water will help you achieve the right consistency.
You also need water to rinse your brushes between colors.
This prevents muddying your palette and keeps your hues vibrant.
Just dip your brush in, swirl it around, and wipe it on the edge of the jar before picking up a new color.
Additionally, clean water is crucial for techniques like wet-on-wet painting.
Applying wet paint onto a wet surface allows colors to blend beautifully, creating soft transitions.
Remember to change the water regularly.
Dirty water can lead to dull or unexpected colors on your paper.
Keeping it clean ensures your artwork remains true to your vision.
7) Paper Towels for Blotting
Using paper towels while watercolor painting can significantly enhance your work.
They’re easily accessible and effective tools for managing excess water and paint.
When your paint is too wet, gently blot the area with a clean paper towel.
This technique helps lift excess moisture without disturbing the paint beneath.
You’ll see interesting textures emerge as you absorb the water.
Experiment with how much pressure you apply.
A light touch can create softer effects, while a firmer press might lift more paint.
Test this on scrap paper first to gauge the results.
Another technique is letting the paint dry slightly before using the paper towel.
This can create unique patterns and textures, adding depth to your piece.
Remember, each application can yield different results—don’t hesitate to explore.
Paper towels also work well for cleaning brush tips or smudging effects.
They are versatile and add a practical element to your watercolor palette.
Embrace this simple tool to take your watercolor art to the next level!
8) Artist’s Pencil for Sketching
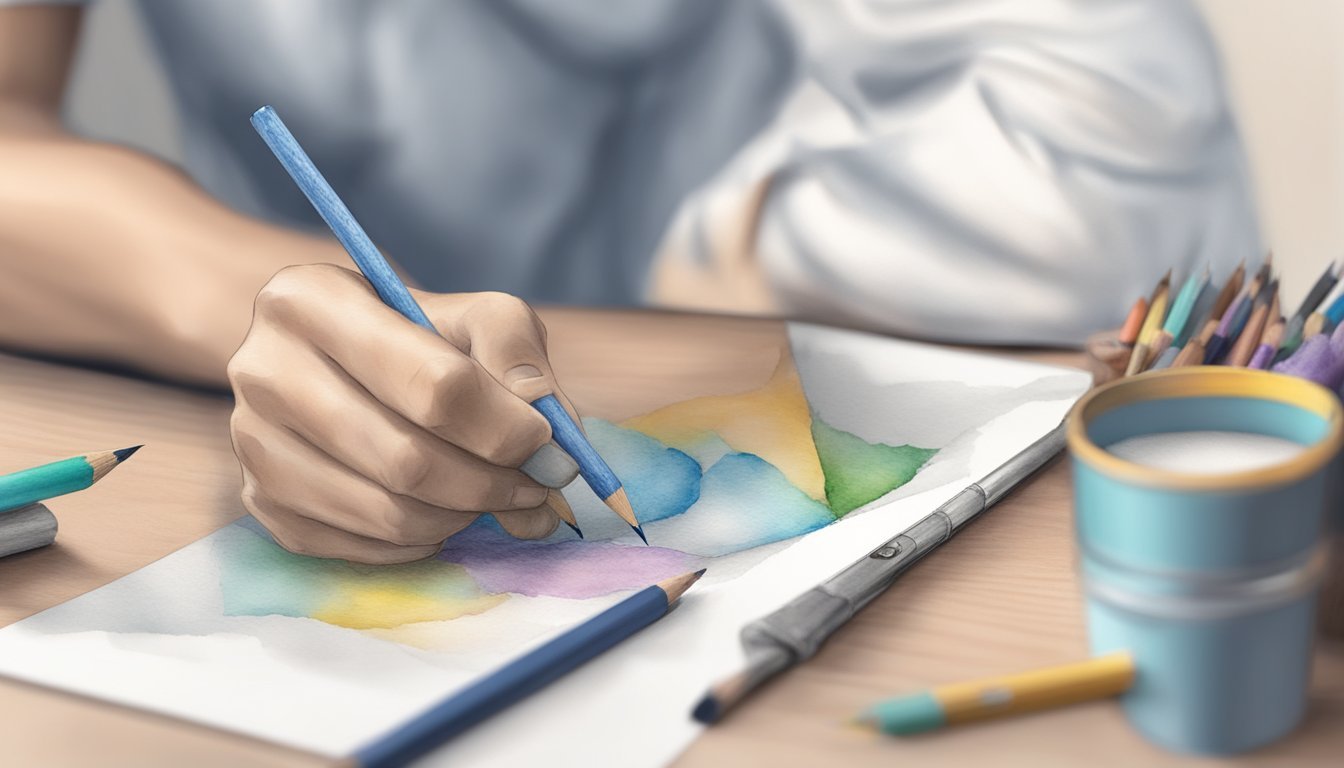
Using an artist’s pencil is a practical way to start your watercolor journey.
These pencils let you sketch your ideas before adding paint, giving you control over your work.
Choose a soft pencil like HB or 2B for easy blending.
With these, your lines will soften when you apply water, creating a smoother transition between the sketch and watercolor.
After sketching, dip a round brush in clean water and lightly touch the pencil lines.
This activates the pencil pigment, transforming it into a gentle wash.
Experiment with different pressures on the pencil for various effects.
A light touch provides subtle sketched lines, while harder pressure results in darker shades.
This technique allows for layering.
Once your first wash dries, you can go back in and add more detail or color to enhance your artwork.
Use your artist’s pencil as a guide for vibrant watercolor effects.
9) Masking Fluid for Highlights
Masking fluid is a great tool when you want to preserve highlights in your watercolor paintings.
It acts as a barrier, protecting areas you want to keep white or light.
To start, choose between clear or colored masking fluid.
Clear is great for general use, while colored fluid helps you see where you’ve applied it.
Apply a thin layer to your chosen areas with a brush or applicator.
Be gentle, as too much can lead to difficulties in removal later.
Allow it to dry completely before adding your washes of color.
Once your painting is complete and dried, gently rub off the masking fluid.
You’ll reveal crisp, clean highlights that pop against your background.
You can use masking fluid for various effects, like creating fine lines or intricate details.
Experiment to see how it can enhance your work without needing a lot of extra tools.
Table Easel for Support
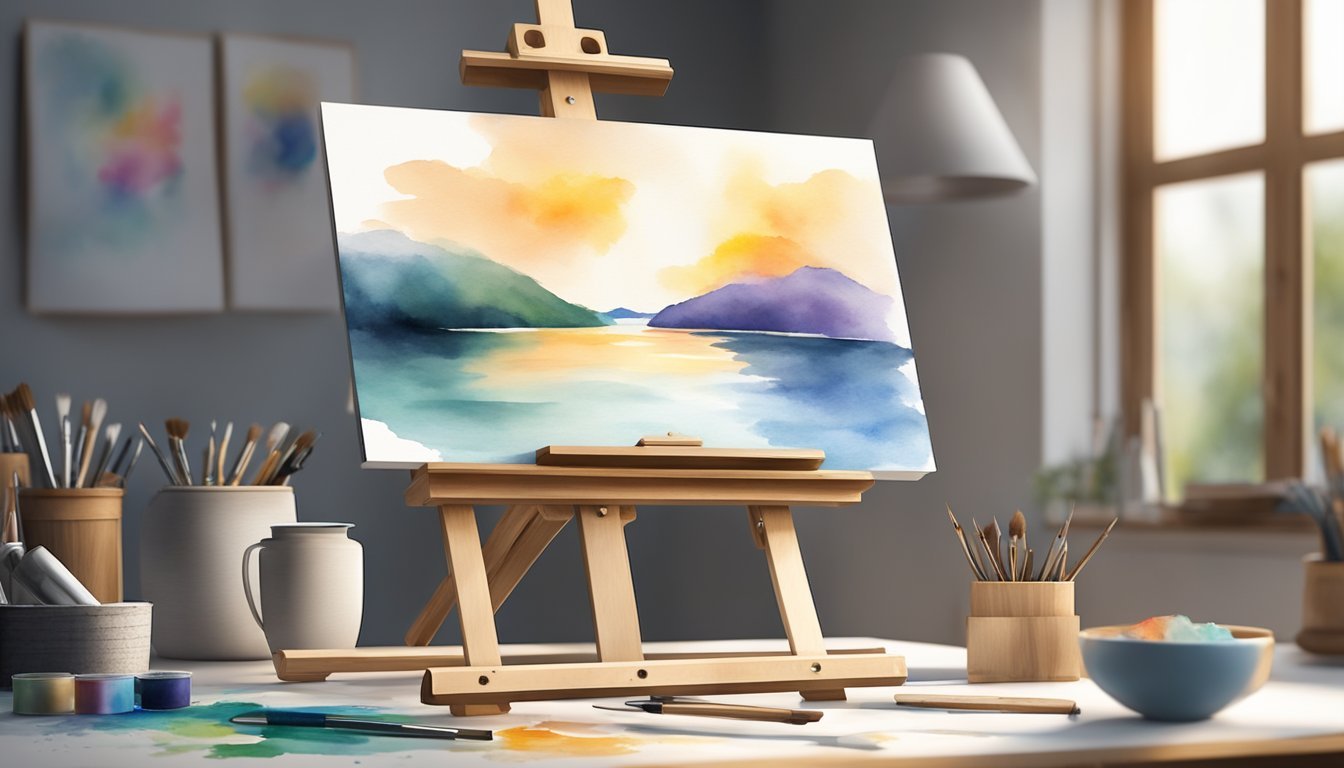
Using a tabletop easel can enhance your watercolor painting experience.
It offers a compact option that fits well on any flat surface, like a desk or table.
A good tabletop easel provides solid support for your canvas or paper, keeping it stable while you work.
Many designs are portable, making it easy to move your setup around as needed.
Consider choosing an easel with adjustable heights.
This allows you to customize your workspace to reduce strain on your neck and back.
Plus, an adjustable easel can accommodate different sizes of canvases and papers.
Some options have tilting features, giving you flexibility in how you position your work.
This angle can help you create unique effects with your watercolors, making it easier to control the flow of paint.
When selecting a tabletop easel, look for one that is sturdy yet lightweight.
Materials like wood or durable aluminum can provide the balance you need for your projects.
Understanding Watercolor Techniques
Watercolor techniques can elevate your artwork, allowing you to achieve stunning effects with just a few tools.
Mastering these methods enhances your control over the medium.
Wet-on-Wet Technique
The wet-on-wet technique is a favorite among artists for creating soft, flowing color blends.
Here’s how to do it:
-
Prepare Your Surface: Start with a wet sheet of watercolor paper. Use a clean brush to apply a generous layer of clean water, ensuring it’s evenly saturated.
-
Apply Color: With a wet brush, pick up your chosen color and touch it to the wet surface. The paint will spread and bloom, creating beautiful organic shapes.
-
Experiment: Test using multiple colors simultaneously. You can add more water for softer edges or use more pigment for defined areas.
This technique is excellent for creating backgrounds or skies, allowing for a dreamy, ethereal quality in your paintings.
Dry Brush Application
Dry brush application is about precision and texture.
It’s ideal for adding details or creating a scratchy appearance.
Here’s how to work with it:
-
Select Your Brush: Use a stiff brush with minimal moisture. This helps in controlling the paint application.
-
Load the Brush: Dip the brush tip into your chosen color. Wipe off excess paint on a paper towel; the brush should feel dry.
-
Apply to the Paper: Lightly drag the brush over the paper’s surface. The paint will only hit the raised areas, creating a textured look.
This method works wonders for adding details like grass, tree bark, or even intricate patterns.
It’s all about finding the right balance between pigment and brush pressure.
Choosing Minimal Tools for Watercolor Effects
When creating watercolor effects with minimal tools, it’s essential to focus on quality over quantity.
The right brushes and paper can significantly enhance your artwork without needing extensive supplies.
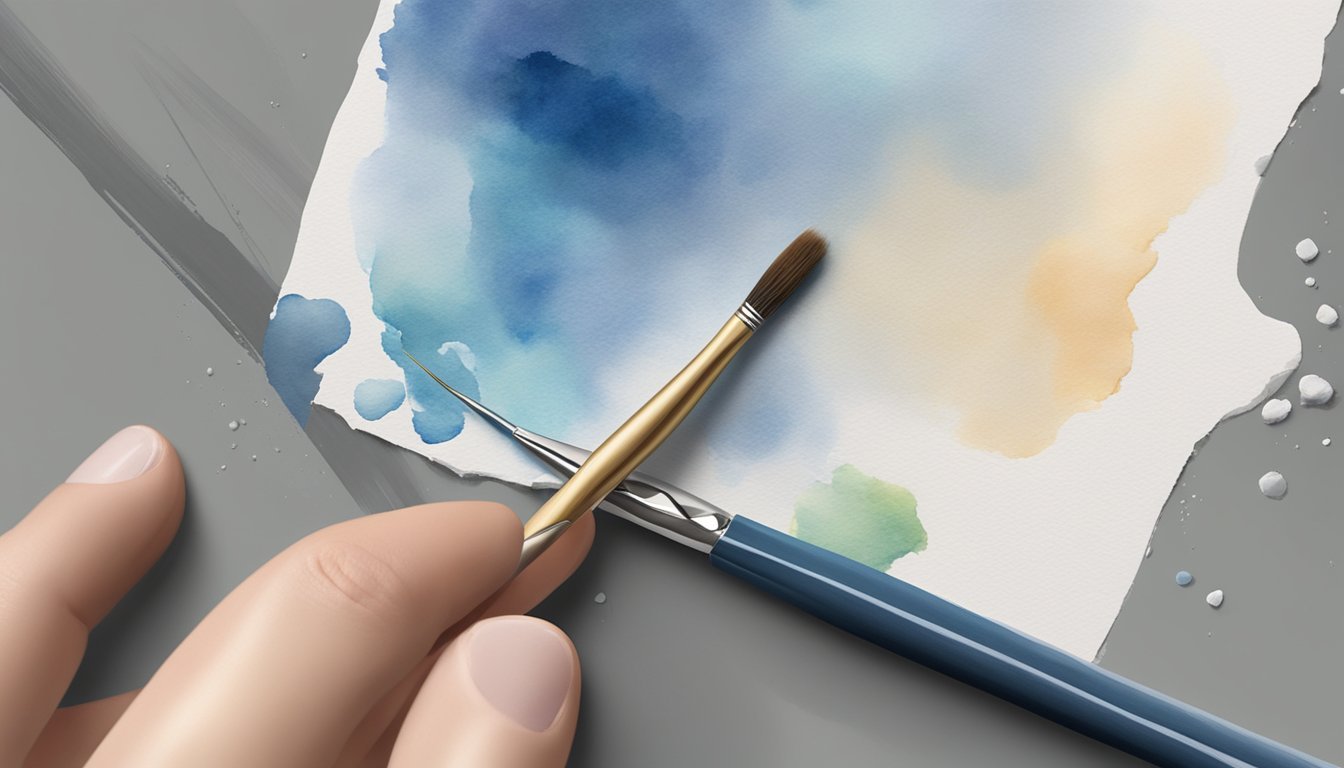
Selecting Quality Brushes
Choosing the right brushes is crucial for achieving beautiful watercolor effects.
Look for synthetic or natural fiber brushes, such as:
- Round Brushes: Great for detail work and creating fine lines.
- Flat Brushes: Perfect for washes and broad strokes.
- Fan Brushes: Excellent for texture effects.
Aim for brushes with good water retention and flexibility.
A few high-quality options will serve you better than a large assortment of mediocre ones.
Consider sizes ranging from small to large, allowing you to adapt to different techniques.
Keep your brushes clean after each use to prolong their lifespan and maintain performance.
This step ensures that your brushes are ready for your next artwork.
Paper Types for Watercolor
The type of paper you use can make a significant difference in your watercolor effects.
Look for paper specifically designed for watercolor, characterized by its weight and texture.
Here are some common options to consider:
- Cold-Pressed (Rough): Textured surface that holds paint well, ideal for vibrant washes.
- Hot-Pressed (Smooth): Offers a flat surface, perfect for detailed work and ink.
- Bristol: Good for lighter washes, but it may not hold heavy techniques as well.
Choose a heavier paper, usually 200 lb (450 gsm) or more, to prevent buckling.
This ensures that your colors remain vibrant and even without damaging the paper.
Additionally, seek pads that allow lifting, so you can easily create corrections.