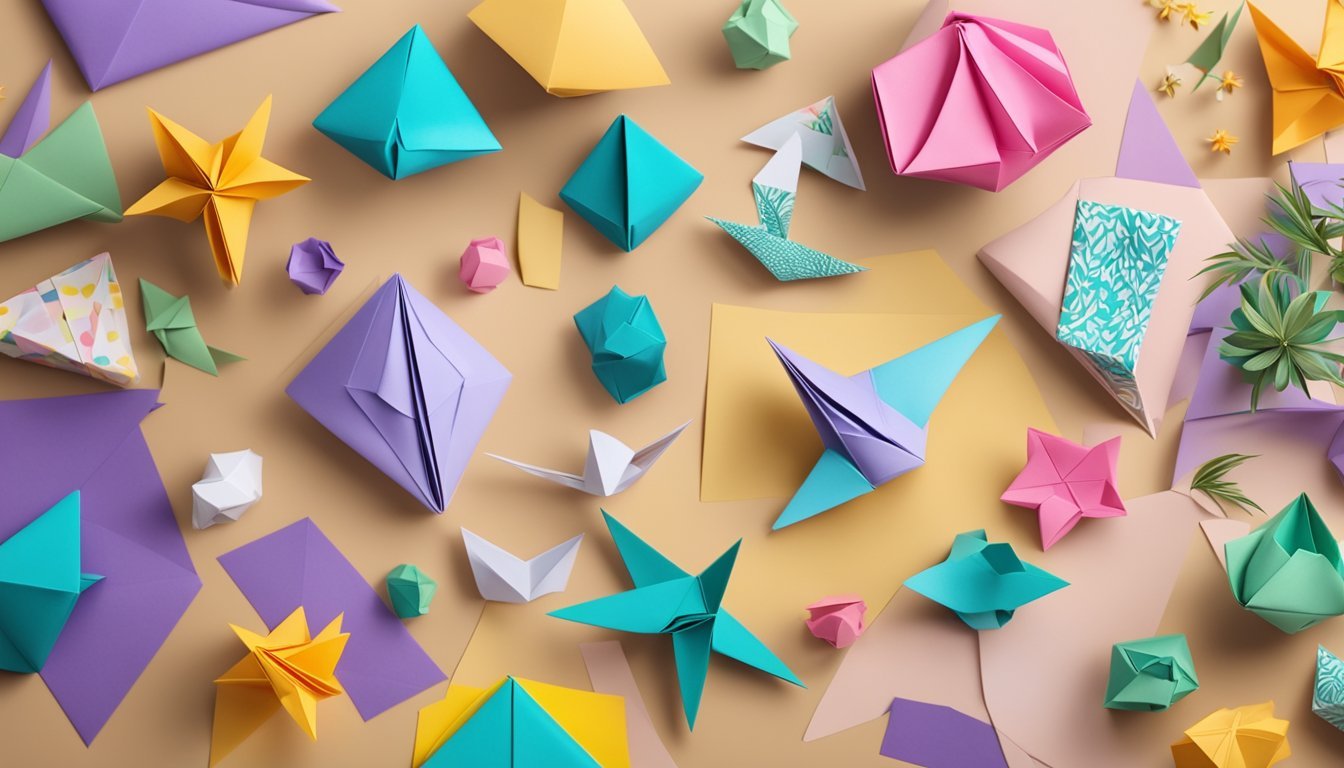
Origami paper offers a fantastic way to create unique DIY décor. Transform ordinary paper into stunning creations that can brighten up any room and impress your guests. Whether you’re new to crafting or a seasoned pro, the possibilities with origami are endless.

Not only is working with origami fun, but it can also be a relaxing pastime that sparks your creativity.
With just a few sheets of paper and some basic folding techniques, you can make eye-catching pieces that reflect your personal style.
Dive into the world of origami and watch your home come to life with your own artistic flair.
Crane Origami Centerpiece
Creating a crane origami centerpiece is a fun and meaningful way to jazz up your space.
These paper cranes not only look elegant, but they also symbolize luck and peace.
Start by gathering some colorful origami paper.
Choose a size that suits your table—smaller cranes work great for place settings, while larger ones can be eye-catching statement pieces.
Follow the basic steps of origami to fold each crane.
If you’re new to it, you might find tutorials online helpful.
With a bit of practice, you’ll get the hang of it, and soon you can craft multiple cranes.
Once you have your cranes, consider how to arrange them.
Placing them in a clear vase or on a decorative tray enhances their beauty.
You can use different colors to create a vibrant display.
For a personalized touch, attach small tags with messages or names to each crane.
This adds a special element, making your centerpiece not just decorative but also meaningful.
DIY Origami Photo Frame
Creating a DIY origami photo frame is a fun and easy project.
You can personalize it to match your style or the decor in your home.
Start with a square piece of paper.
If you want a colorful frame, choose patterned paper; otherwise, plain paper works great too.
Fold the paper in half both horizontally and vertically, making sure the creases are sharp.
Next, you’ll use the boat base technique to form the frame’s foundation.
This involves folding the corners inwards to create a layered effect.
Once your base is ready, you can adjust the folds to refine the shape.
After shaping the frame, it’s time to insert your favorite photo.
Carefully cut out a section in the middle of the frame if you want to display a picture.
Feel free to add decorative elements like stickers or drawings to make the frame uniquely yours.
It’s a quick project and perfect for all ages!
3) Geometric Origami Wall Art
Creating geometric origami wall art can transform any space into a stylish showcase.
All you need is some colorful paper and a bit of creativity.
Start with simple shapes like the Sonobe unit.
You can fold a few units and arrange them into eye-catching patterns.
These shapes fit together seamlessly and add dimension to your wall.
Pyramid pixels are another fun option.
They are easy to make and can be assembled into various designs, from triangles to stars.
Each pixel adds a unique touch to your artwork.
Don’t worry if you’re a beginner.
Plenty of tutorials are available online to guide you step by step.
Mix and match colors and sizes to create something truly one-of-a-kind.
This DIY project is not just fun, but it also gives your space a personal flair.
Origami Paper Flower Garland
Creating an origami paper flower garland is a fun and creative way to brighten up your space.
It’s perfect for parties, home décor, or simply adding a pop of color to your day.
Start by selecting colorful origami paper.
You can choose different hues to make your garland lively and interesting.
Cut the paper into strips or squares, depending on your flower design.
Begin folding your paper following a basic origami flower pattern.
There are many tutorials available that can guide you through the steps.
Just fold, crease, and assemble until you have several flowers ready to go.
Once your flowers are completed, use string or thin twine to thread them together.
You can space them out for a casual look or cluster them for more impact.
This adds a lovely touch to any room.
Hang your garland in your favorite spot.
Whether draped over a mantel, around a window, or across a wall, your origami flower garland will surely catch the eye and spark joy.
5) Accordion Origami Table Runner

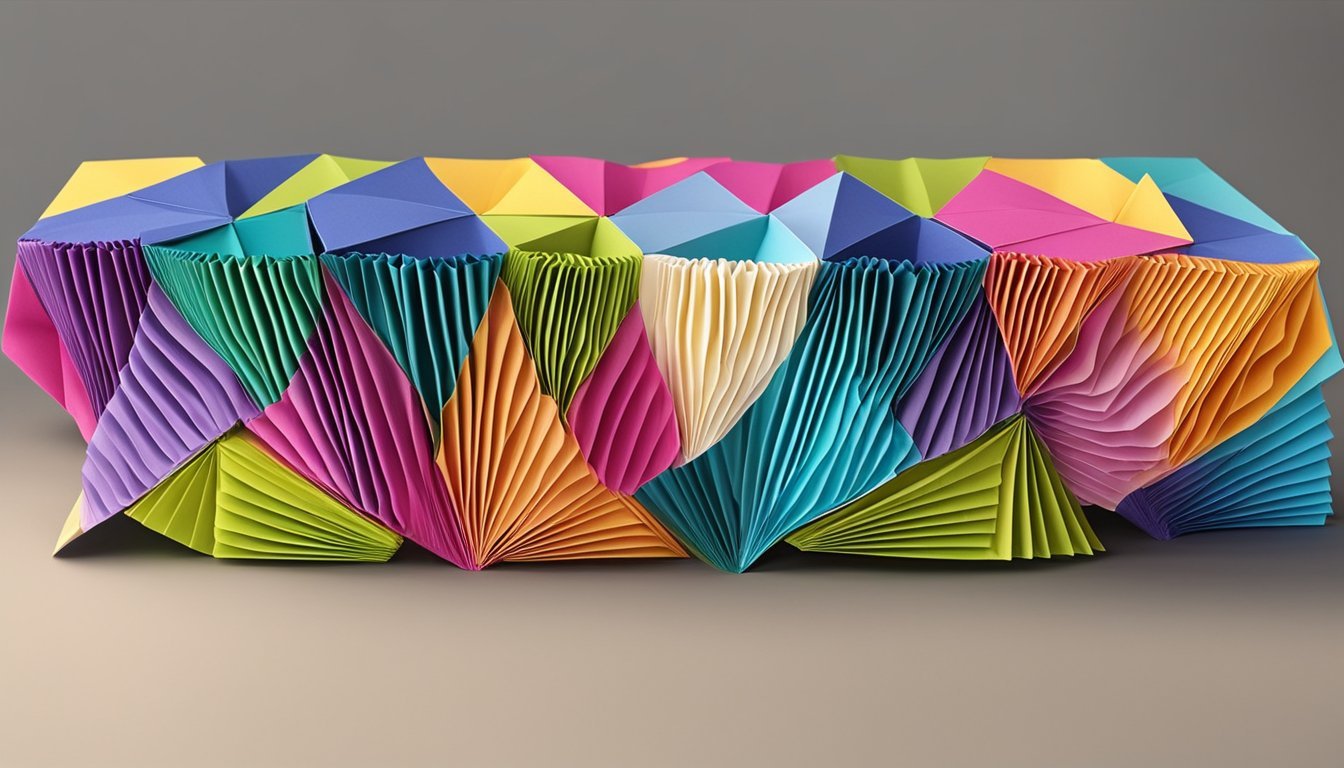
Creating an accordion origami table runner is a fun way to add texture and color to your dining table.
You only need paper, scissors, and a bit of patience.
Start by choosing your paper.
Scrapbook paper works great due to its variety of colors and patterns.
Cut strips of paper about 2 inches wide and as long as you want your runner to be.
Next, you will fold each strip in an accordion style.
Make uniform folds, alternating between the front and back.
This technique creates a lovely zig-zag effect.
Once you have several strips folded, it’s time to assemble them.
You can glue the ends together or connect them using tape.
For added flair, mix different colors or patterns in your design.
Place the finished accordion table runner down the center of your table.
It’s a fantastic backdrop for centerpieces or decorative items.
6) Origami Butterfly Mobile

Creating an origami butterfly mobile is a fun and stylish way to decorate your space.
You can use colorful origami paper to make butterflies that add a touch of whimsy to any room.
Start by gathering your materials.
You’ll need origami paper, nylon thread, and a wooden embroidery hoop.
Choose 15-20 sheets of paper in different colors and patterns for a vibrant look.
Fold the paper into butterflies following your favorite origami tutorial.
Once you have your butterflies ready, cut varying lengths of nylon thread.
Attach each butterfly to the thread with crimp beads, making sure to secure it well.
Next, use the wooden embroidery hoop as a base.
Tie the lengths of thread to the hoop, spacing them out evenly.
Hang your mobile from the ceiling or a wall for an eye-catching display.
Folded Origami Gift Box

Creating a folded origami gift box is a fun and practical way to add a personal touch to your gifts.
You don’t need fancy materials—just some colorful paper will do.
Start by folding a square sheet of paper in half both horizontally and vertically.
Unfold it to reveal creases.
Then, fold each corner into the center point.
This forms the base of your box.
Next, you’ll create the sides.
Fold the edges of the paper into the center crease, and then fold the whole structure up.
This will start to take shape.
To finish, tuck in the flaps to hold the box securely.
If you want a lid, simply repeat these steps with another square of paper but adjust the size slightly to ensure it fits over your box.
You can customize your gift box further with decorations or stickers for an added touch.
8) Leaf Origami Napkin Ring

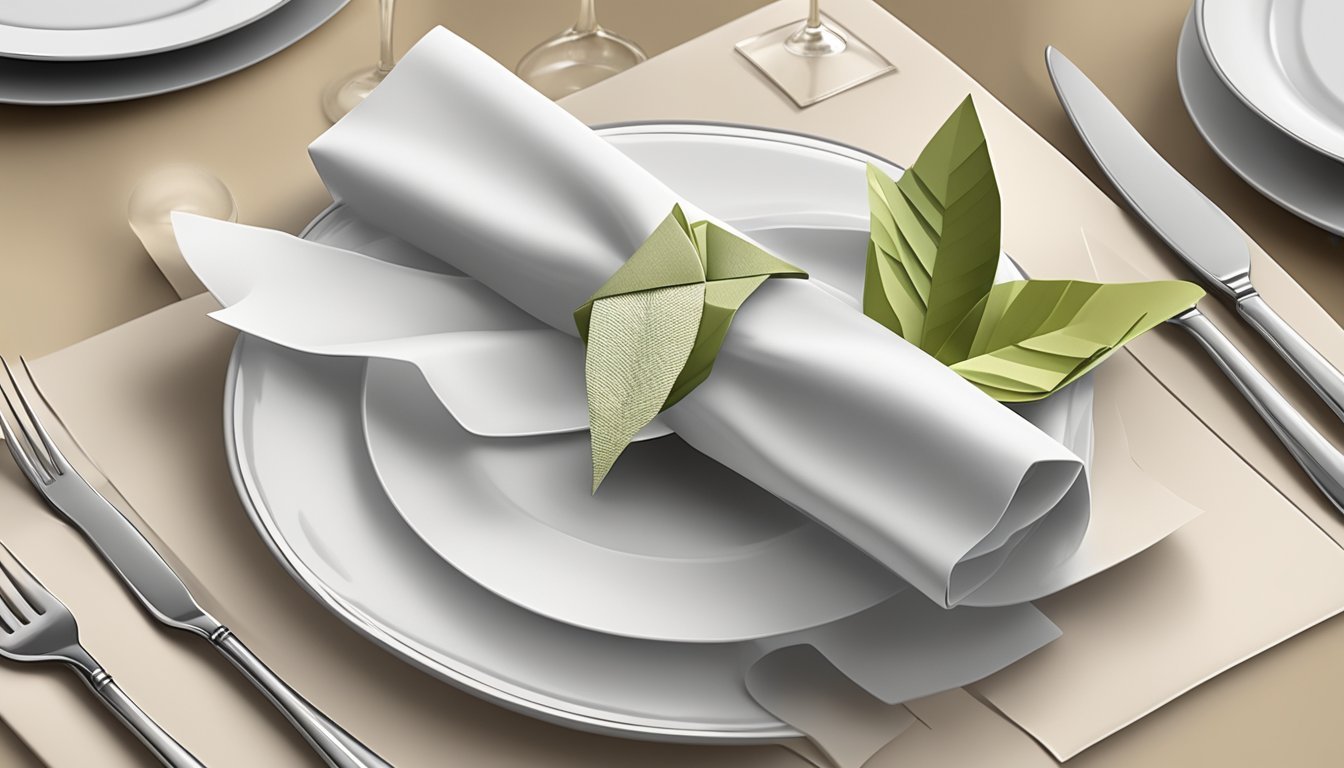
Creating a leaf origami napkin ring adds a charming touch to your table décor.
You can easily make this using a square sheet of paper.
Start by folding the paper in half diagonally to create a triangle.
Unfold it and fold the two top corners down to meet the center.
This creates a simple leaf shape.
To enhance the leaf’s appearance, add curves to the edges.
Gently bend the sides to mimic a real leaf’s shape.
Feel free to adjust until you achieve the desired look.
Once shaped, slide the napkin through the ring.
This not only holds your napkin in place but also elevates your table setting.
Experiment with different colors or patterned papers for a unique flair!
9) Decorative Origami Lampshade

Creating a decorative origami lampshade is a fun and simple project that can add a unique touch to your home.
You just need some paper, a pair of scissors, and a light source.
Start by choosing colorful or patterned paper to enhance the aesthetic.
Several tutorials show different folding techniques, so pick one that matches your style and skill level.
You can create various shapes, from geometric designs to flowing forms.
Follow the folding instructions carefully, like making mountain and valley folds, to get it just right.
To make your lampshade functional, ensure it fits securely over a light bulb or lamp base.
Consider using lightweight paper to avoid overwhelming the fixture.
10) Origami Star Fairy Lights

Creating origami star fairy lights is a fun and creative DIY project.
You can make beautiful paper stars and turn them into lovely lanterns that add a cozy glow to any space.
Start by folding colorful origami paper into star shapes.
Many tutorials guide you step-by-step, making it simple to achieve the perfect star design.
Once you have your stars, use a glue gun to attach them to a string of LED lights.
This approach keeps the lights cool and safe, allowing your stars to shine without any fire hazards.
Space your stars evenly along the string for a balanced look.
You can mix different colors and sizes for added charm.
Hang your origami star lights in your room, or use them to decorate for parties or holidays.
The soft, warm light they emit creates a magical atmosphere, making any space feel inviting.
Enjoy your beautiful origami star fairy lights!
Basic Origami Techniques

Getting started with origami can be a lot of fun, and having a solid grasp of the basics is essential.
You’ll learn about the key symbols used in origami and some helpful tips on paper folding that will make your projects easier and more enjoyable.
Understanding Origami Symbols
Origami uses specific symbols to convey folding instructions clearly.
Here are some of the most common ones you’ll come across:
- Valley Fold: Indicated by a dashed line. You fold the paper towards you, creating a “V” shape.
- Mountain Fold: Shown as a solid line. This fold is away from you, forming an upward peak.
- Reverse Fold: This symbol looks like a small triangle at the fold line. You fold the paper in one direction and then back in the opposite direction.
Familiarizing yourself with these symbols will help you tackle various projects efficiently.
Always refer to specific diagrams alongside these symbols for better clarity.
Paper Folding Tips for Beginners
Starting your origami journey? Here are some essential tips to help you achieve better results:
-
Choose the Right Paper: Use origami paper, which is lighter and easier to fold. Regular printer paper can be too thick.
-
Make Crisp Folds: Use your fingernail or a bone folder to make sharp creases. A good crease significantly affects the final model.
-
Practice Patience: Don’t rush. Take your time to make precise folds and adjustments as needed.
-
Start Simple: Begin with basic designs like boats or cranes before moving on to more complex shapes to build your confidence.
With these techniques, you’ll be well on your way to creating beautiful origami décor!
Choosing the Right Origami Paper

Choosing the right origami paper can significantly enhance your DIY décor projects.
Different types of paper can affect the aesthetics and ease of folding, while the thickness plays a key role in the complexity of your designs.
Different Types of Origami Paper
Several types of origami paper offer unique benefits.
Here are a few popular options:
-
Kami: This is the most common origami paper. It’s lightweight, comes in various colors and patterns, and is easy to fold. The reverse is often white, which allows for dual-tone designs.
-
Washi: Made from natural fibers, washi is more durable than standard paper. It provides a textured finish and is available in beautiful designs, making it great for intricate projects.
-
Foil Paper: With a shiny metallic side, foil paper adds luster to your creations. It catches the light and can make your origami stand out in a décor setting.
Selecting the right paper will depend on your project’s theme and desired impact.
Don’t hesitate to experiment with different types to discover what works best for you.
Effects of Paper Thickness on Folding
Paper thickness is crucial in determining the success of your origami creation.
Here’s how it can affect your projects:
-
Thinner Paper: Opt for thinner paper when working on intricate designs. It folds easily and can create delicate shapes, perfect for items like flowers or small figures.
-
Thicker Paper: Use thicker paper for simpler models or when you need stability in your design. It holds its shape better but can be more challenging to fold for detailed work.
When selecting paper, consider the complexity of your project and your comfort level with folding.
Balancing thickness with your design requirements can lead to stunning results.


