Craft kits can be a fun starting point for your creative projects, but adding personal touches can really make your gifts stand out.
Enhancing these kits with your unique flair not only shows thoughtfulness but also transforms them into meaningful presents that recipients will appreciate.
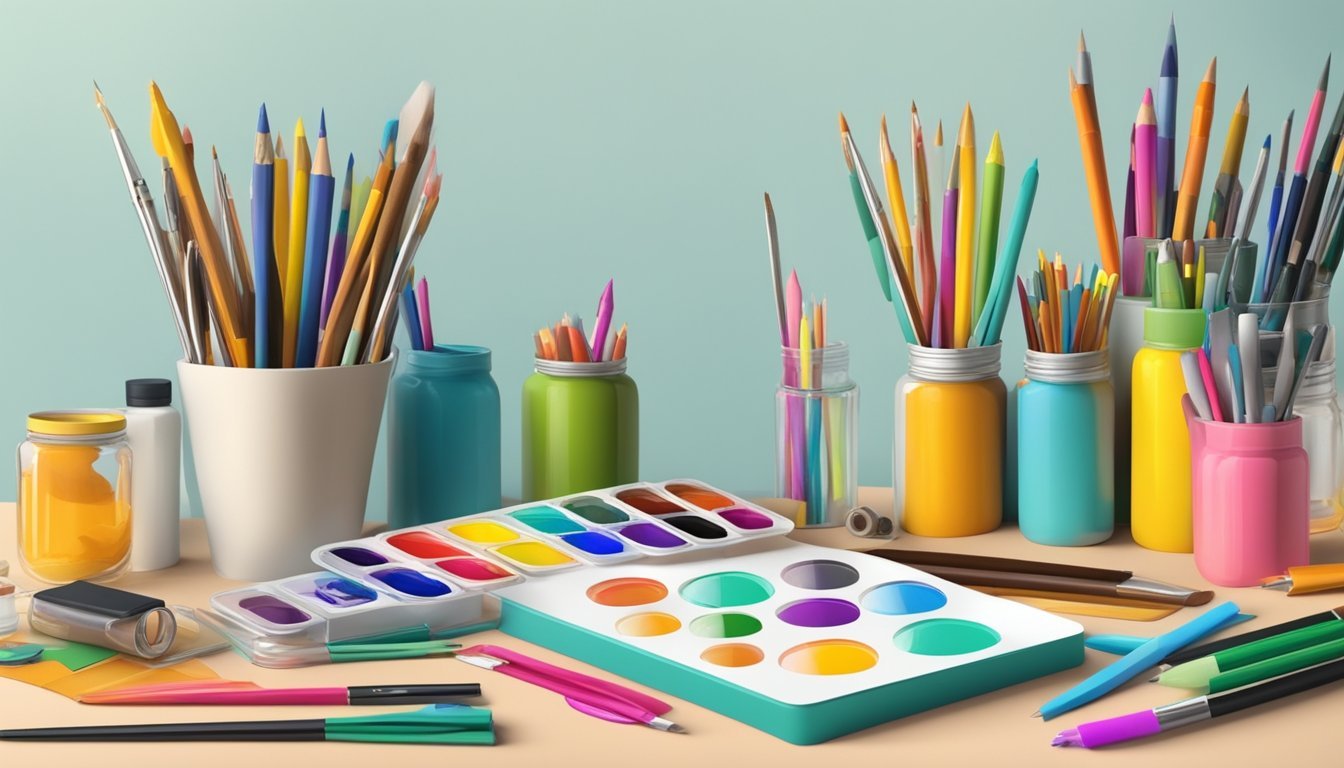
You can personalize everything from the materials to the instructions, turning a simple craft kit into a heartfelt gift.
Whether you include a handwritten note or customize the tools, small details can elevate the overall experience and make your gift truly special.
Use metallic paint to add shimmer
Metallic paint can bring a captivating shimmer to your store-bought craft kits.
It’s an easy way to enhance your projects and make them feel more personalized.
Start by selecting a metallic paint that matches your theme, whether it’s gold, silver, or copper.
These hues can elevate the look of everything from wooden items to fabric crafts.
You can apply metallic paint to accentuate specific areas or give an entire piece a glamorous finish.
For instance, highlight edges on picture frames or add a smooth coat over an entire surface for a bold look.
Don’t forget to use metallic paint on smaller decorative items, such as vases or lamp bases.
A little touch can add a lot of character without overwhelming your design.
Experiment with different techniques, like sponging or brushing, to achieve a unique texture.
The results can transform simple projects into eye-catching pieces that impress.
Enjoy the process and make your crafts truly your own!
Incorporate dried flowers for a natural touch
Adding dried flowers to your store-bought craft kits can elevate the overall look and feel.
They bring a natural charm that pairs well with various themes.
You can use dried flowers in a few different ways.
For instance, create a lovely floral arrangement using the dried blooms.
This works well for wreaths, wall hangings, or even table centerpieces.
If your craft kit includes a frame or canvas, consider pressing dried flowers and attaching them.
This technique adds texture and a personal touch to your artwork.
Another idea is to incorporate dried flowers into gift packaging.
A simple twine bow adorned with a few dried sprigs makes any gift feel more special and thoughtful.
Experiment with different flower combinations based on the season, like adding eucalyptus for winter or lavender for summer.
Each choice allows you to customize your project to suit your style.
3) Add personalized name tags
Personalized name tags can really enhance the look of your store-bought craft kits.
They give a unique touch that shows you care.
Creating these tags is simple.
You can use a mix of colorful paper, markers, or even printable templates you find online.
This allows you to customize each tag to reflect the personality of the recipient.
Make sure to include the person’s name and maybe a small design that fits their style.
It could be a fun doodle or a simple sticker that matches the theme of the kit.
For a more personal approach, consider adding a short message or a quote that resonates with the person.
This will make the gift feel even more special.
Tie the tag to the kit with twine or a ribbon.
This little detail can make a big impact and create a more cohesive look.
Personalizing name tags is an easy way to elevate your craft gift and show thoughtfulness.
4) Glue on tiny gems for sparkle
Adding tiny gems to your craft projects can instantly elevate their charm.
You can choose from various colors and shapes to match the theme of your kit.
Start by selecting a strong adhesive, like E6000 or a craft glue designed for embellishments.
Apply a small amount of glue to the desired area on your project.
Carefully place the gem onto the glue.
You can use tweezers for better control, especially if the gems are tiny.
Make sure to let the glue dry completely.
This will ensure that your gems stay in place and add that sparkle you’re looking for.
Consider arranging the gems in patterns or clusters for a more dynamic look.
This technique works great for cards, home decor, or anything that needs a little shine.
5) Create matching gift tags
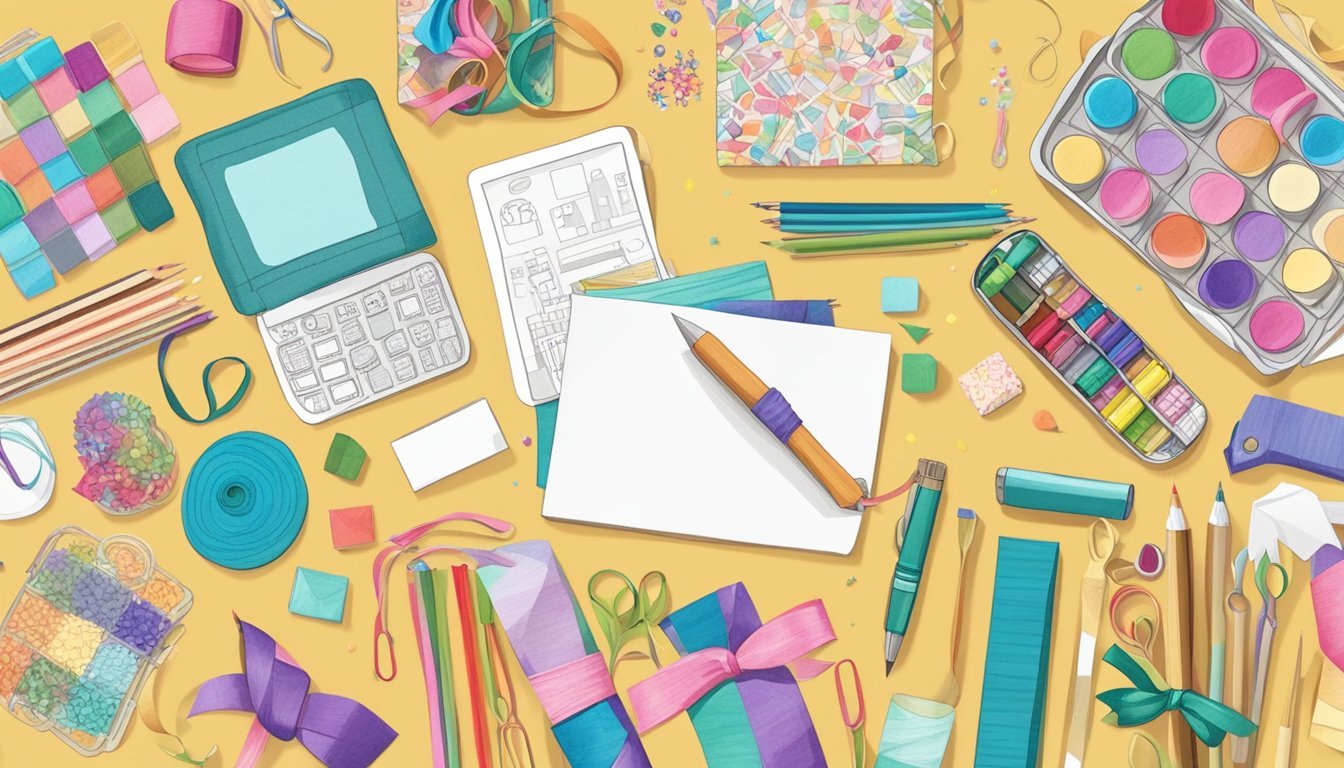
Creating matching gift tags adds a special touch to any craft kit project.
These tags can reflect the theme and colors of your gift, making everything feel cohesive.
Start by brainstorming ideas based on the craft kit.
Think about the recipient and the occasion.
This will guide your design choices, like colors and shapes.
You can design your tags using free online tools like Canva.
They offer customizable options that allow you to create personalized designs quickly.
Print them out on sturdy cardstock for a professional look.
Consider adding embellishments, like ribbons or small decorations, to elevate your tags.
Simple details can make your gift feel unique.
If you prefer a hands-on approach, try making hand-stitched gift tags.
Basic embroidery stitches can add warmth and charm.
Plus, these tags can double as ornaments for the holidays.
Lastly, don’t forget to write a thoughtful message.
A few handwritten words can make your gift extra special and meaningful.
6) Use washi tape for accents
Washi tape is a fun and versatile way to add personal touches to your craft projects.
Its colorful patterns can easily enhance store-bought craft kits, making them feel more unique.
You can use washi tape to highlight edges or borders on cards and scrapbook pages.
It sticks easily, so you can reposition it until it looks just right.
Plus, it comes in various widths and designs, which gives you plenty of options.
For a creative twist, try layering different washi tapes.
Mix up patterns and colors to create eye-catching accents.
This technique is especially effective for gift wrapping, where a pop of washi tape can replace traditional bows.
Don’t forget about using washi tape on everyday items.
Customizing your tools or storage boxes can make your craft space more inviting.
Just a simple stripe or two can transform plain items into something special.
7) Include a handwritten note
Adding a handwritten note to your store-bought craft kit can make a big difference.
It shows that you care and adds a personal touch that feels warm and inviting.
A simple “thank you for choosing this kit” can create a connection.
You might also share a quick tip or suggestion related to the craft.
This helps your recipient feel supported as they start their project.
Using unique stationery or colorful pens can enhance the note’s appeal.
Personalize it with your thoughts or encouragement to make it special.
This small gesture can leave a lasting impression.
It transforms the experience from just a purchase to something more memorable and engaging.
8) Attach colorful ribbons or bows

Adding colorful ribbons or bows is a simple way to elevate your store-bought craft kits.
They can bring a splash of color and personality to any project.
Start by choosing ribbons that match or complement the theme of your craft.
You can mix different colors and patterns for a playful effect.
Consider the width and texture of the ribbons for added interest.
To attach the ribbons, you can tie them around your project or use them as decorative accents.
For example, a bow can be placed on a gift box or attached to a handmade card for that extra touch.
If you’re feeling creative, experiment with different knot styles.
A sliding ribbon knot can create a unique look and is easy to undo, making it versatile.
Using ribbons and bows not only enhances the visual appeal but also adds a personal touch.
It shows you’ve put thought into your project, making it more special for the recipient.
9) Use stencils for custom designs
Stencils are a great way to add unique flair to your store-bought craft kits.
You can easily create custom designs that fit your personal style.
Start by selecting a stencil that resonates with your project.
It could be a fun pattern, floral design, or even a motivational quote.
Once you have your stencil, place it securely on the surface you want to decorate.
Use either ink, paint, or spray mists to apply color through the stencil.
This method allows for clean edges and precise designs.
You can experiment with different medium types to see what works best for your aesthetic.
If you want to go a step further, consider making your own stencils.
Just trace your desired design onto stencil material and cut it out.
This gives you full control over the shapes and patterns you create.
Don’t be afraid to layer stencils for even more visual interest.
Combining multiple designs can bring depth to your work and make it truly one-of-a-kind.
Incorporate Family Photos
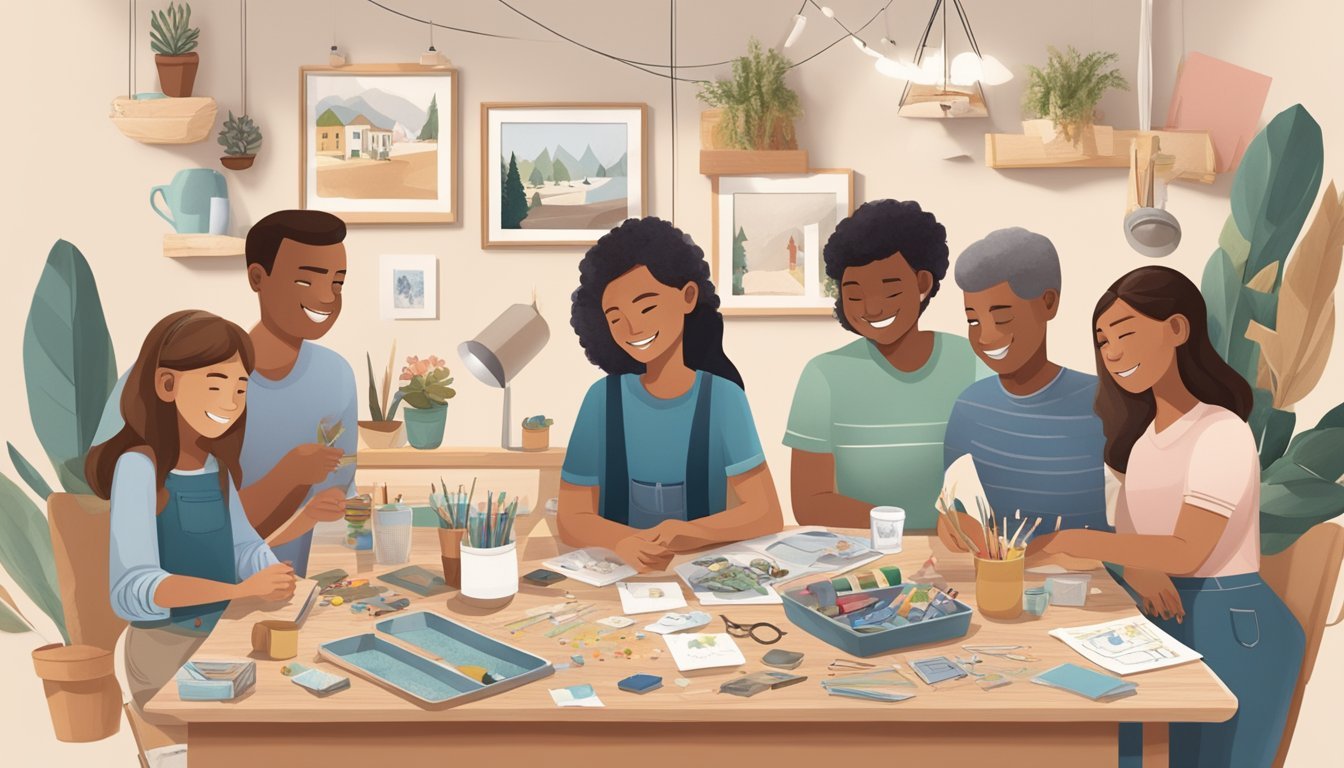
Adding family photos to your store-bought craft kits can make them feel more personal.
Choose photos that resonate with you and tell a story.
You can use these photos to decorate items like frames, magnets, or scrapbooks.
Simply print your favorite images and incorporate them into the designs.
It adds a unique touch that reflects your life.
Another idea is to create a photo collage.
This can be done on a canvas or poster board, showcasing your family moments in a creative way.
Arrange the photos in a way that pleases your eye.
Don’t forget about using themed photos for seasonal projects.
Holiday pictures can brighten up decorations and bring back warm memories.
It’s a simple way to give your crafts a personalized flair.
Building Your Creative Vision
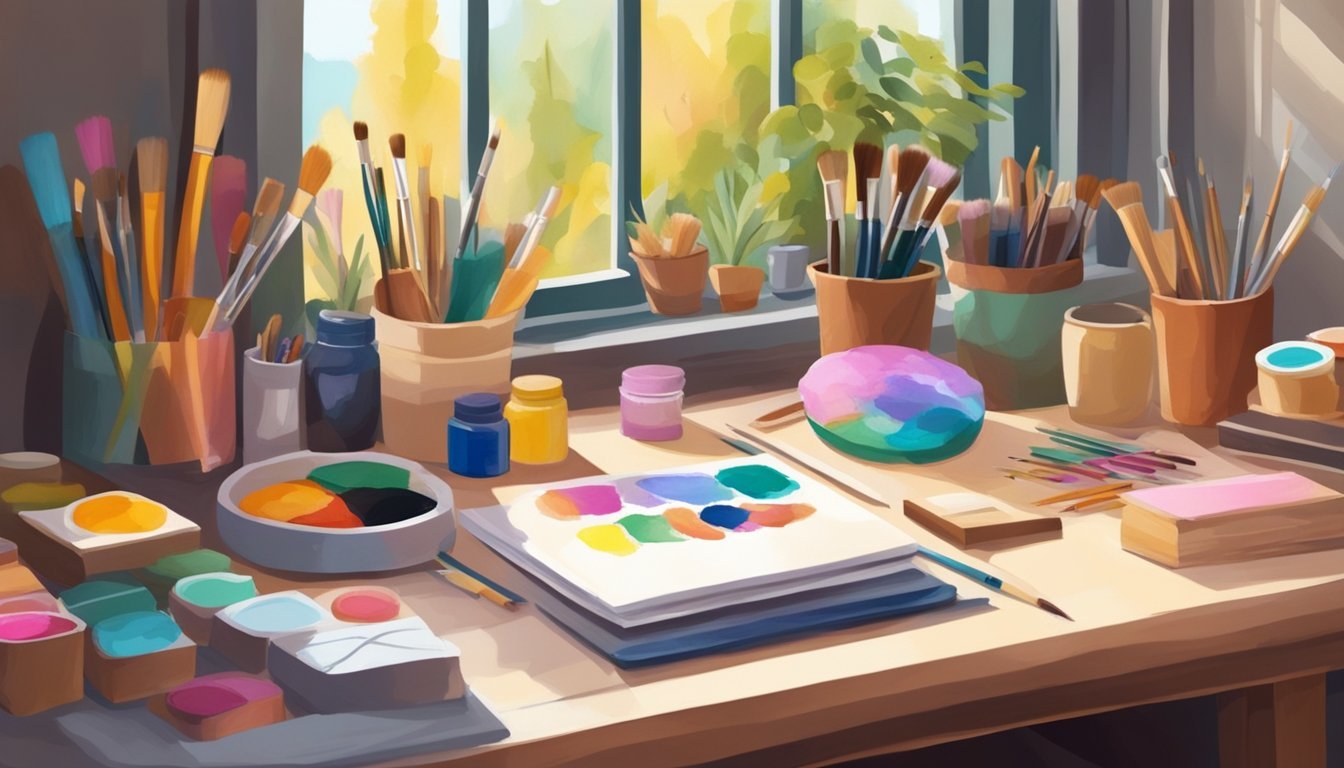
Creating a personal touch to your store-bought craft kits begins with envisioning your unique style.
Finding inspiration and planning how to incorporate personal elements can transform a standard project into something truly special.
Finding Inspiration
To kick things off, look around you for inspiration.
This could come from nature, art, or even your favorite colors.
Pay attention to what draws your eye—perhaps a beautiful color palette you see in your garden or a pattern in your favorite clothing.
Try these sources for inspiration:
- Pinterest: Create a mood board of ideas that resonate with you.
- Instagram: Follow craft accounts that align with your style.
- Nature: Take a walk and notice shapes, textures, and colors.
Collect images, sketches, or materials that capture your vision.
This will help you focus on what you want to achieve.
Planning Your Personal Touch
Next, think about how to incorporate these inspirations into your craft kits.
Start by listing out ideas for modifications.
Consider these options:
- Color Choices: Swap out colors in the kit for shades that you love.
- Add-Ons: Include personal items, like photos or trinkets, that reflect your life.
- Techniques: Use different crafting techniques to make the project unique, such as mixed media or hand lettering.
Create a rough plan of how you want your final product to look.
Sketch or jot down notes to visualize the layout.
This preparation will guide you as you craft.
Incorporating Unique Materials
Adding personal touches to your store-bought craft kits starts with selecting unique materials.
Exploring alternative materials can make your projects stand out and reflect your personality.
Consider these strategies to elevate your crafting experience.
Choosing Your Materials
When selecting materials, look beyond what’s included in your kit.
You might consider adding natural elements like wood slices or dried flowers.
These can add texture and a unique touch.
Alternative fabrics are another great option.
Think about using canvas, burlap, or even vintage textiles.
These can give your project a different feel.
Don’t forget about repurposed items.
Old buttons, broken jewelry, or scraps from other projects can bring character to your creation.
Always be on the lookout for unusual items that inspire you.
Mixing and Matching Techniques
Combining various crafting techniques can create stunning results.
Start with your basic kit, but feel free to incorporate techniques you enjoy.
For example, consider decoupage.
You can use it to layer images onto your item for depth.
Experiment with texturing techniques like stenciling or embossing.
These add detail and can enhance the overall look of your project.
You can also integrate hand-painted elements.
Adding your colorful brush strokes can truly personalize the pieces.
Don’t shy away from mixing styles; it’s all about what resonates with you.
Using your creativity with materials and techniques will make your craft truly yours!


