

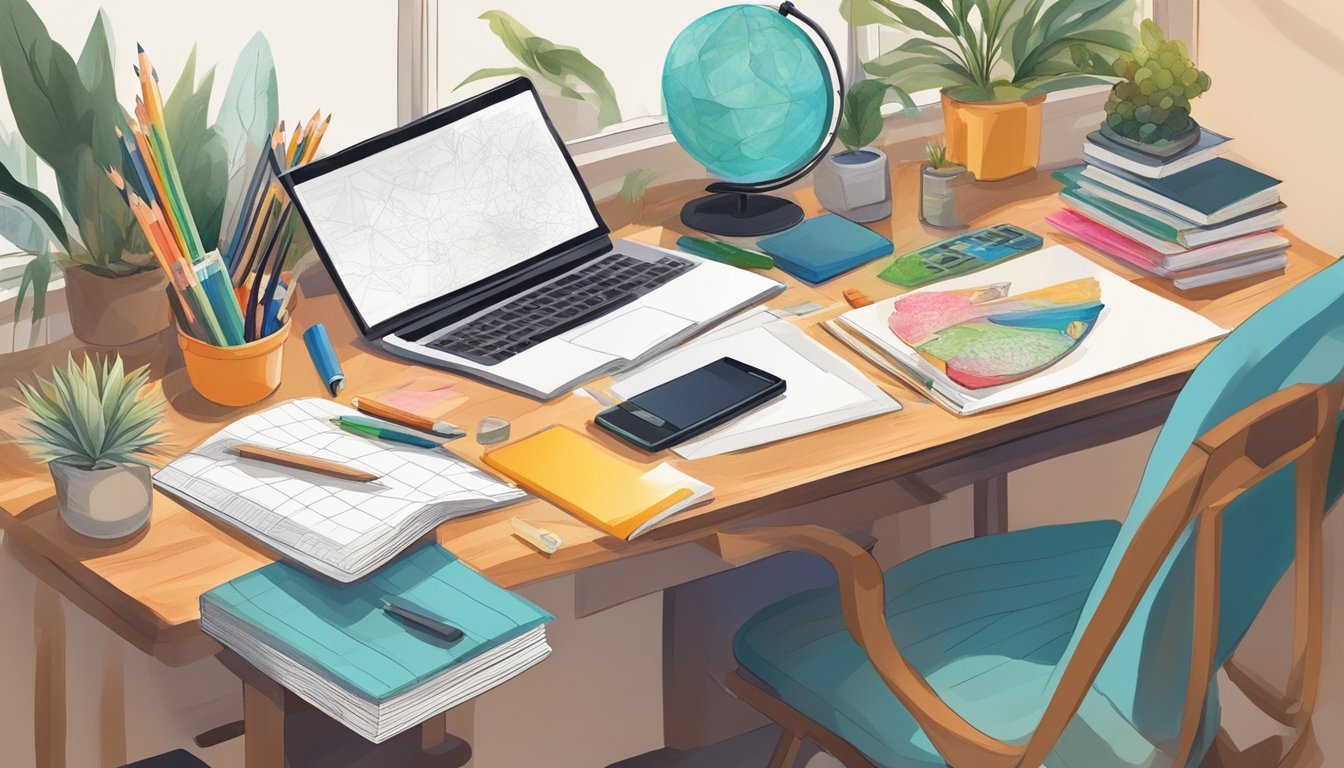
Learning to draw can feel overwhelming, especially if you’ve just started. But don’t worry, there are simple projects you can tackle that will help you improve your skills quickly. With the right approach, even basic exercises can significantly enhance your artistic abilities.

Incorporating fun and engaging projects into your practice routine can make a significant difference.
You’ll discover that each project is designed to spark creativity, build confidence, and develop your unique style.
1) Draw a Cute Cat Step-by-Step
Drawing a cute cat can be a fun and easy project for beginners.
Start with a simple circle for the head and an oval for the body.
Next, add two triangle shapes on top of the head for ears.
Don’t worry about making them perfect; a little character goes a long way.
For the face, draw two dots for eyes and a small triangle for the nose.
You can add three whisker lines on each side to bring it to life.
Now, sketch out the legs using simple lines.
Keep them short and rounded to maintain that cute look.
Finally, add a curling tail to the back.
This gives your cat a relaxed posture, adding to its charm.
Take your time and don’t hesitate to add your own creative touches.
Enjoy the process!
2) Create a Simple Comic Strip
Creating a comic strip is a great way to practice your drawing skills.
You can start with just a few frames and a simple story.
Think about a fun idea or joke you want to share.
Begin by sketching out the panels lightly.
Focus on the layout first—where each character will go and what they will do.
You can use templates to help you get started.
Next, add details to your characters and backgrounds.
Don’t worry about perfection; just have fun with it.
Once you have your drawings in place, add speech bubbles for dialogue.
Inking your comic can give it a polished look.
Use a pen or digital tool to go over your pencil lines.
When that’s done, you can color it in, either with traditional media or digitally.
Finally, share your comic strip with friends or online.
Getting feedback can be encouraging and help you improve with each project.
Plus, you’ll create a fun piece of art that expresses your creativity!
3) Sketch a Basic Landscape
Sketching a basic landscape is a great way to build your drawing skills.
Start with simple shapes to outline the main elements like hills, trees, and clouds.
Keep it loose and don’t stress about perfection.
Next, add details gradually.
You can include features like a small house or a winding path.
Focus on keeping your shapes simple, so they don’t overwhelm you.
Shading is essential for adding depth.
Use the side of your pencil to create soft shadows.
Highlight areas by gently erasing some pencil marks, bringing attention to the parts that catch light.
Remember, practice makes progress.
Each time you draw a landscape, you’ll notice improvement.
Enjoy the process and let your imagination guide you in creating unique scenery.
4) Design Your Own Cartoon Character
Creating your own cartoon character is a fun and rewarding project.
Start by brainstorming ideas about what your character will look like and what personality traits they will have.
Think about their physical features, like big eyes or quirky hairstyles.
Sketch different shapes to find a unique design.
You can use online avatar builders for inspiration if you need a starting point.
Next, choose colors that reflect their personality.
Vibrant colors can express excitement, while softer tones can suggest calmness.
Once you have a basic design, add clothing and accessories that make your character stand out.
Details like hats or glasses can give them more flair.
Draw from reference images to learn how to create distinct features.
This can help you understand proportions and styles better.
Experiment with different poses to bring your character to life.
This is a great way to practice dynamic drawing.
Finally, don’t stress about making it perfect.
The goal is to enjoy the process and express your creativity.
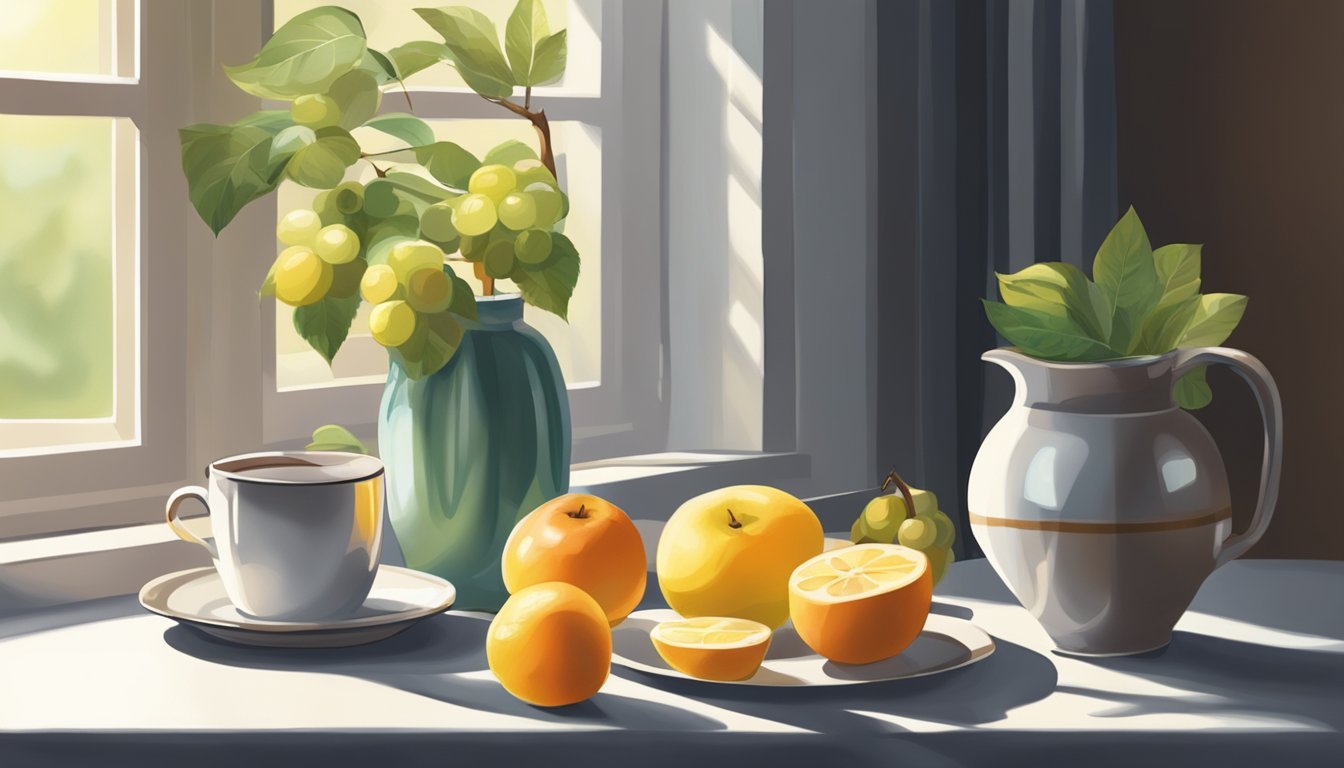
5) Draw a Still Life of Everyday Objects
Drawing a still life is a fantastic way to practice your skills.
You can start with simple objects from around your home, like fruits, bottles, or kitchen items.
Set up your composition by arranging these items on a table.
Pay attention to how they interact with each other.
This practice hones your observation skills.
Focus on shapes and forms.
Look closely at the outlines and angles of the objects.
Use basic geometric shapes to break them down.
Once you have the shapes, think about light and shadow.
Notice where the light hits the objects and creates shadows.
This will add depth to your drawing.
Take your time with the shading.
Use different pencil pressures to create texture and dimension.
Practice layering your shading to achieve a more realistic look.
If you’re stuck for inspiration, consider watching tutorials specific to still life drawing.
There are plenty of resources available that guide you through easy step-by-step processes, making it simpler to get started.
Remember, the key is to enjoy the process and learn from each piece you create.
6) Make a Fun Doodle Pattern
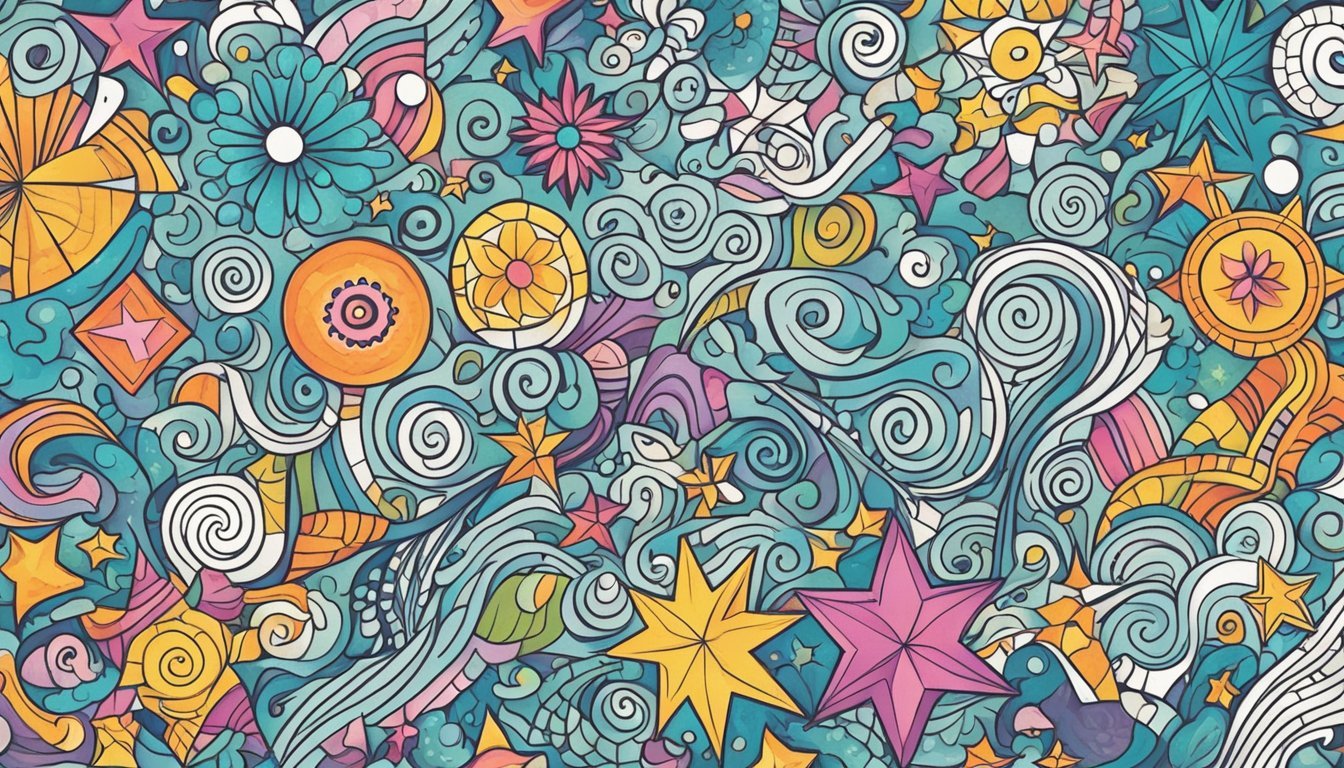
Creating doodle patterns is an enjoyable way to practice drawing while letting your creativity flow.
You can start with simple shapes like circles or squares and build from there.
Try staggering diamonds across the page.
Connect them with soft lines to create an engaging effect.
Alternating the direction of your lines adds variety.
Another idea is to grid your paper and incorporate diagonal hashes.
This can produce interesting designs like an “M” or triangles, depending on your pattern.
Don’t forget to experiment with different doodles, such as pumpkins or leaves.
Adding details makes your patterns unique and more visually appealing.
Use your favorite pen or pencil, and find a comfy spot to doodle.
The aim is to enjoy the process and express yourself through your artwork.
7) Try a Mandala for Relaxation
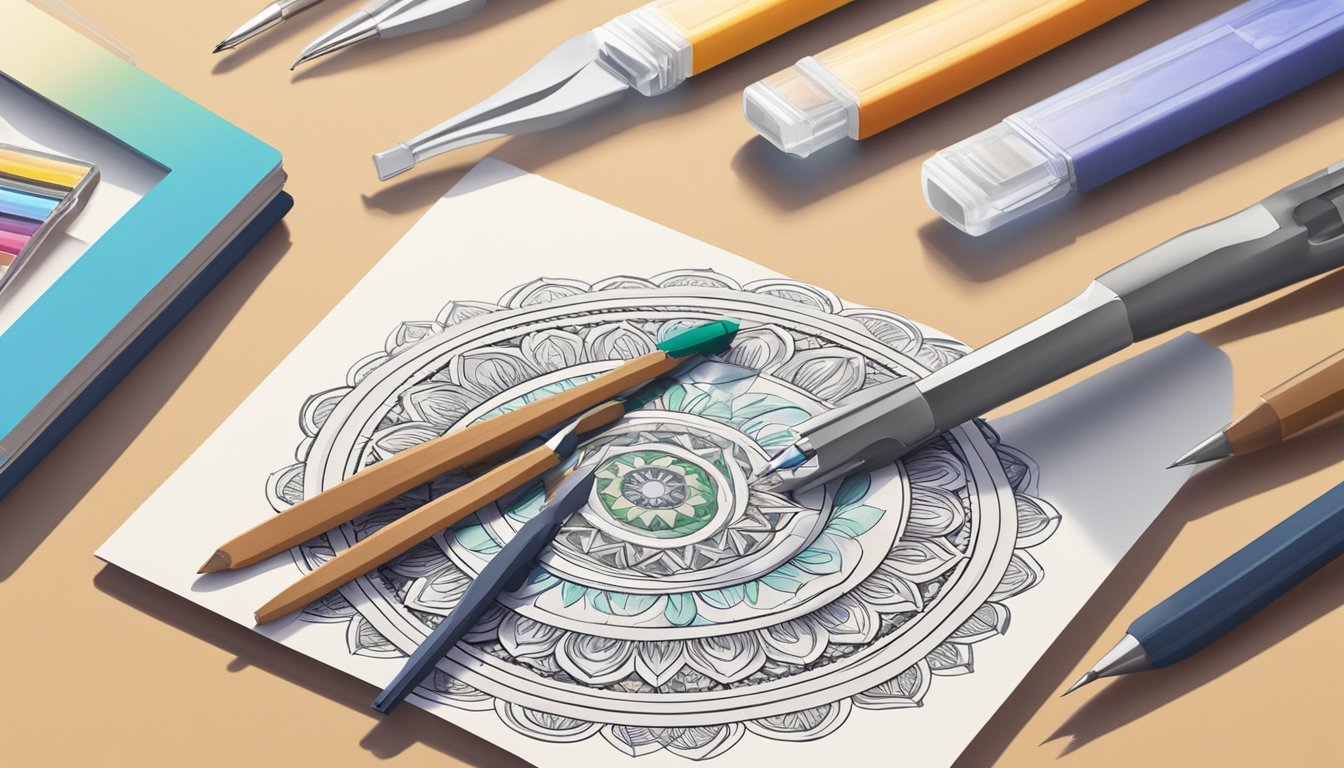
Creating a mandala can be a great way to relax and tap into your creativity.
Mandalas are intricate designs that encourage mindfulness and focus.
They can be as simple or complex as you want.
To start, gather some basic supplies like paper, pens, or colored pencils.
You might want to use a compass to draw circles for structure.
If you’re not sure where to begin, try watching a tutorial for guidance.
As you draw, focus on the patterns and shapes.
This process can help clear your mind and reduce stress.
Engaging in this mindful practice allows you to express yourself without pressure.
No previous art experience is needed.
Mandalas are all about self-expression and enjoyment.
Allow your creativity to flow, experiment with colors, and take your time to enjoy the process.
Understanding Basic Drawing Techniques
Mastering fundamental drawing techniques is essential for developing your skills.
You’ll learn how to create forms accurately and understand spatial relationships in your drawings.
Line and Shape Fundamentals
Lines form the foundation of your drawings.
By practicing different types of lines—straight, curved, diagonal—you build control and confidence.
Use your whole arm instead of just your wrist to create more fluid and expressive strokes.
Shapes are built from lines.
Start with basic geometric shapes like circles, squares, and triangles.
This helps your brain translate what you see into two-dimensional representations.
Try to draw these shapes from different angles to strengthen spatial awareness.
Consider using a sketchbook for consistent practice.
Regularly drawing simple objects can significantly enhance your skill set over time.
Exploring Perspective in Drawing
Perspective adds depth and realism to your artwork.
Understanding the concept of horizon lines and vanishing points is crucial.
These elements help you represent space accurately.
Start by practicing one-point perspective.
Draw a simple road or railway track that narrows towards a point on the horizon.
Gradually introduce two-point perspective with objects like buildings facing corners.
Remember to also observe how objects appear smaller as they recede into the distance.
This is essential for creating believable scenes.
Grab a reference photo and try drawing it with different perspectives to see the effect firsthand.
Tools and Materials for Beginners
Getting started with drawing requires just a few essential tools and materials.
With the right supplies, you can set yourself up for success and enhance your learning experience.
Here’s what you need to focus on.
Choosing the Right Pencils
When it comes to pencils, quality makes a difference.
You’ll want to invest in a range of pencils from hard (H) to soft (B) to cover different drawing techniques.
- H Pencils: For fine lines and detailed work.
- B Pencils: Great for shading and expressive strokes.
A good set might include 2H, HB, 2B, and 4B pencils.
This variety allows you to experiment with different pressures and techniques as you progress.
Additionally, a mechanical pencil can be useful for precision when you want clean, sharp lines.
Don’t forget to pick up a good eraser—one that can gently lift graphite without damaging the paper.
Paper Types and Their Uses
The type of paper you choose will affect the outcome of your drawings.
Here’s a quick breakdown of some common types of drawing paper:
- Sketch Paper: Ideal for practice and quick sketches. It’s lightweight and inexpensive.
- Drawing Paper: Heavier than sketch paper, this type is better for detailed work. It allows for more texture and handling.
- Bristol Board: This is a smooth, heavyweight paper that’s perfect for ink and markers.
When selecting paper, consider the texture, known as the “tooth”.
A rough texture is excellent for charcoal, while smooth paper is better suited for pencil work.
Choose wisely based on the medium you plan to use!