
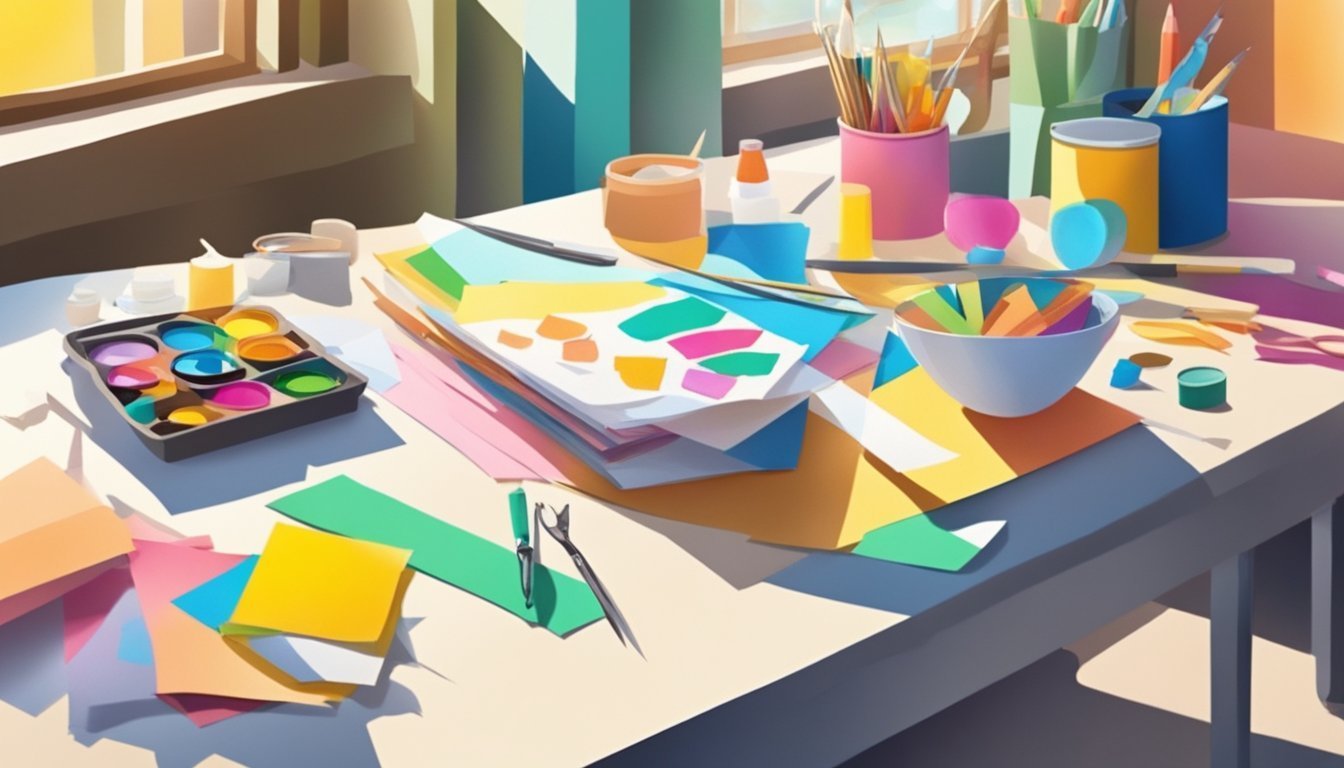
If you’re looking for a fun way to spend your weekend, trying out some easy craft projects can be a great option. These projects allow you to express your creativity and provide a satisfying sense of accomplishment once completed.

Whether you’re a seasoned crafter or just starting out, there are plenty of simple ideas that can fit into your schedule.
Grab your supplies and get ready to unleash your artistic side with crafts that will brighten up your space and maybe even make thoughtful gifts for friends and family.
1) Painted Mason Jars
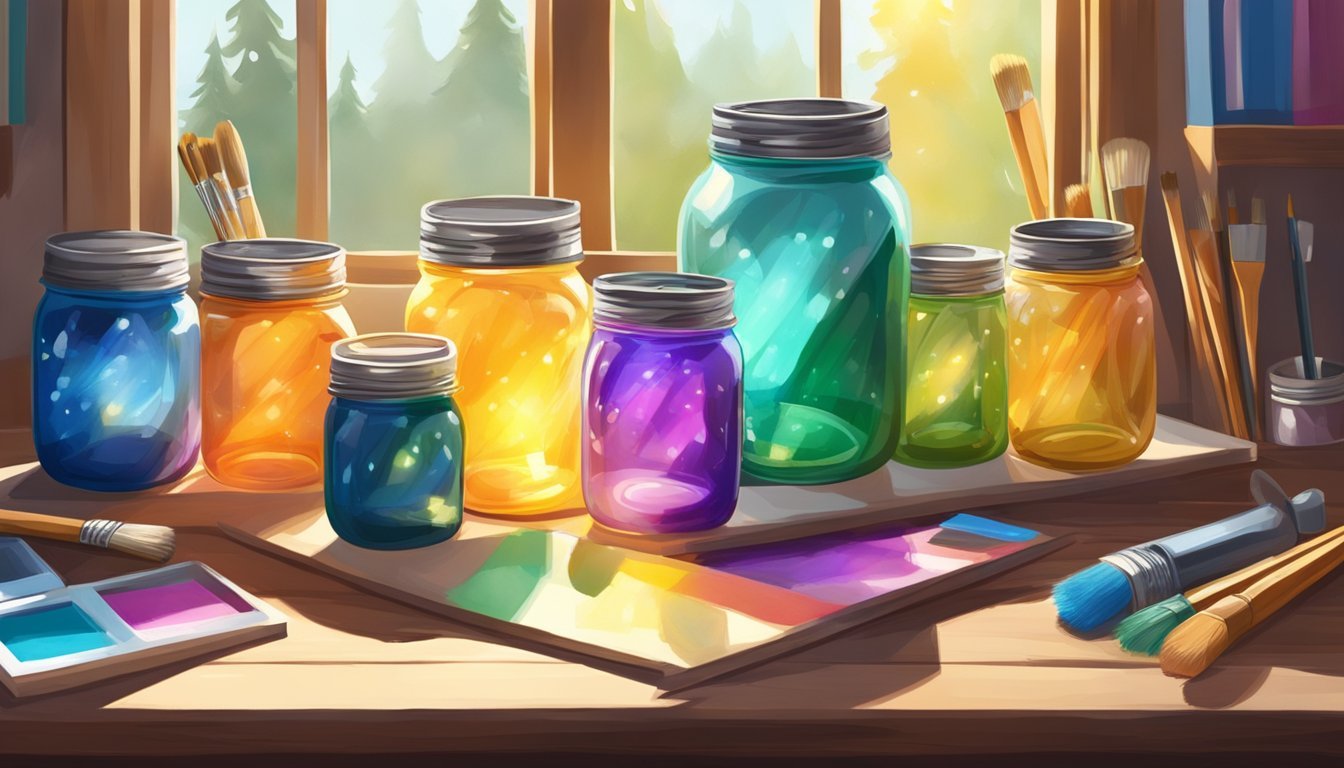
Painted mason jars are a fun and easy craft you can complete in no time.
They’re perfect for adding a splash of color to your home or for gifting to friends.
You can start by gathering some mason jars, acrylic paint, and paintbrushes.
Choose your favorite colors and get creative!
After painting, let the jars dry for 24 hours.
To ensure durability, you can bake them in the oven at 350ºF for 30 minutes.
Just remember to heat the oven gradually to avoid breakage.
These jars can serve multiple purposes.
Use them as vases, storage for small items, or even as cute candle holders.
The options are endless!
Feel free to mix techniques.
You can add designs using a sponge, tape, or even stencils.
This will make each jar unique and showcase your personal style.
With a bit of creativity, your painted mason jars can become a highlight in any space.
So gather your supplies and start crafting!
DIY Candle Holders
Creating your own candle holders can be a fun and easy weekend project.
You can express your style and add a cozy vibe to your home with just a few materials.
Consider making a candle holder using a small glass jar.
You can decorate it with colorful glass beads and some hot glue for an eye-catching piece.
It’s a straightforward project, perfect for both kids and adults.
For a minimalist touch, you might try crafting a concrete candle holder.
It can hold multiple candles and works beautifully with different sizes.
This option gives your space a sleek, modern look.
Another idea is to repurpose old book pages.
Simply fold the pages to create a unique holder for tea candles.
This not only looks great but also gives old items a new life.
With these simple ideas, you can easily make stunning candle holders that brighten up your space.
Gather your supplies, set aside some time, and get crafting!
3) Pom Pom Coasters
Pom pom coasters are a fun and colorful way to add a personal touch to your coffee table.
They’re easy to make and perfect for a weekend craft session.
Start with a base like a ceramic or porcelain tile.
Apply a generous layer of glue to the surface.
You can use a brush applicator for even coverage.
Once the glue is on, begin sticking down your pom poms.
Pack them tightly to ensure a full look.
You can mix colors for a vibrant effect or stick to one color for a more subtle style.
Let your coasters dry completely before using them.
Once ready, they’ll protect your surfaces while adding charm to your decor.
Plus, they make great gifts for friends who appreciate handmade items.
Try different sizes of pom poms for varied textures and appearances.
These coasters are not just practical; they can really brighten up your space!
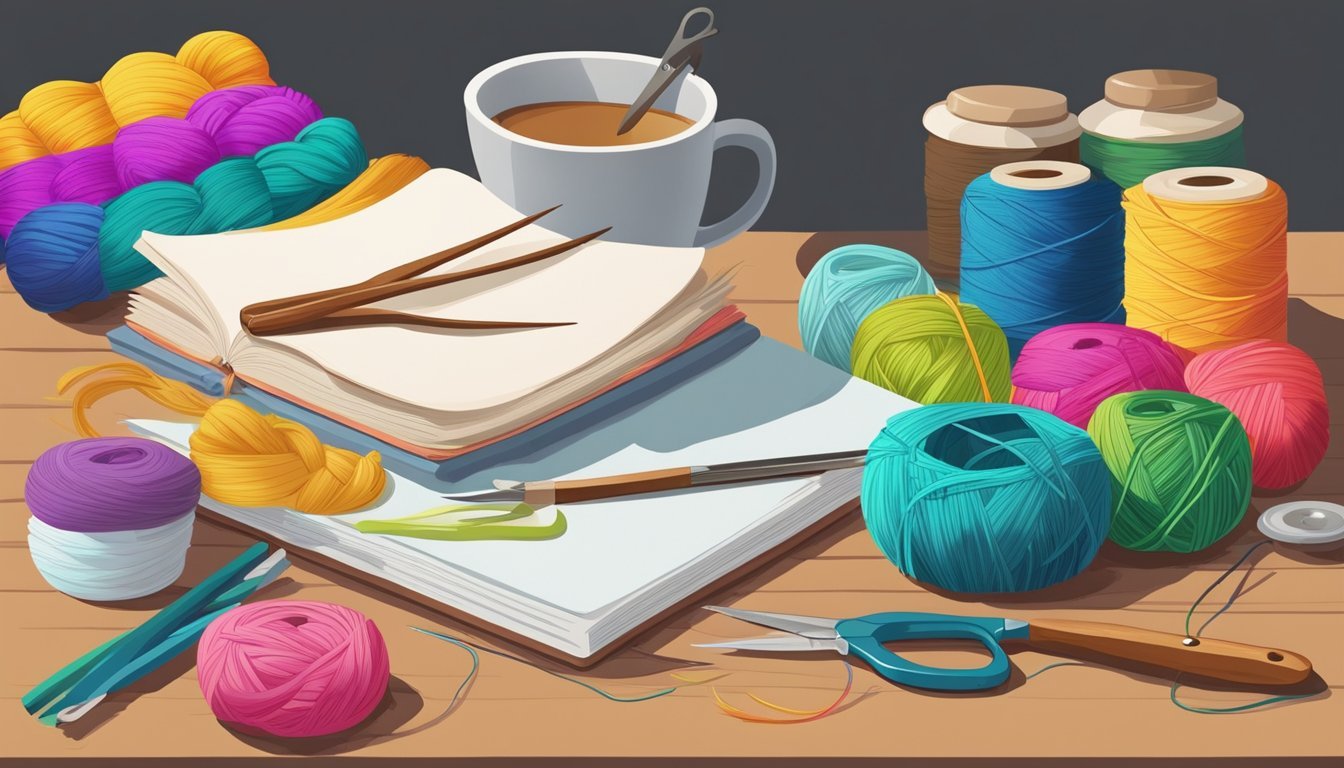
4) Yarn Wall Hanging
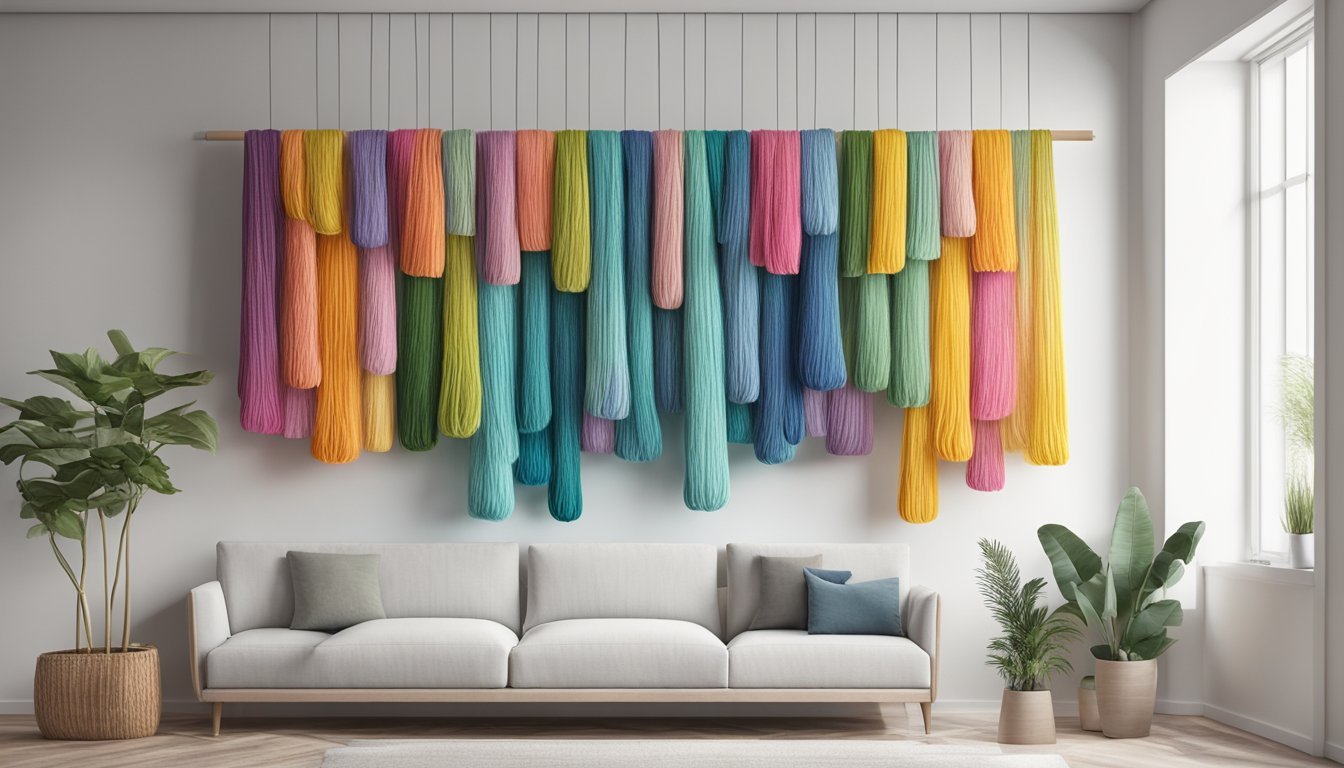
Creating a yarn wall hanging is a fun and easy project you can try this weekend.
It allows you to express your creativity and add a personal touch to your home decor.
Start with a basic framework.
You can use a wooden dowel or a branch as a base.
Then, choose your favorite yarns in different colors and textures.
This will add depth to your design.
To make your wall hanging, cut various lengths of yarn and tie them onto your base.
You can experiment with different knots and arrangements.
Mixing in beads or wooden elements can enhance the visual appeal.
Feel free to play with the shapes and layers.
A simple design might look wonderful with pom poms or even dip-dyed yarn.
The possibilities are endless.
Once finished, hang your creation on a wall where it can brighten up the space.
It’s a great way to showcase your personal style and add some warmth to any room.
Enjoy the process and let your imagination guide you.
5) Decoupage Notebooks
Decoupage notebooks are a fun and creative way to personalize your stationery.
You can turn a plain notebook into a unique piece that reflects your style.
Start by gathering supplies like a notebook, decoupage paper, scissors, and Mod Podge.
Cut the paper into shapes or designs that you want to use.
Next, apply a layer of Mod Podge on the cover of your notebook.
Lay down your cut-out paper pieces and press them down gently.
Once all your designs are in place, add another layer of Mod Podge over the top to seal everything.
For a neat finish, snip the corners of the paper.
Fold them over the edges and secure them with more Mod Podge.
Let it dry completely before using your new notebook.
These customized notebooks make great gifts too! You can match the design to someone’s personality or interests, making each one special.
Enjoy crafting and showing off your creation!
Fabric Scraps Garland
Creating a fabric scraps garland is a fun way to use up leftover fabric.
You can easily transform those bits and pieces into a colorful decoration for any occasion.
Start by cutting your fabric into strips.
Aim for a mix of lengths and widths to add some visual interest.
The more varied your scraps, the more unique your garland will be.
Next, take some twine or string and begin tying the strips onto it.
Feel free to experiment with different patterns or colors as you go along.
This is where you can really let your creativity shine.
Once you’ve added enough fabric, hang your garland wherever you like.
It could be draped over furniture, across walls, or even outdoor spaces.
This project not only looks great, but it’s also an eco-friendly way to reuse fabric.
Whether you’re preparing for a party or just sprucing up your space, a fabric scraps garland is an easy and enjoyable craft to tackle this weekend.
You’ll enjoy the process as much as the final product!
7) Button Art Canvas
Creating a button art canvas is a fun and simple project that adds a personal touch to your decor.
You can use brightly colored buttons to make a unique design that reflects your style.
Start with a wrapped canvas in your preferred size.
Choose a color scheme that complements your space, such as vibrant hues or pastel shades.
Arrange the buttons on the canvas in your desired pattern before gluing them down.
You might create a tree, an ombre pumpkin for fall, or any design that inspires you.
It’s all about being creative and enjoying the process.
Don’t hesitate to use different shades of buttons for depth.
This craft is perfect for all ages and makes an excellent weekend activity.
You can even involve family or friends and turn it into a mini crafting party.
Gather your materials and let your imagination lead the way!
8) Terra Cotta Pot Wind Chimes
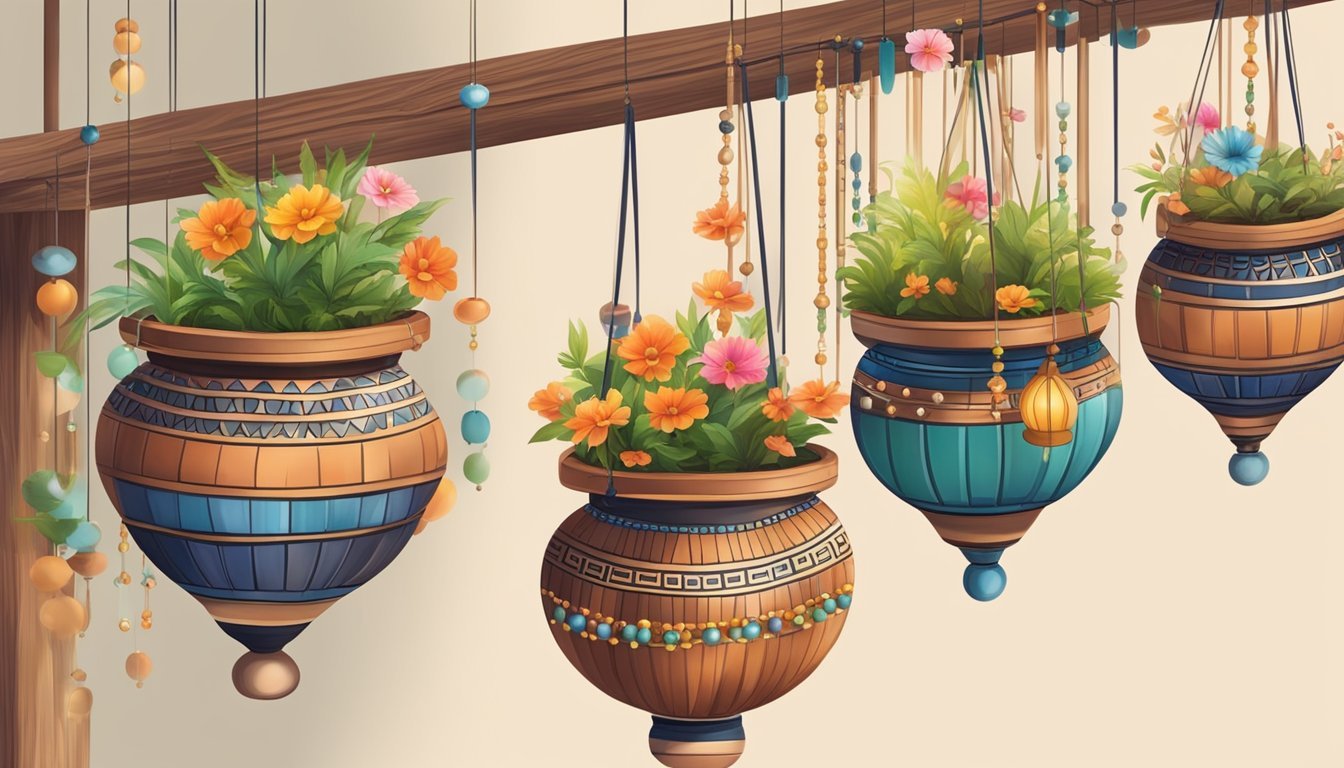
Making terra cotta pot wind chimes is a fun and simple craft that brightens up your garden.
You can customize them with various pot sizes and colors to fit your style.
Start by gathering a few clay pots.
Choose different sizes for unique sounds when they chime together.
Once you have your pots, let your creativity flow.
You can paint them or leave them natural for a rustic look.
Using wood beads and twine will help create a melodic sound as the pots tap against each other.
To assemble, tie your pots together with twine.
Hang them from a sturdy branch or hook.
The gentle sound of the chimes adds a lovely touch to any outdoor space.
These wind chimes are not only easy to make but also a delightful addition to your garden decor.
Enjoy crafting and relaxing to the soothing music they create!
9) Photo Clipboards
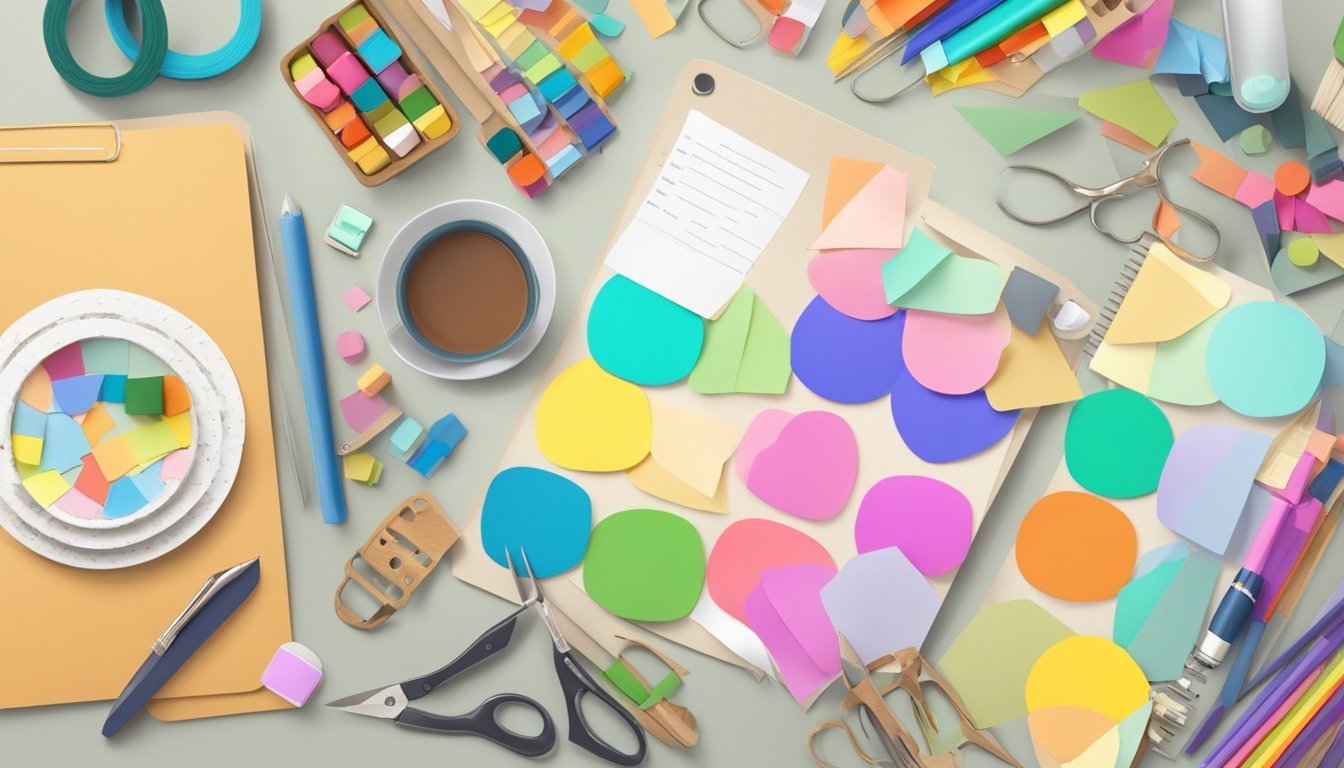
Photo clipboards are a fun and easy way to showcase your favorite pictures.
They add a personal touch to your home or office space.
To make your own, start with a simple clipboard.
You can use old clipboards or buy new ones.
Decorate them with paint, fabric, or even scrapbook paper.
Print your favorite photos in sizes like 8×10 for a neat display.
You can get prints at local photo centers without spending too much.
Once your clipboard is ready, clip your photos on and hang them up.
This project is great for changing out images whenever you want.
You can also make themed clipboards, like a travel or family collection.
It’s a great way to reminisce and share memories with guests.
This project is not only straightforward but also lets you show off your personality.
10) Tin Can Lanterns
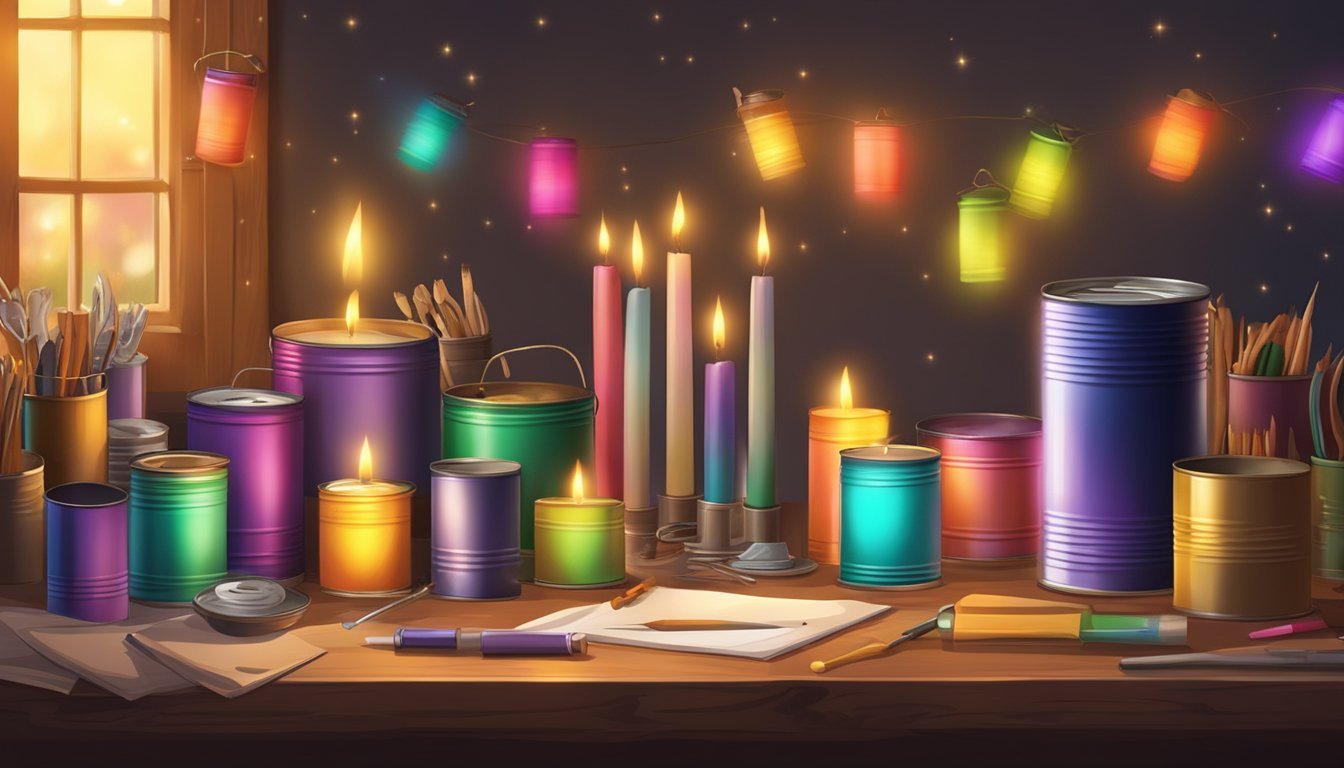
Creating tin can lanterns is a fun and eco-friendly craft project.
You can use empty cans from your kitchen, like tomato or soup cans, to give them a new life.
Start by cleaning your cans thoroughly inside and out.
Soak them in hot, soapy water to remove any labels and residue.
Make sure to dry them well to avoid any slipping while you work.
Next, punch holes in the cans to create your desired design.
You can make stars, hearts, or any pattern that suits your style.
Use a hammer and a nail for this step, but be careful with sharp edges.
You can fill the lanterns with candles or LED lights for a cozy glow.
If you want to add some flair, spray paint them in bright colors or metallic shades.
These lanterns are perfect for outdoor gatherings or cozy nights at home.
Get creative and make a few of different sizes and shapes.
Your homemade tin can lanterns will brighten up any space.
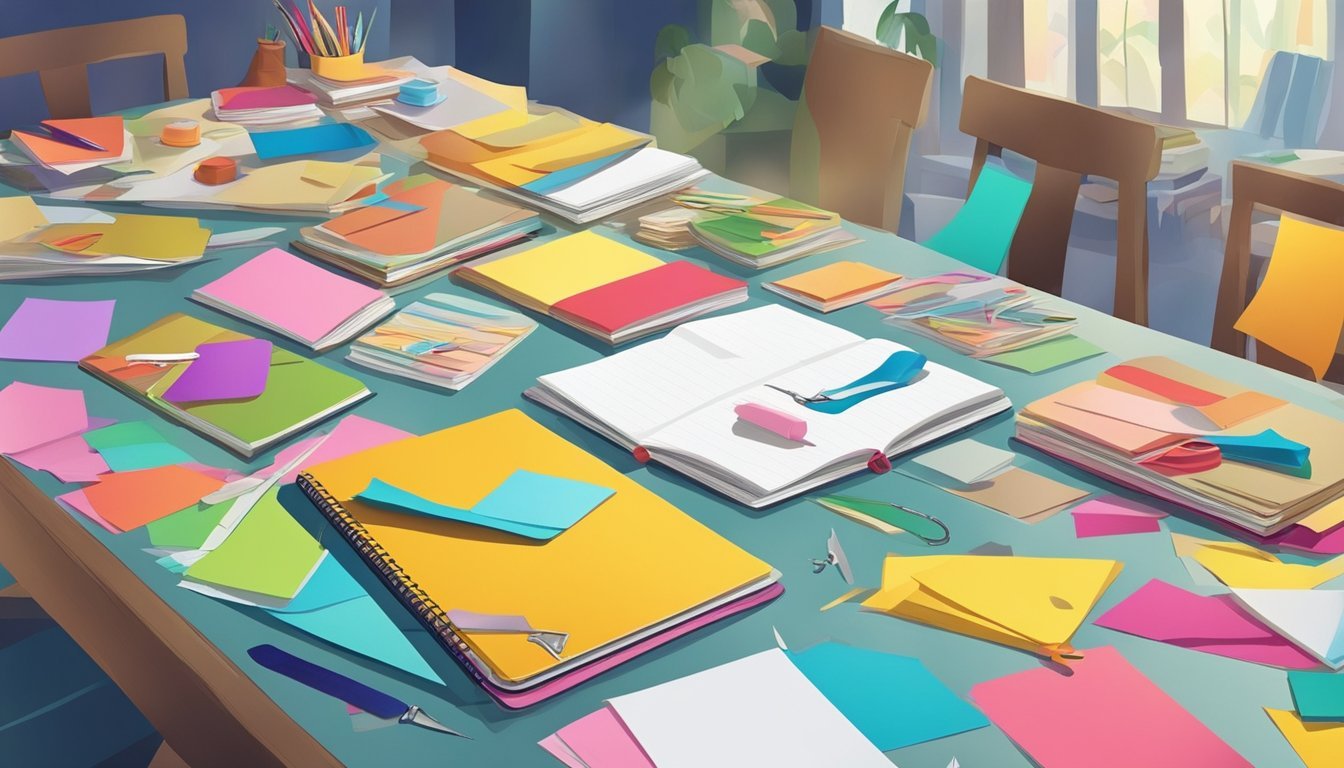
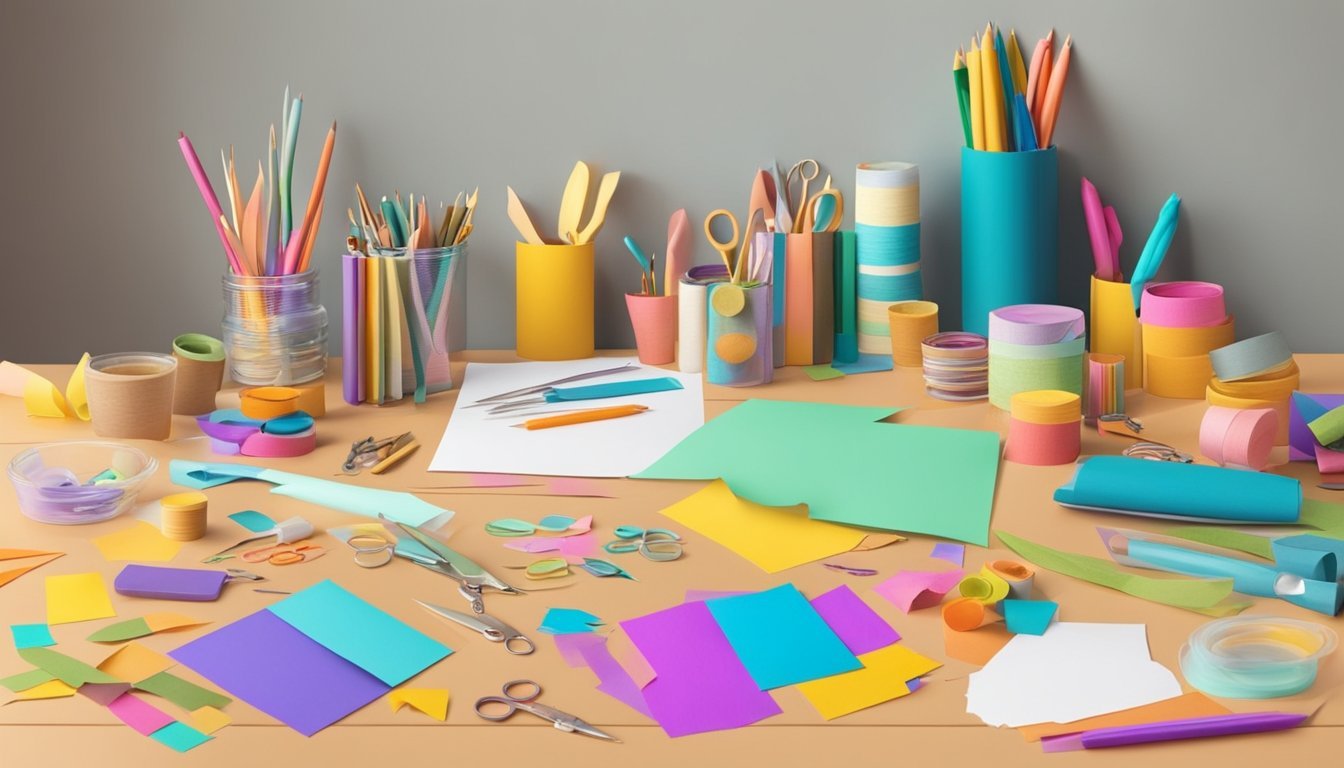
Craft Tool Essentials
Having the right tools makes all the difference in your crafting experience.
Let’s explore what you need to get started and how to choose the best materials for your projects.
Basic Tools You Need
Before diving into any craft project, having essential tools on hand is crucial.
Here’s a list of must-haves:
- Scissors: Invest in a good pair for precise cuts. Consider specialty scissors for different textures.
- Glue: A versatile craft glue or hot glue gun is great for various materials.
- Craft Knife: For detailed cutting and intricate designs, a sharp craft knife is essential.
- Cutting Mat: Protect your surfaces while making clean cuts.
- Ruler and Measuring Tape: Accurate measurements help bring your project to life.
- Pencil/Pen: For marking out designs or measurements before cutting.
These basic tools will set you up for success and can be used across many different crafting projects.
How to Choose the Right Materials
Selecting the right materials is as important as having the right tools.
Here are some tips to guide you:
- Project Requirements: Consider what your project needs. Fabric, paper, wood, or mixed media? Each requires different materials.
- Durability: Think about how long you want your project to last. Choose sturdy materials for items that will be used frequently.
- Color and Texture: These elements can enhance your crafts. Don’t hesitate to explore various options to find what suits your style.
- Sustainability: If you’re conscious about the environment, look for eco-friendly materials, such as recycled papers and natural fibers.
Taking the time to choose your materials wisely will ensure your finished product looks and feels great.
Tips for Successful Crafting
Getting your craft project off to a good start involves smart planning and having a space dedicated to your creativity.
These tips will help you manage your time effectively and ensure your workspace is conducive to crafting.
Time Management for Weekend Projects
Effective time management can make a big difference in your crafting experience.
Start by setting clear goals for what you want to accomplish.
Break down your project into smaller, manageable tasks.
Then, create a schedule and allocate specific time blocks for each task.
For example, if you’re making a decoration, spend the first hour gathering materials and the next two on crafting.
Next, prioritize tasks and identify which ones are essential.
Tackle those first and save the less important ones for later.
Lastly, use a timer to keep yourself accountable.
This can help you stay focused and reduce distractions.
A little planning on Friday can lead to a smoother crafting experience on Saturday and Sunday.
Creating a Dedicated Workspace
Your workspace plays a crucial role in your crafting success.
A well-organized area can improve focus and streamline your process.
-
Choose the Right Location: Find a spot that’s quiet and free from interruptions. Also, good lighting is important, so consider a well-lit table or desk.
-
Organize Your Supplies: Use bins or shelves to keep all your materials accessible. You can also label items to minimize searching time.
-
Keep Tools Handy: Arrange scissors, glue, and other frequently used tools within arm’s reach. This saves time and keeps your workflow efficient.
-
Comfort Matters: Ensure your seating is comfortable and your workspace is at a suitable height. You’ll want to craft for hours without discomfort.