

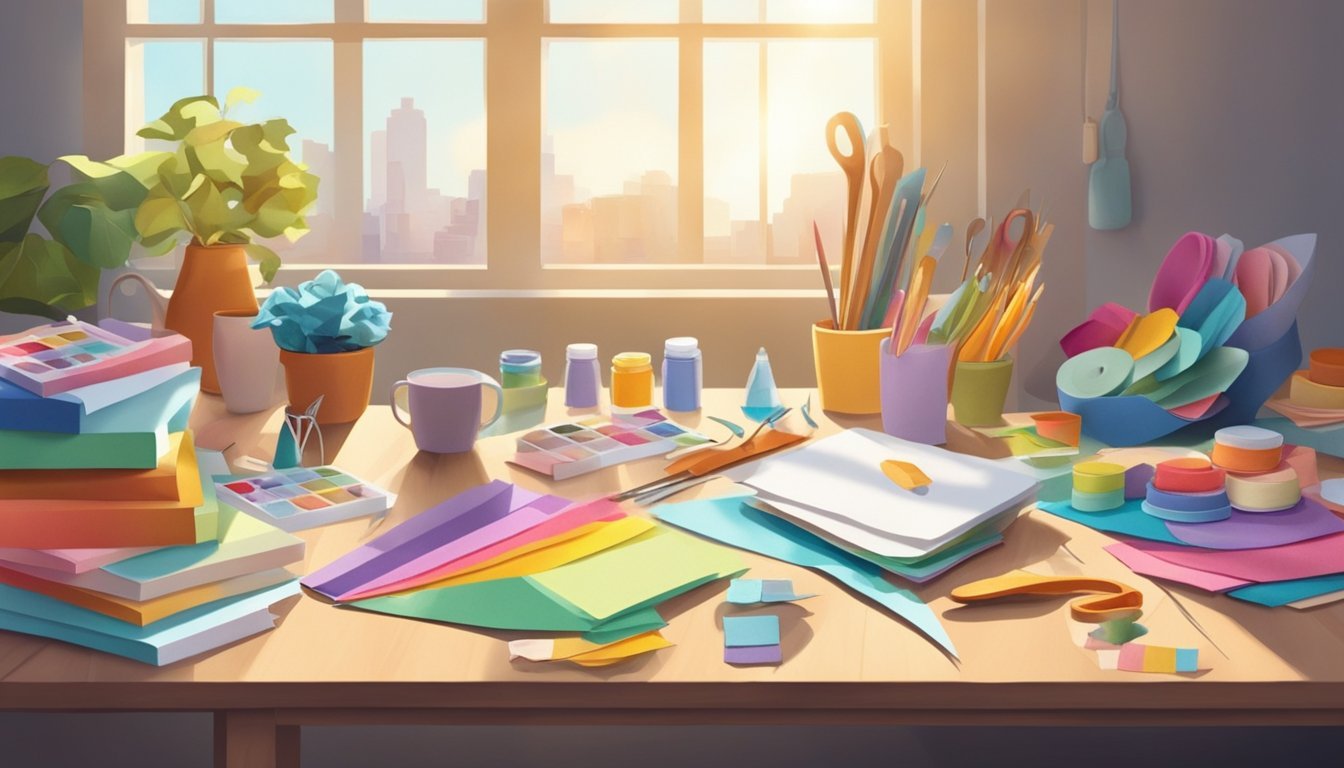
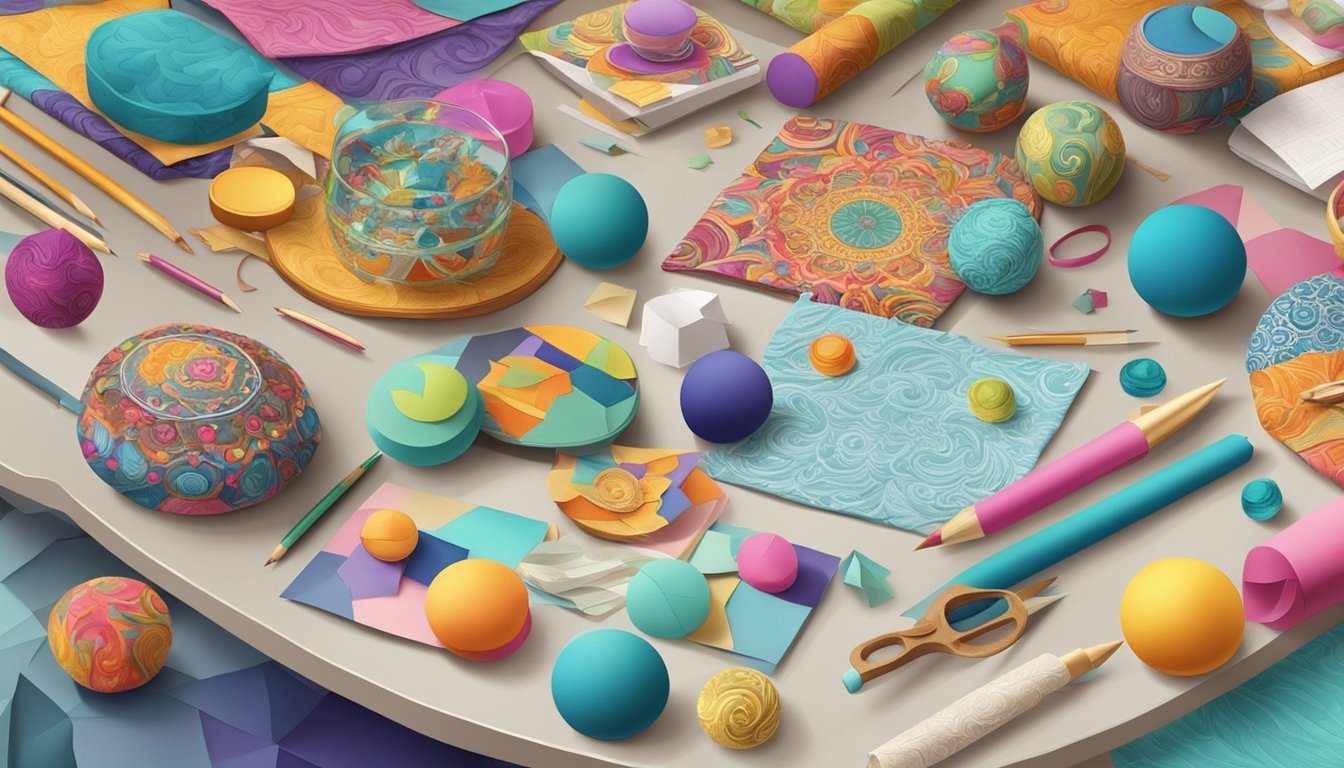
Combining paper crafts with fabric art opens up a world of creative possibilities. This blend allows you to explore unique textures and dimensions in your projects.
It also enhances both visual appeal and tactile experience.
You can take your artistic expression to new heights by integrating various materials.
This leads to one-of-a-kind pieces that reflect your individual style.
Whether you are a seasoned artist or just starting, mixing these mediums can lead to exciting discoveries. Experimenting with techniques like collage, stitching, and layering not only broadens your skill set.
It also makes the crafting process more enjoyable.
The fusion of paper and fabric invites innovation and experimentation, giving you the freedom to create something truly special.
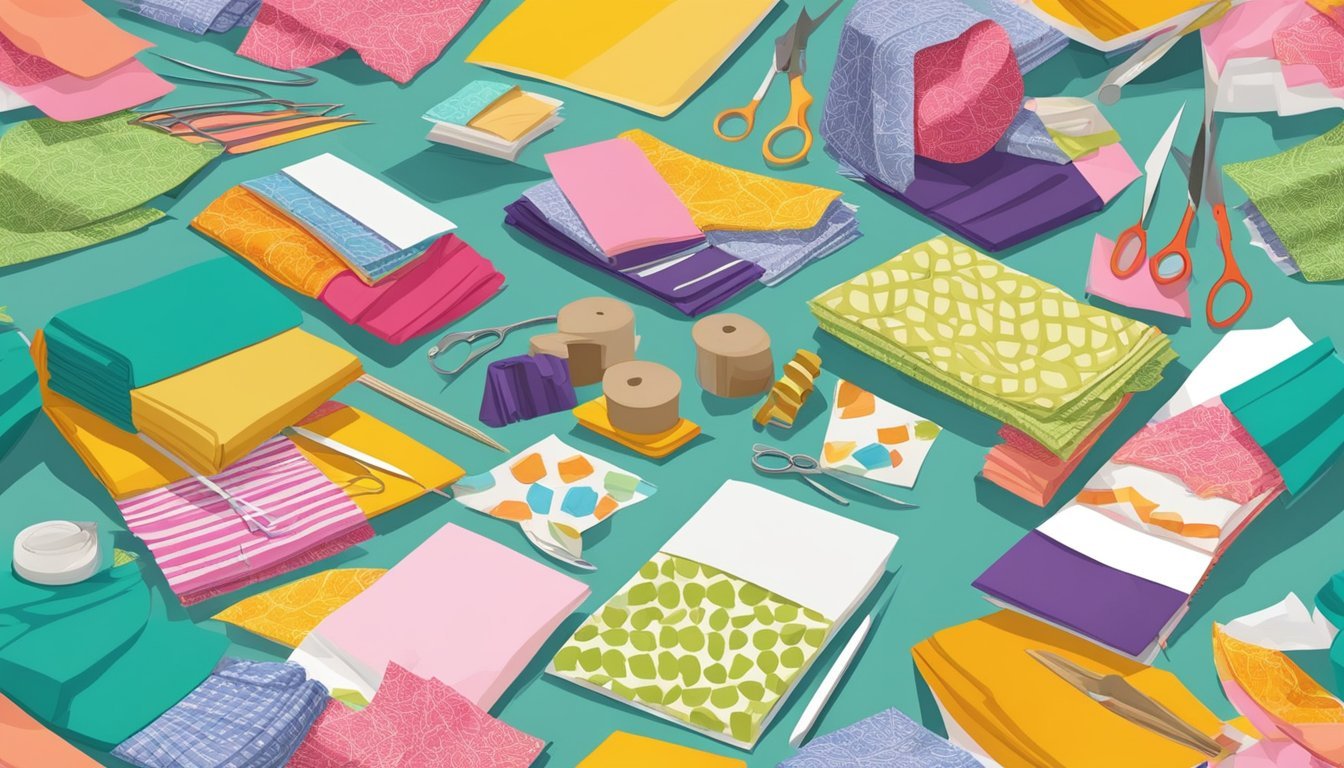
Decoupage with Scrap Fabric
Decoupage is a fun way to combine your fabric scraps with various surfaces.
You can create unique decorations or revamp old items.
Start by selecting your fabric pieces.
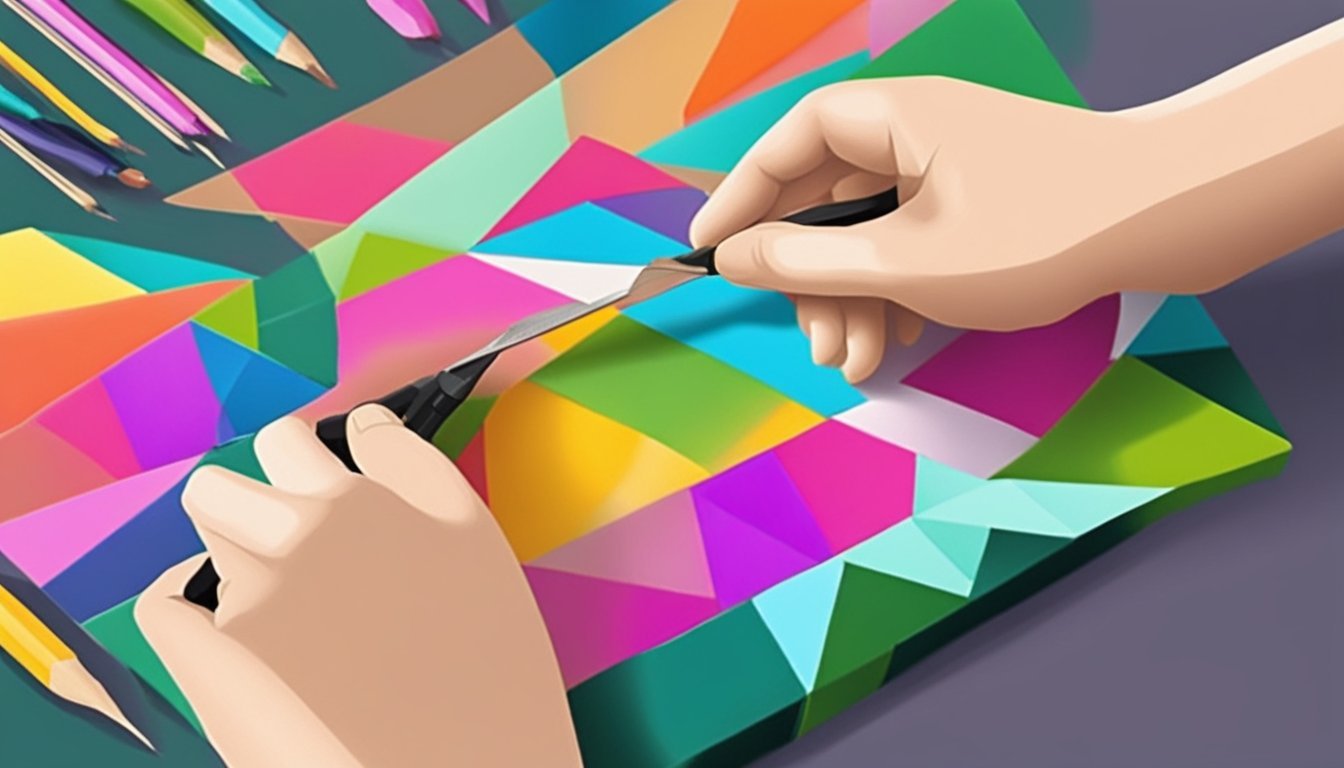
Choose colors and patterns that speak to you.
Cutting them into various shapes can add texture and interest to your project.
Next, gather your supplies.
You’ll need a surface to decorate, fabric scraps, decoupage glue, and a brush.
If you’re feeling adventurous, clear sealant can give your project a finished look.
Apply a layer of decoupage glue to your surface.
Then, place the fabric scraps where you want them.
Brush more glue over the top to seal everything in place.
Let it dry completely.
You can add more layers if you like a thicker look.
Once you’re done, you’ll have a beautiful, personalized piece.
This technique is great for making art you can display at home.
Plus, it’s an excellent way to use up those fabric scraps that have been sitting around.
Enjoy the process and let your creativity flow!
Patchwork Greeting Cards
Creating patchwork greeting cards is a fun way to use up your fabric scraps.
Start by cutting your fabric into random strips.
Aim for pieces that are at least ½ inch longer than the front of your cardstock.
Once you have your strips, take a piece of cardstock and lay it flat.
Begin on one end and place your first strip down.
You can alternate colors and patterns to create an eye-catching design.
After layering the strips, you’ll want to trim the excess fabric to match the cardstock perfectly.
Secure the fabric with adhesive or by sewing along the edges for a finished look.
Feel free to decorate further with stamps or embellishments to personalize your card.
These cards are great for all occasions and add a personal touch to your greetings.
Enjoy the process and let your creativity shine through!
3) Fabric Collage Bookmarks
Creating fabric collage bookmarks is a fun way to combine your love for paper crafts and fabric art.
You can use leftover fabric scraps and paper to design unique bookmarks.
Start by selecting your materials.
Pick fabrics in colors and patterns that appeal to you.
Then, gather some sturdy paper as the base for your bookmark.
Cut your fabric into various shapes or strips.
Arrange these pieces on the paper base in a way that looks good to you.
Once you’re happy with the layout, use a glue like Mod Podge to secure everything in place.
For added flair, consider stitching around the edges of the fabric with a sewing machine or by hand.
This adds a nice touch and keeps the pieces intact.
Finish your bookmark by trimming the edges for a neat look.
You can also embellish it with stickers, washi tape, or drawings if you want.
Enjoy your personalized bookmarks each time you read!
4) Paper Quilled Flowers on Fabric
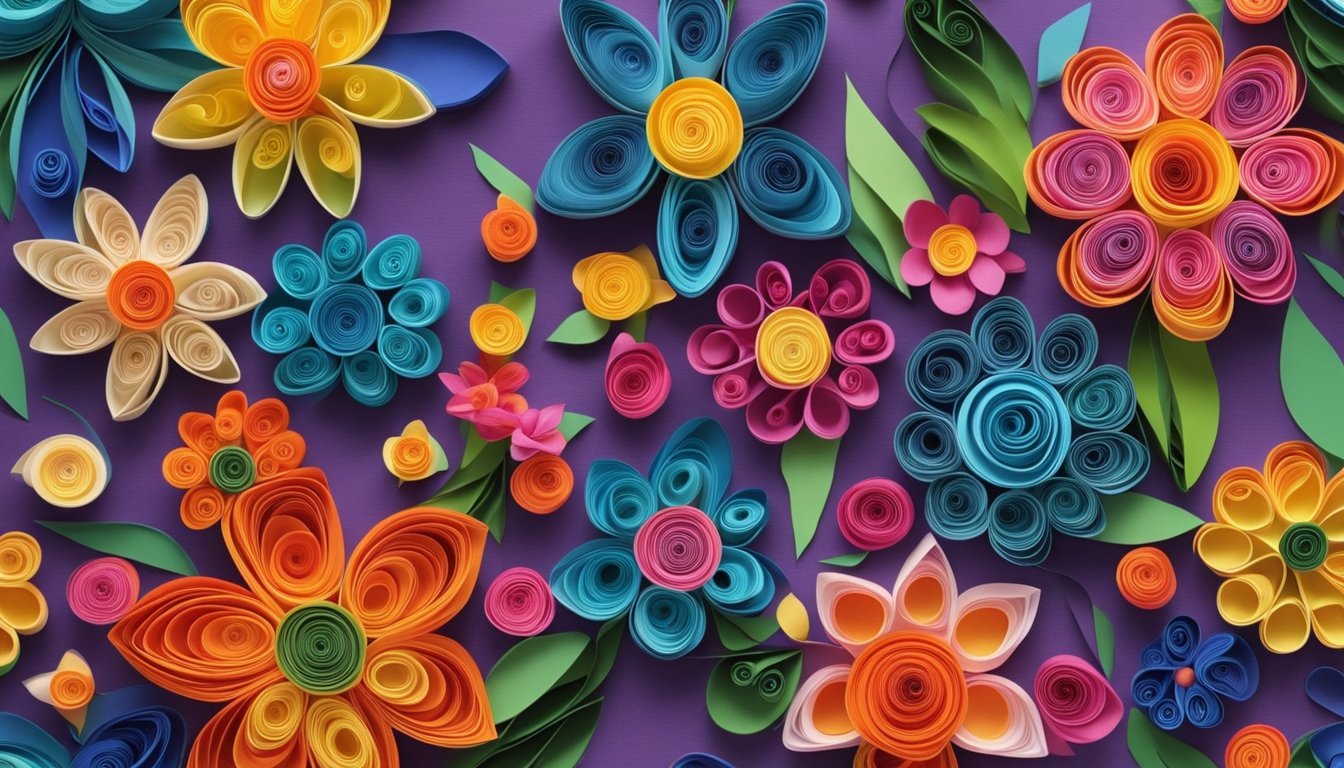
Adding paper quilled flowers to fabric can elevate your projects with unique texture and color.
You can use these flowers to embellish bags, clothing, or wall hangings.
To start, create your quilled flowers using various strips of paper in your favorite colors.
The process is simple: roll, shape, and glue the paper strips into petals and center pieces.
Once your flowers are ready, you can attach them to fabric items.
Use a strong fabric glue or sew them in place for extra durability.
This will secure your artwork so it withstands everyday use.
Consider using contrasting or complementary fabrics to really make the quilled flowers pop.
For instance, a vibrant flower on a neutral background can draw attention and showcase your work beautifully.
Try mixing different types of materials for added interest.
Pairing paper with fabric can create a stunning mixed-media look that is both artistic and versatile.
Remember to experiment with different arrangements until you find a design you love!
Mixed Media Wall Hangings
Creating mixed media wall hangings can be a fun way to blend paper crafts with fabric art.
You can use a variety of materials to express your creativity.
Start by gathering some fabric scraps and interesting papers.
These can be anything from old books to colorful magazine pages.
Layer these materials on a canvas or a sturdy base.
Don’t be afraid to overlap them.
This adds depth and texture to your piece.
Using a diluted Mod Podge or another adhesive can help you attach everything securely.
You can also stitch pieces together for a more cohesive look.
Consider adding embellishments like beads, buttons, or ribbons.
This step personalizes your artwork and makes it unique.
Hang your finished piece in a spot where it can be admired.
Mixed media wall hangings bring a vibrant and personal touch to any space.
6) Fabric Print Gift Wrap
Fabric print gift wrap is a fun and eco-friendly way to dress up your presents.
Instead of traditional wrapping paper, you can use reusable fabric squares that add a personal touch.
To start, choose a fabric with a print that matches the occasion.
Seasonal patterns work great for holidays, while brighter prints can celebrate birthdays.
Cut your fabric into a square, making sure it’s large enough for your gift.
Place your item in the center of the fabric and fold the corners over the gift.
You can tie the ends together or tuck them neatly for a polished look.
This method not only looks good but also reduces waste.
If you’re feeling creative, you can even decorate plain fabric with fabric paint or stamps.
This way, you can customize your gift wrap to fit your style perfectly.
Remember, the key is to have fun and make it uniquely yours!
7) Paper and Fabric Bead Necklaces
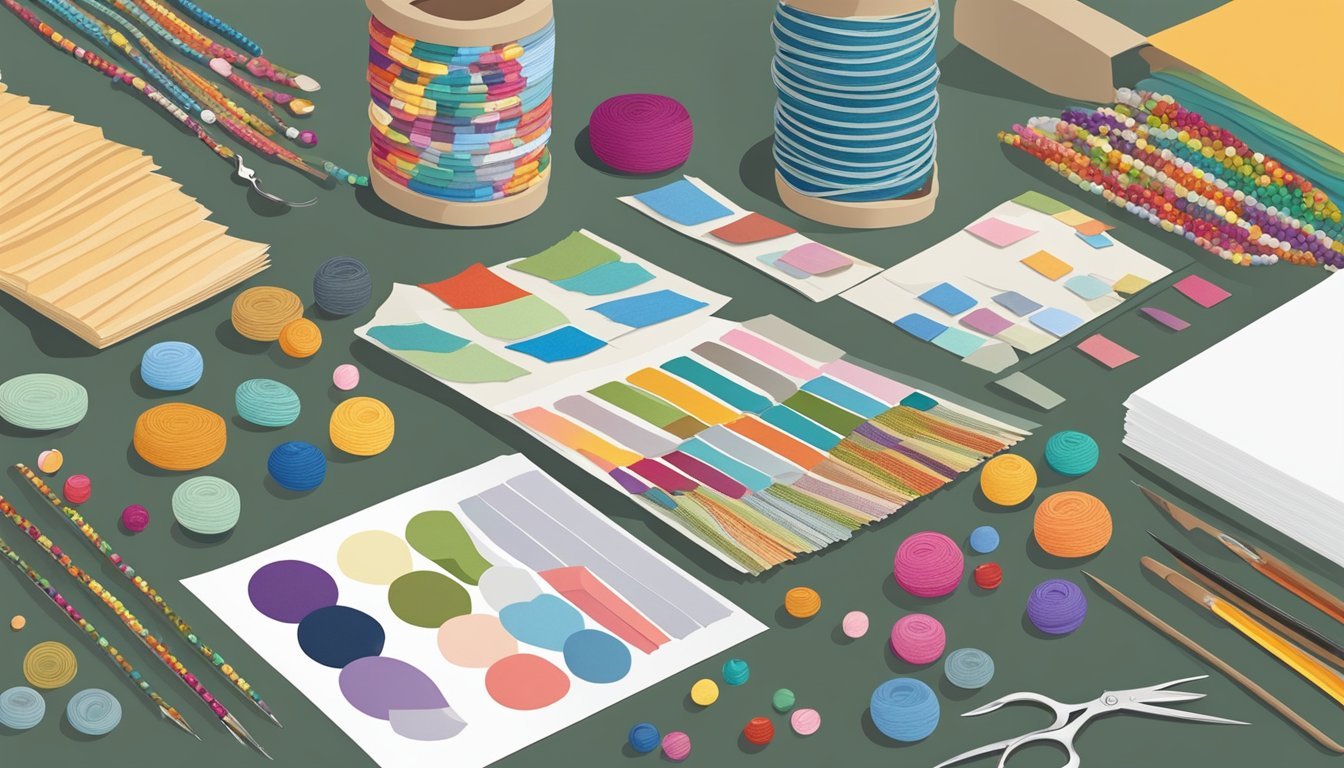
Creating paper and fabric bead necklaces is a fun way to mix these two mediums.
You can start by making beads from colorful paper, which adds a vibrant touch to your design.
To get going, cut strips of fabric that will complement your paper beads.
A good size for fabric strips is about 2.5 inches wide and 42-44 inches long.
Be sure to leave the selvages intact for easier handling.
Next, create your paper beads.
You can roll paper snippets into bead shapes or use techniques like folding.
After that, string your fabric and paper beads together.
You might want to slide in some cotton balls for added texture.
Tie knots to secure your beads, making sure they are evenly spaced.
This combination not only looks great but also feels unique to wear.
Experiment with different colors and patterns.
Each necklace can be a personal reflection of your style.
Enjoy the process and let your creativity shine!
8) Decorative Fabric Paperweights
Making decorative fabric paperweights is a fun and practical craft.
You can easily use fabric scraps that you already have at home.
Start by choosing a smooth rock or a small weighted object.
Make sure it’s clean and dry before you begin.
Apply a layer of fabric Mod Podge to the surface.
Next, select your favorite fabric scrap.
Press it onto the rock, then add more Mod Podge on top.
This helps seal the fabric and adds stability.
Continue layering by overlapping different scraps.
Feel free to mix colors and patterns for a unique look.
You can also add decorative elements like ribbons or buttons for extra flair.
Just remember to seal everything with a final coat of Mod Podge.
These paperweights not only keep your papers in place but also serve as eye-catching decor for your workspace.
Enjoy creating something that reflects your style!
Embroidered Paper Journals
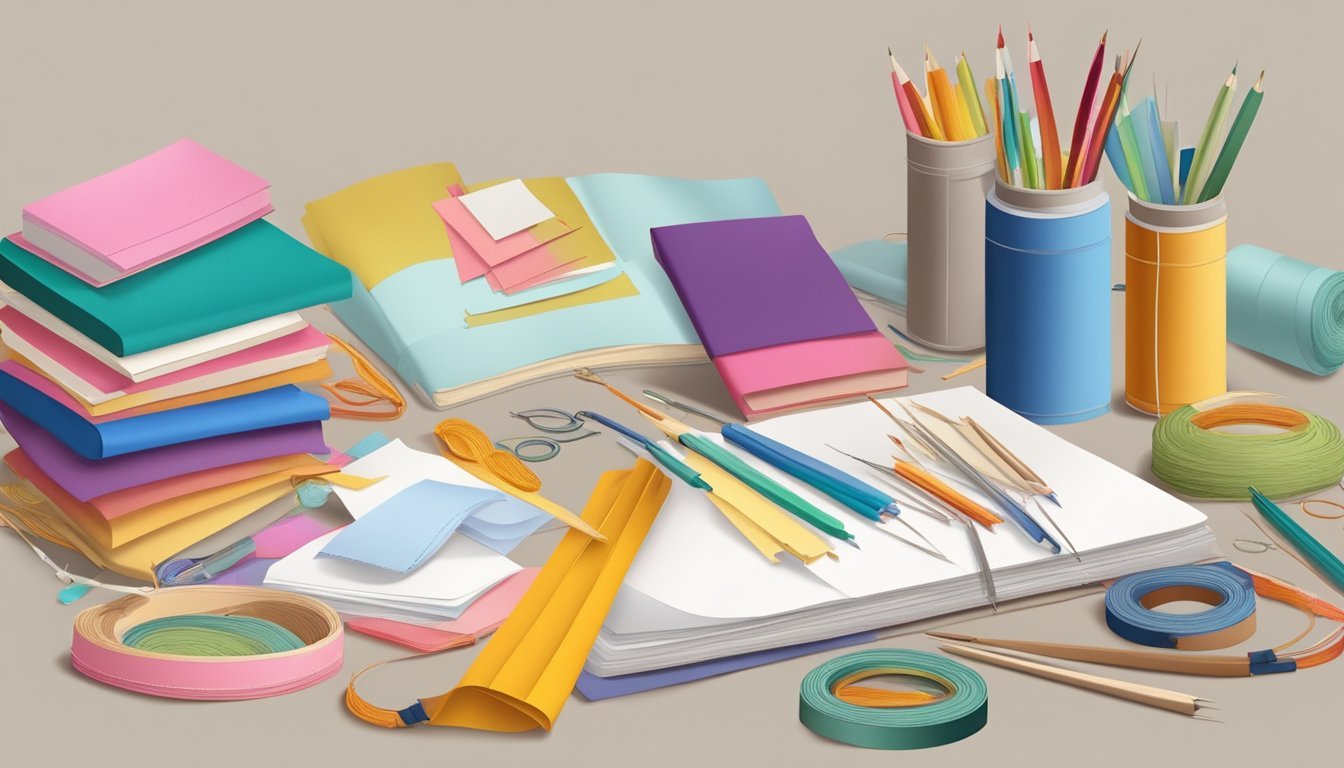
Creating embroidered paper journals can be a fun way to blend paper crafts with fabric art.
Start with a sturdy piece of paper or cardstock for the cover to ensure durability.
Choose fabrics that complement or contrast with your paper selection.
Simple embroidery stitches can add texture and interest.
Techniques like running stitches or French knots work well on paper.
To begin, sketch or trace a design on your paper cover.
Use a light pencil or marker for clear visibility.
Then, carefully pierce small holes along the outline for easier stitching.
Once your holes are ready, thread your needle with embroidery floss.
Begin stitching your design, securing the fabric in place as you go.
You can also layer pieces of fabric onto the paper for a mixed-media approach.
Don’t hesitate to combine colors and patterns.
Your creativity will shine through in the final product.
Embroidered paper journals not only look unique but also provide an interactive element to your crafting experience.
10) Handmade Fabric and Paper Bunting
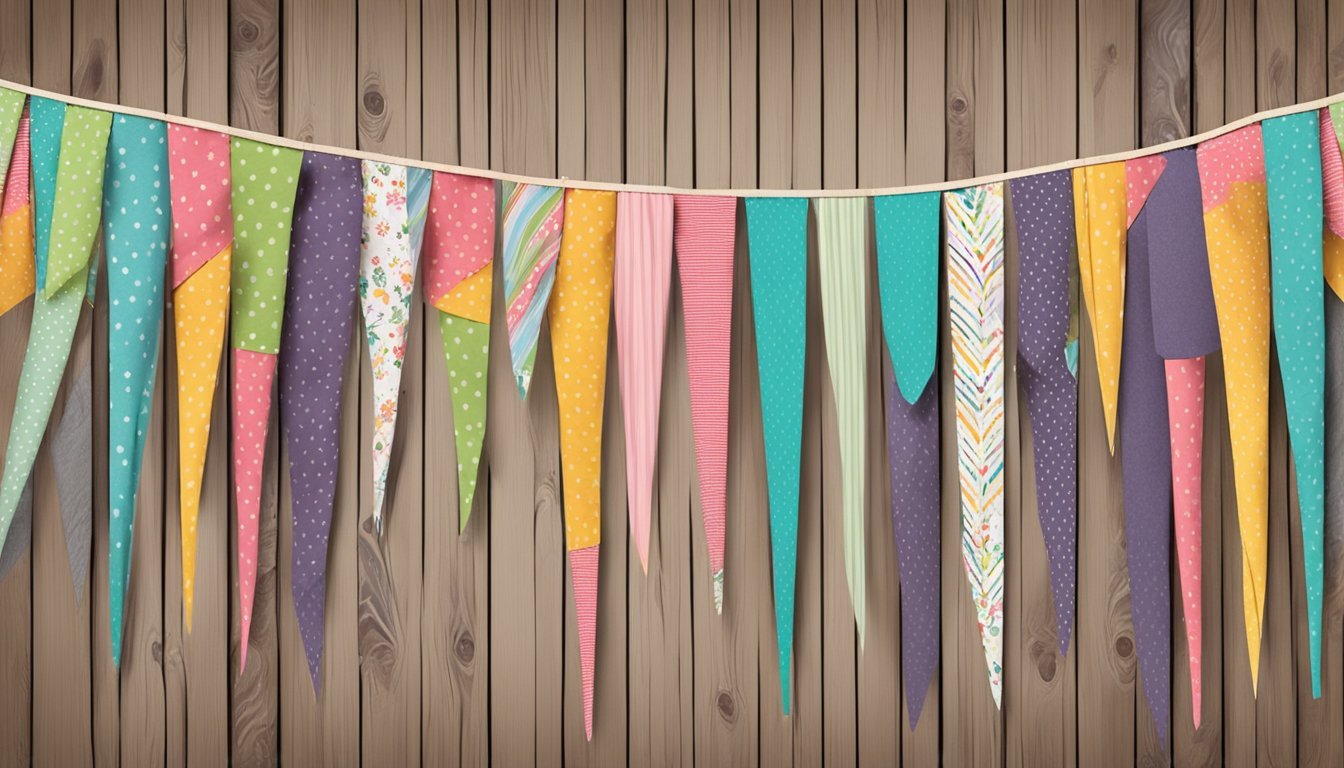
Creating handmade bunting with fabric and paper is a fun and creative project.
You can customize it for any occasion, adding a personal touch to your decor.
Start by selecting your materials.
Choose colorful paper and fabric that complement each other.
You could use patterned fabric for a playful look and solid paper for contrast.
Cut out triangles or other shapes from both the fabric and paper.
Use a template for consistency.
For fabric, fold the fabric, trace the shape, and then cut it out.
This will give you neat pieces ready to assemble.
Next, lay out the shapes in your desired order.
Secure the fabric and paper pieces onto a string or ribbon.
You can use glue or stitch them together.
Position them so they are evenly spaced.
Hang your bunting in a place that catches the eye.
It could be for a party, a celebration, or just to brighten up your space.
Mixing fabric and paper adds texture and dimension to your handmade decorations.
Enjoy the process and let your creativity shine!
Basic Techniques for Combining Paper and Fabric
Combining paper and fabric can add texture and depth to your projects.
Here are some essential techniques to help you create stunning mixed media art.
Choosing the Right Adhesives
Selecting the right adhesive is crucial when working with both paper and fabric.
Different materials interact differently with adhesives.
Here are some popular options:
- Mod Podge: It’s great for sealing and bonding. You can use it like a glue or a finish.
- Fabric glue: This type of glue is specifically formulated to adhere fabric without causing stiffness.
- PVA glue (white craft glue): It’s versatile and effective for paper but may not hold fabric securely over time.
Always consider the weight of the materials you’re using.
For heavier fabrics, a strong adhesive like hot glue might work best.
Test the adhesive on a small piece first to see how it reacts and dries.
Layering and Mixing Media
Layering is a vital technique in mixed media art.
You can layer paper and fabric to create depth effectively.
Here’s how to do it:
- Start with a base: Use a sturdy paper such as cardstock or watercolor paper.
- Cut and arrange: Choose fabric and paper pieces that complement each other. Then, start by laying them out before adhering.
- Mix textures: Combine rough fabrics with smooth papers for contrast. This adds visual interest.
Don’t be afraid to experiment.
You can use stitching, staples, or decorative tape to add extra elements.
The key is to build texture gradually, so your piece remains visually appealing without becoming cluttered.
Creative Project Ideas
Combining paper and fabric art opens up a world of creative possibilities.
Here are two engaging project ideas that let you blend these materials beautifully.
Framed Art and Wall Hangings
Creating framed art is a fun way to showcase your paper and fabric techniques.
Start with a sturdy frame that suits your style.
Use heavy paper or cardstock as the base.
Cut out fun shapes or patterns with your fabric scraps and arrange them in an eye-catching design.
You can layer these materials for depth.
For instance, glue fabric shapes onto the paper and embellish with details like buttons or ribbons.
Once your composition is ready, secure it in the frame.
Hang it in your living room or give it as a gift for a personalized touch.
Decorative Book Covers
Transforming plain book covers into decorative pieces can be both functional and artistic.
Begin by selecting a book you want to cover.
Take measurements of the book’s dimensions to cut your fabric and paper scraps accordingly.
Use a strong adhesive or Mod Podge to attach your fabric to the cover.
You can add a layer of decorative paper on top for more texture.
Consider adding pockets or tabs using extra fabric for a unique finish.
Don’t forget to personalize with your favorite quotes or designs.
This project not only beautifies your space but also revitalizes your cherished books.