

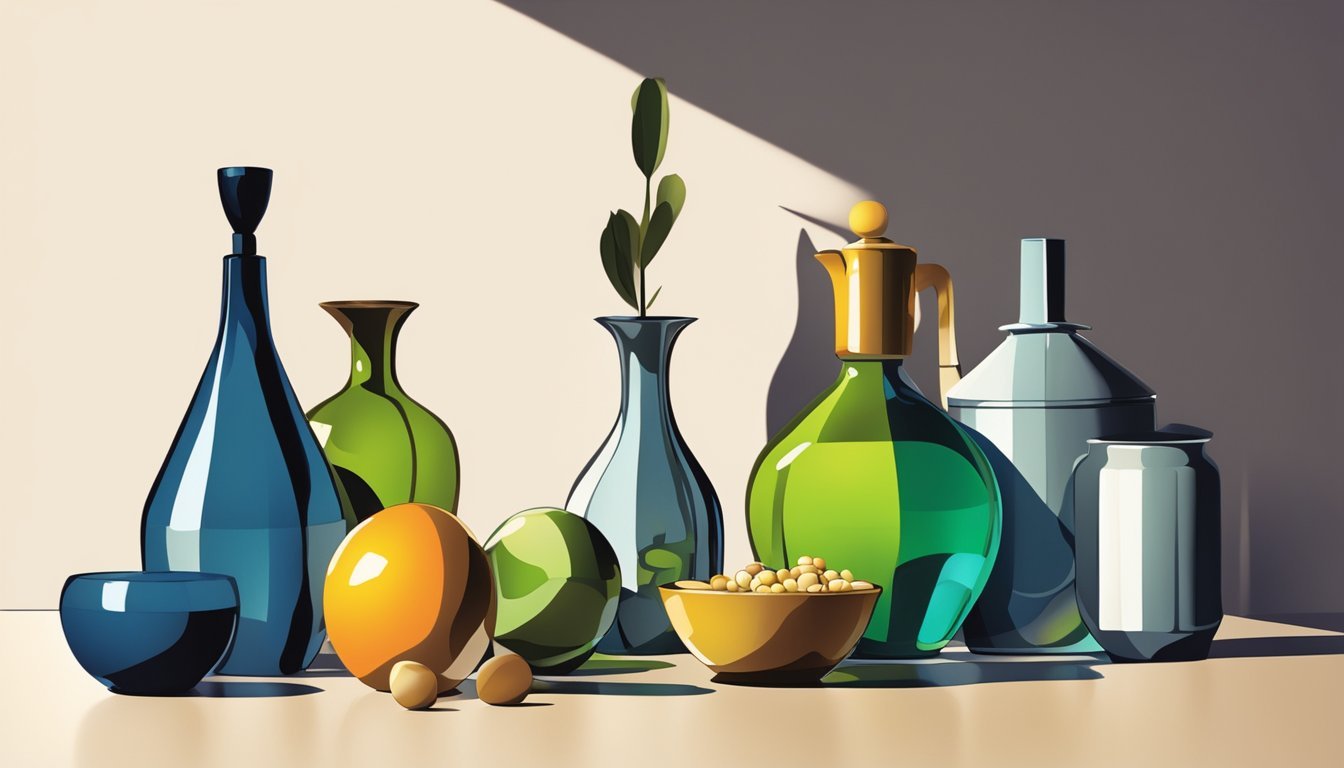
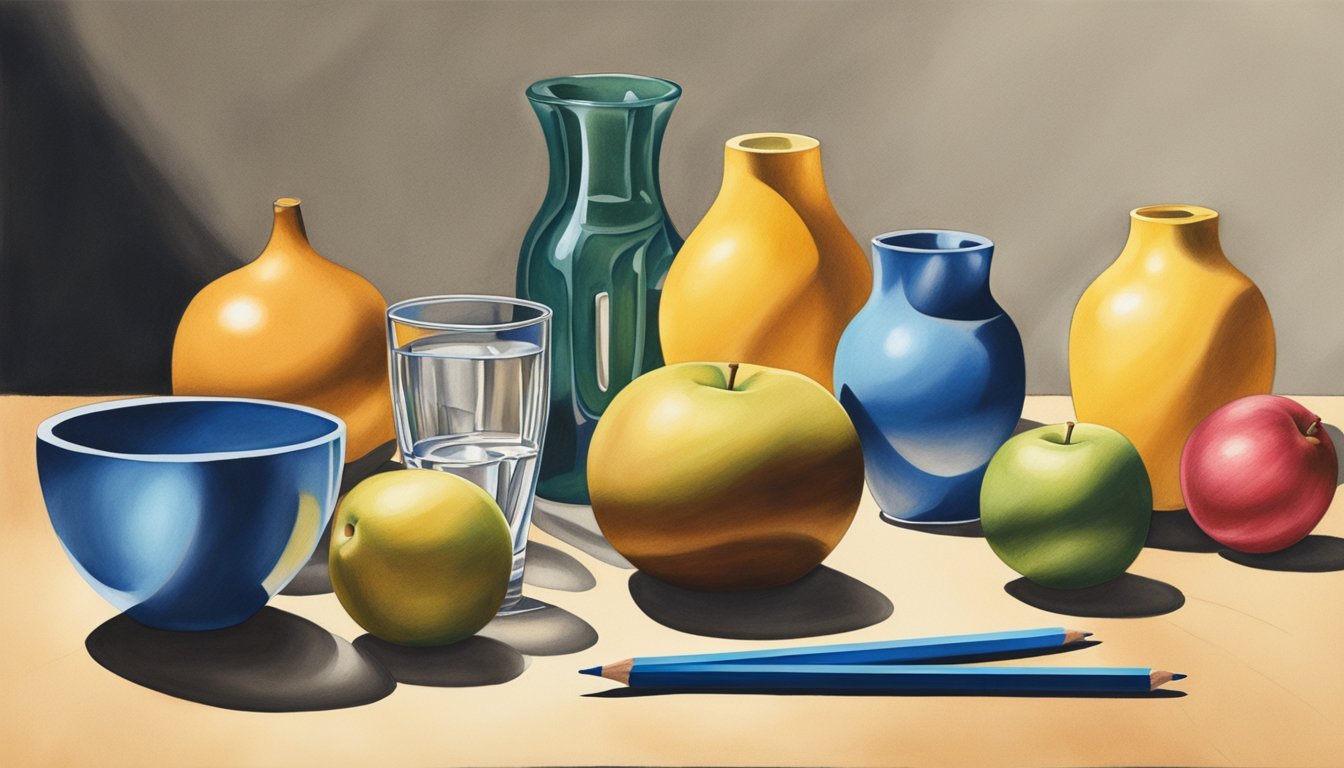
Mastering shading techniques with colored pencils can really elevate your artwork.
Learning how to control colors, layering, and blending can transform flat images into vibrant, three-dimensional pieces.
These skills are essential if you want your drawings to have depth and realism.
As you explore different methods, you’ll find that shading isn’t just about adding color; it’s about creating light and shadow that make your subjects come alive.
With a little practice and the right techniques, you can achieve results that surprise even yourself.
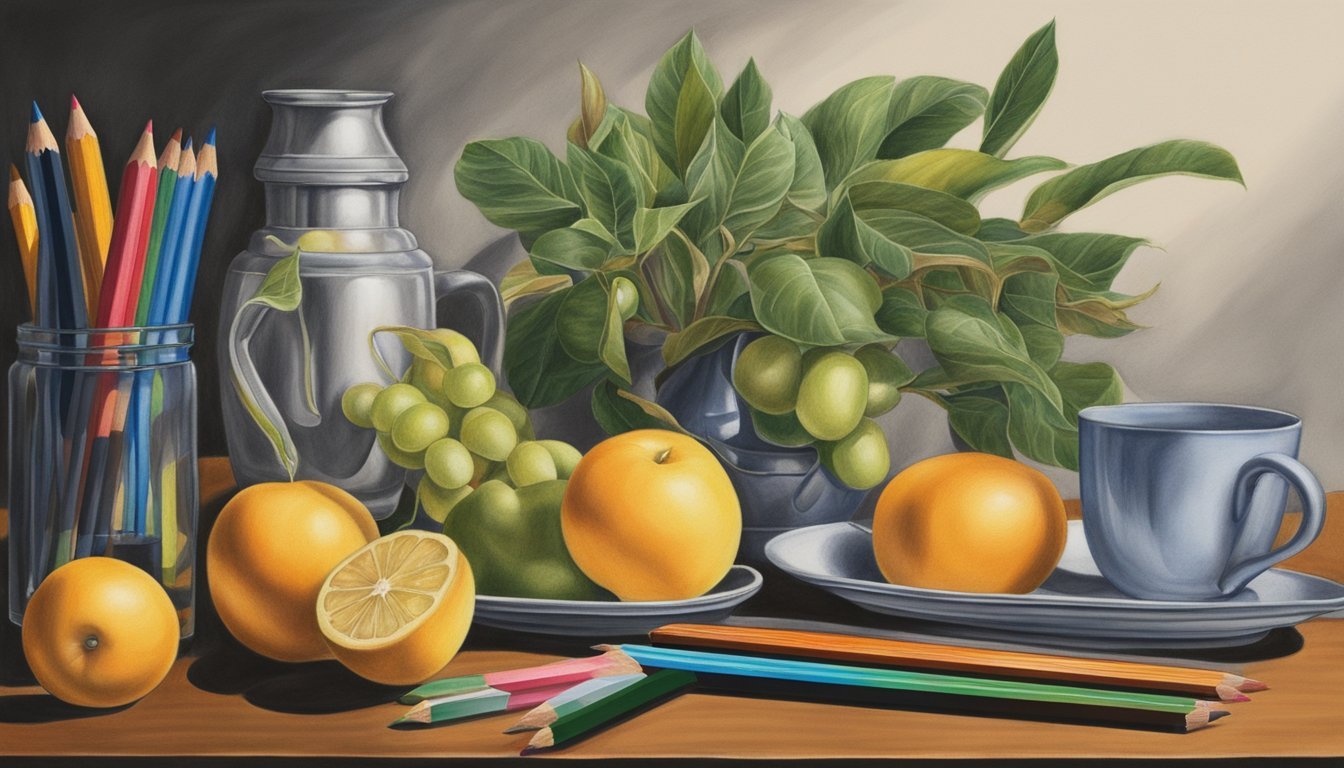
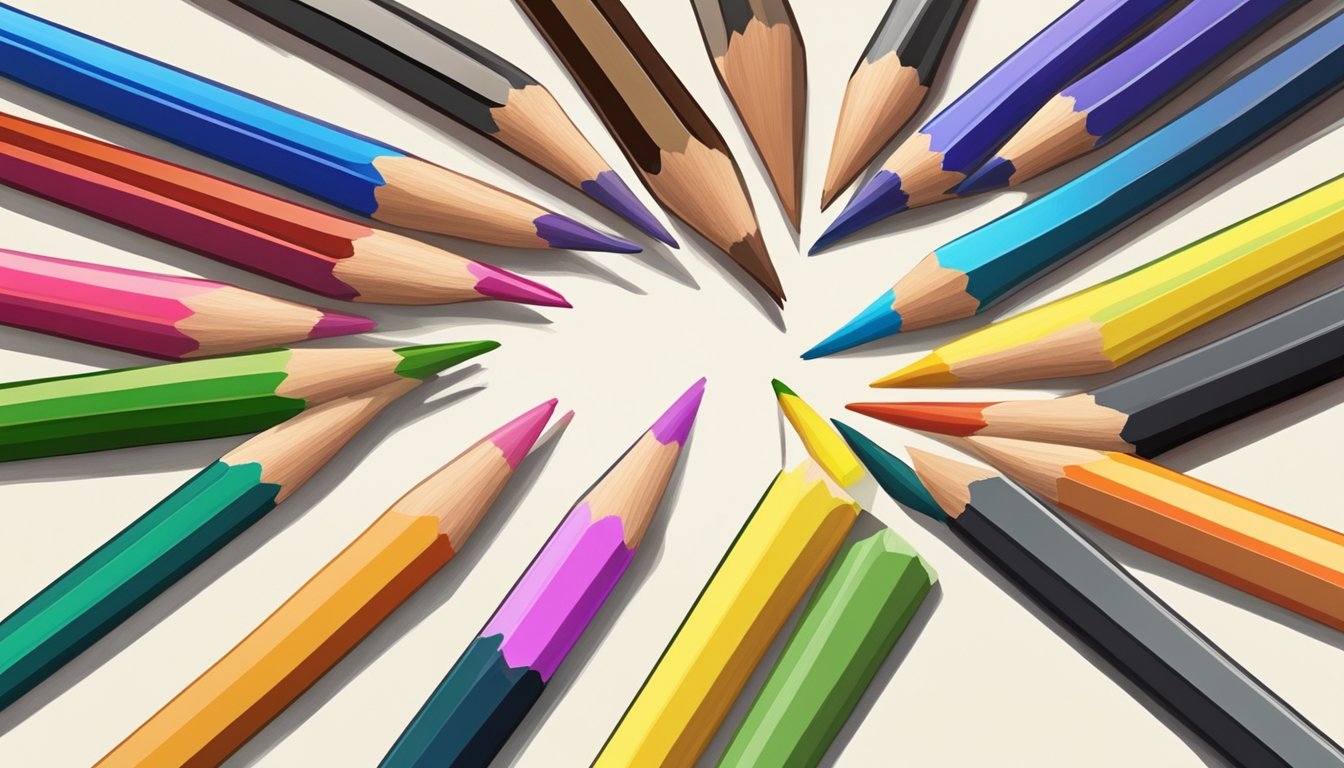
Invest in Quality Pencils
When it comes to shading with colored pencils, quality matters.
Investing in good pencils can significantly elevate your artwork.
Higher-quality colored pencils typically have better pigments and softer cores.
This means they blend more easily and produce richer colors.
Look for brands known for their durability and lightfastness.
These features ensure that your work will last and won’t fade over time.
Additionally, consider the type of pencils that fit your style.
Some artists prefer wax-based pencils for their smooth application, while others like oil-based ones for their resistance to breakage.
Having a variety of pencils can enhance your shading techniques, allowing for greater control over your work.
Aim for a set that includes a range of light to dark shades.
Use a Color Wheel
A color wheel is a handy tool for mastering shading techniques.
It helps you understand color relationships and how to mix hues effectively.
You can use the color wheel to find complementary colors.
These are colors that are opposite each other on the wheel.
When used together, they create striking contrasts in your artwork.
Analogous colors are right next to each other on the wheel.
These colors work well together and can create smooth transitions in shading.
This technique can add depth to your drawings.
Experiment with tints and shades by adding white or black to your colors.
This will give you a range of tones to work with when shading.
Using a color wheel can guide you in choosing colors that enhance your artwork.
It’s an essential tool to simplify the color mixing process and improve your shading skills.
3) Master Layering Techniques
Layering is essential for achieving depth in your colored pencil artwork.
Start with light colors and gradually build up darker shades.
This method helps you create a smooth transition between hues.
Use gentle pressure at first.
This lets you lay down color without overloading your paper.
As you feel confident, increase the pressure for darker layers.
Experiment with different techniques like burnishing.
This involves applying heavy pressure with a light-colored pencil to smooth your layers.
It gives a polished, glossy finish that can enhance highlights.
Remember, the closer your lines are, the darker the area appears.
Keeping your strokes parallel and consistent will help maintain control.
Don’t be afraid to mix colors.
Layering different shades can give your work a unique feel.
A little practice will lead to better blending and richer colors.
Stay patient and enjoy the process.
Each layer adds to your artwork, making it more vibrant and alive.
4) Practice Blending
Blending is where the magic happens in colored pencil drawings.
It helps create smoother transitions between colors and adds depth to your work.
Start by layering colors.
Apply a light base layer and gradually add darker shades.
The key is to use light pressure, allowing colors to build up over time.
Burnishing is another effective technique.
This involves pressing harder with your pencil to blend colors together.
Typically, you would use a lighter color over darker shades for the best effect.
Don’t hesitate to experiment with different tools.
You can use a blending stump, tissue, or even your finger for softer edges.
Each method will give you a unique finish.
Practice makes perfect.
Spend time experimenting with various blending techniques until you find what works best for your style.
Keep trying, and remember to have fun!
5) Utilize Different Pencil Pressures
Experimenting with pencil pressure is essential for mastering your shading techniques.
By varying how hard you press down, you can achieve a range of tones and textures in your artwork.
Light pressure will give you softer, more delicate shading.
This technique is great for areas that require subtle transitions, like skin tones or shadowy backgrounds.
Conversely, applying more pressure will produce darker, more intense marks.
Use this for deeper shadows or to emphasize certain details in your piece.
Practice combining both light and heavy pressure to create smooth gradations.
Try layering colors while adjusting the pressure to see how it affects the final look.
Pay attention to how your pencil responds to different surfaces too.
Some papers may require lighter touch, while others can handle more pressure without damage.
By understanding and mastering these different pressures, you can enhance the depth and dimension in your colored pencil art.
6) Experiment with Paper Textures
The type of paper you use can greatly influence your shading results.
Different textures can create varied effects in your colored pencil artwork.
Try smooth paper for fine details and crisp lines.
This type allows pencils to glide easily, making it perfect for precise shading.
On the other hand, textured or toothy paper can hold more pigment.
It allows for richer colors and deeper shades.
You may notice a unique blend and layering effect when using textured paper.
Don’t hesitate to mix and match.
Test your techniques on different surfaces to see how they impact your work.
You might even discover a paper that enhances your personal style.
Keep a sketchbook for practice.
Jot down notes on how each paper interacts with your pencils.
This way, you’ll build a solid understanding of what works best for your shading techniques.
7) Work on Highlighting
Highlighting is essential for creating depth and realism in your drawings.
It allows features to pop and gives a three-dimensional feel.
Start by identifying light sources in your composition.
This helps you determine where the highlights should go.
Use a white or very light-colored pencil to apply these highlights.
Layering is important.
Begin with a light touch to create soft highlights, then build up the intensity as needed.
Make sure to blend your highlights with the surrounding colors.
This will help them integrate seamlessly into your artwork.
Experiment with different techniques, like cross-hatching or stippling, to see what works best for your style.
Don’t be afraid to adjust your highlights as you go along.
Remember, practice makes perfect.
The more you work on highlighting, the more natural it will become in your drawings.
8) Focus on Shadows
Shadows play a crucial role in adding depth to your artwork.
When you focus on shadows, you create a sense of dimension that makes your drawings come alive.
Start by observing how light interacts with objects.
Notice where the light falls and where it is blocked, creating shadows.
This will help you understand the shape and placement of shadows in your work.
Use colored pencils to layer your shadows.
Begin with a light base and gradually build up darker tones.
Techniques like hatching and cross-hatching can help you achieve a textured look.
Don’t forget to consider the edges of your shadows.
Softer edges can give a more natural feel, while sharp edges may add drama.
Experiment with different pencil pressures to see what effects you can create.
Remember, contrast is key.
Dark shadows against lighter areas will enhance the overall impact of your piece.
Don’t shy away from bold darks; they can make your colors pop.
Incorporating shadows effectively will enhance your shading skills and elevate your colored pencil drawings.
Enjoy the process of discovering how shadows can transform your artwork!
9) Try Burnishing Techniques
Burnishing can take your colored pencil work to the next level.
This technique smooths the surface and gives a polished look to your shading.
Start by applying several thin layers of color.
The more layers you add, the better the burnishing effect will be.
Aim for at least eight layers to build a solid foundation.
Once you’re satisfied with your layers, it’s time to burnish.
Use a colorless blender or a lighter pencil, applying pressure on the desired area.
This compresses the pigments and creates a nice sheen.
Ensure you work in a well-lit area.
Good lighting helps you see how colors blend together and enhances your overall accuracy.
You can also use a tortillion, which is great for blending and refining edges.
It allows you to achieve a smooth transition between colors.
Practicing this technique will help you develop your skills in shading and give your artwork a professional finish.
Enjoy experimenting with burnishing to see how it enhances your colored pencil drawings!
Keep Your Pencils Sharp
Keeping your colored pencils sharp is crucial for achieving detailed shading.
A sharp pencil allows you to create fine lines and vibrant colors, which enhances your artwork.
Before you start drawing, make sure to sharpen all your pencils.
Use a reliable pencil sharpener to get a fine point.
This will help you apply your colors more precisely.
During your coloring session, don’t hesitate to sharpen your pencils again as needed.
Regularly maintaining a sharp point will help prevent frustration while you work.
If you notice the colors appearing dull, it may be time to sharpen.
A well-maintained pencil can transform flat areas into lively, dimensional spots on your paper.
Experiment with different sharpening methods, like using a craft knife for a fine tip.
Find what works best for you so that you feel comfortable while shading.
Remember, the key to effective shading lies in the tools you use, and sharp pencils are essential for great results.
Keep them in top shape, and you’ll see the difference in your artwork.
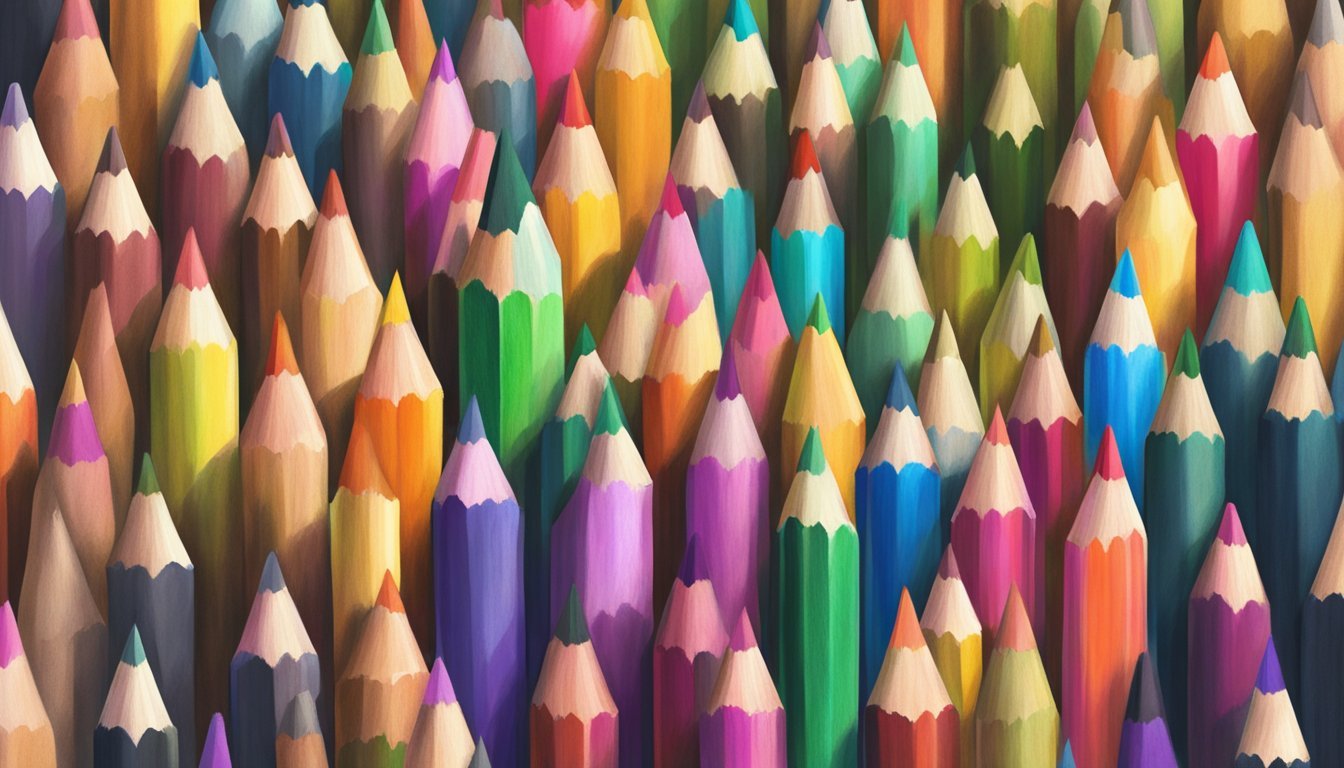
Understanding Colored Pencils
Getting familiar with colored pencils is essential for improving your shading skills.
You’ll find that the types of colored pencils and the paper you choose can significantly impact your artwork.
Here’s what you need to know.
Types of Colored Pencils
Several types of colored pencils are available, and each offers unique qualities.
Here are the most common:
-
Wax-based Pencils: These are popular for their smooth application and vibrant colors. They blend well but can be waxy and hard to erase.
-
Oil-based Pencils: These produce a more consistent color and don’t smudge as easily. They’re great for fine details but may require more pressure to apply.
-
Water-soluble Pencils: These can be used dry or mixed with water to create wash effects. They offer versatility but require additional techniques.
When selecting your pencils, consider the effects you want to achieve.
Experimenting with various types will help you find what works best for your style.
Choosing the Right Paper
The type of paper you use can affect your coloring experience drastically.
Here are some factors to consider:
-
Texture: Smooth paper allows for fine details, while textured paper provides a more dynamic finish and can hold more layers.
-
Weight: Heavier paper (around 200 gsm or more) can handle multiple layers and blending without warping. Lighter paper may buckle with heavy applications.
-
Color: A neutral or pastel paper can help showcase vivid colors. Darker papers can create dramatic contrasts but may limit how light colors appear.
Choose paper that complements your chosen colored pencils to enhance your artwork’s vibrancy and overall effectiveness.
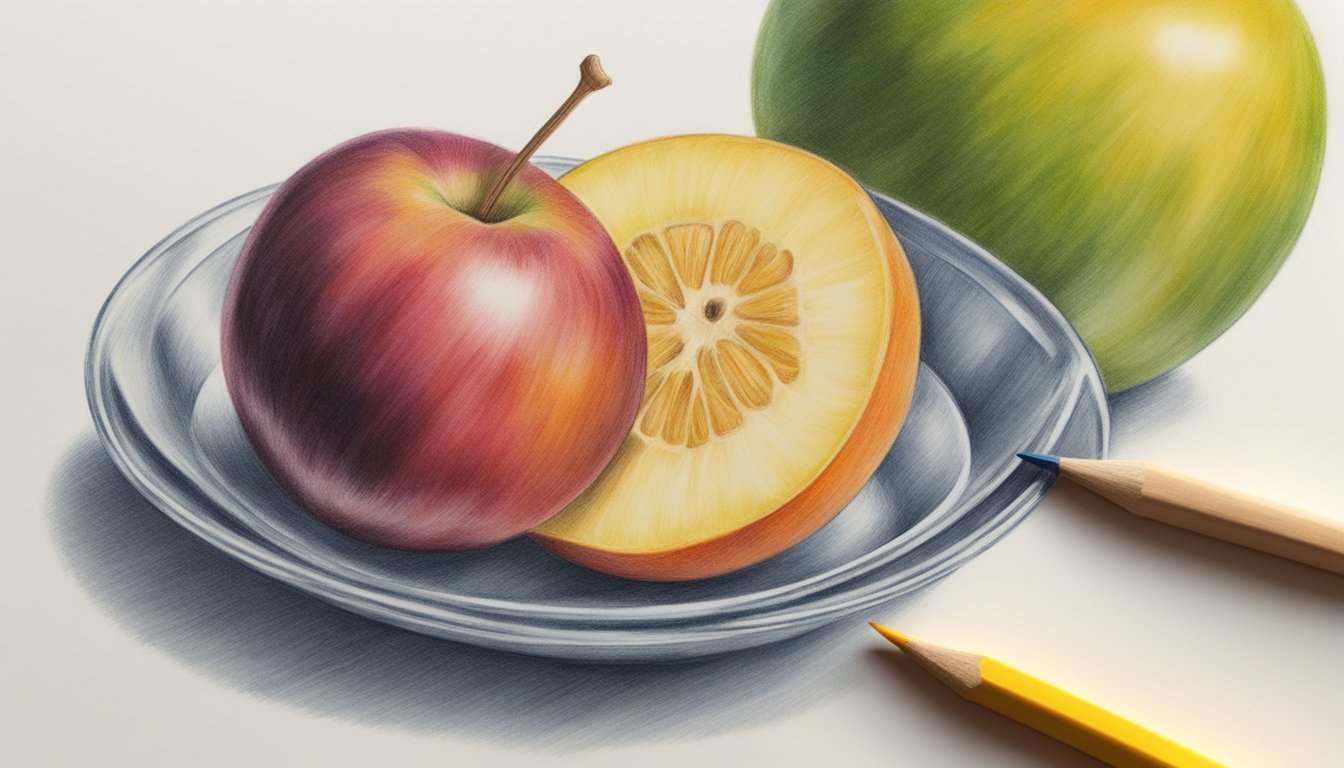
Basic Shading Techniques
When working with colored pencils, mastering basic shading techniques is essential for creating depth and dimension in your artwork.
Two key techniques are layering and blending, as well as using light and pressure.
Understanding these will help you elevate your drawings significantly.
Layering and Blending
Layering is the process of applying multiple layers of color to build depth.
Start with a light base layer.
This allows you to gradually add darker shades.
Each layer adds richness and vibrancy to your work.
When blending colors, use a gentle circular motion or side-to-side strokes.
A blending stump or your finger can help smooth transitions between colors.
Experiment with both techniques.
Combining layered colors with blending creates stunning effects.
Here’s a quick tip: always work from light to dark.
This approach gives you better control over your shading and prevents darker colors from overpowering your base layer.
Using Light and Pressure
Your pencil pressure plays a crucial role in shading.
Applying light pressure creates softer, lighter shades.
Conversely, pressing harder yields darker, more intense color.
By adjusting your pressure, you can create a range of values.
Explore different effects by varying your grip.
A relaxed grip helps achieve gentle transitions, while a firm grip can establish strong contrasts.
Additionally, consider using a variety of strokes, like hatching and cross-hatching.
These techniques allow you to control shadows and highlight areas effectively.
Remember, practice is key.
The more you experiment, the more you’ll discover what works best for your unique style.
Advanced Shading Strategies
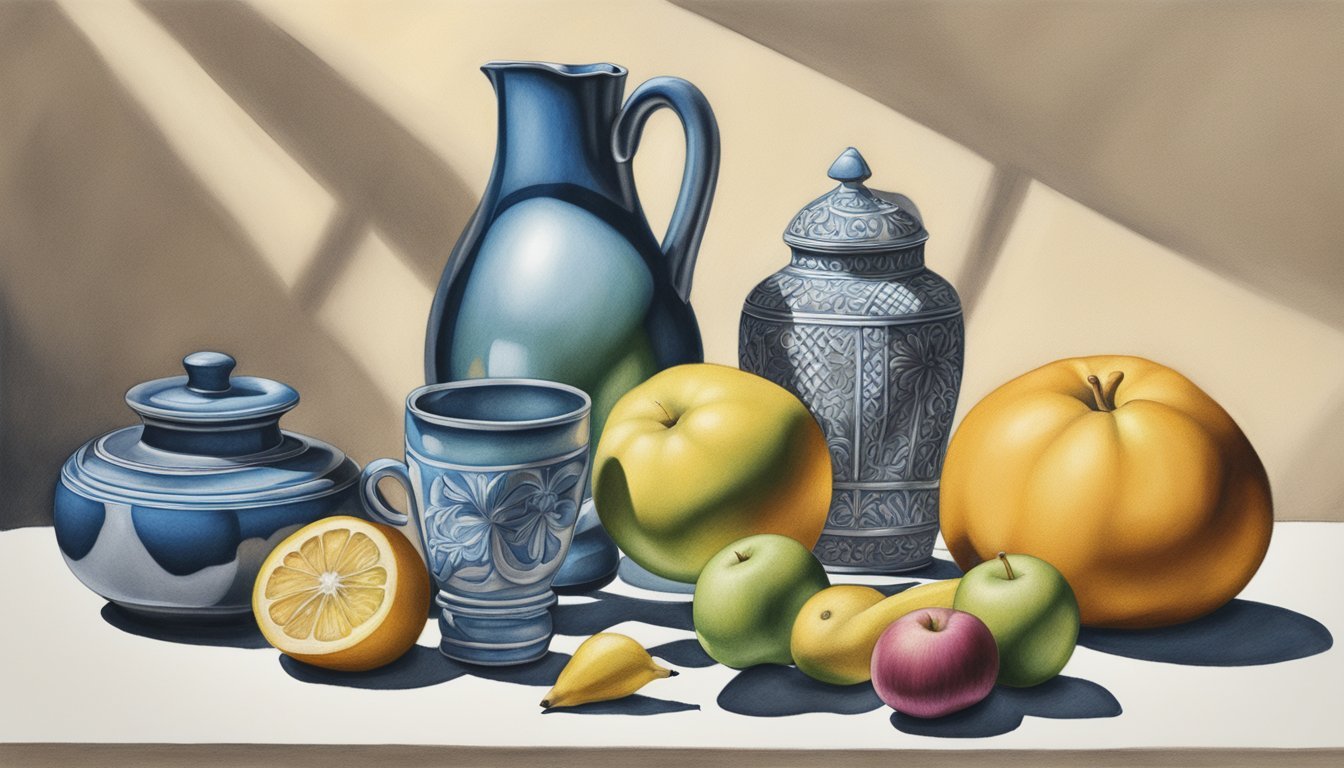
Mastering shading techniques with colored pencils involves advanced strategies that can elevate your artwork.
You’ll explore how to create textures and build depth and dimension in your drawings.
Creating Textures
Texture adds realism and interest to your artwork.
To create texture with colored pencils, start by experimenting with different pencil pressures.
- Light Pressure: This produces softer, more delicate textures.
- Heavy Pressure: This results in darker, richer areas that stand out.
Layering colors is essential.
Begin with a light base color, and gradually add darker tones.
You can also use techniques like cross-hatching or stippling to create varied textures.
Using different pencil types can also change the texture.
For example, a softer pencil (like 6B) yields a smoother texture, while harder pencils (like H or 2H) create sharper lines.
Mix these techniques for dynamic effects.
Depth and Dimension
Building depth in your drawings is crucial for achieving a three-dimensional look.
You can start by considering your light source.
This informs where highlights and shadows should be.
- Use a range of tones: Begin with light colors, then layer darker shades to create shadows.
- Consider blending: You can use blending tools or even your fingers to soften edges and transition between colors smoothly.
The key is to build layers gradually.
Use the technique of “burnishing” toward the end for a polished look.
Here, you apply heavy pressure to blend colors seamlessly.
Don’t forget about the contrast; it emphasizes the depth.
Darker shadows next to brighter highlights make objects pop on the page.
Experiment with different color combinations to achieve varied results.