

Crafting is an exciting journey.
You can explore endless possibilities by merging various techniques.
Whether you’re a seasoned creator or just starting out, combining different craft methods can lead to unique and unforgettable projects.
In this article, you’ll learn about seven fun ways to blend different craft techniques.
From simple materials you might have at home to more specialized supplies, the options are varied and accessible.
Get ready to unleash your inner artist and have some fun with your crafts!
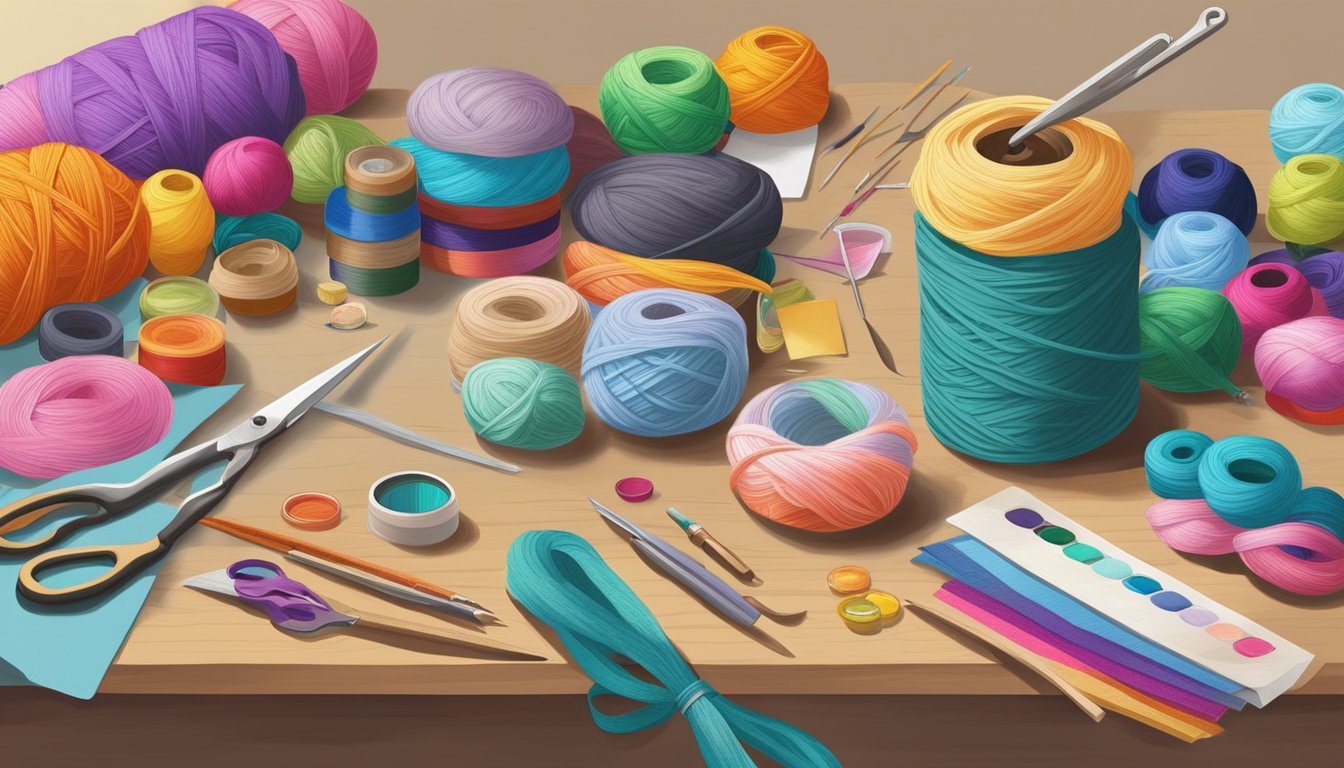
1) Mixing Watercolors with Embroidery
Mixing watercolors with embroidery can lead to some really creative projects.
First, choose a cotton fabric and transfer your design using a light box and a heat-soluble pen.
This sets you up for success.
Once your design is in place, secure the fabric in an embroidery hoop.
Make sure it’s drum-tight.
This tension helps keep your work neat as you paint.
Next, wet the areas you want to paint.
You can use a brush to apply watercolors just like you would on paper.
Adding more water will create a beautiful bleeding effect, enhancing the artwork.
After the painting is done, let it dry completely before adding any embroidery stitches.
You can use a pointed round or rigger watercolor brush to focus on details and outlines.
Feel free to experiment with different combinations of painted and embroidered areas.
Adding 3D elements, like wire, can also create interesting textures and dimensions in your piece.
Enjoy blending these techniques and let your creativity shine!
Crochet and Beadwork Fusion
Combining crochet with beadwork adds a unique flair to your projects.
You can incorporate beads into your crochet to create stunning jewelry and accessories.
To get started, use larger crochet hooks and specialized beading threads.
This helps you easily pull beads into your stitches as you work.
Materials like S-Lon cord and various seed beads will give you plenty of options for texture and color.
You can create beautiful bracelets, necklaces, or even home decor items.
Simple patterns can feature beads arranged in creative ways, like forming motifs or borders.
Tutorials are available online to guide you through techniques for beaded crochet.
Don’t hesitate to experiment with different bead placements.
It can transform an ordinary crochet project into something eye-catching.
With a little practice, you’ll be combining these two techniques effortlessly.
Quilling on Clay Pots

Quilling on clay pots is a fun way to add your personal touch to your planters.
This technique combines the elegance of paper quilling with the rustic charm of clay.
Start by preparing your clay pot.
Make sure it’s clean and dry.
You can paint it if you want, but a natural finish works well, too.
Next, choose your quilling strips.
Bright colors or patterns can really pop against the clay.
Roll your strips into various shapes—like coils, teardrops, or spirals.
These can be used to create flowers, leaves, or other designs.
Using a strong adhesive, attach your quilled pieces to the pot.
You can create a pattern or just place them randomly for a more whimsical look.
Press them firmly to ensure they stay in place.
To finish, consider applying a sealant over the quilled pieces for added protection.
This will help keep your designs intact, especially if the pot will be outside.
Enjoy your unique creation!
4) Decoupage and Woodwork
Combining decoupage with woodwork opens up a world of creative possibilities.
You can transform ordinary wooden objects into unique pieces.
Start with a wooden item you want to decorate.
This could be a box, a sign, or even furniture.
Choose your favorite papers, like wrapping paper, magazines, or tissue paper, for a personal touch.
Prepare the surface by sanding it lightly.
This helps the adhesive grip better.
Apply a layer of decoupage glue, such as Mod Podge, to the wood and position your paper cutouts.
Once the paper is in place, seal it with more glue on top.
You can even distress the edges for a vintage look.
Just use sandpaper to create that weathered effect.
Let your creation dry completely.
You’ll find that each piece shows off your style and creativity.
Experimenting with colors and textures will help you create something truly one-of-a-kind.
5) Macramé with Metal Chains

Combining macramé with metal chains can create stunning pieces of home decor.
You can experiment with various patterns while integrating the sleek look of metal.
Start by selecting your macramé cord and the type of metal chain you want to use.
The contrast between the natural fibers and the cold metal adds an intriguing element.
When you knotted the macramé, consider where you want to attach the chain.
This can be at the bottom or as a hanging component.
Projects can range from wall hangings to plant holders.
A simple plant hanger with a chain adds elegance while keeping your plants secure.
You could also make keychains or jewelry, mixing delicate knots with chunky chain links.
It’s a playful combination that emphasizes your craftsmanship.
Experiment with different lengths and types of chains to see what works best for your design.
The result is a fresh take on traditional macramé, making your projects unique.
6) Felt Appliqué on Knitwear
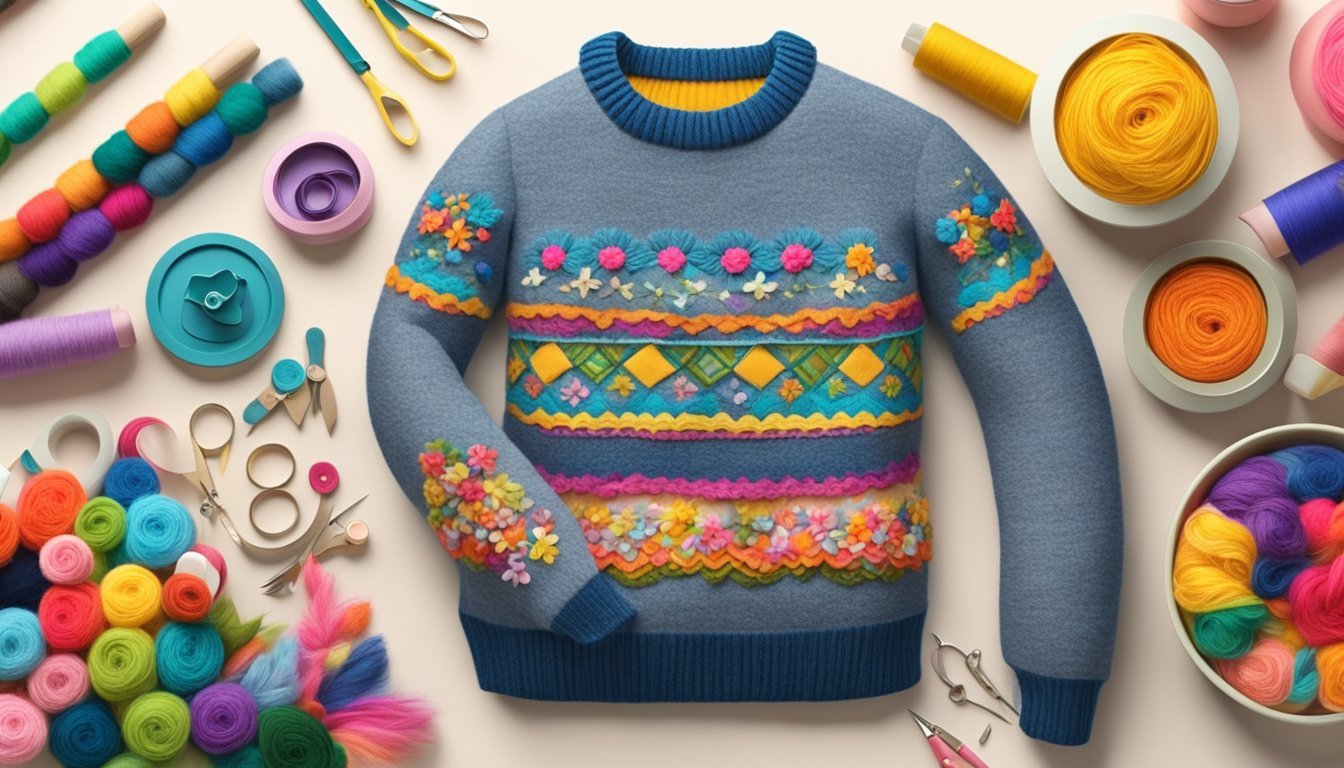
Felt appliqué can add a fun touch to your knitwear projects.
It’s a great way to personalize items like sweaters, hats, or scarves.
Start by selecting colorful felt sheets that catch your eye.
Cut out shapes or designs that reflect your style.
Use sharp scissors to ensure clean edges.
You can attach the felt pieces using either hand stitching or a sewing machine.
If you’re sewing by hand, a simple running stitch works well.
For machine stitching, just set your machine to a zigzag stitch for a playful effect.
Consider coordinating your thread colors with the felt for a harmonious look.
This helps the appliqué pop without overwhelming your design.
Felt adds texture and dimension to your knitwear, making it unique.
Plus, it’s an easy way to upcycle old garments or add a personal touch to gifts.
Enjoy the creative process and let your personality shine through!
7) Tie-dye and Fabric Painting
Combining tie-dye with fabric painting can bring your projects to a whole new level.
Start by tying up your fabric in your favorite tie-dye pattern.
Classic spiral and crumple designs work well.
Once your fabric is prepared, apply your fabric dye.
Choose vibrant colors that will contrast or complement each other.
Let the dye set according to package instructions.
After rinsing and washing your dyed fabric, it’s time for fabric painting.
Use fabric paints to add designs or details.
You could outline your tie-dye patterns or create whimsical shapes.
Mixing techniques allows for endless creativity.
Consider using stencils for precision or freehand painting for a personal touch.
Experiment with different brushes or sponges to create various textures.
This combination not only enriches your fabric but also personalizes each piece uniquely.
You can create clothing, accessories, or even wall art that truly reflects your style.
Enjoy the process and let your imagination guide you!
Mixed Media Art
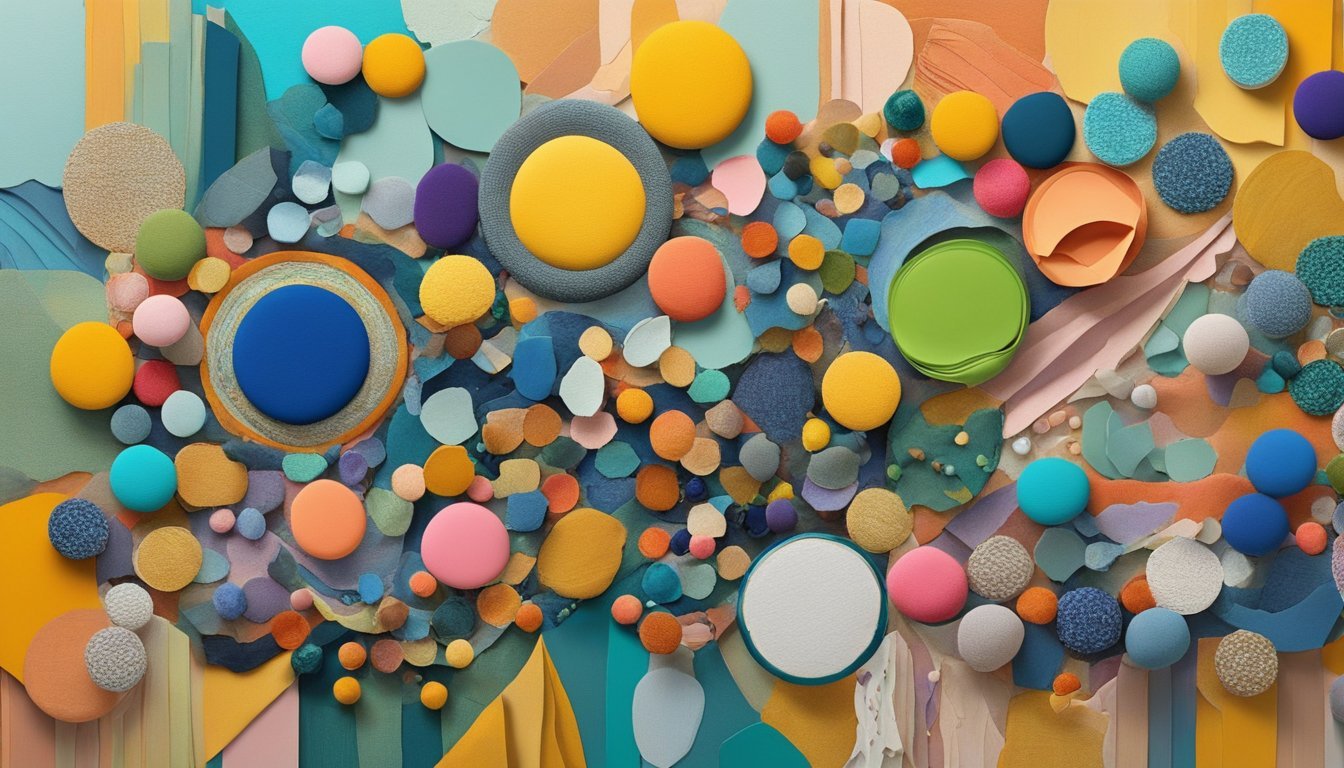
Mixed media art gives you the freedom to experiment with various materials and techniques.
It’s all about combining different elements to create something unique and visually engaging.
Blending Painting and Collage
Combining painting with collage can elevate your artwork.
Start by selecting a base medium like acrylic or watercolor for a vibrant background.
Next, gather materials for your collage.
This can include magazine clippings, fabric scraps, or even found objects.
- Layering: Apply your paint first, then layer in your collage elements. This creates depth.
- Adhesive: Use gel medium as an adhesive to ensure that everything sticks well and maintains a cohesive look.
- Integration: To tie it all together, add paint over the collage pieces. This helps unify different elements and gives a finished look.
Feel free to embrace spontaneity; there are no strict rules in this exploration!
Incorporating Textures
Textures add another dimension to your mixed media creations.
You can create interesting effects by combining various materials, transforming a flat surface into a tactile experience.
- Materials: Consider incorporating items like sand, fabric, or textured paper. They can be part of the base or added on top of painted areas.
- Techniques: Try techniques such as impasto for thick paint, or use palette knives to create raised surfaces. This adds visual interest.
- Layering Techniques: You can even combine techniques. For instance, painting over textured paper enhances both the texture and color of your work.
Experiment with how different textures interact with paints and other collage materials.
You’ll discover endless possibilities!
Combining Knitting And Crochet
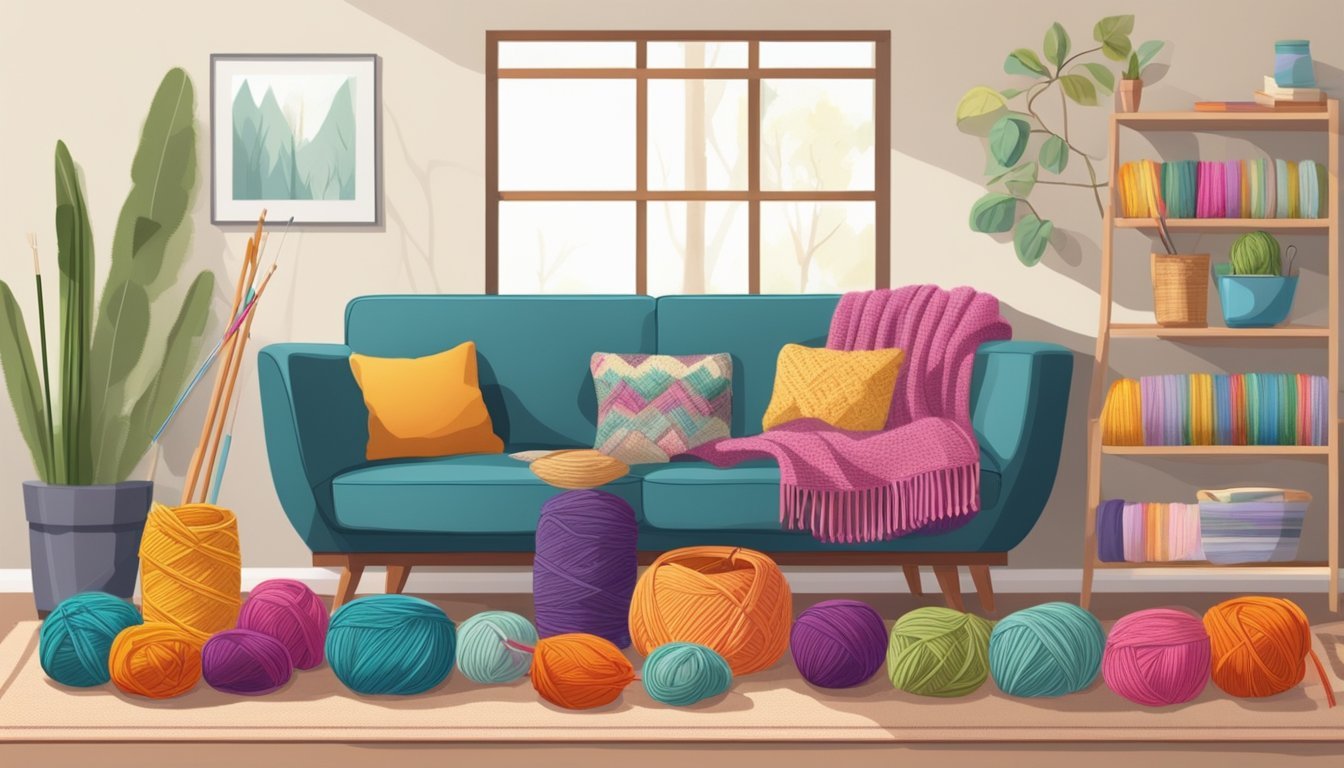
Mixing knitting and crochet can create stunning projects.
By combining these two techniques, you can explore new textures, patterns, and styles, enhancing your craft experience.
Creating Hybrid Patterns
Creating hybrid patterns allows you to utilize the strengths of both knitting and crochet.
Start by choosing a base for your project.
For instance, you might knit a scarf and then add crochet borders for a unique flair.
It’s essential to match your tools.
Use needles and hooks of similar sizes, like a size J crochet hook with US size 10 knitting needles, to ensure your stitches remain consistent.
Consider alternating between the two craft techniques within a single project.
For example, use knitting for the main piece and crochet for embellishments.
Experimenting in this way can lead to exciting and unique designs that stand out.