
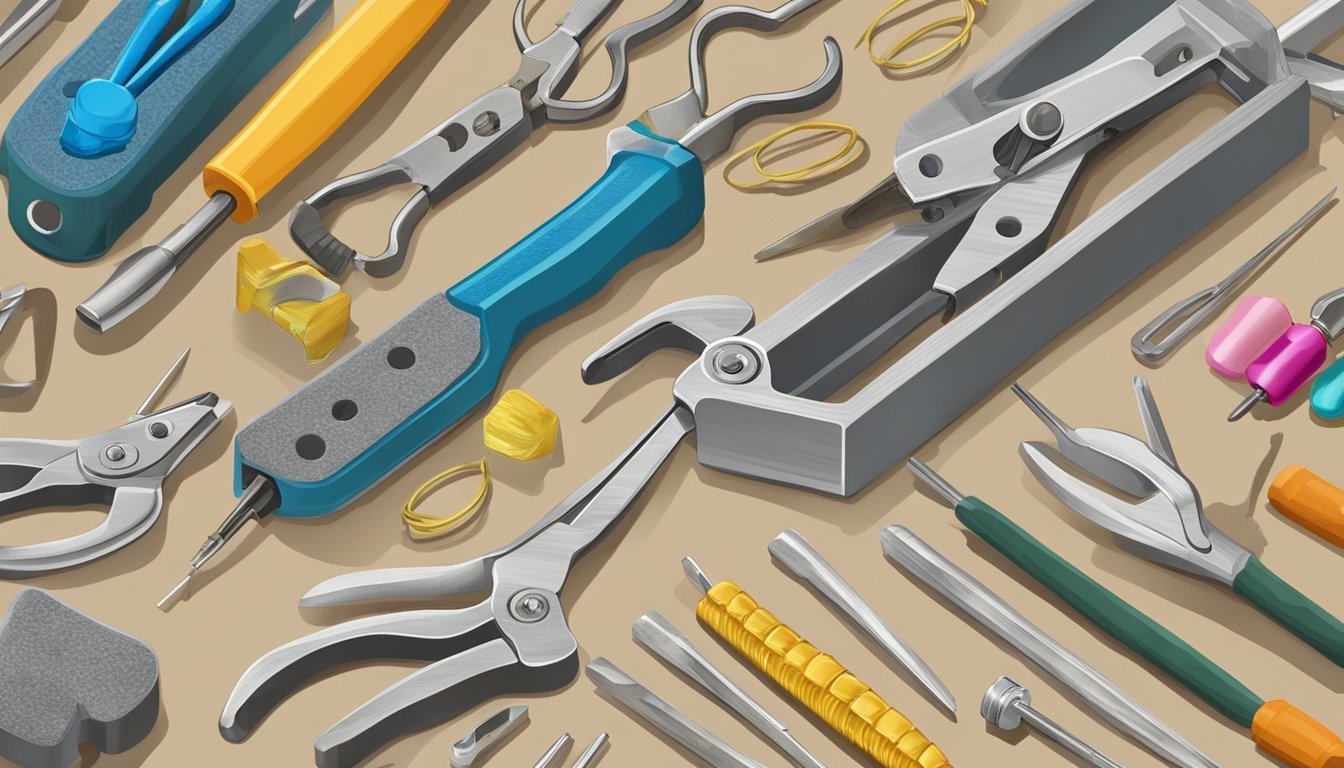
Starting DIY jewelry making can be an exciting experience, and the right tools can make all the difference.
Whether you’re crafting a simple bracelet or a more intricate necklace, using the essential tools will help you navigate the creative process with ease. Focusing on just a handful of must-have items can set you up for success and ensure you enjoy every step of your project.

As you dive into the world of jewelry making, you’ll find that investing in quality tools will enhance your skills and boost your confidence.
From cutting to shaping, the right equipment enables you to bring your design ideas to life.
Being equipped with the essentials can transform your crafting experience, making it not only more efficient but also a lot more fun.
Beadalon Memory Wire
Beadalon Memory Wire is a favorite tool for DIY jewelry makers.
It’s a steel wire that retains its shape, making it perfect for creating lasting designs.
With memory wire, you can easily make bracelets, necklaces, and rings without worrying about them losing form.
The wire comes in coils with pre-formed loops, simplifying the process.
You can use flat memory wire too.
Its unique flat surface works well for stringing large-hole beads and wire wrapping.
This opens up new design possibilities for your creations.
Cutting memory wire is a breeze with the right tools.
Using memory wire shears ensures clean cuts without dulling your other tools.
Avoid using regular cutters, as they can damage the blades.
For added strength, consider using beads and end caps designed for memory wire.
A drop of adhesive can help secure them in place, giving your jewelry a polished finish.
Experiment with different plated metal finishes available for memory wire.
You can create stunning pieces that match your style and preferences.
Enjoy the journey of crafting with Beadalon Memory Wire!
Dremel 3000 Rotary Tool
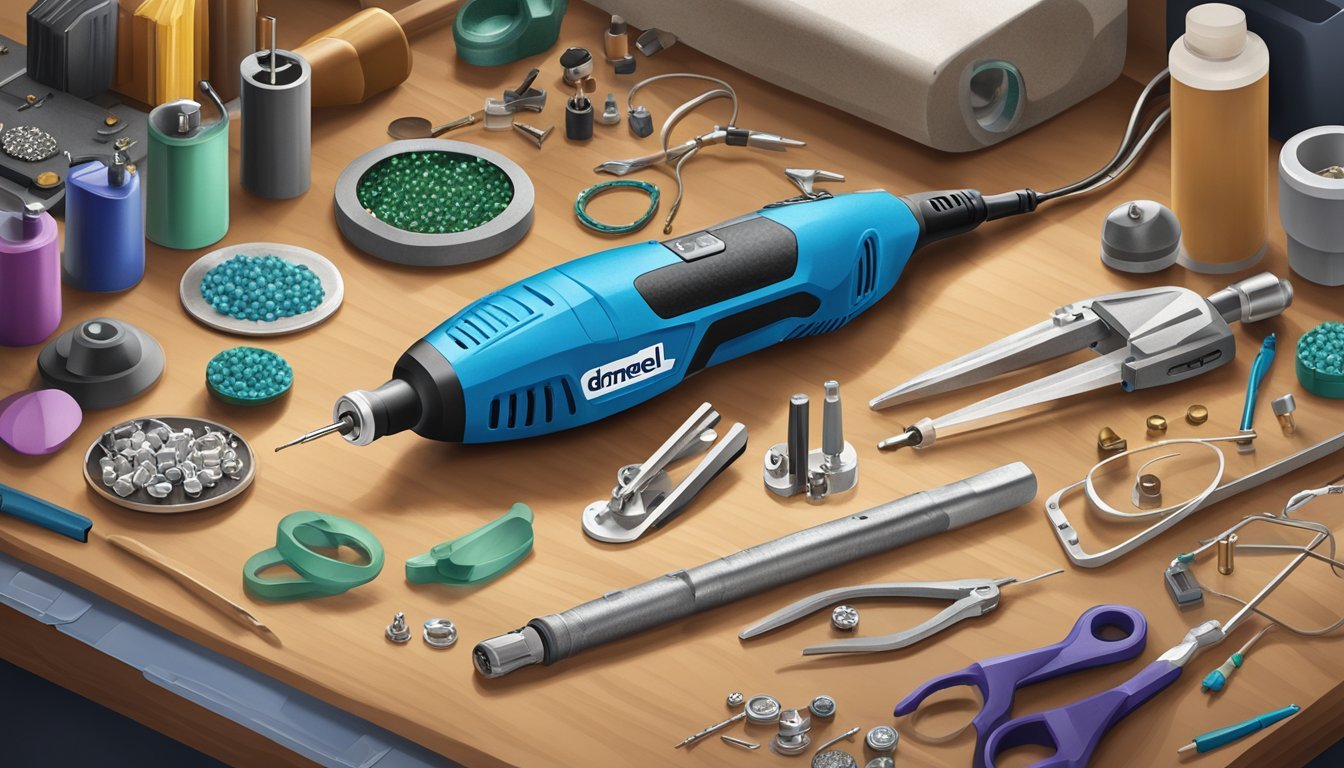
The Dremel 3000 Rotary Tool is a game-changer for DIY jewelry makers.
It has a variable speed range from 5,000 to 32,000 RPM, giving you precise control for various tasks like cutting, sanding, and polishing.
This tool is lightweight and easy to handle, making it perfect for intricate designs.
The ability to switch between different attachments means you can tackle several techniques with just one device.
Storage is also a breeze with the included accessory case.
Keeping your tools organized not only saves space but helps you stay focused on your creative projects.
Whether you’re a beginner or have some experience, the Dremel 3000 can cater to your needs.
It’s versatile enough for different materials, from metal to wood, allowing you to explore your creativity without limits.
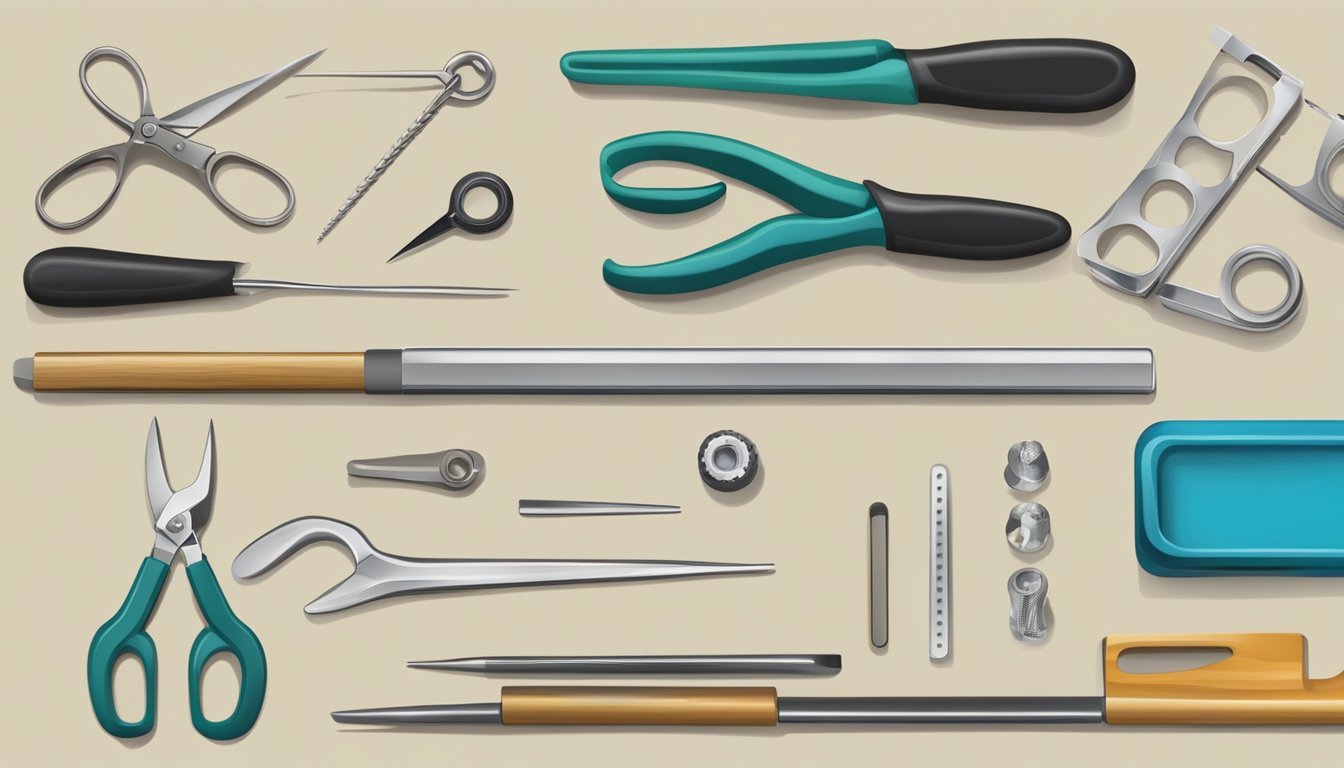
3) Lindstrom Chain Nose Pliers
Lindstrom chain nose pliers are a must-have for any DIY jewelry maker.
Their fine, tapered tips allow you to reach into tight spaces and manipulate small components easily.
These pliers excel at bending and shaping wire, making them perfect for creating loops and curves in your designs.
The ergonomic design ensures comfort, even during extended use.
Made with quality materials, Lindstrom pliers offer durability and precision.
You’ll find them reliable for various tasks, from crimping to holding pieces securely while you work.
Adding these pliers to your toolkit can streamline your jewelry-making process.
Trustworthy and efficient, they help elevate your craft without adding unnecessary complexity.
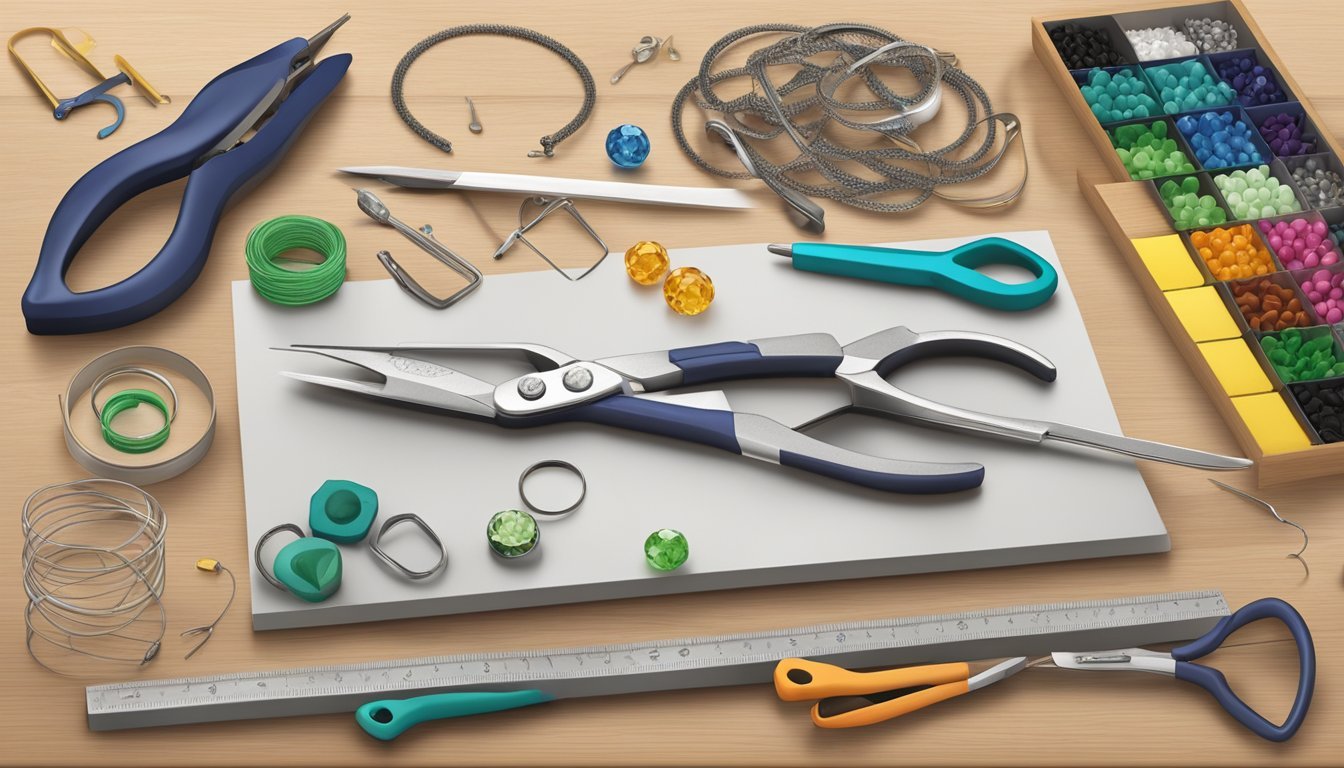
EuroTool Looping Pliers
EuroTool Looping Pliers are a must-have in your jewelry-making toolkit.
They make it easy to create loops in wire, which is essential for connecting various components.
These pliers often feature nylon jaws, helping you avoid scratches or dents on your wire.
This is especially useful when you’re working with softer materials that need a gentle touch.
With their ergonomic design, you can use them comfortably for long periods.
The varying tip sizes let you create loops of different diameters, adding versatility to your projects.
Using looping pliers can streamline your workflow, making it quicker to finish pieces.
Whether you’re a beginner or a seasoned maker, these pliers are handy for achieving professional results.
5) Beadsmith Nylon Jaw Pliers
Beadsmith nylon jaw pliers are a must-have for anyone into DIY jewelry making.
These pliers are perfect for working with delicate wires and intricate designs.
The nylon jaws help prevent scratches and dents on your wire, which is essential for creating clean and polished pieces.
You’ll find them useful for tasks like looping, shaping, and bending wire without damaging your materials.
Available in various sizes, like the 5-inch model, they are comfortable to hold and easy to maneuver.
The ergonomic design features double leaf springs, which adds to the ease of use.
Whether you’re making earrings, bracelets, or necklaces, these pliers will become your go-to tool.
Plus, they often come with replacement heads, making them a great investment for long-term use.
Materials Selection
Choosing the right materials is vital for creating quality jewelry.
The materials you select can significantly impact the final look, durability, and feel of your pieces.
Here’s what to keep in mind.
Choosing Quality Materials
When selecting jewelry-making materials, prioritize quality to ensure longevity and appeal.
Look for reputable suppliers who offer authentic gemstones and metals.
For instance, choose genuine silver, gold, or high-grade stainless steel rather than cheap alternatives that may tarnish or break easily.
Opt for natural stones instead of synthetic ones for a more authentic look.
Check for certifications or grading for precious stones to ensure you are getting the value you pay for.
You can also experiment with various materials like resin or wood for a unique touch.
Don’t forget to balance quality with your budget; investing in good materials now can save you from failures later.
Understanding Material Properties
Each material has specific properties that affect how it behaves during the jewelry-making process.
Metals: Different metals have various hardness levels.
For example, sterling silver is softer and easier to manipulate but may scratch easily.
In contrast, titanium is more durable but harder to work with.
Stones: Consider the Mohs scale to understand the hardness of gemstones.
Softer stones like turquoise can scratch easily, while harder stones like diamonds are more resilient.
Beads and Findings: Check for lead-free options to ensure safety, especially if the jewelry will be worn often.
Look for materials that won’t irritate the skin, like hypoallergenic components.
By grasping these properties, you can choose the right materials that suit both your design vision and practical needs.
Tool Maintenance
Maintaining your jewelry-making tools is essential to ensure they perform well and last for a long time.
Regular cleaning and proper storage will keep your tools in top condition, making your crafting experience more enjoyable.
Cleaning and Care
To keep your tools effective, clean them after each use. Here are some quick tips:
-
Wire Cutters: Wipe blades with a soft, dry cloth to remove debris. If they’re sticky, a small amount of rubbing alcohol on a cloth can help.
-
Pliers: Use a damp cloth to clean the jaws, ensuring no dirt or grime builds up. For tougher stains, a mild soapy solution works well.
-
Nylon-Tipped Pliers: Clean gently to avoid scratching the tips.
Regularly inspect your tools for any wear.
Replace any damaged parts like springs or grips immediately.
These small efforts make a big difference in how your tools perform.
Storage Tips
Storing your tools properly helps avoid damage and makes them easy to find.
Consider these strategies:
-
Toolbox or Organizer: You can use a designated toolbox with compartments to keep everything organized. This prevents tools from banging against each other.
-
Magnetic Strips: Attach magnets to your workbench to hold pliers and cutters. This way, they will remain visible and accessible.
-
Protective Pouches: For specialized tools, consider using protective pouches to prevent scratches or dings.
After cleaning, ensure everything is returned to its storage spot.
Keeping things tidy not only protects your tools but also saves you time when you start your next project.