Personalizing gifts can make your presents feel extra special and meaningful.
With the right craft supplies, you can create unique items that reflect the recipient’s personality and interests.
This guide will show you how to utilize various materials and techniques to personalize gifts that will be cherished.
Crafting your own gifts offers a fantastic way to add a personal touch, whether it’s through custom designs, added messages, or themed decorations.
Embracing DIY projects not only highlights your creativity but also allows you to give something heartfelt and one-of-a-kind.
Painted Mason Jars
Painted mason jars are a fun and creative way to personalize your gifts.
You can choose any color or design that suits the occasion.
Start by cleaning the jars thoroughly and letting them dry completely.
For a classic look, use a white base coat and let it dry.
Then, add your favorite bright colors for stripes or patterns.
You can create thick or thin stripes based on your preference.
Once you’re happy with your design, let the paint dry for 24 hours.
To set the paint and ensure it lasts, place the jar in a cool oven.
Heat the oven to 350ºF and bake the jar for about 30 minutes.
This helps avoid any breakage.
These painted jars can be filled with treats, craft supplies, or even small potted plants.
They make lovely gifts for friends or family and add a personal touch to any occasion.
Whether it’s a birthday or a holiday, a customized mason jar is sure to impress.
Custom Embroidery Hoops
Custom embroidery hoops make for unique and heartfelt gifts.
You can create designs that reflect the personality and interests of the recipient.
Start with basic supplies like an embroidery hoop, fabric, and embroidery thread.
You can choose colors that resonate with the person you’re gifting to.
Consider incorporating their initials or a meaningful quote.
This adds a personal touch that shows you put thought into their gift.
If you’re feeling extra crafty, embellish the hoop with paint or decorative touches.
Mini embroidery hoops can also serve as cute ornaments or wall decor.
For added creativity, think about using different textures and patterns.
Fabrics like felt or patterned cotton can really stand out.
These customizable pieces are perfect for any occasion, whether birthdays, holidays, or just to say you care.
Enjoy the process, and let your imagination run wild!
3) Photo Transfer Candles
Creating personalized photo candles is a fun and creative way to give a unique gift.
You can truly make a candle special by transferring your favorite pictures onto it.
Start by printing your chosen image on regular copy paper.
Make sure to use an inkjet printer for the best results.
After printing, cut out the image closely, removing any excess paper around it.
Next, take some tissue paper and attach it to a piece of cardstock using a glue stick.
This will act as a base for your image.
Load this into your printer and print your photo again, ensuring the image will fit on the candle.
Now, place the printed image on the candle, ink side up.
Wrap a sheet of wax paper around the candle to hold the image in place while applying heat.
Using a heat source, such as a heat gun or hair dryer, gently warm the wax paper.
This will transfer the image onto the candle’s surface.
Once done, carefully remove the wax paper to reveal your customized candle.
It’s an easy yet thoughtful gift that can light up any space while showcasing cherished memories.
4) Hand-painted Tote Bags
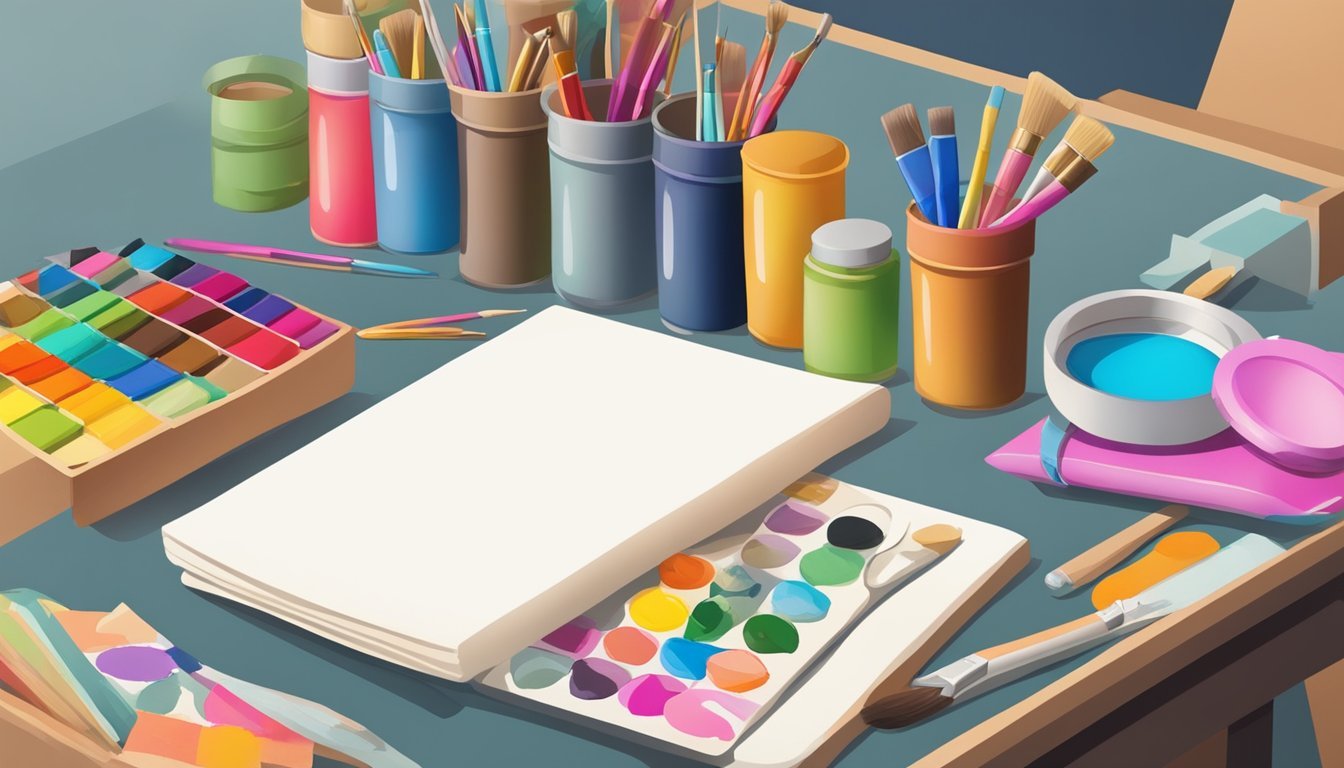
Hand-painted tote bags make for unique, personalized gifts.
They are practical and can showcase your creativity.
You can create a design that reflects the recipient’s interests or style.
Start with a plain canvas or cotton tote bag.
These materials are easy to work with and provide a smooth surface for painting.
Gather fabric paint instead of regular acrylics to ensure your design lasts through washes.
Think about the design you want to create.
You can opt for simple patterns, quotes, or even intricate illustrations.
Using stencils can help if you’re aiming for precision.
Get creative with tools.
A paintbrush, sponge, or even a pencil eraser can produce different effects.
Try techniques like dotting or brushing for added texture.
Let the paint dry completely before packing it up.
Consider adding a personal touch, like the recipient’s name or initials, to make it even more special.
A hand-painted tote bag is a thoughtful and useful gift that shows you care.
5) Personalized Scrapbook Pages
Creating personalized scrapbook pages is a fun way to showcase memories.
You can start by selecting photos that have special meaning for you or the recipient.
Choose a theme that resonates, such as a birthday, vacation, or family gathering.
This helps give your pages a cohesive look.
Use acid-free paper as a base to protect your photos.
Decorate with washi tape, embellishments, and stickers that match your theme.
Consider adding personal touches like handwritten notes or quotes.
This adds depth and makes the pages feel unique.
Don’t forget to incorporate memorabilia like ticket stubs or postcards.
These items make your scrapbook even more special.
Experiment with layouts by arranging items asymmetrically for a fresh look.
This keeps the design engaging and playful.
You can also create interactive elements, like pockets or fold-outs.
These features encourage the viewer to explore each page further, making it an enjoyable experience.
6) Monogrammed Keychains
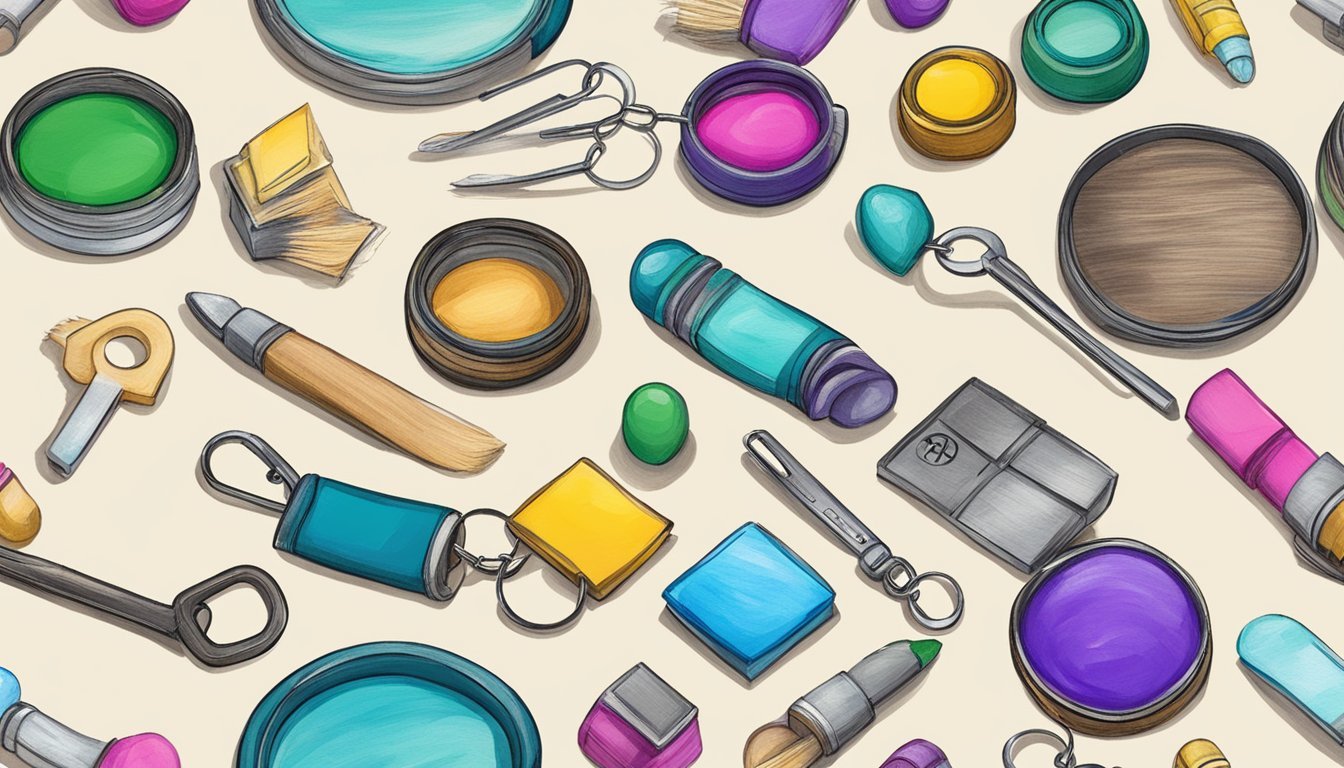
Monogrammed keychains are a fun way to add a personal touch to your gifts.
They’re simple to make and can really show someone you care.
Start by choosing an acrylic round or a leather piece as your base.
These materials are easy to work with and durable.
You can apply a background design on one side and a monogram on the other.
This layered effect looks great and makes the keychain stand out.
For a trendy option, consider resin.
You can use molds to create monogram letters, turning them into unique keychains.
Just follow a basic resin crafting guide.
These keychains make perfect gifts for friends and family.
They’re especially appreciated when personalized with initials or a meaningful word.
It’s a straightforward craft that results in a thoughtful present anyone would love.
7) Stenciled Canvas Art
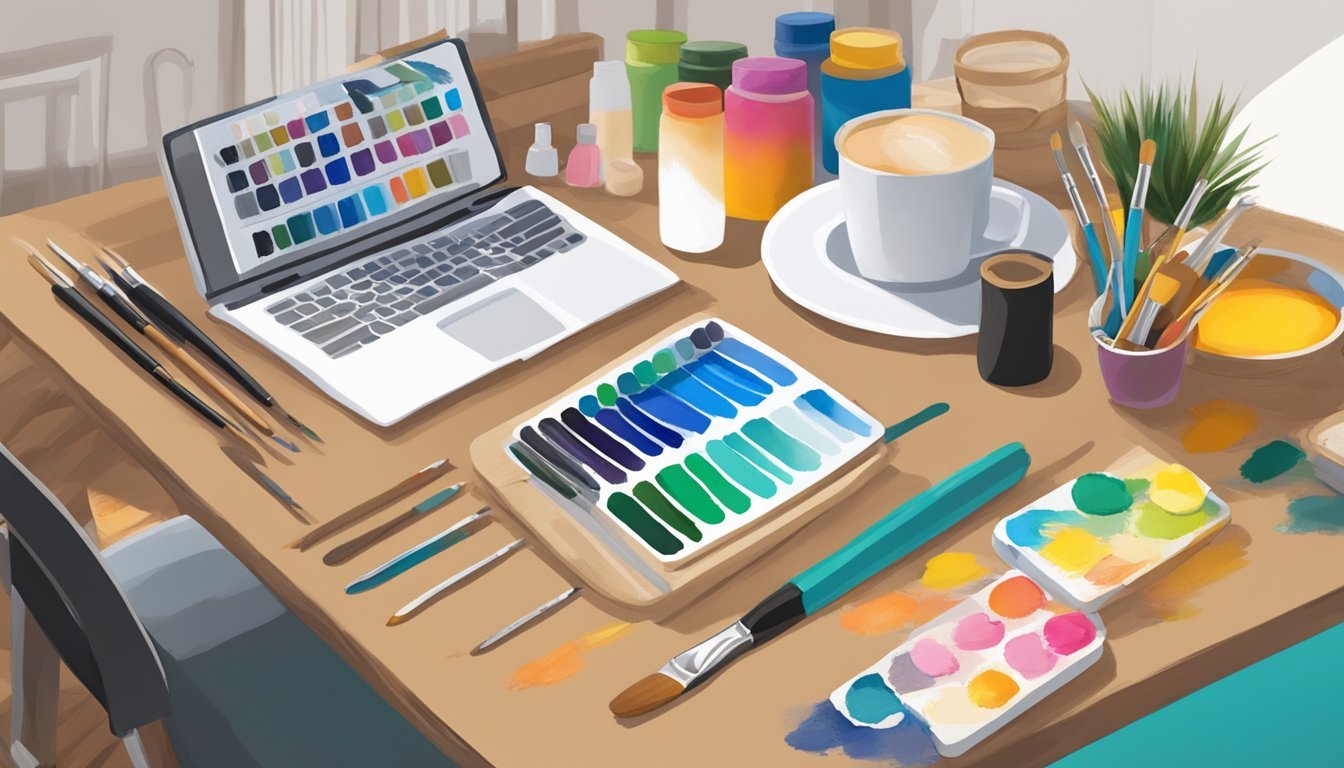
Stenciled canvas art is a fun way to add a personal touch to your gifts.
You can create unique designs that reflect the recipient’s style.
Start by choosing a stencil that fits the theme or color scheme you have in mind.
Floral patterns or simple shapes work well for various occasions.
Next, secure your stencil on the canvas using tape.
This will ensure it stays in place while you work.
Using a stencil brush, dab a small amount of paint onto the brush.
Remove excess paint on a paper plate to avoid drips.
With an up-and-down motion, apply the paint through the stencil.
Take your time to ensure even coverage for a clean look.
Once you finish painting, carefully lift the stencil to reveal your design.
Let it dry before framing or giving it away.
This personalized art piece can brighten any space and be cherished for years.
Custom Beaded Jewelry
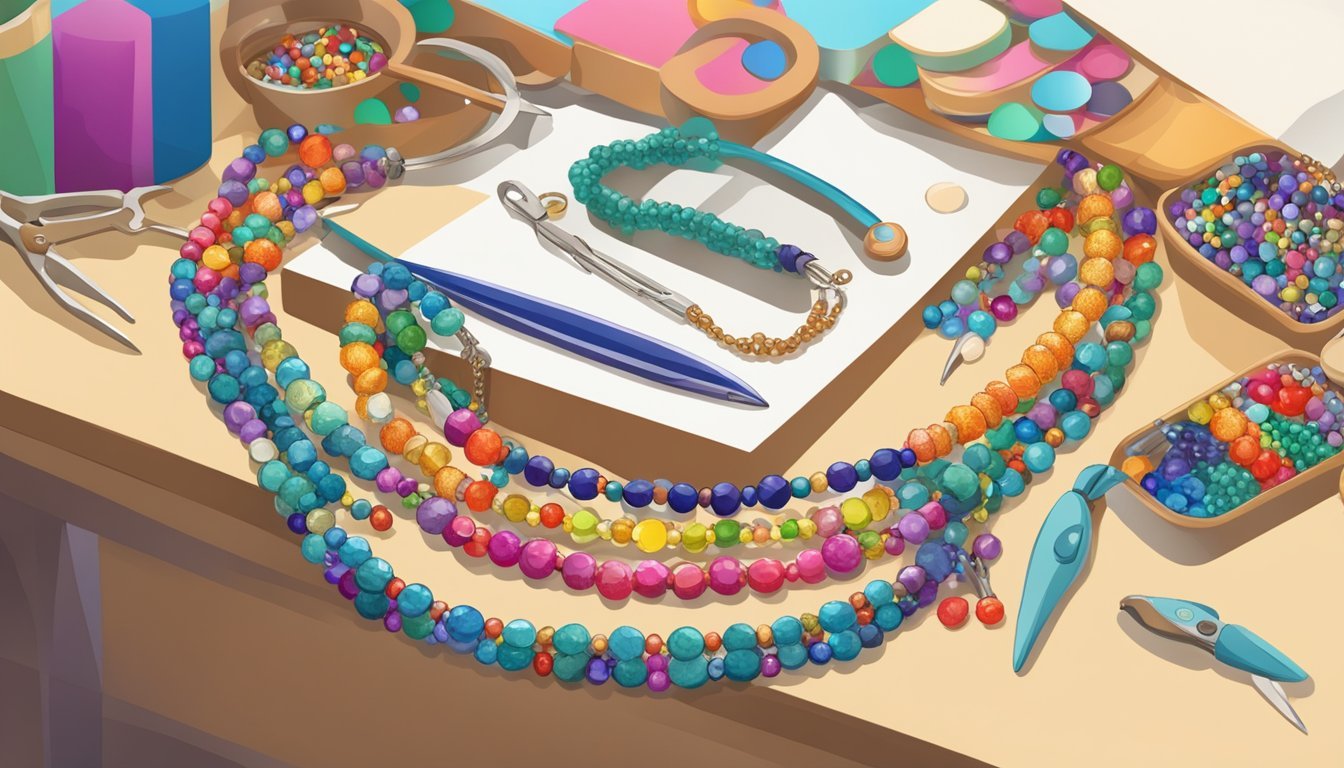
Creating custom beaded jewelry is a fun way to add a personal touch to your gifts.
You can make unique pieces that reflect the recipient’s personality or interests.
Start by gathering your materials.
You’ll need beads in various colors and shapes, string or wire, and tools for cutting and attaching.
DIY bead kits can simplify the process if you’re new to this.
Consider what types of jewelry you want to create, such as bracelets, necklaces, or earrings.
Think about the styles that your friends or family members would like.
Once you have your design in mind, begin stringing the beads on your chosen material.
Take your time with this part; it’s where your creativity really shines.
You can even add charms or pendants for extra flair.
Personalized jewelry serves as a memorable gift.
Each piece can tell a story or symbolize a special moment in your relationship with the recipient.
Whether it’s a birthday, anniversary, or just because, custom beaded jewelry is a heartfelt choice.
9) Decoupage Picture Frames
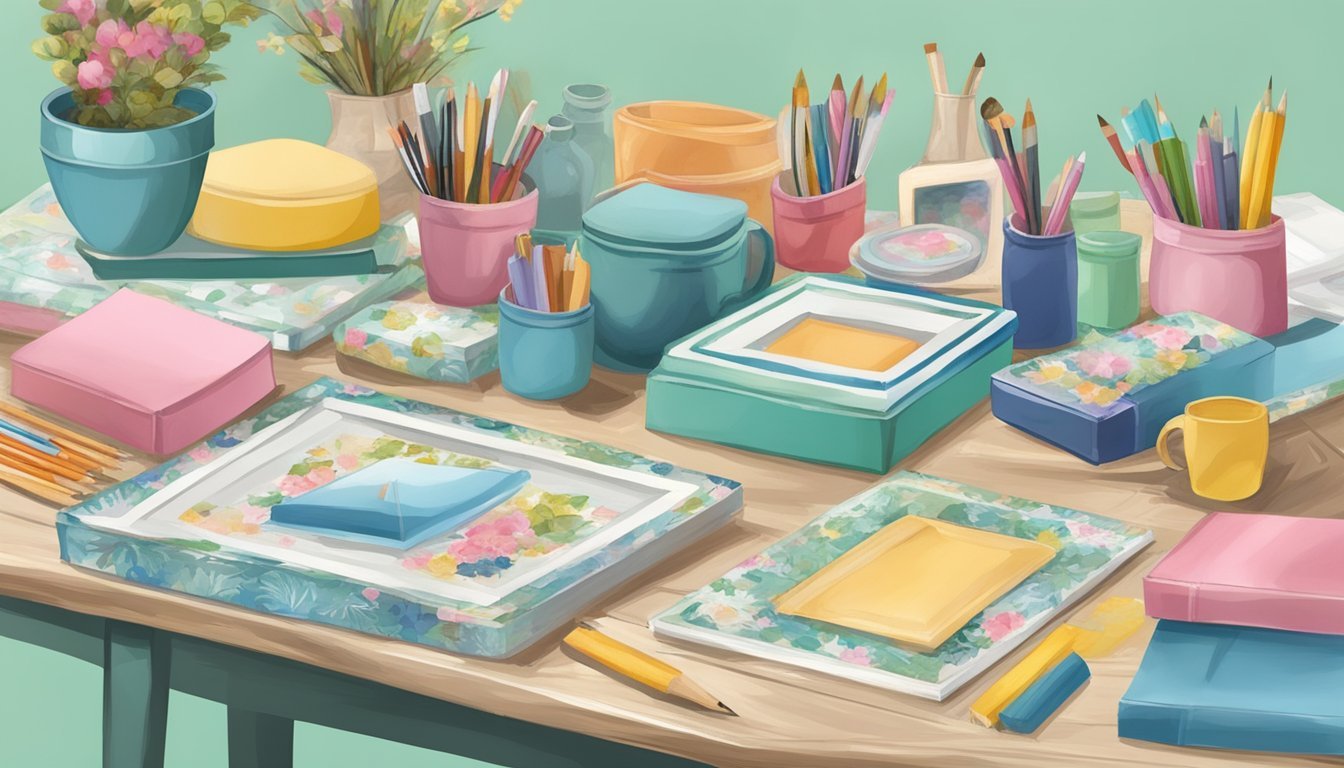
Decoupage picture frames are a fun way to personalize your gifts.
Start with a plain frame and some creative supplies.
You can use scrapbook paper, fabric, or even decorative napkins.
First, paint or stain the frame to give it a fresh look.
Make sure to let it dry completely.
Next, apply a layer of Mod Podge on the front of the frame.
Place your chosen paper on top and smooth out any bubbles.
A credit card or rubber spatula works great for this.
Once you’re satisfied, add more Mod Podge over the top to seal the design.
You can customize the frame to match your gift recipient’s home decor or personality.
This makes the frame not only a gift but also a special keepsake.
Enjoy the process and let your creativity shine!
DIY Bath Bomb Sets
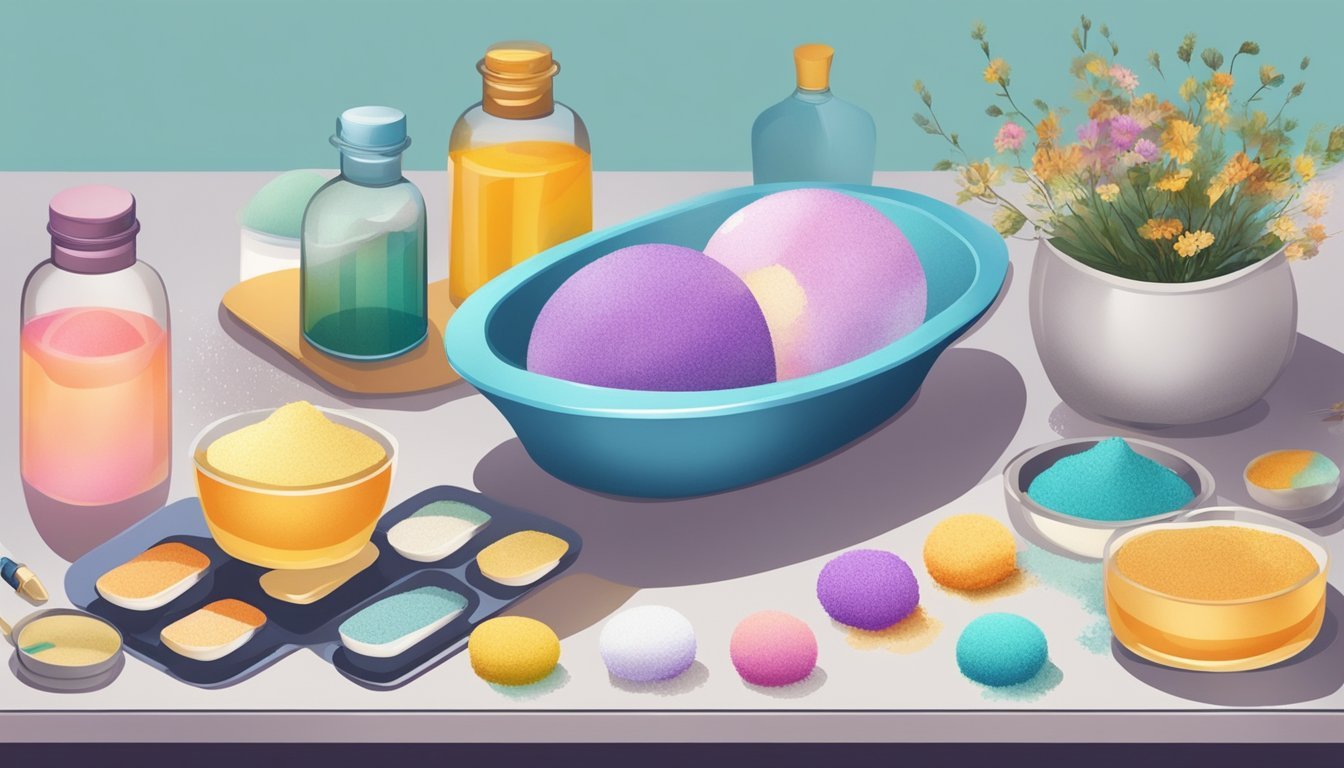
Creating DIY bath bomb sets is a fun and creative way to personalize gifts.
You can choose colors and scents that reflect the recipient’s personality.
Start by gathering ingredients like baking soda, citric acid, and Epsom salt.
Mix these dry ingredients in a bowl for the base.
If you want to skip citric acid, you can substitute it with cream of tartar.
Next, melt some coconut oil and add color and essential oils.
Your choice of fragrance can make the bath experience special.
Combine the wet and dry mixtures slowly, stirring as you go.
Pack the mixture into molds.
You can use silicone molds in fun shapes like flowers or hearts.
Allow the bombs to dry for 24 hours before removing them.
Package your bath bombs in a decorative box or jar.
You can also include a note with tips or use them as party favors.
Personal touches can make these gifts extra special.
Getting Started with Craft Supplies
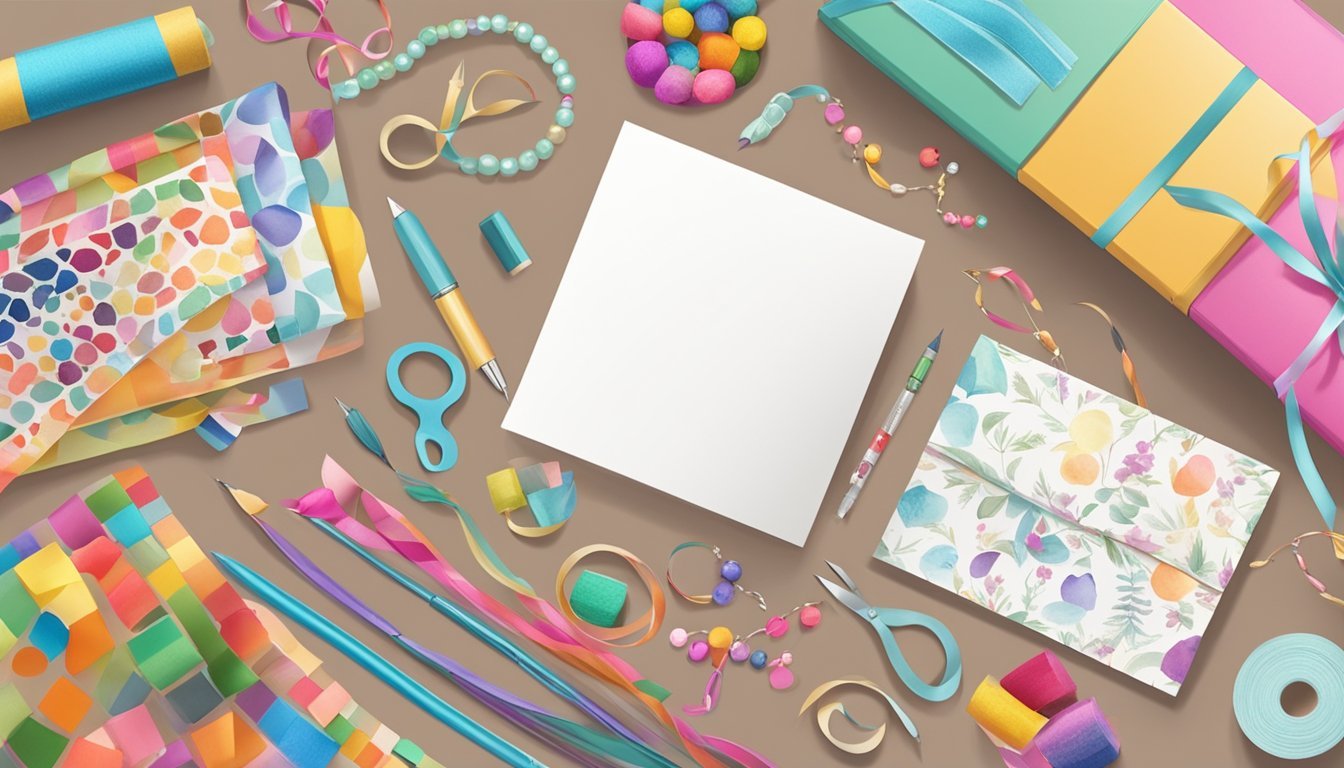
Getting started with craft supplies is all about choosing materials that spark your creativity and setting up a workspace that inspires you.
This foundation will help you produce personalized gifts that are truly unique.
Choosing the Right Materials
Selecting the right materials is crucial for any crafting project.
Start with essentials like:
- Paper: Cardstock for sturdiness, decorative papers for flair.
- Adhesives: Double-sided tape, glue sticks, and hot glue guns are versatile choices.
- Tools: Scissors, a craft knife, and cutting mats help achieve precision.
Consider adding items from your stash, such as:
- Ribbons and String: These add texture.
- Stickers and Stamps: Perfect for personalizing messages.
- Fabric: Useful for creating unique textile projects.
Don’t hesitate to mix and match different materials.
Find what you enjoy working with most.
Test out combinations to make your gifts truly stand out.
Setting Up Your Workspace
Creating an organized and inviting workspace can enhance your crafting experience.
Consider these tips to set up effectively:
-
Choose a Dedicated Space: Select an area in your home where you can leave your materials out and easily accessible.
-
Organize Your Supplies: Use containers, baskets, or drawer systems to store items. Label them for quick access.
-
Good Lighting: Make sure your workspace is well-lit. Natural light is ideal, but ensure you have adequate task lighting for detailed work.
-
Comfort: Have a comfortable chair and a stable work surface. Ergonomics go a long way in keeping you focused and motivated.
Techniques for Personalizing Gifts
Personalizing gifts can add a meaningful touch that shows your thoughtfulness.
Here are some practical techniques you can use to elevate your gift-giving game.
Using Stencils and Paints
Stencils are a fantastic way to add designs or text to your gifts.
You can find pre-made stencils at craft stores or create your own using cardstock or plastic sheets.
- Choose Your Base: Select your item, like a canvas bag or wooden box.
- Secure the Stencil: Use painter’s tape to hold the stencil in place.
- Apply Paint: Use a sponge or brush to apply fabric or acrylic paint, being careful to dab rather than brush to avoid smudging.
- Remove and Dry: Gently lift the stencil and let your design dry completely.
This technique allows for creativity while ensuring a clean finish.
Applying Decals and Stickers
Decals and stickers provide a quick and effective way to customize gifts.
You can purchase customized options online or create your own using printable vinyl sheets.
- Select Your Design: Choose a design that reflects the recipient’s interests.
- Prepare the Surface: Make sure the surface is clean and dry before applying.
- Position the Decal: Carefully place the decal where you want it.
- Smooth It Out: Use a credit card or similar flat edge to smooth out air bubbles.
This method not only personalizes your gift but also adds a professional touch.
Incorporating Embroidery
Embroidery is a timeless way to personalize gifts, especially for fabric items like bags or clothing.
Here’s a simple approach to get started:
-
Choose Your Thread and Needle: Make sure to pick colors that complement the fabric.
-
Mark Your Design: Lightly sketch your design onto the fabric with a fabric pencil.
-
Stitching: Use basic stitches like backstitch or satin stitch to fill in the design. You can find easy-to-follow online tutorials.
-
Finishing Touches: Tie off any loose ends and trim excess thread for a polished look.


