

If you have a few free hours and a desire to create something, simple sewing projects can be a fantastic way to spend that time.
Whether you’re a seasoned sewer or just starting out, there are plenty of projects that are both enjoyable and easy to complete. These eight sewing projects can be finished in just an afternoon, allowing you to tackle small tasks while still feeling accomplished.
Sewing doesn’t always have to be a lengthy or complicated process.
With the right project choices, you can make something functional or fun without a huge time commitment.
From gifts to home decor, there’s always something satisfying about seeing your ideas come to life with just a bit of fabric and thread.
Patchwork Coasters
Making patchwork coasters is a fun and easy project that you can complete in just a few hours.
Plus, they’re a great way to use up fabric scraps.
Start by choosing a mix of fabrics.
You can go for a coordinated palette or mix and match different prints for a scrappy look.
You’ll need a few squares of fabric, ideally in different colors and patterns.
Cut your fabric into squares or rectangles.
The size can vary, but a common dimension is around 4×4 inches.
If you want larger coasters, just increase the size as needed.
Sew the pieces together to form your patchwork top.
Simple straight stitches work well, and you can add as many pieces as you like to create your design.
Once you’ve sewn your top, layer it with batting and a backing fabric.
Sew around the edges, leaving a small gap for turning.
Flip it right side out, close the gap, and give it a good press.
You’ll have a set of cute coasters ready to protect your surfaces.
These also make excellent gifts, especially if you use seasonal fabrics or personalize them for friends!
2) Fabric Bookmark
Making fabric bookmarks is a fun and quick sewing project.
They’re practical and can add a personal touch to your reading.
Start by cutting a piece of fabric to about 2.5” x 7”.
For a sturdier bookmark, cut a backing and batting slightly larger.
This helps when sewing and trimming later.
You can mix and match fabrics for a unique look.
Consider using scraps you already have to keep it simple and eco-friendly.
One popular style is the corner bookmark.
For this, cut three squares, each 4.5” by 4.5”.
Two squares will work as the main fabric and backing, while the third will form a triangle for the corner.
For something more decorative, try adding a tassel.
Simply cut a piece of yarn and attach it to the top of your bookmark after completing the fabric piece.
These bookmarks are easy to personalize, making them perfect gifts for friends and family.
Plus, they can be completed in just a few hours, making them an ideal afternoon project.
Drawstring Gift Bag
Creating a drawstring gift bag is a fun and straightforward project.
You can complete it in an afternoon, making it perfect for last-minute gifts.
Start by choosing your fabric.
You’ll need two pieces for the main bag and two for the handles.
A size of 8.5” wide by 8” tall works well for the bag, while the handles should measure 12” x 3”.
Once you have your fabric ready, sew the bottom and accent pieces together.
After that, make the gusset by folding the bottom edges.
This adds depth to your bag, making it more functional.
Next, prepare the drawstring casing at the top by folding and pressing the fabric down.
After that, thread your chosen cord or ribbon through the casing using a safety pin.
Tie the ends together to secure the drawstring.
With just a few simple steps, you have a cute and reusable gift bag.
It’s great for birthdays, holidays, or any occasion where you want to add a personal touch.
Plus, you can customize it with different fabrics or patterns to match your style.
Simple Tote Bag
Making a simple tote bag is a perfect afternoon project.
You only need basic sewing skills and a few materials.
Start with sturdy fabric like canvas or cotton.
Measure and cut your fabric into two rectangles for the main body.
You can personalize it with pockets or even some decorative elements.
Next, sew the side seams, leaving the top open.
Add handles by attaching strips of fabric to the sides.
If you want extra durability, consider reinforcing the handles.
For a polished look, you can line the bag.
Cut a second set of fabric pieces, and sew them together in the same way.
Then, place the lining inside the tote.
This project is quick and versatile.
Use it for shopping, as a gym bag, or even for a day at the beach.
Enjoy crafting a stylish and practical accessory!
5) Envelope Pillow Cover

Making an envelope pillow cover is a quick and fun project.
In about 10 minutes, you can transform your space with a fresh, new look.
Start by measuring your pillow insert to determine the size of your fabric pieces.
You’ll typically need one large piece for the front and two smaller pieces for the back.
Next, cut your fabric accordingly.
Hem the edges of the back pieces to prevent fraying.
Lay the front piece face up, then place the back pieces on top, overlapping them to create the envelope effect.
Sew around the edges, leave a small seam allowance, and turn it right side out.
Slide your pillow insert inside, and you’re done! It’s that simple.
6) Reversible Headband
Making a reversible headband is a fun and simple project that you can complete in just a few hours.
It’s a great way to use up some fabric scraps while creating something stylish for yourself.
You’ll need two pieces of fabric, ideally cotton, for comfort.
Cut the fabric to your desired width and length.
A general size is around 11 inches wide and 2 inches tall.
Sew the edges together, leaving a gap to turn it inside out.
After turning the fabric, you can sew up the gap, adding elastic at the back for a snug fit.
This project is perfect for beginners, and you can experiment with different patterns for a unique look.
Once you finish, you’ll have a cute accessory that can match multiple outfits.
They also make excellent gifts for friends and family.
Enjoy personalizing your headbands with your favorite fabrics!
7) Zipper Pouch
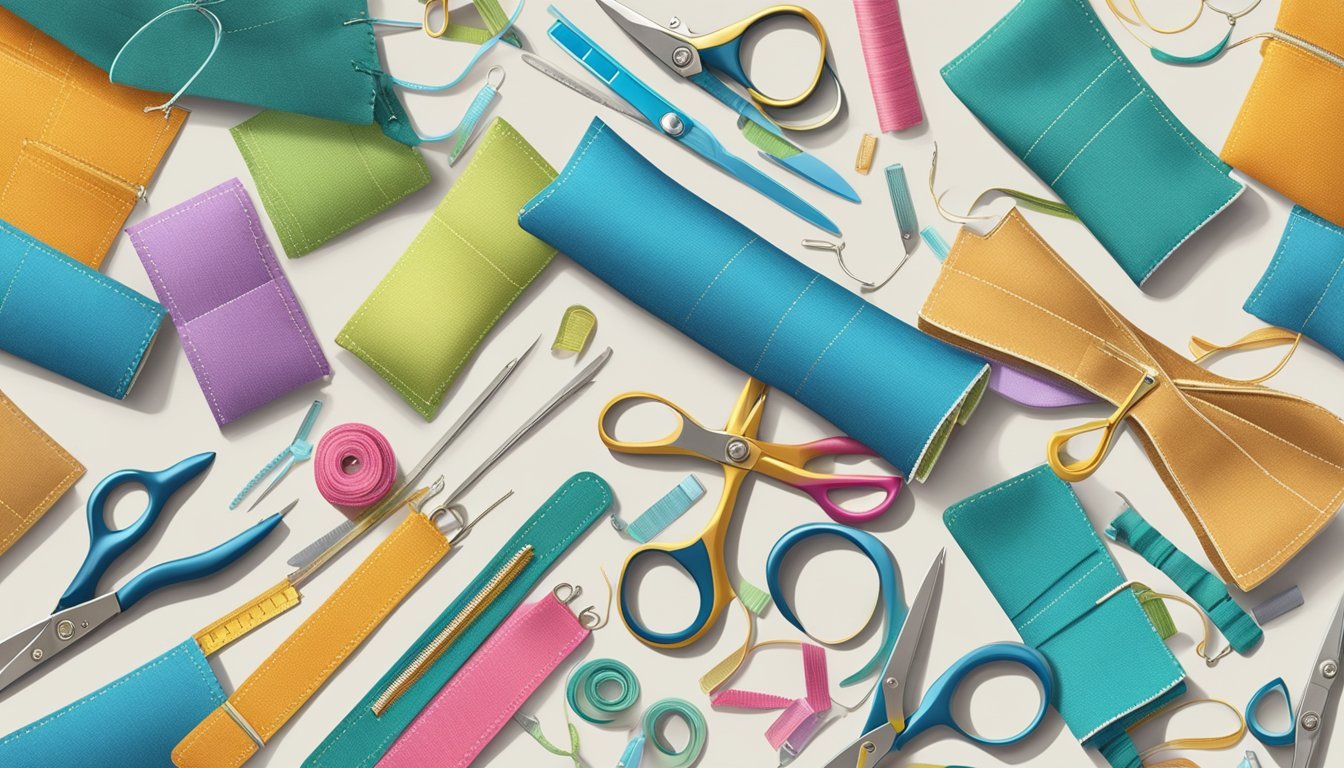
Making a zipper pouch is a fun and practical sewing project.
You can complete it in just one afternoon, which makes it perfect for a quick crafting session.
This project is great for beginners.
It introduces you to sewing with zippers, and you can use fabric scraps or fat quarters, making it budget-friendly.
The finished size of the pouch is roughly 9.5 x 7.5 inches.
This size is ideal for holding various small items, from cosmetics to stationery.
You’ll find a variety of free patterns online.
Many tutorials guide you step-by-step, ensuring you feel confident throughout the process.
Gather your materials, including fabric, a zipper, and a sewing machine.
Once you start, you’ll appreciate how straightforward and satisfying it is to create something useful.
Zipper pouches also make excellent handmade gifts.
Customize them with fun fabric patterns to fit the style of your friends or family.
Enjoy sewing!
8) Fabric Scrunchies
Making fabric scrunchies is a fun and quick project perfect for beginners.
You can use fabric scraps, so it’s budget-friendly and great for personalizing your style.
Start by cutting a strip of fabric about 22 inches long and 4 inches wide.
Fold it in half with the right sides together and sew along the long edge, leaving a gap at one end.
Next, turn the fabric right side out through the gap.
Insert a piece of elastic into the tube, and stitch the ends of the elastic together.
Then, close the gap by sewing it shut.
You can get creative with colors and patterns.
Scrunchies are not just practical; they also make great gifts for friends.
With just a little time and some fabric, you can make several in one afternoon.
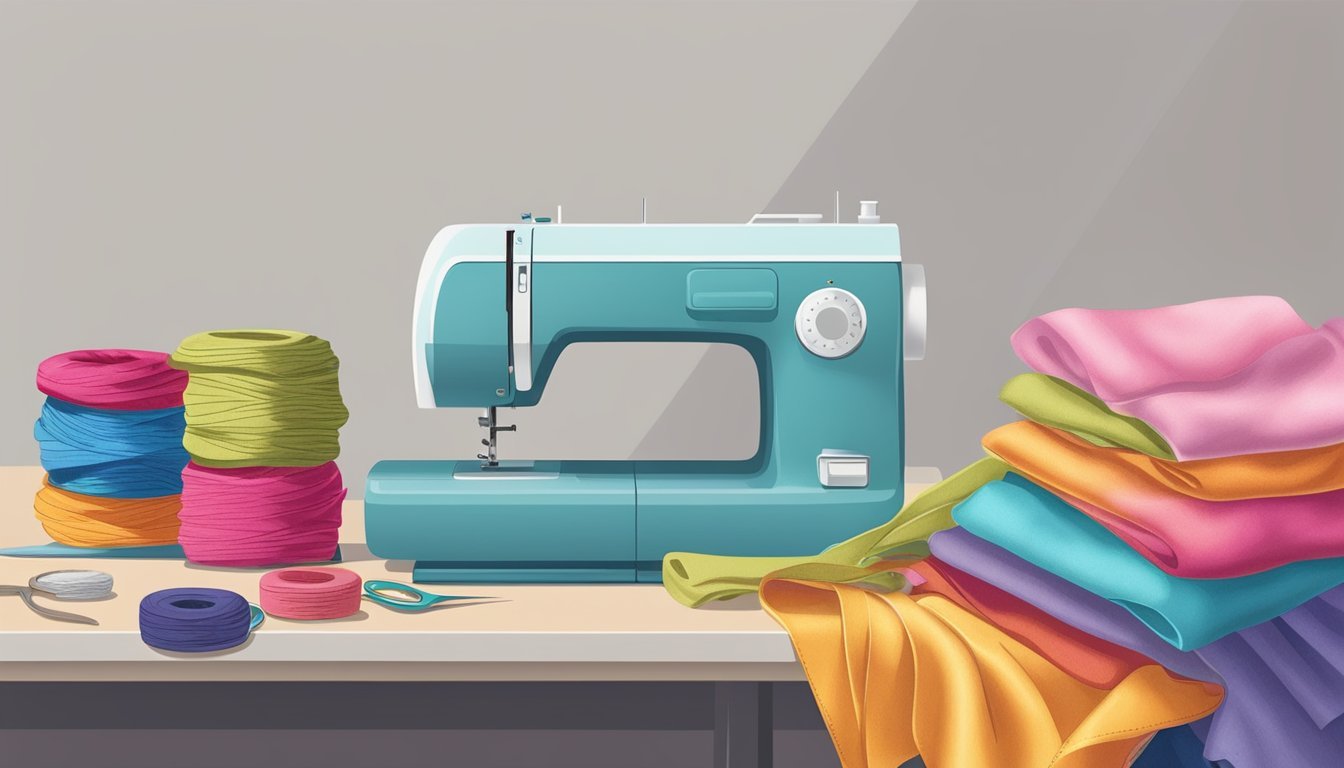
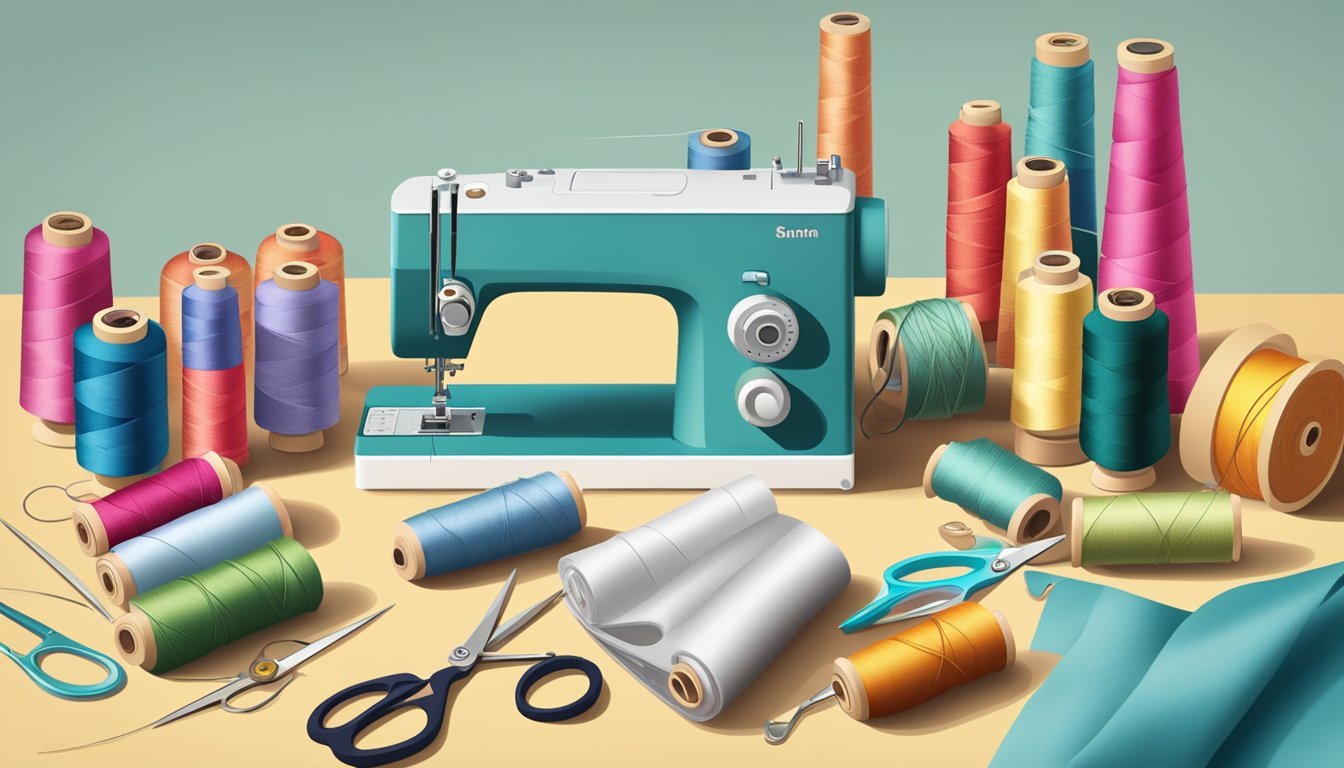
Choosing the Right Fabric

Selecting the right fabric is essential for the success of your sewing project.
Different fabrics have unique characteristics that affect how your finished item looks and feels.
Consider the type of fabric and the colors or patterns you’ll use for the best results.
Understanding Fabric Types
When choosing fabric, it’s important to know the different types available.
Here are some common options:
- Cotton: Great for beginners, cotton is versatile and comes in various weights. Suitable for quilts and casual wear.
- Linen: A natural fabric known for its breathability, perfect for summer garments and home décor.
- Fleece: Soft and warm, fleece is excellent for cozy items like blankets or jackets.
Select a fabric that matches your skill level.
If you’re just starting out, go for easy-to-work-with options like cotton or fleece.
As you gain experience, you can experiment with more challenging materials like silk or denim.
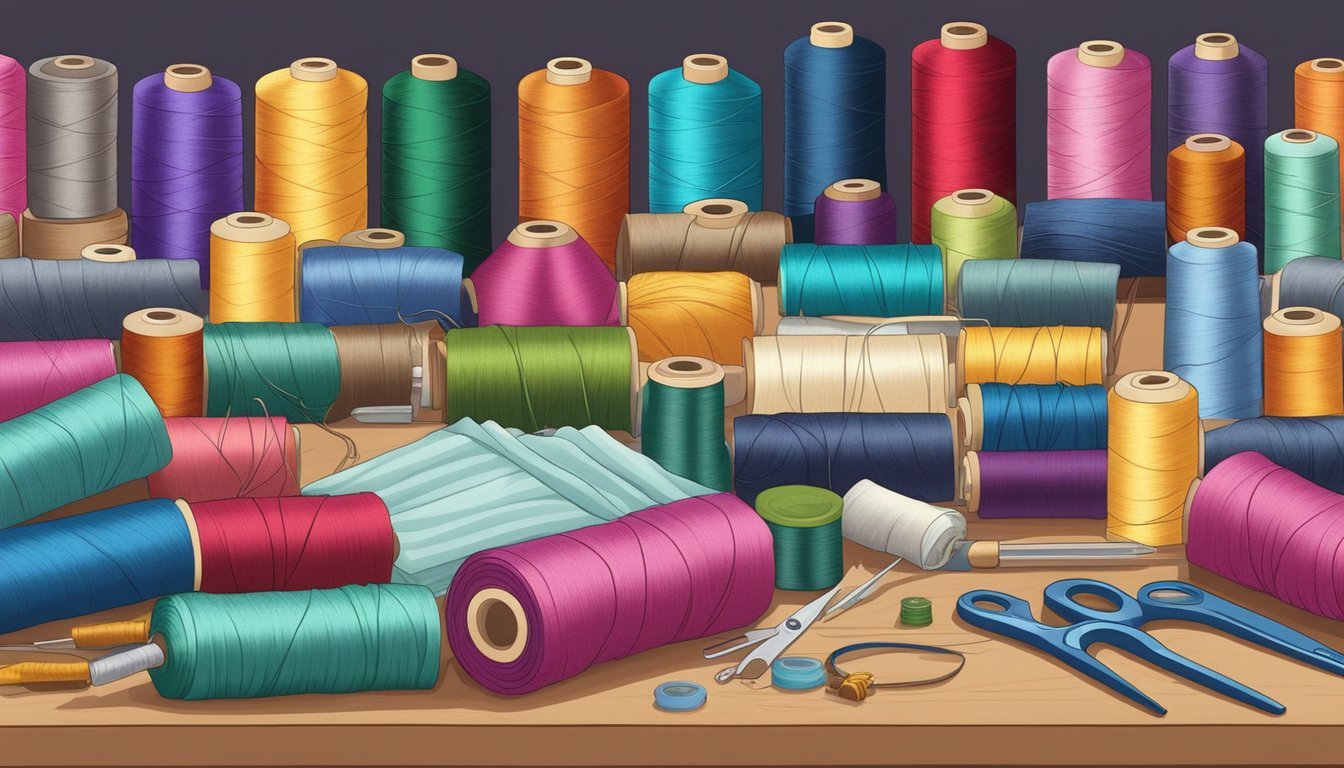
Selecting Colors and Patterns
The choice of color and pattern can significantly impact your sewing project.
Here are some tips to consider:
- Color: Think about the purpose of your project. Bright colors can make your item stand out, while neutral tones can offer versatility.
- Patterns: Stripes, florals, or solids each bring a unique vibe. Consider how each design complements your project goals.
Remember to match your colors and patterns with your personal style.
Create a mood board if needed to visualize how different fabrics work together.
This approach can help you choose wisely and ensure a cohesive look for your finished project.
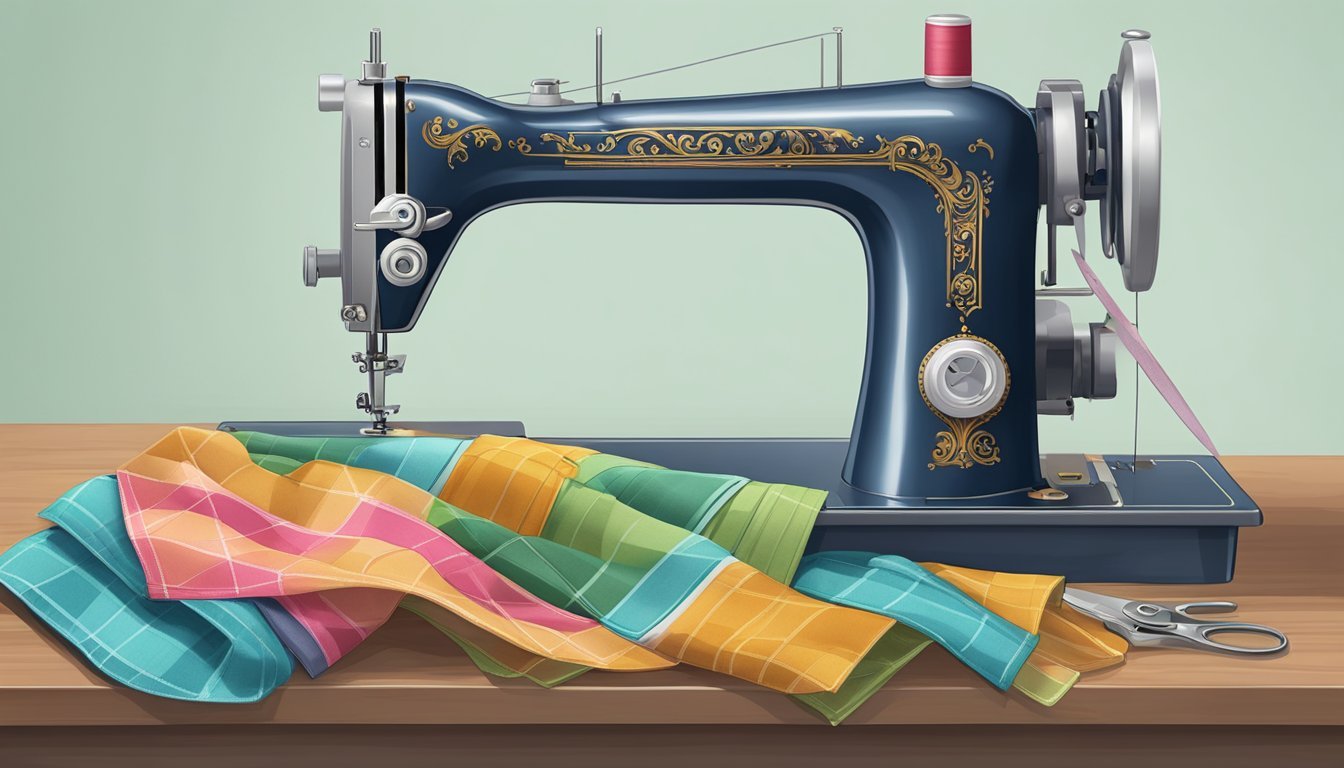
Basic Sewing Tools
Getting started with sewing is all about having the right tools at your fingertips.
With a few essential items, you can tackle simple projects comfortably.
Here’s what you need to know.
Essential Sewing Kit
To kick off your sewing journey, gather these must-have tools:
- Sewing Machine: Choose a reliable machine that suits your needs. Basic models are perfect for beginners.
- Fabric Scissors: Invest in a sharp pair of fabric scissors. They should only cut fabric to ensure clean cuts.
- Measuring Tape: A flexible measuring tape is essential for accurately measuring fabric and patterns.
- Straight Pins: Keep your fabric in place while sewing. Look for long, thin pins for easy insertion.
- Seam Ripper: Mistakes happen. A seam ripper is vital for removing unwanted stitches without damaging fabric.
These tools will lay the foundation for your sewing projects, so keep them organized in a cute pouch or box.
Optional Gadgets to Consider
Once you have the essentials, you might want to think about adding these useful tools:
- Rotary Cutter: Great for cutting fabric quickly and accurately, especially for larger pieces.
- Cutting Mat: Protect your surfaces with a self-healing cutting mat. It makes using a rotary cutter easier.
- Iron and Ironing Board: Pressing seams is vital for a polished look. Choose a steam iron for best results.
- Tailor’s Chalk or Fabric Markers: These are perfect for marking patterns directly on fabric. They easily wash away or fade.
While these gadgets aren’t mandatory, they can make the sewing process smoother and more enjoyable.
Tips for Quick Sewing
Getting your sewing projects finished quickly can be a breeze with some thoughtful preparation and techniques.
Here are some practical tips to streamline your sewing experience.
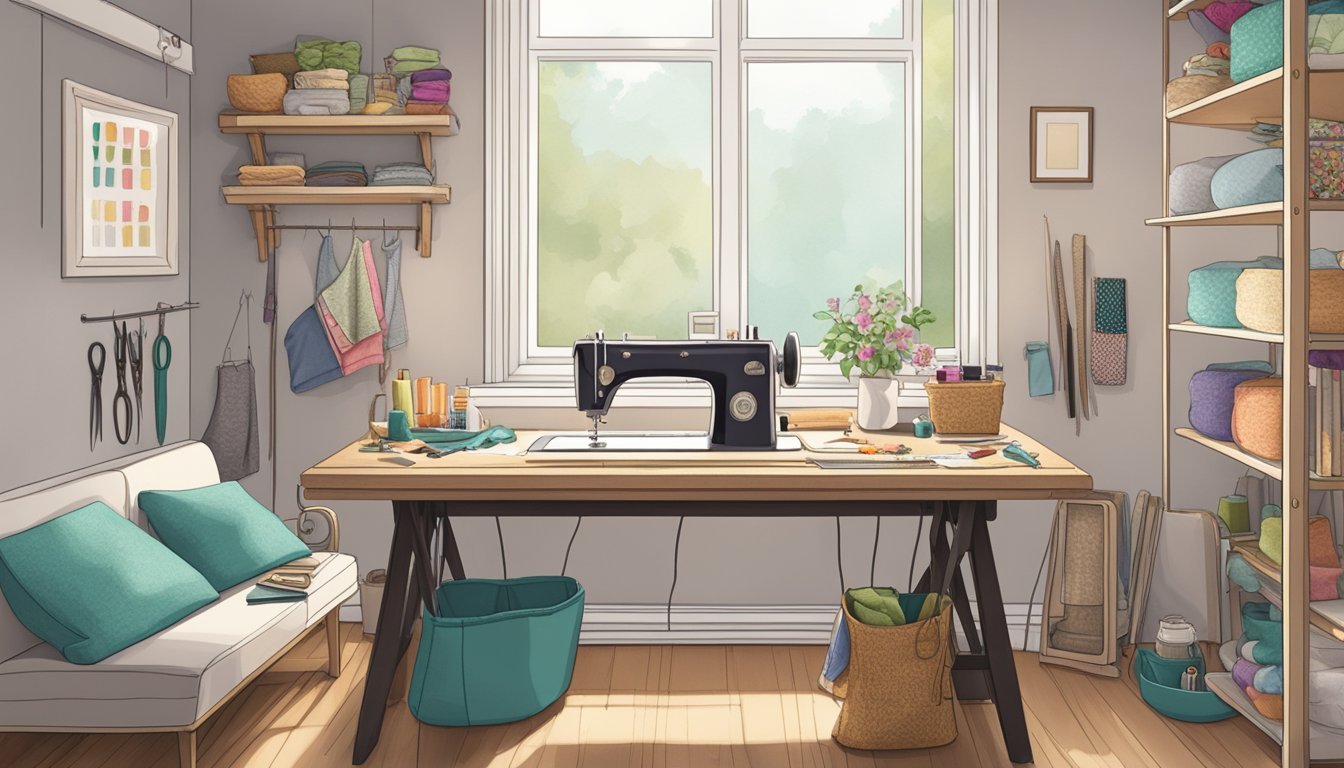
Preparing Your Workspace
A tidy workspace makes a huge difference in your sewing speed.
Start by organizing your tools and materials.
Lay out scissors, pins, threads, and fabric within easy reach.
Consider the following steps:
- Clear Your Area: Remove unnecessary items from your sewing table. A clutter-free surface allows you to focus better.
- Gather Materials: Before you start, collect all the materials you need for your project. This includes fabrics, patterns, and any special tools.
- Good Lighting: Ensure your workspace is well-lit. This prevents eye strain and helps you see your work clearly.
Time-Saving Sewing Techniques
Using smart techniques can significantly reduce your project time.
Here are a few strategies to keep you on track:
- Pre-Cut Fabrics: If possible, cut your fabric ahead of time. Having everything prepped means you can sew without interruptions.
- Chain Stitching: When you work on multiple similar items, chain stitch your pieces together. This method saves time and thread.
- Minimal Pinning: Use fabric clips instead of pins for quicker setup. They hold fabric together without much time spent on pinning and unpinning.