

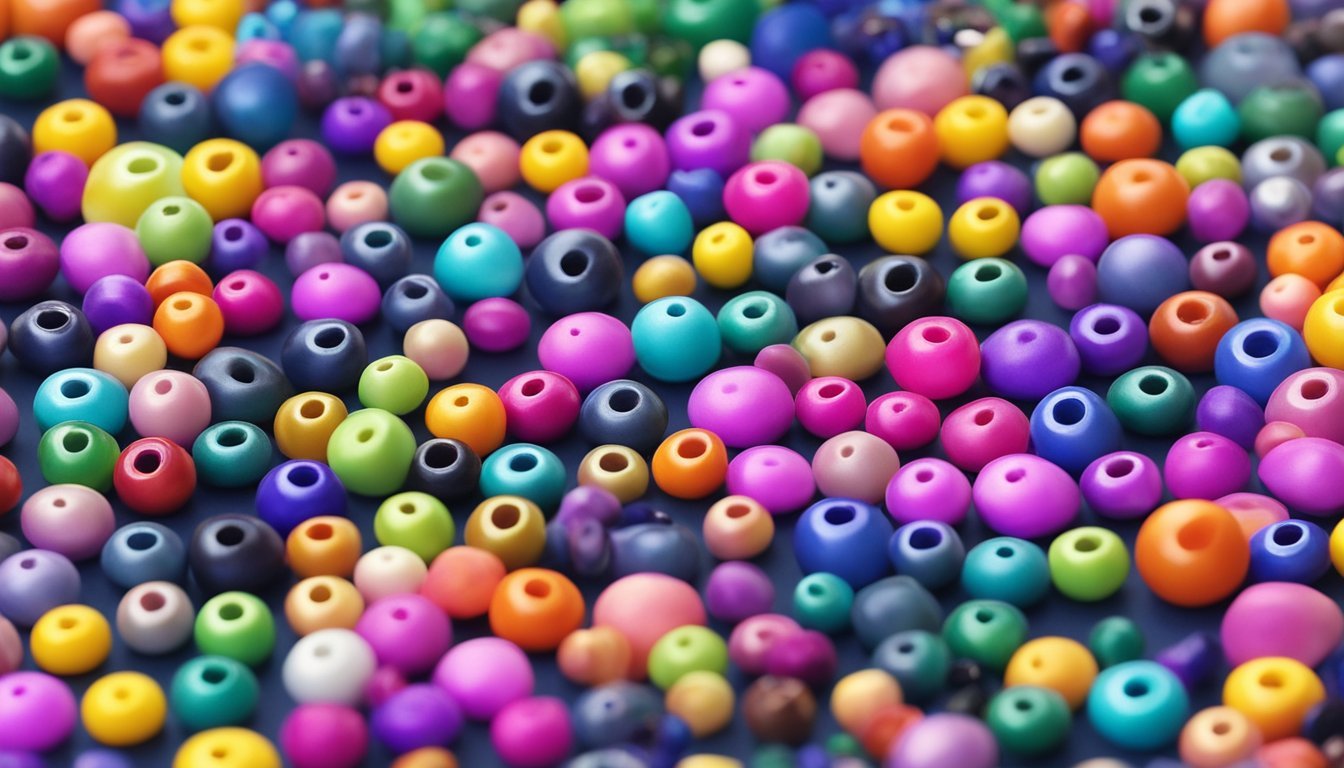
Beads are not just for jewelry; they can be a fun and creative addition to various craft projects.
From home decor to personalized gifts, there are countless ways to incorporate beads into your crafts.
Using beads can add color, texture, and a unique touch to your handmade creations.
Whether you’re looking to spruce up your living space or create something special for a friend, beads offer versatility that you might not have considered.
You can explore different techniques and combinations to bring your imaginative ideas to life.
Beaded Friendship Bracelets
Beaded friendship bracelets are a classic way to show someone you care.
They’re fun to make and even more fun to wear.
Start by cutting a piece of stretchy cord about 10-12 inches long.
To prevent beads from slipping off, tape one end securely.
This little trick can save you a lot of frustration.
Once you have your cord ready, choose your beads.
You can mix colors, shapes, and even include some alphabet beads for a personal touch.
Just ensure everything is facing the same direction.
After you’ve threaded your beads, tie the ends of the cord together with a tight knot.
You can add a dab of glue to the knot for extra security.
Let it dry completely before wearing or gifting your bracelet.
These bracelets not only look great, but they also carry sentiment.
Making them for friends or family creates lasting memories.
Plus, they’re customizable! You can switch up colors or patterns based on individual styles.
DIY Bead Curtain
Making a bead curtain is a fun and creative way to enhance your space.
You can customize it to match your style and preferences easily.
Start by gathering your materials.
You’ll need beads, fishing line or string, and hooks for hanging.
Choose beads that complement your decor.
Measure the area where you want to hang the curtain.
Cut the fishing line a foot longer than your desired length to give yourself some extra room.
Thread your first bead onto the string, then keep adding beads until you reach the end of your strand.
You can combine different colors or types for a unique look.
Once you have all your strands ready, attach hooks to your wall or window frame.
Make sure they are secure to support the weight of the curtain.
Hang your strands from the hooks, spacing them evenly.
You can tie off the ends or use a drop of glue to keep the beads in place.
Enjoy your new DIY bead curtain as a playful addition to any room!
3) Beaded Keychains
Beaded keychains are a fun and easy craft project that adds a personal touch to your keys.
You can use various beads, from colorful acrylics to wooden options, to create something unique.
A simple design involves stringing beads on a cord or wire.
You can incorporate letter beads to spell out a name or a special word, making each keychain meaningful.
For a twist, try making a diffuser keychain using clay beads that hold essential oils.
This way, you can carry your favorite scents with you daily.
Get creative by adding tassels or charms for a bit of flair.
These additions make your keychain stand out and enhance your overall design.
Materials needed are minimal: beads, a keyring, and some cord.
In about an hour, you can craft a stylish accessory or a thoughtful gift for friends.
Experiment with different color combinations and bead sizes.
Each keychain you create reflects your style and creativity, making them perfect for any occasion.
4) Beaded Wind Chimes
Creating beaded wind chimes is a fun and creative project that adds color and sound to your outdoor space.
You can use a variety of beads—wooden, plastic, or even shells.
Start by cutting a length of fishing line, about 26 inches long.
Tie a bell at one end to serve as an anchor.
Next, add your chosen beads, letting them slide down toward the bell.
Once you have reached your desired length, secure the end with a knot.
You can also add a decorative hanger using jute or string.
Hang your finished wind chime in a spot where the breeze can catch it.
Adjust the height of the strings so the beads can hit the bells when the wind blows.
Enjoy the gentle sounds as your wind chimes sway in the air!
Beaded Plant Hangers
Beaded plant hangers are a fun and creative way to display your favorite plants.
They add a pop of color and personality to any space.
To create your own, start by cutting lengths of nylon string or fishing line.
These will hold your beads and plant securely.
You can find various bead sizes to match your aesthetic.
Begin by threading a large bead at the top for stability.
Then, divide your strands to create sections for beading.
Choose your beads and string them according to your chosen design, ensuring that the beaded sections are long enough to accommodate your plant pot.
Feel free to experiment with different patterns.
A simple square knot can beautifully tie your design together.
Multiple color combinations will enhance the visual impact.
Hang your completed plant hanger in a sunny spot to brighten your home.
Enjoy the process of crafting something unique that showcases your green thumb and adds charm to your space.
6) Beaded Suncatchers

Creating beaded suncatchers is a fun and colorful project.
You can use either plastic or glass beads, depending on your preference and the look you want.
For melted plastic bead suncatchers, gather your pony beads and arrange them in a container.
Bake at around 350-400 degrees Fahrenheit for about 15-20 minutes.
Keep an eye on them as they melt together.
The shapes will transform, resulting in a beautiful suncatcher.
If you prefer glass beads, use a yogurt or sour cream container lid as your base.
Glue the beads in a design you like, making sure to leave some space for light to shine through.
Once finished, hang your suncatcher in a sunny spot.
The sunlight will create vibrant colors in your space.
It’s a simple craft that adds a cheerful touch to any room.
7) Embellished Denim Jackets

Embellished denim jackets are a fantastic way to add a personal touch to your wardrobe.
You can easily transform a basic jacket into something unique with just a few beads.
Start by choosing your beads.
Consider different colors, sizes, and shapes to create interesting patterns.
You might want to focus on the collar, pockets, or along the seams for a stylish look.
As you work, use fabric glue or a needle and thread to secure your beads.
This will ensure they stay in place, even after repeated wear and washing.
A cropped or distressed jacket can serve as a trendy base for your beading project.
You can even mix in other embellishments like patches or fabric paint to enhance the design further.
Get creative and let your personality shine through your jacket.
These small additions make a big impact on your overall style!
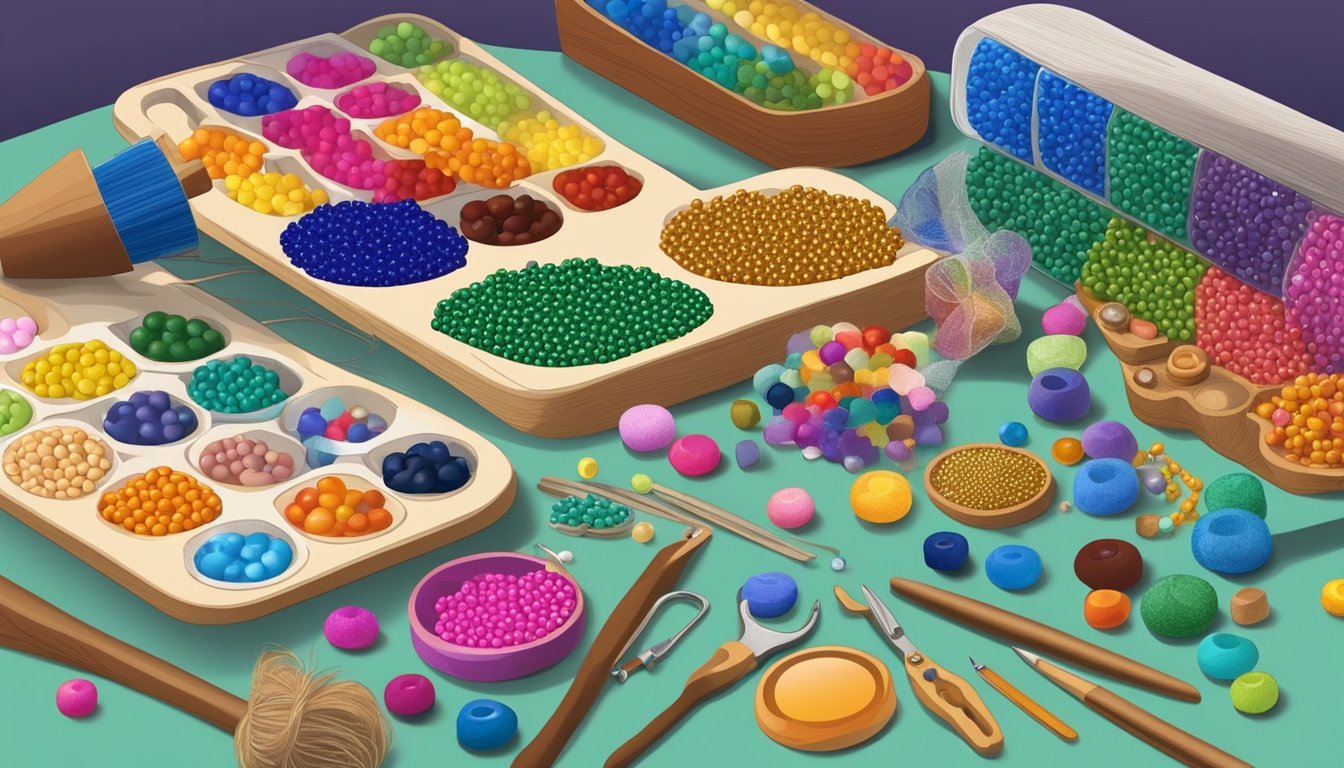
Bead Selection Tips
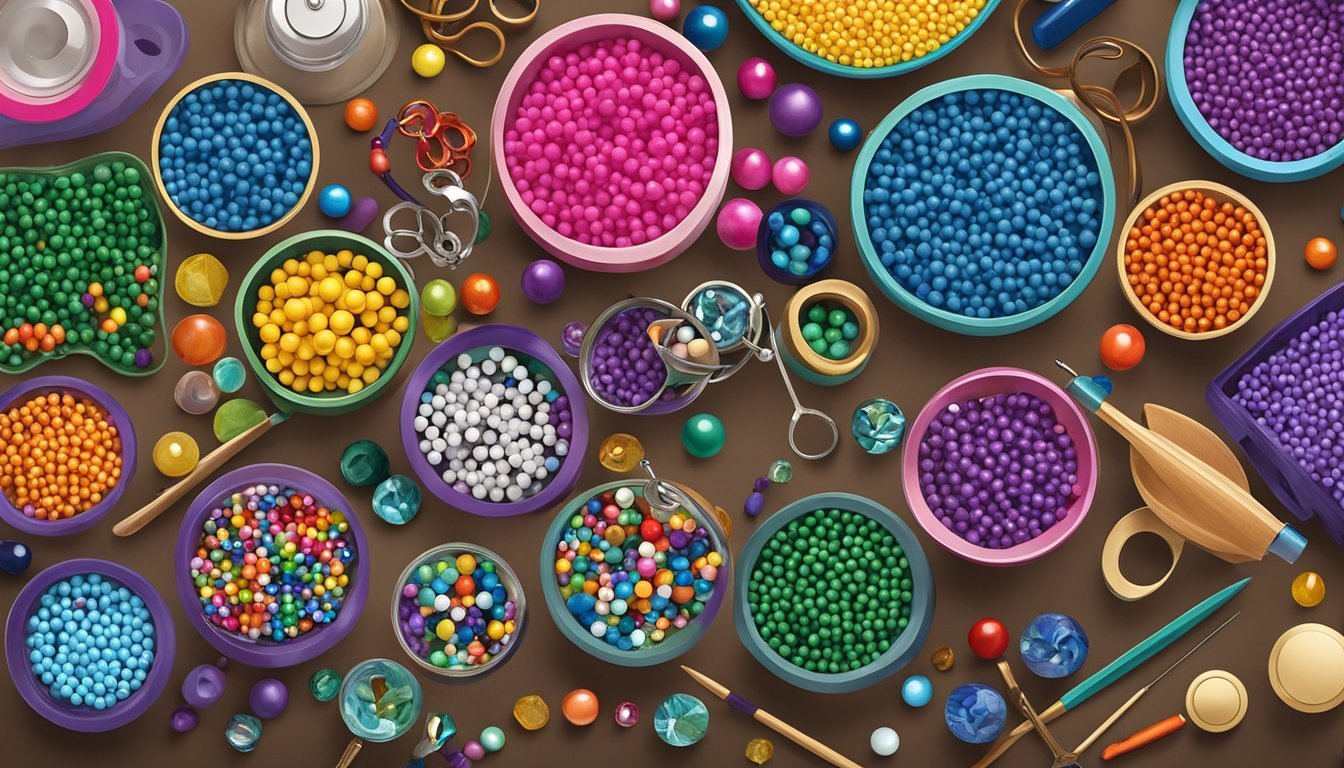
When working on bead crafts, choosing the right beads is essential.
Consider both the size and material of the beads, as well as their shapes to enhance your projects effectively.
Choosing the Right Size and Material
Start by determining where you’ll use the beads.
For delicate projects like jewelry, smaller beads work well, typically ranging from 4mm to 8mm.
In contrast, larger beads, like 12mm or more, can make a bold statement in home decor crafts.
Next, think about materials.
Common options include glass, wood, acrylic, and ceramic.
- Glass: Offers a polished look and reflects light well.
- Wood: Brings a natural feel and is lightweight.
- Acrylic: Affordable and available in various colors.
- Ceramic: Provides unique designs and a rustic touch.
Choose based on the visual effect and durability you want for your project.
Exploring Different Bead Shapes
Beads come in diverse shapes that can dramatically change your projects.
Common shapes include round, square, and teardrop.
Each shape can instill a different feel.
- Round Beads: Great for traditional looks and easy to work with.
- Square Beads: Add a modern twist and can create interesting patterns.
- Teardrop Beads: Ideal for creating movement, perfect for earrings or pendants.
Consider how the shape will affect the design.
Mixing shapes can also add visual interest, making your crafts stand out.
Take time to explore each type; it’s part of the creative fun!
Mastering Beading Techniques
To create stunning beadwork, mastering the right techniques is essential.
You’ll explore basic stringing methods that can be the foundation of your projects, along with advanced weaving techniques that add depth and intricacy to your designs.
Basic Stringing Methods
Stringing is one of the simplest ways to get started with beading.
You can use various materials like nylon thread, elastic cord, or wire.
Here’s a quick list of common stringing techniques:
- Single Strand: A straightforward method where you thread beads onto a single length of cord. This is great for bracelets and necklaces.
- Multiple Strands: Incorporate several strands for a layered look. This adds texture and can make your piece more eye-catching.
When stringing, ensure you use appropriate knots or crimps to secure your ends.
This prevents beads from slipping off and keeps your designs intact.
Advanced Weaving Techniques
Once you feel comfortable with basic stringing, consider trying advanced weaving techniques.
These can elevate your jewelry game dramatically.
Some popular methods include:
- Peyote Stitch: A decorative stitch that adds dimension. You create a zigzag pattern by weaving beads together, which is perfect for creating intricate designs.
- Brick Stitch: Similar to peyote but results in a more structured fabric. This technique allows for tightly woven pieces, ideal for earrings and embellishments.
Utilize specialized needles for finer threads, which can make these techniques easier.
Experiment with colors and patterns for unique effects, enhancing your craftsmanship further.