

Getting into jewelry making can be a fun and rewarding experience.
Whether you’re just starting out or looking to expand your skills, there are plenty of creative projects to keep you engaged. These seven DIY projects offer a great way to express your personal style while honing your craftsmanship.
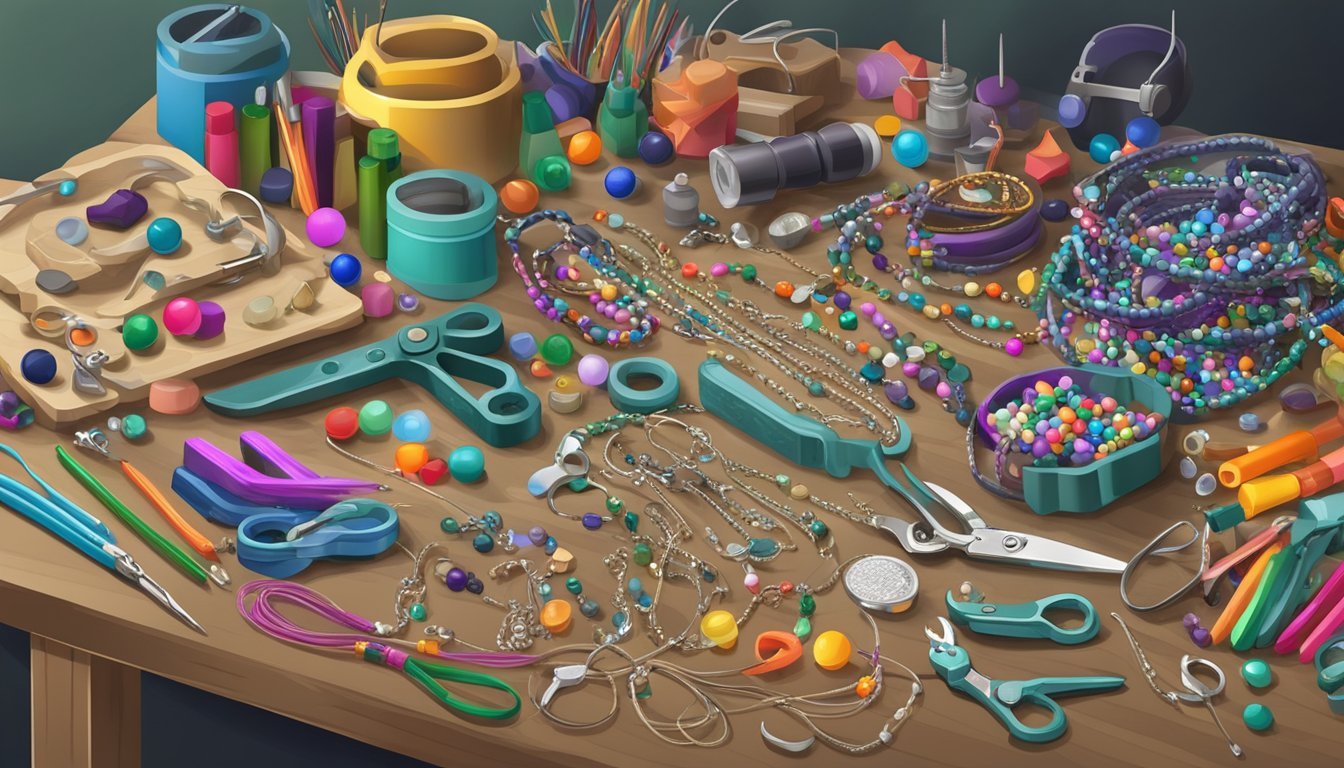
From simple earrings to charming bracelets, there’s something for every taste and skill level.
Working with various materials gives you the chance to experiment and create unique pieces that reflect your personality.
Enjoy the journey of making beautiful jewelry that you can wear or gift to others!
Beaded Wrap Bracelet
Creating a beaded wrap bracelet is a fun and rewarding project.
You’ll need some basic materials like leather cords, seed beads, and a needle.
Feel free to mix and match colors and sizes to make it your own.
Start by cutting your leather cord to the desired length.
The length should allow for multiple wraps around your wrist.
Next, thread your beads onto the cord, leaving some space for the knots.
As you string the beads, you can experiment with various patterns.
You might want to use a combination of large focal beads and smaller seed beads for added interest.
Once you have the desired length, secure the last bead with a knot.
Then, wrap the bracelet around your wrist and make a few more knots to finish.
This creates a layered look that’s both trendy and personal.
Beaded wrap bracelets are versatile.
You can wear them alone or stack them with other bracelets.
Enjoy the process and let your creativity shine through!
2) Wire Wrapped Gemstone Ring
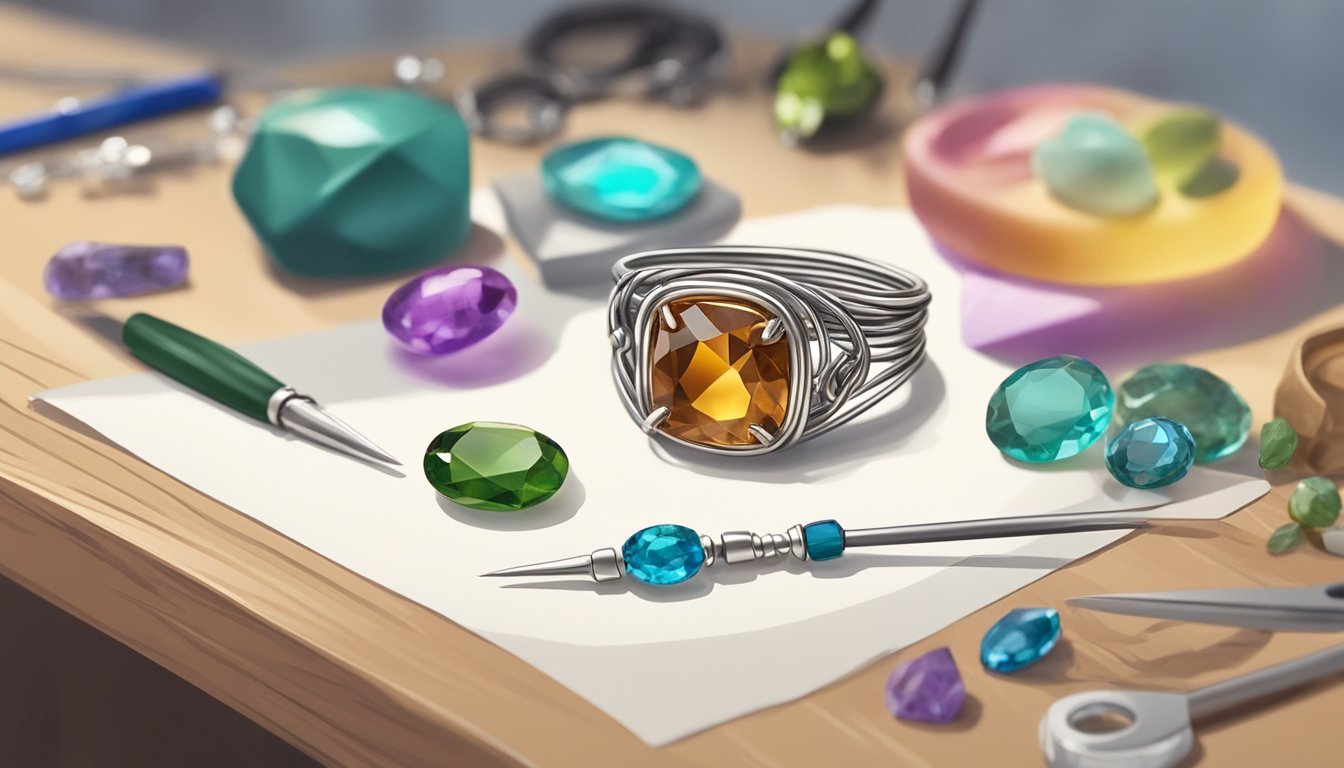
Creating a wire-wrapped gemstone ring is both fun and simple.
You just need a few basic supplies, including wire and a gemstone of your choice.
Start by cutting a length of wire.
Then, position your gemstone at the center.
Use the wire to create a secure wrap around the stone.
You can wrap the wire in various directions to add character and stability.
Don’t forget to leave some wire at the end for the ring band.
Shape the remaining wire into a ring form, adjusting it to fit your finger.
Pliers can help you tuck in any loose ends.
This project is perfect for beginners and lets you customize your ring to your style.
Experiment with different gemstones and wire colors for unique results.
It’s an easy way to express your creativity and make a piece of jewelry you’ll love to wear.
Enjoy the process, and have fun with your designs!
3) Polymer Clay Statement Necklace
Creating a polymer clay statement necklace is a fun and creative project.
You can express your style by choosing colors and shapes that resonate with you.
Start by gathering your materials.
You’ll need polymer clay in your favorite colors, a crafting tool for shaping, and a necklace chain.
Consider using jump rings to attach clay pieces for added flexibility.
Roll the clay into desired shapes—think bold and chunky pieces.
Use tools to add texture or patterns that make your necklace unique.
Once you’re happy with the shapes, bake them according to the clay instructions for durability.
After baking, let the pieces cool completely.
Use needle-nose pliers to attach your clay components to the chain.
Mix and match sizes for an eye-catching effect.
With a little creativity, your handmade statement necklace can turn heads.
It’s a great way to showcase your personality and craftsmanship.
Enjoy the process, and wear your creation with pride!
4) Resin Pendant with Dried Flowers
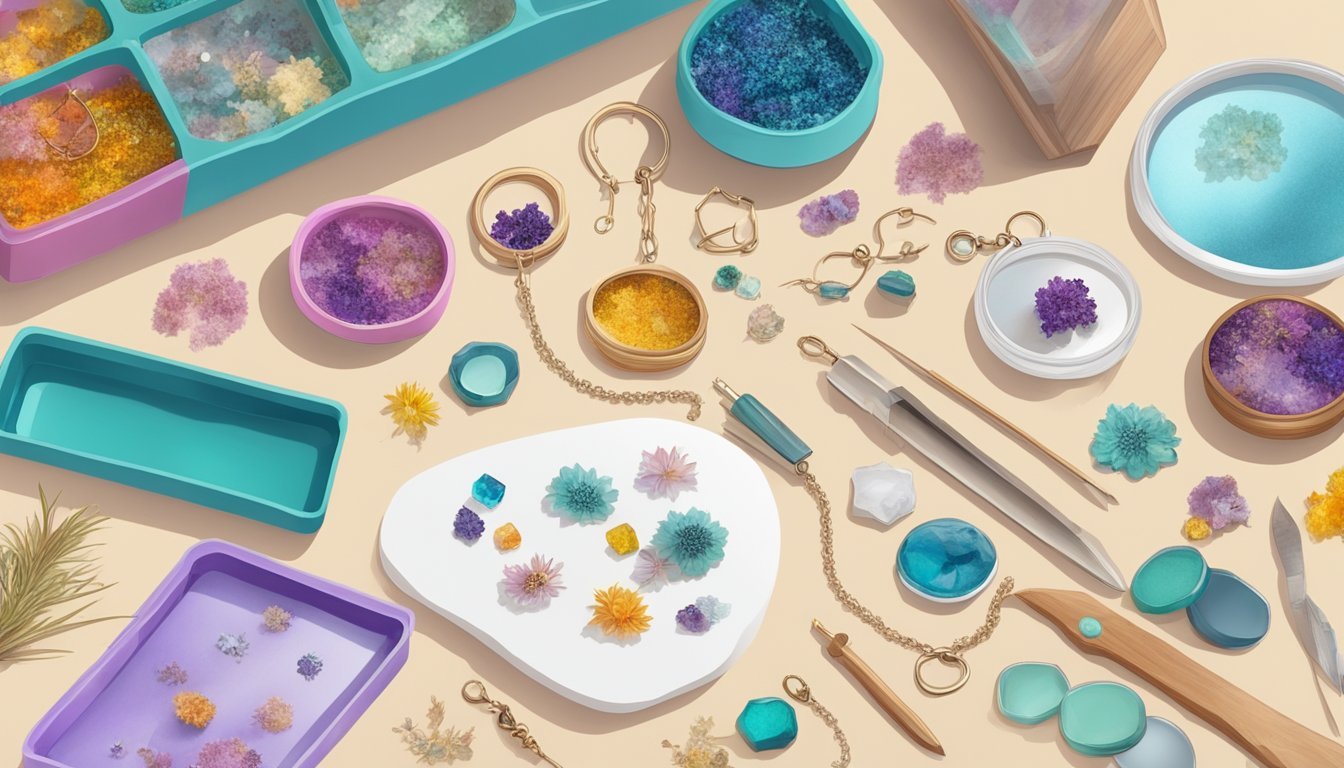
Creating a resin pendant with dried flowers is a fun and rewarding project.
You get to customize the design with your favorite blooms, and the finished piece looks stunning.
Start by gathering your materials.
You’ll need silicone molds, epoxy resin, dried flowers, and mixing tools like cups and sticks.
Prepare your work area to avoid any mess.
Mix the resin according to the package instructions.
Pour a layer into the mold, filling it halfway.
Let it sit for about an hour to allow bubbles to rise.
You can gently pop any bubbles that appear on the surface.
Once the bubbles are gone, carefully press your dried flowers into the resin.
You can place them creatively for a unique touch.
After arranging, pour more resin to cover the flowers completely.
Allow the pendant to cure per the resin instructions.
Once set, you can remove it from the mold.
Sand any rough edges if needed, and attach a necklace chain or bail.
Enjoy wearing your beautiful handmade pendant or gift it to someone special!
5) Button Charm Earrings
Creating button charm earrings is a fun and simple project.
You can personalize them using different button styles, colors, and shapes to match your wardrobe.
Start by selecting some buttons that appeal to you.
Unique vintage or colorful buttons can add a playful touch to your accessories.
Next, gather supplies like jump rings, earring hooks, and pliers.
Attach a jump ring to each button, then connect it to the earring hook.
Feel free to mix and match buttons to create a unique look.
You can even stack smaller buttons on top of larger ones for added flair.
These earrings make great gifts too.
With minimal cost and effort, you’ll have stylish and custom pieces to wear or share.
6) Personalized Stamped Metal Cuffs
Creating personalized stamped metal cuffs can be a fun and rewarding project.
You can start with a simple metal strip, which you’ll shape into a cuff.
First, select the metal you want to use.
Aluminum is lightweight and easy to work with, making it a great choice for beginners.
Next, gather your stamping tools.
You’ll need alphabet stamps to create your message or design.
Make sure you have a solid metal block to work on.
Position the metal strip on the block and decide where you want to stamp.
Tap the stamp with a hammer to imprint your chosen letters.
You can create a special date, a name, or even a short phrase that holds meaning for you.
After stamping, you can further personalize your cuff by adding textures or embellishments.
Consider adding textures or embellishments for a unique touch.
Finish by shaping the cuff around a bending bar to give it a polished look.
This project not only is a great way to express your creativity but also results in a meaningful accessory you can wear or give as a gift.
7) Leather Cord Friendship Bracelets

Leather cord friendship bracelets are a fun and stylish way to show you care.
They’re simple to make and perfect for gifting.
Start by cutting a length of leather cord, usually around 20 inches.
You can adjust the length based on your wrist size or the desired look.
Next, you’ll want to add beads or charms for a personal touch.
Choose colors and shapes that resonate with your friend’s style.
To finish your bracelet, crimp the ends or use a simple knot.
If you want a fancier closure, consider using a snap or clasp.
These bracelets are not only great for you and your friends, but they’re also a fun project for a crafting day together.
Enjoy the process and get creative with different colors and designs!
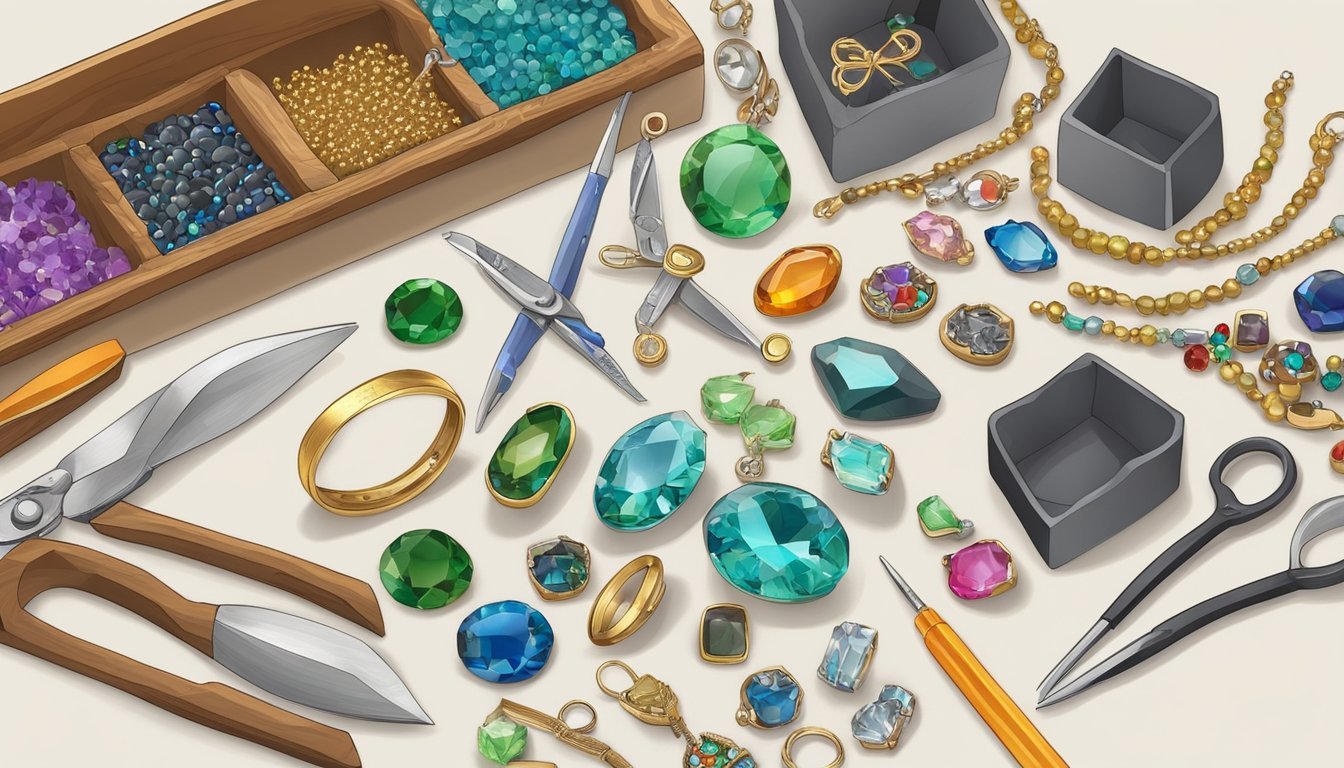
Essential Tools for Jewelry Making
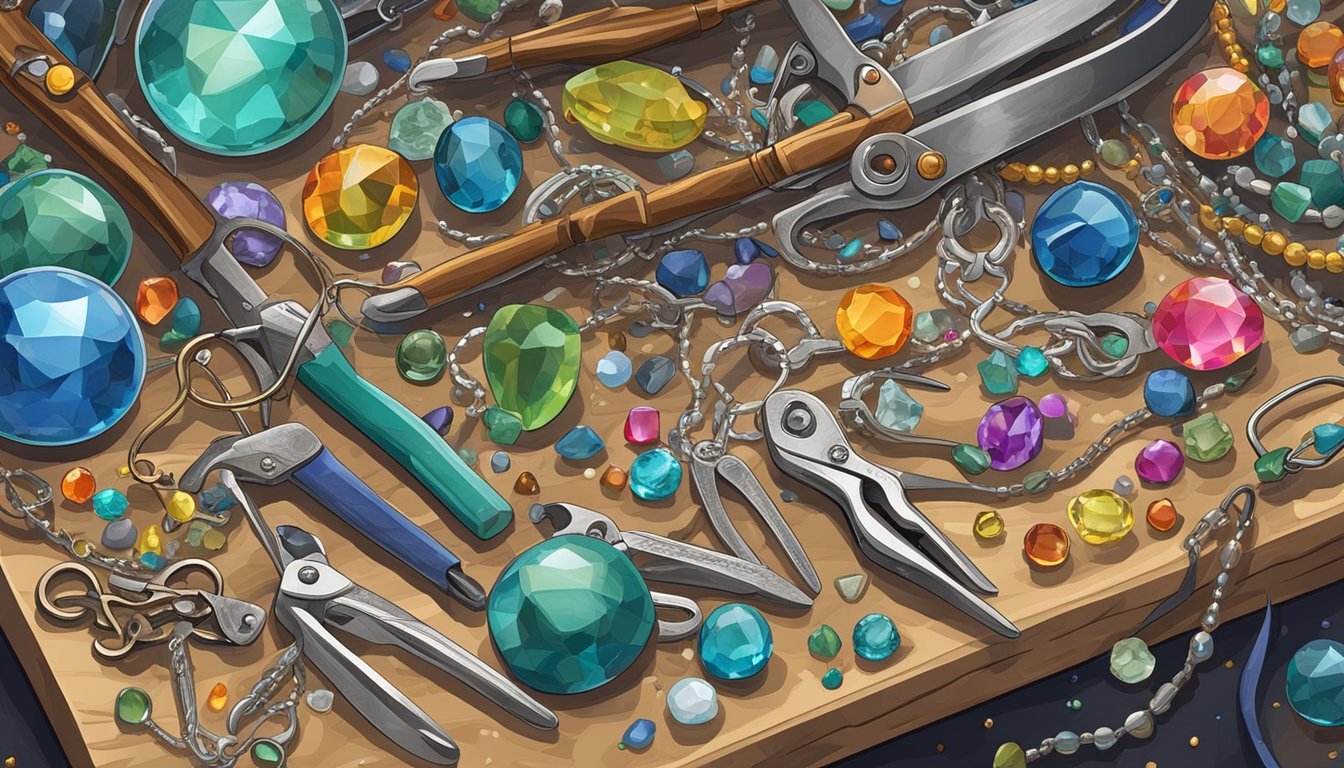
To dive into your jewelry-making journey, having the right tools makes a world of difference.
Here are essential tools to get you started, along with some advanced options for when you’re ready to elevate your crafting game.
Simple Tools to Get Started
As a beginner, you don’t need a huge toolkit.
Focus on these essential tools:
- Flat Nose Pliers: Perfect for holding wires and bending metal without leaving marks.
- Wire Cutters: A must-have for cutting headpins, eye pins, and stringing wire.
- Round Nose Pliers: Great for creating loops and curves in your wire.
- Measuring Tape: Essential for measuring your materials accurately.
You can often find these tools in starter kits, which save time and ensure you have the basics.
Don’t forget to keep your workspace organized to make your projects more enjoyable.
Advanced Equipment for Serious Crafters
Once you’ve gained some confidence, consider investing in advanced tools to expand your skills.
- Flush Wire Cutters: These will give you clean cuts and preserve the integrity of your wire.
- Beading Loom: Perfect for weaving intricate bead patterns and taking your designs to the next level.
- Dapping Set: Useful for shaping metal into domes, allowing for unique designs.
- Multi-Use Tool: A versatile addition that combines several functions, reducing clutter.
These tools will enhance your creativity.
Each one plays a role in refining your jewelry-making techniques, helping you create pieces that stand out.
Tips for Sourcing Materials
When starting your jewelry-making journey, sourcing the right materials is crucial.
You’ll want to find affordable yet quality supplies that inspire your creativity.
Here are some practical tips to get you started.
Finding Local Suppliers
Checking out local craft stores and specialty shops can be a great way to find materials.
Look for stores that specifically cater to jewelry making.
They often stock gemstones, beads, wires, and tools.
You can also explore local artisan markets.
Vendors may offer unique handmade components, adding a special touch to your projects.
Don’t hesitate to ask shop owners for recommendations on where to find quality items.
Join local crafting groups or attend workshops.
Networking with other jewelry makers can lead you to hidden gems in your community.
Lastly, don’t overlook the value of thrift stores or garage sales.
You might score vintage beads or materials for a fraction of the price!
Online Resources for Unique Finds
The internet is a treasure trove for sourcing unique materials.
Websites like Etsy, ArtFire, or even eBay can connect you to suppliers who offer one-of-a-kind beads, charms, and findings.
Check specialized online retailers that focus on jewelry-making supplies.
Many provide extensive catalogs.
They often have sales or discounts for bulk purchases.
Make sure to read reviews and compare prices to get the best deals.
Don’t forget social media platforms like Instagram and Facebook.
Many artisans sell their handmade components directly through these channels.
Joining jewelry-making groups on these sites can lead to more resources and inspiration too.
Just remember to verify the seller’s credibility before purchasing!