

Getting started with DIY crafts can be a fun and rewarding experience.
With so many creative options out there, finding projects that are simple and enjoyable is key. These seven easy DIY craft projects are perfect for beginners, allowing you to create something special without feeling overwhelmed.
Whether you’re looking to decorate your home or create a personalized gift, these projects use everyday materials that you likely already have.
They require minimal time and effort, making it easy to squeeze crafting into your busy schedule.
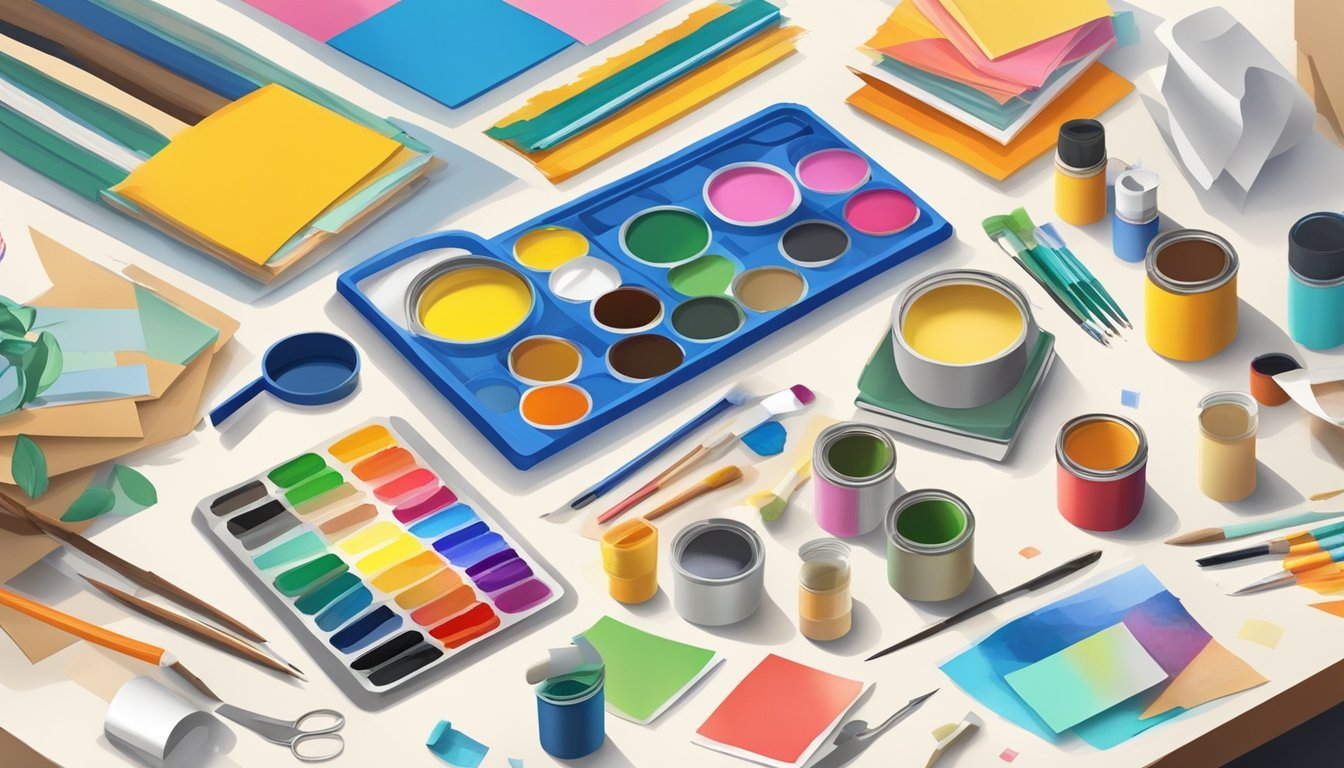
1) Painted Mason Jars
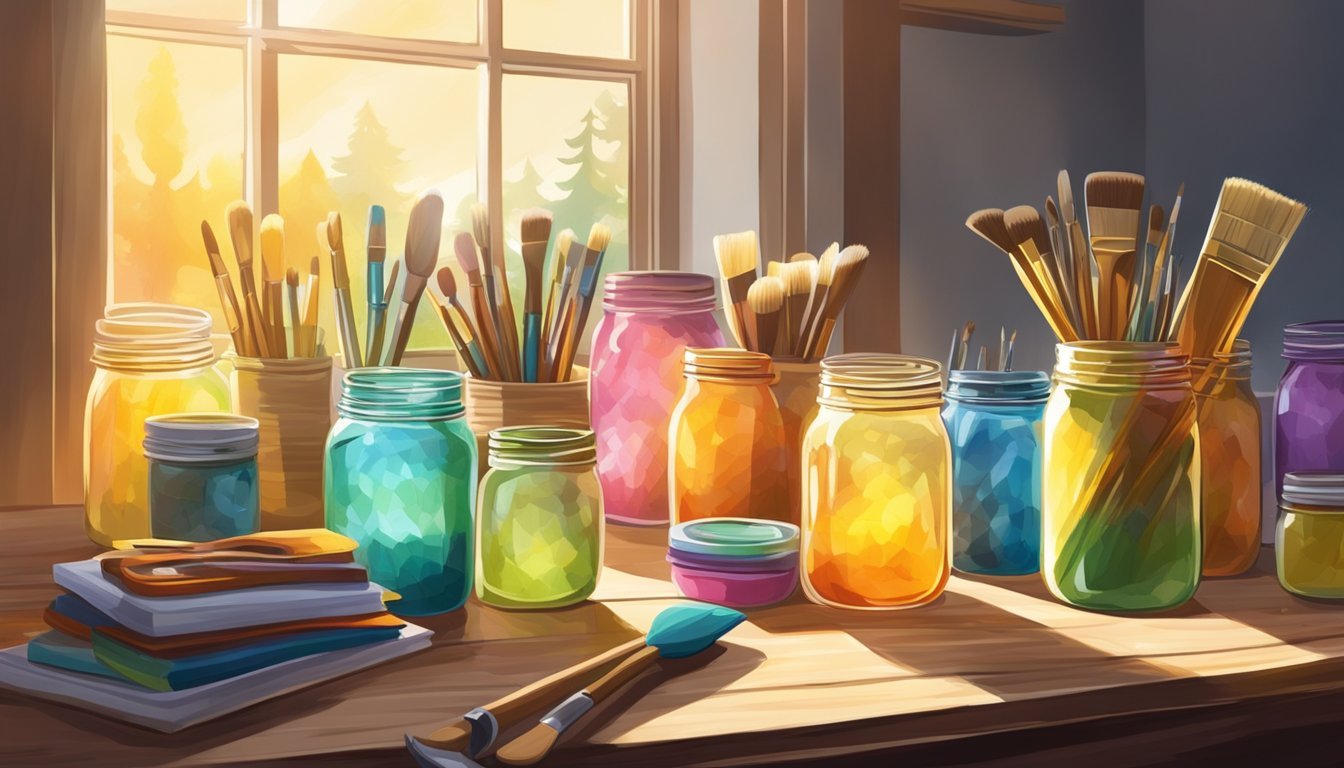
Painting mason jars is a fun and simple craft project that you can easily tackle.
They can serve as decorative accents or functional storage solutions.
To get started, gather clear glass mason jars, acrylic paint, and a paintbrush.
You can also pour paint into the jar for an even smoother finish.
Let each layer dry for about 24 hours.
For added creativity, try baking your painted jars.
Place them in a cool oven, then heat to 350°F. Bake for 30 minutes to set the paint.
Ensure not to place them in a hot oven to avoid breakage.
You can also explore different designs.
Stripes are a popular choice—just paint a solid base color and add stripes in a contrasting shade.
This gives a stylish touch to your jars.
These painted jars make excellent gifts or can be used to brighten up your home decor.
Whether you choose to create fun patterns or stick to solid colors, the possibilities are endless!
2) No-Sew T-shirt Tote Bag
Making a no-sew tote bag from an old T-shirt is simple and fun! Grab a shirt you no longer wear and some scissors.
Start by laying your T-shirt flat.
Cut off the sleeves and then cut the neckline to create an opening for the bag.
You can cut about 4 inches down from the neckline for a comfortable fit.
Next, decide how deep you want your tote bag.
Measure down from the bottom of the shirt and mark your spot.
Cut strips about 1-inch wide along the bottom of the shirt, cutting both the front and back.
If you like, you can make some fringe by creating longer strips.
Just tie the strips together in knots to secure the bottom of the bag.
This adds a cute touch and keeps everything together.
Your no-sew T-shirt tote is now ready to use! It’s perfect for carrying books, groceries, or whatever you need.
Enjoy your new creation!
3) Popsicle Stick Picture Frame
Creating a popsicle stick picture frame is a straightforward and enjoyable DIY project.
You only need a few materials: popsicle sticks, glue, and decorations like paint or stickers.
Start by laying out your popsicle sticks in a square or rectangle shape.
Use glue to attach the sticks at the corners, ensuring a sturdy frame.
You can stack additional sticks for added thickness.
Once the glue dries, get creative! Paint your frame in your favorite color or use markers to add designs.
Stickers and washi tape also work well for personalizing your frame.
After decorating, let everything dry completely.
Then, choose a photo you love and attach it to the back using tape or glue.
Your unique popsicle stick frame is now ready to display or give as a gift.
This craft is perfect for all ages and makes for a great activity with friends or family.
Enjoy your crafting!
4) Wine Cork Keychains
Creating wine cork keychains is a fun and straightforward project.
All you need are a few basic supplies and some wine corks.
Start by twisting a screw eye into one end of a cork.
This will serve as the anchor for your keychain.
Next, attach a split ring to the loop of the screw eye.
This makes it easy to add your keychain to your keys or bag.
To add a personal touch, cut an eyepin in half.
Slide a bead onto one side that has a loop, and push the beaded eyepin into the other end of the cork.
You can customize your keychain by using different colored beads or adding multiple corks for a chunky look.
These keychains are not only practical but also a great way to recycle corks.
Enjoy crafting!
5) Button Bookmarks
Button bookmarks are a fun and easy project to start with.
They require minimal materials and can be customized to your liking.
To create your button bookmark, you’ll need some buttons, a piece of ribbon or string, and scissors.
Choose buttons in different colors and sizes to give your bookmarks a unique look.
Start by cutting a length of ribbon, about 6 to 8 inches long.
Attach a button to one end of the ribbon, securing it with a knot.
You can add more buttons along the ribbon for added flair.
These bookmarks not only keep your page marked but also add a splash of personality to your reading.
Feel free to mix and match designs.
They make great gifts, too, especially for book lovers in your life.
With just a few simple steps, you can create bookmarks that are both functional and stylish.
Enjoy the crafting process and let your creativity shine!
6) Scrap Fabric Coasters

Making scrap fabric coasters is an enjoyable and easy project for beginners.
It’s a great way to use up leftover fabric and add a personal touch to your home.
Start by gathering your fabric scraps.
You’ll need two layers of batting for insulation and any fun fabric for the top.
Cut everything into squares or circles, depending on your preference.
Layer the batting first, then add the fabric backing right side up.
Place your pieced fabric on top, right side down.
Pin the corners to keep everything in place.
Sew around the edges, leaving a gap of about 2 inches on one side.
This opening will help you turn the coaster right side out.
Once turned, tuck the raw edges in and top-stitch to close the gap.
These coasters are practical for protecting surfaces from hot or cold drinks.
You can mix and match fabrics for a unique set that matches your style.
Enjoy your new DIY project!
7) Paper Straw Stars
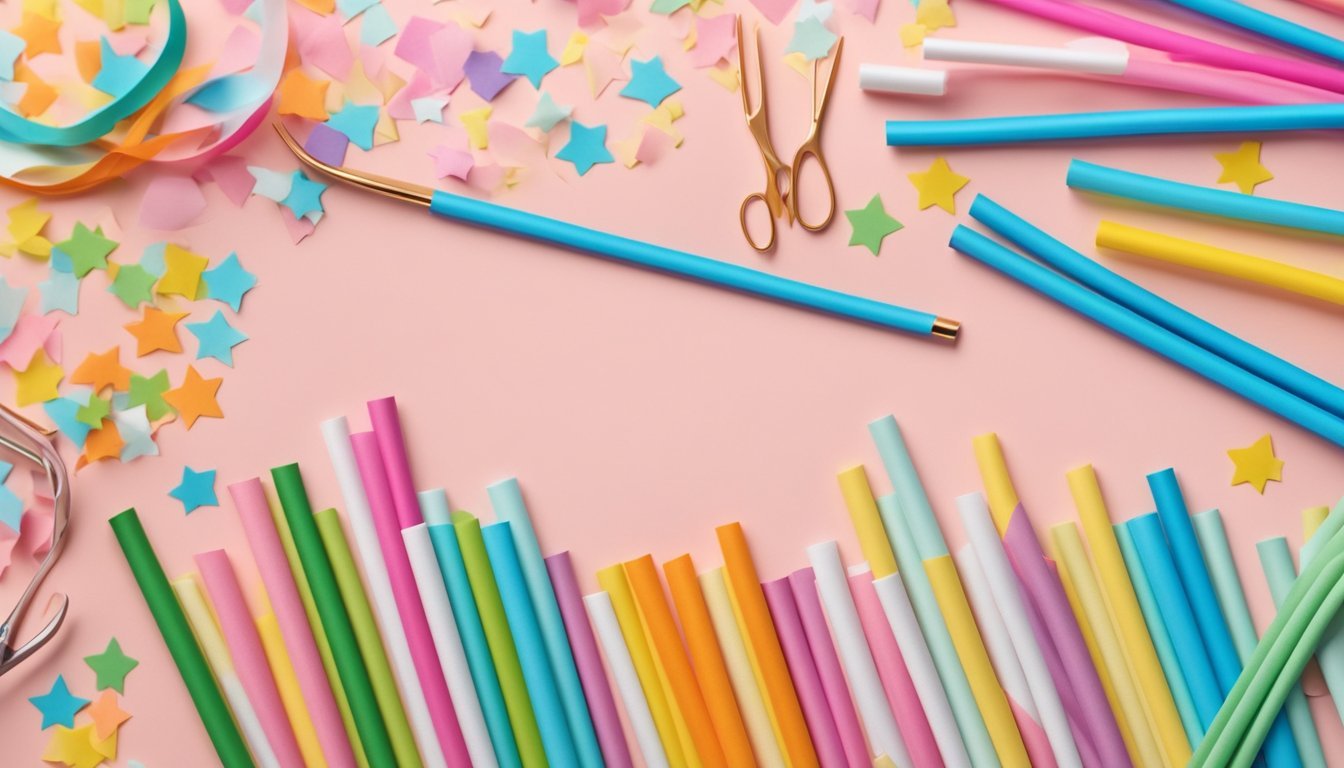
Creating paper straw stars is a fun and simple project perfect for beginners.
You can use colorful paper straws to add a festive touch to your space.
Start by cutting five straws in half.
You’ll need ten halves for your star shape.
If you want to add some flair, gather beads or embellishments to string along with the straws.
Next, take a piece of twine or string.
Begin threading the straws onto it, arranging them in a star shape as you go.
Overlap the pieces slightly at each point to ensure they hold together well.
Once your star is complete, you can hang it up or use it as a unique decoration.
These stars are great for holiday decor or party decorations.
Get creative by mixing and matching straw colors or adding glitter for extra sparkle.
This project is not only easy but also lets you personalize your decor in a fun way.
Enjoy the crafting process!
Getting Started With DIY Crafts
Embarking on your DIY crafting journey can be exciting and fulfilling.
Knowing what tools and materials you’ll need, as well as how to choose the right project for your skill level, is key to a successful start.
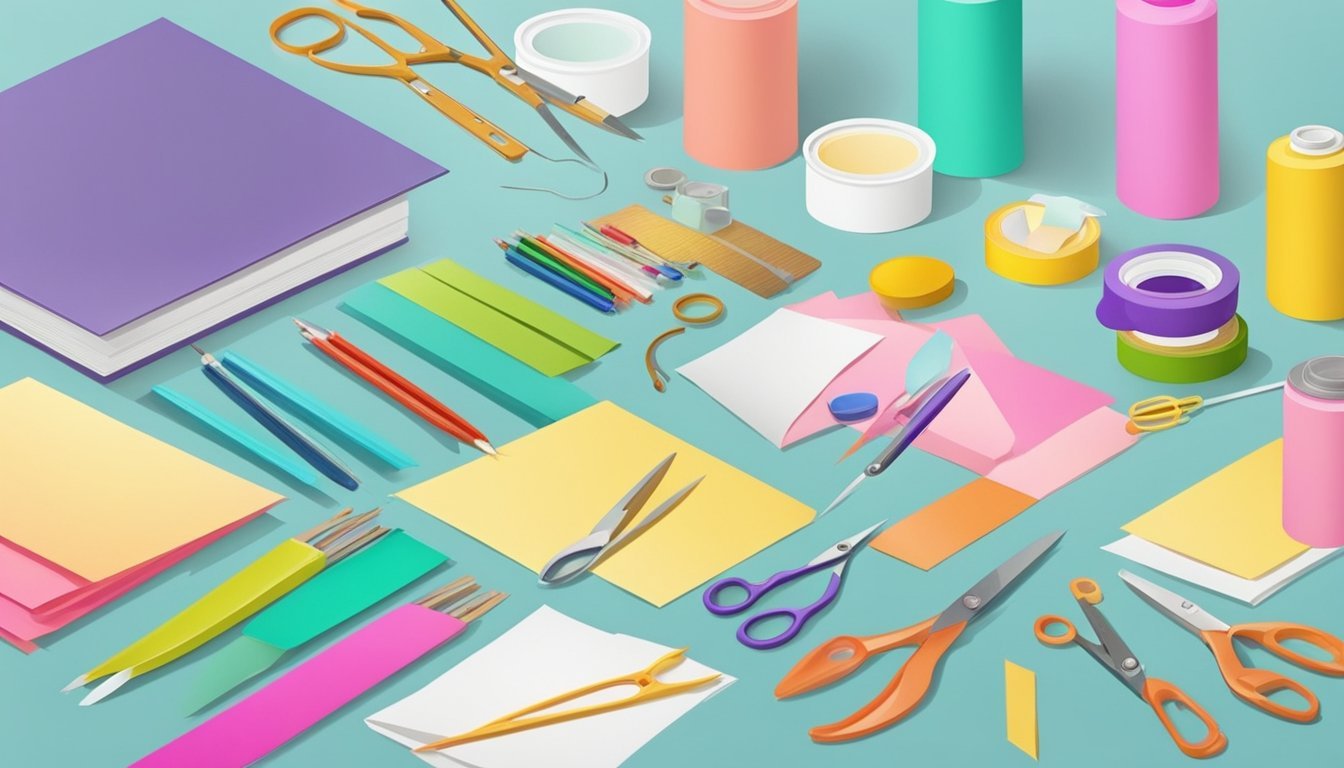
Essential Tools and Materials
To kick off your crafting adventures, gather some essential tools and materials.
Here’s a list to consider:
- Basic Supplies: Scissors, glue (hot glue or craft glue), and tape are your best friends.
- Cutting Tools: A craft knife and a cutting mat can help you make precise cuts.
- Measuring Tools: Rulers and measuring tapes will ensure accuracy in your projects.
You might also want to include various crafting papers, paints, and embellishments like beads or ribbons.
Having a well-organized storage space for your materials will keep everything easily accessible and encourage creativity.
Choosing the Right Project
Selecting the right project can make or break your crafting experience.
Here’s how to ensure you pick a winner:
-
Skill Level: Consider starting with projects marked as beginner-friendly. Simple crafts, like making napkin rings or stress relief bottles, can boost your confidence.
-
Time Commitment: Look for projects that fit into your schedule. For quick satisfaction, aim for crafts that can be completed in under 30 minutes.
-
Interest: Pick something that excites you! Whether you want to create home decor, gifts, or personal items, choosing a project that resonates will make the crafting process more enjoyable.
Stay practical and have fun experimenting with different types of crafts!
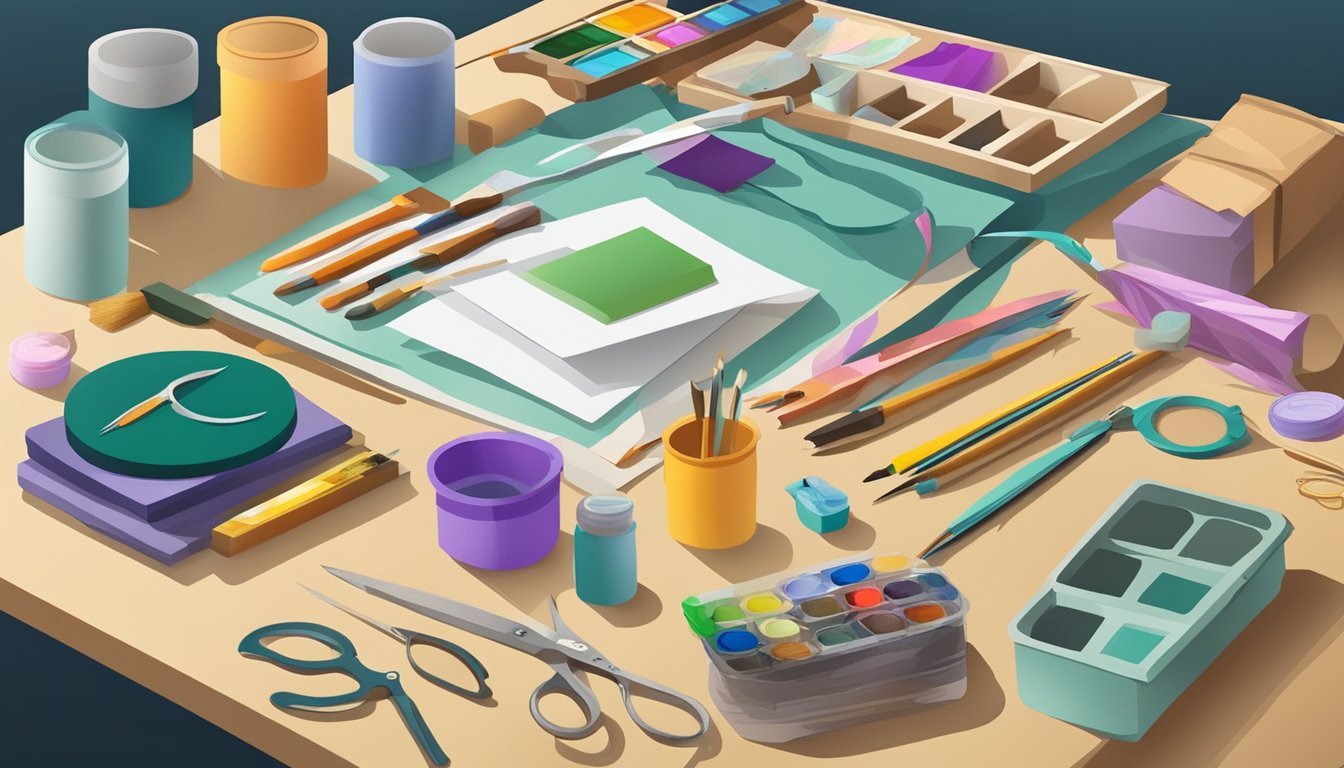
Tips for Successful DIY Crafting
Getting started with DIY projects can be exciting, but having a plan and being mindful of safety can truly enhance your crafting experience.
Here are some practical tips to ensure your crafting goes smoothly.
Time Management and Planning
Time management is crucial when diving into DIY crafts.
Start by selecting a project that matches the time you have available.
Break down the project into manageable steps to avoid feeling overwhelmed.
- Create a timeline: Estimate how long each step will take and allocate specific time slots in your day or week.
- Gather materials in advance: This saves time and minimizes disruptions. Make a checklist of everything you need before you start crafting.
Additionally, setting up a dedicated crafting space can keep your materials organized.
This helps you focus on your project rather than searching for supplies, making the process quicker and more enjoyable.
Safety Tips
Safety should always be a priority in DIY projects.
Here are some essential safety tips:
-
Wear appropriate gear: Depending on your project, this may include gloves, goggles, or masks. Make sure to protect yourself from splashes, sharp objects, or fumes.
-
Keep your workspace tidy: A cluttered area can lead to accidents. Ensure tools and materials are organized and out of the way when not in use.
-
Read instructions carefully: Always follow the safety guidelines provided for any tools or materials you use. This will help prevent injuries and ensure you’re using items correctly.