
Craft kits can be a fantastic way to explore your creativity and pick up a new hobby.
With so many options available, you might feel overwhelmed when you’re just starting out.
However, you can enhance your experience and make something truly special by getting the most out of your craft kits.
Whether you’re a beginner or have some crafting experience, these tips will help you navigate through your chosen kit with ease.
You’ll find that a few simple strategies can make a big difference in how much you enjoy the process and what you create.
Embrace your creative side and let’s dive into how you can elevate your crafting game.
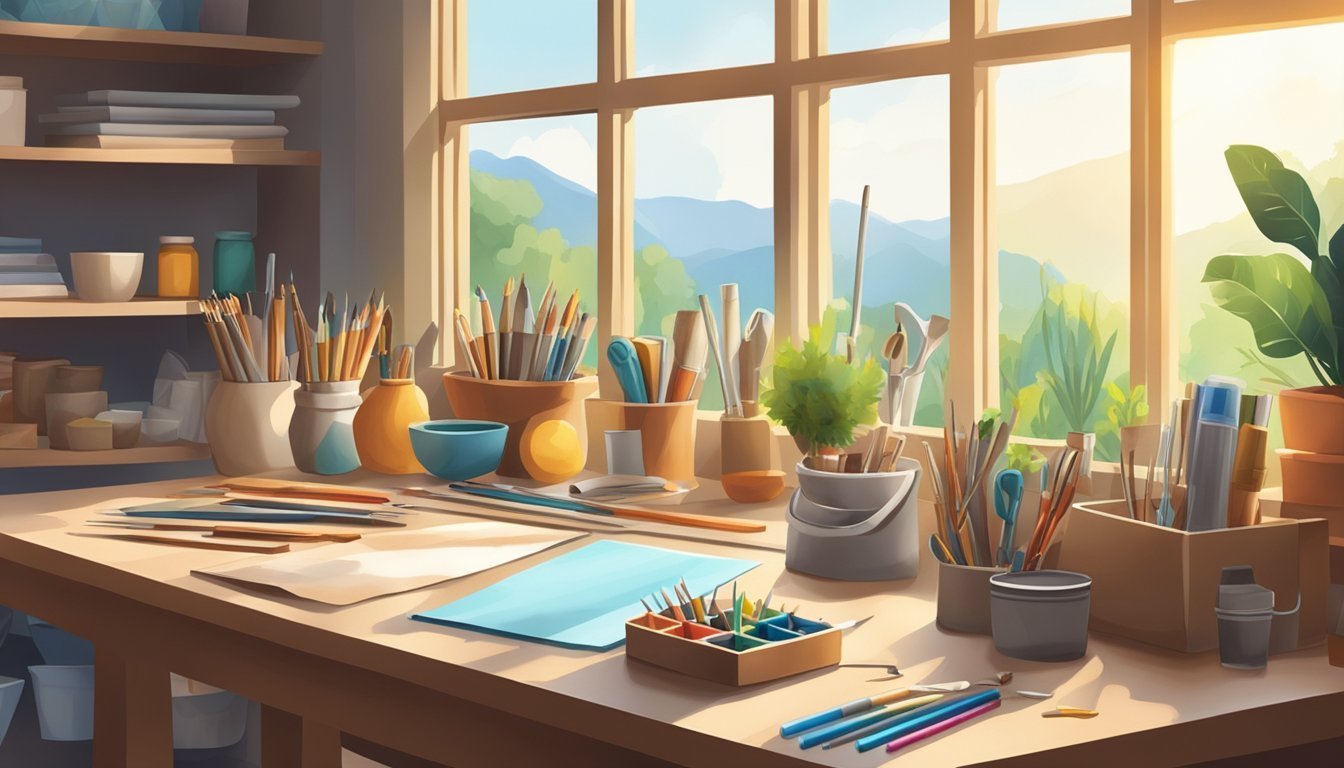
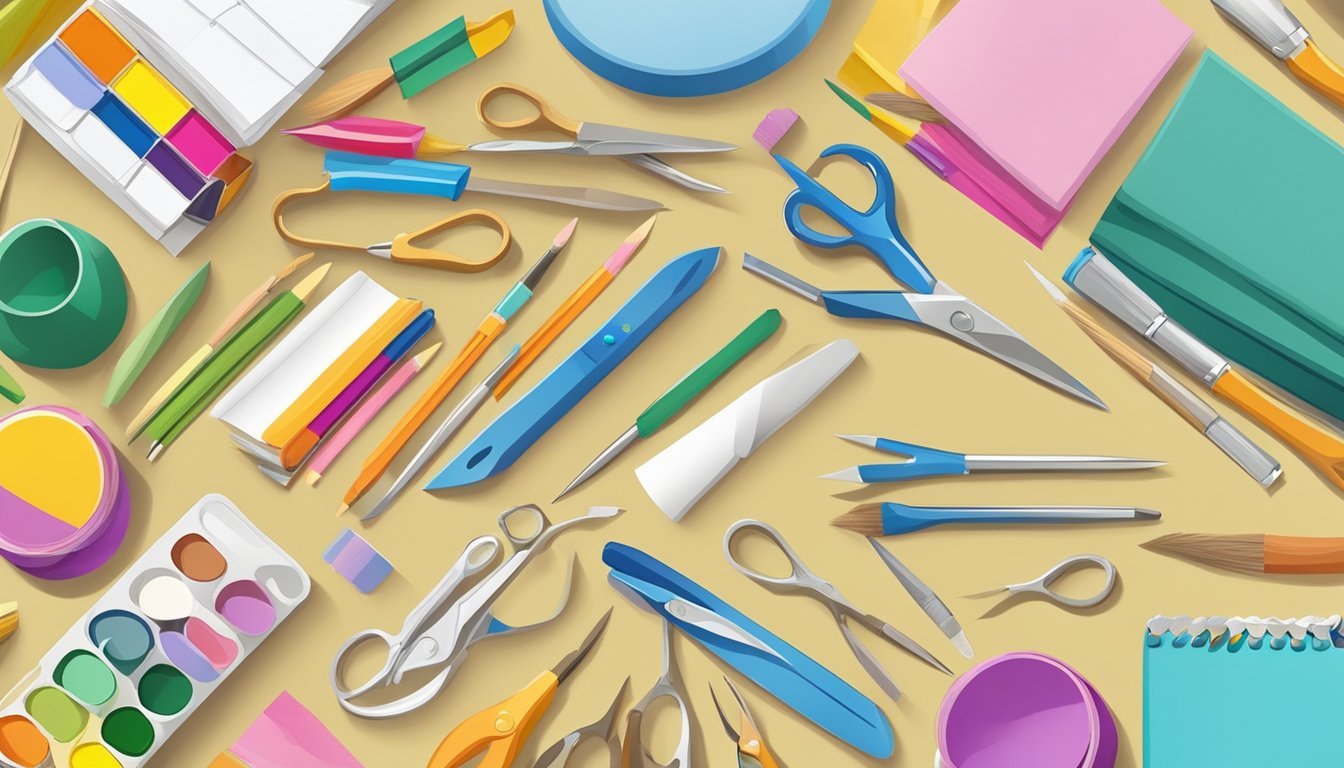
1) Organize supplies in a dedicated space
Creating a dedicated space for your craft supplies can make all the difference.
It helps you keep everything in one spot, making it easier to find what you need when inspiration strikes.
Use containers, bins, or shelves to corral your supplies.
Clear storage boxes can help you see what you have, reducing the chances of buying duplicates.
Try grouping similar items together.
Keep paints, papers, and tools in separate areas.
This way, you can grab everything you need for a project without having to search all over.
Consider vertical storage solutions like pegboards or wall-mounted shelves.
They save space and keep your supplies visible and accessible.
If you have limited space, think creatively.
Use carts, laptop tables, or even the top of a dresser to create a craft zone.
Just make sure to dedicate a space that inspires you to craft!
Follow video tutorials for guidance
Using video tutorials can significantly enhance your experience with craft kits.
They provide visual instructions that are often easier to follow than written guides.
YouTube is a great resource for finding tutorials relevant to your specific craft kit.
You can see techniques in action and get tips that might not be included in the manual.
When looking for tutorials, search for those that are detailed and well-reviewed.
Engaging with the content can help you grasp concepts better and avoid common mistakes.
Don’t hesitate to pause or rewind the video to fully understand each step.
This way, you can work at your own pace and ensure you’re getting it right.
Lastly, consider joining online communities where you can share your progress and ask questions about the tutorials.
This interaction can provide additional support and motivation.
3) Experiment with mixing colors
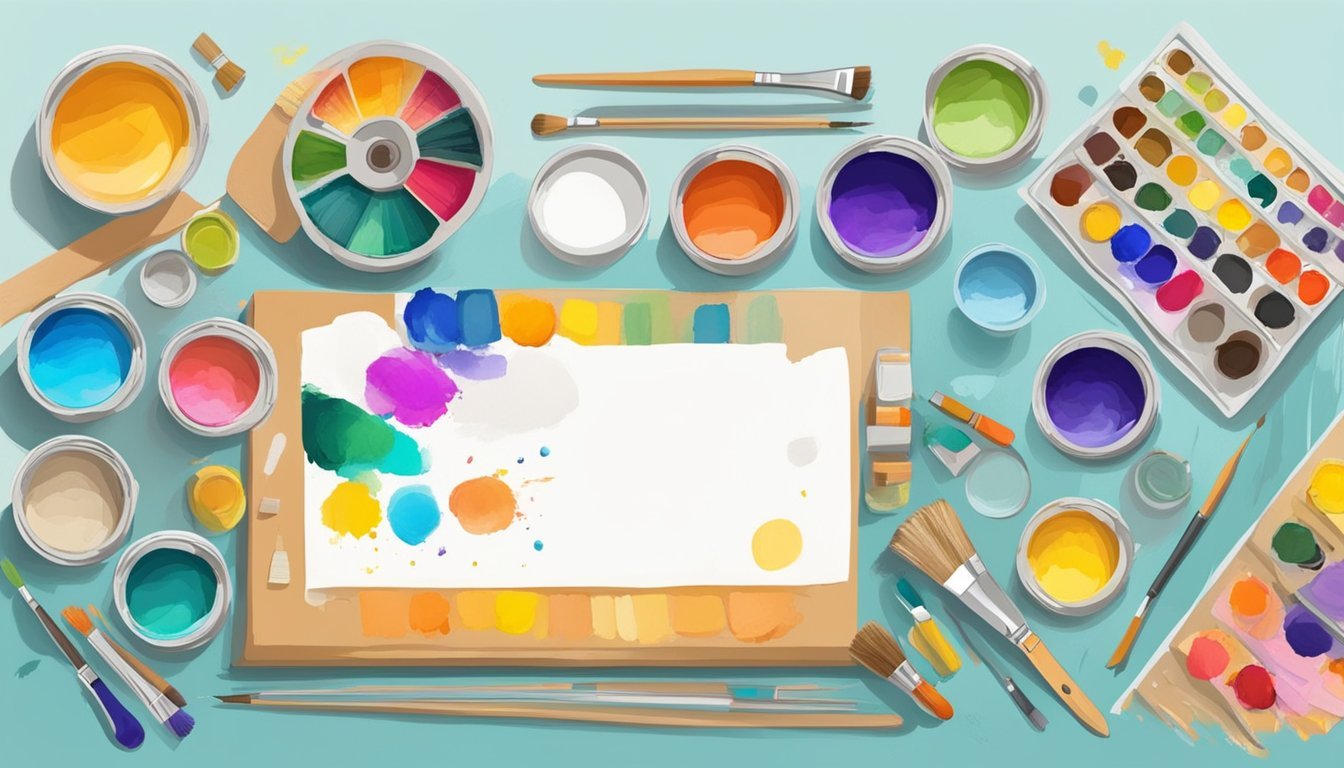
Mixing colors can be one of the most fun parts of using craft kits.
It’s a great way to discover new shades and customize your projects.
Start with the primary colors: red, yellow, and blue.
When you combine these, you create secondary colors.
For example, red and yellow make orange, while blue and yellow create green.
You can try mixing paints in small containers or even use a palette.
If your kit includes colored materials, like paper or markers, experiment there too.
Using an eye dropper can help you mix colored water for a more visual experience.
Just combine the colors in an ice cube tray for some mess-free fun.
Don’t forget to have fun with the process.
Mixing colors can produce unexpected results, and that’s part of the adventure.
Keep experimenting until you find combinations that you love!
4) Use a crafting journal for ideas
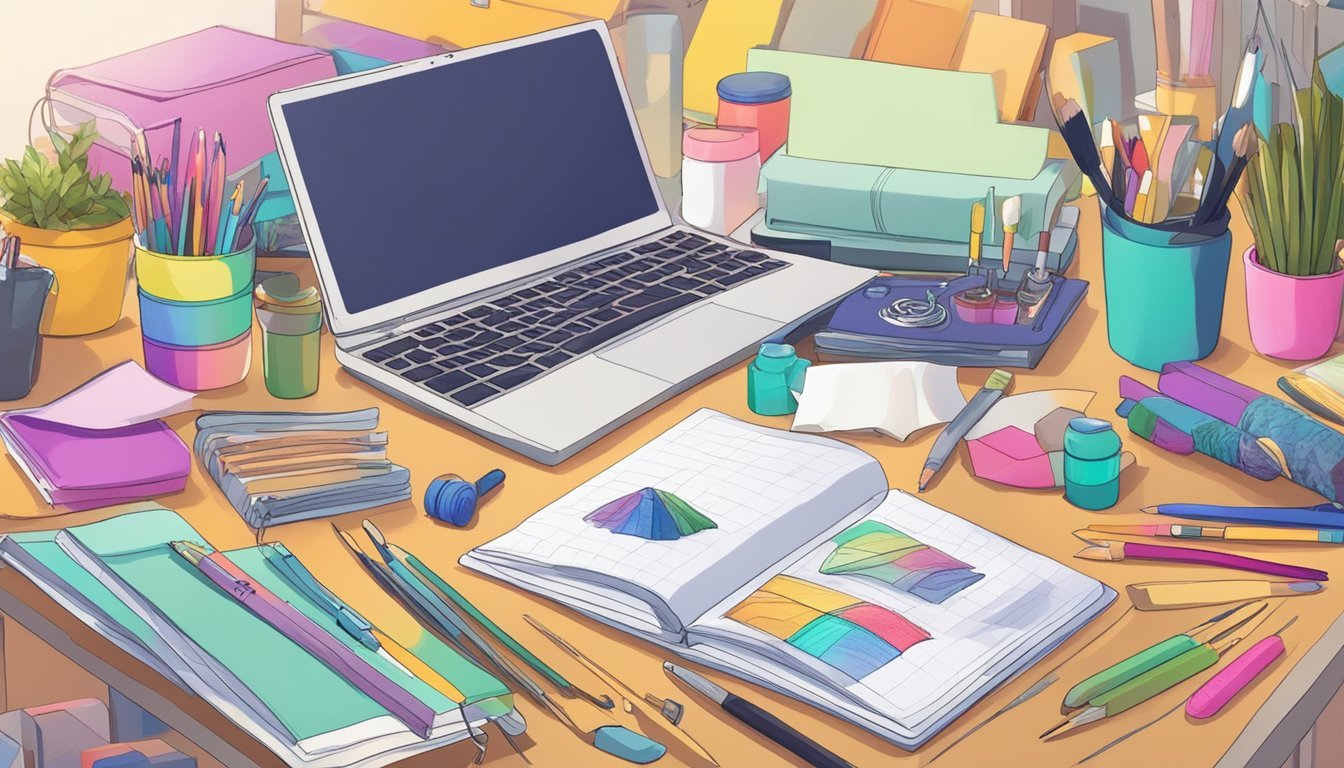
Using a crafting journal can be a game changer for your creative process.
You can jot down inspiration whenever it strikes, helping to keep your ideas organized.
Record thoughts about colors, techniques, or materials you want to try.
This can help spark new ideas when you’re ready to start a project.
You might also want to document your progress on each kit.
Write down what worked well or what didn’t, so you can refine your approach in future projects.
Sketching rough designs can also be beneficial.
Even simple doodles can help visualize what you want to create.
With a little dedication, your crafting journal will become a treasure trove of ideas and inspiration.
The next time you feel stuck, just flip through your pages for a quick boost of creativity.
5) Share creations on social media

Sharing your craft kit creations on social media is a fun way to showcase your work.
It connects you with others who appreciate creativity.
Start by taking clear, well-lit photos of your finished projects.
Good lighting can make a huge difference!
You can also share your process with time-lapse videos or step-by-step images.
This gives your audience insight into how you created your piece.
Consider using platforms like Instagram or TikTok, which are great for visual content.
Use relevant hashtags to help people discover your posts.
Engaging with your followers is important, too.
Respond to comments and messages to build community.
Don’t forget to join groups or forums related to your craft.
These spaces can provide feedback and inspiration.
Unleashing Your Creativity
Unlocking your creativity can transform your crafting experience.
By tapping into inspiration and experimenting with various techniques, you can elevate your projects and truly express yourself.
Finding Inspiration
Finding inspiration is key to breathing life into your craft kits.
Start by exploring your surroundings.
Visit local art galleries, museums, or nature parks to spark new ideas.
Keep a journal to jot down your thoughts, images, or colors that resonate with you.
Sometimes, inspiration strikes in the most unexpected places, like a walk in your neighborhood or sipping coffee at a café.
Social media platforms, especially Pinterest and Instagram, are great for discovering creative projects.
Following other crafters can expose you to trending techniques and fresh ideas.
Don’t hesitate to participate in local crafting groups to share and gather inspiration from others.
Experimenting With Different Techniques
Experimenting allows you to discover what resonates with you the most. Try mixing different mediums—like watercolor with ink or fabric with paper.
Each combination can lead to a unique outcome.
Set aside dedicated time for exploration.
Use a timer, like 25 minutes, to focus solely on experimenting without distractions.
Follow this with a quick break to refresh your mind.
Create a list of techniques you want to try.
This could include simple things like brush strokes in painting or different stitching techniques in sewing.
Embrace the messiness of experimentation.
Mistakes often lead to unexpected and delightful results, so don’t hesitate to play and adjust as needed.
Keeping an open mindset will help you enjoy the process of discovering new styles.
Organizing Craft Supplies
Keeping your craft supplies organized is key to maximizing your creativity and efficiency.
With the right storage solutions, you can transform any space into a functional and inspiring work area.
Storage Solutions for Small Spaces
If you’re short on space, don’t worry—there are plenty of clever ways to store your supplies.
-
Pegboards: You can install a pegboard on your wall to hang tools and materials. This keeps them visible and easy to grab.
-
Rolling Carts: Use a rolling cart to store craft kits. You can easily move it around your crafting area as needed.
-
Over-the-Door Organizers: Utilize the back of a door for additional storage. These organizers are great for hanging smaller items like ribbons and scissors.
-
Clear Containers: Opt for clear bins or totes to store supplies. This makes it simple to see what you have at a glance.
-
Vertical Storage: You can stack small boxes or use tiered shelves to maximize vertical space. This helps keep your supplies accessible without taking up too much room.