
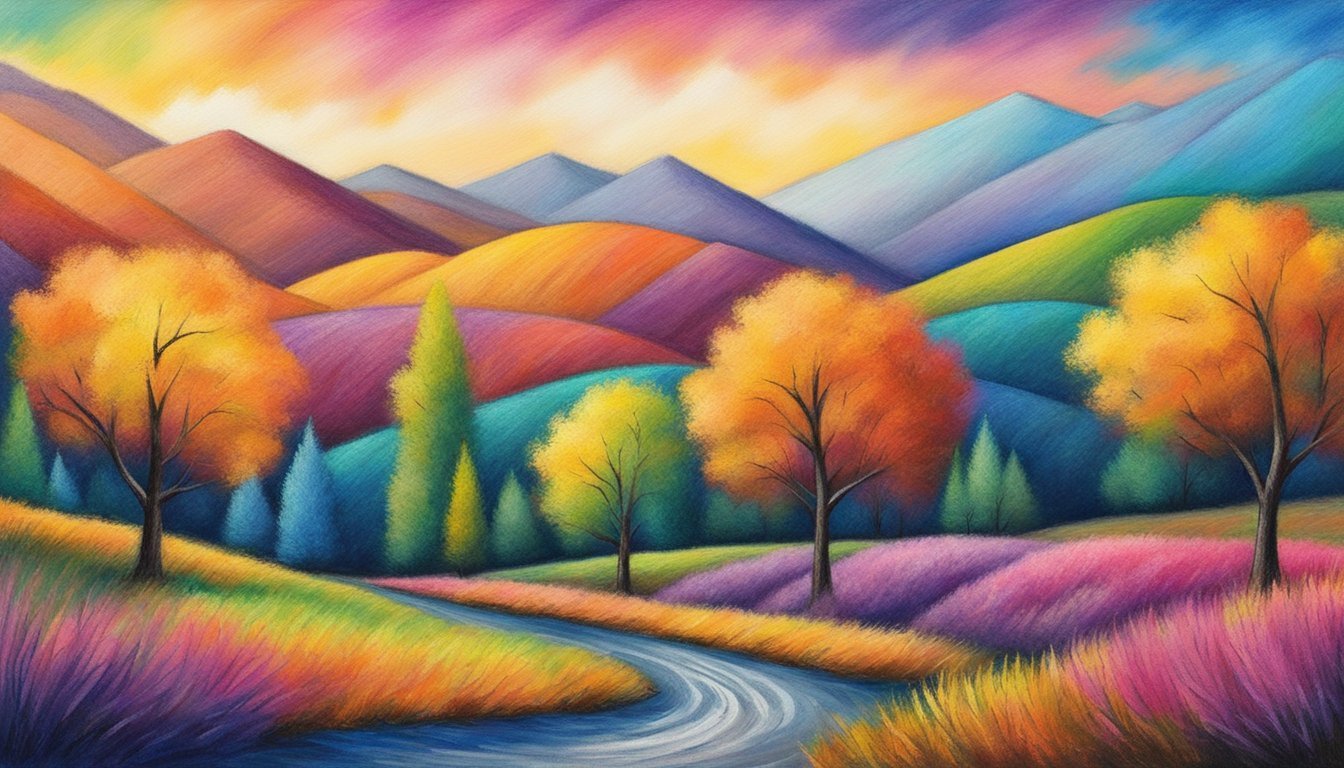
Oil pastels are a versatile medium that allows artists to experiment with color and texture in exciting ways.
Whether you’re a beginner or an experienced artist, there are techniques that can elevate your artwork and enhance your creative expression. Mastering a few key techniques can help you create beautiful pieces that capture attention and convey emotion.

Getting started with oil pastels might seem daunting, but with the right guidance, you can quickly develop your skills.
These techniques will not only improve your proficiency, but they’ll also help you discover your unique artistic style.
Embrace the richness of color and the tactile nature of oil pastels as you explore the possibilities they offer.
1) Layering Techniques
Layering is a fundamental technique that can bring depth and richness to your oil pastel art.
Start with a base layer of color; this sets the stage for your artwork.
Once your base is down, apply additional colors on top.
Use small, circular strokes to build up layers.
This method allows the underlying shades to show through, creating a vibrant effect.
Vary the pressure as you work.
Light pressure gives a more translucent layer, while heavier applications create bold colors.
You can also experiment with different colors to achieve interesting blends.
Don’t forget to step back and observe your work from a distance.
This helps you see how the layers interact and blend together without losing the texture up close.
Feel free to use your fingers, a blending tool, or even a cloth to blend the edges of your layers for smoother transitions.
This adds to the overall depth.
Blending with Fingers
Blending oil pastels with your fingers is a simple yet effective technique.
Start by applying your base color generously on the paper.
Use your fingers to gently rub the pastel, creating a smooth blend.
Make sure your fingers are dry.
Oily fingers can mess up the colors, leading to unwanted smudging.
Dry fingers help maintain the integrity of your artwork.
Layering is key.
Begin with lighter colors and gradually add darker shades.
This approach allows for a more controlled blend and vibrant transitions.
Employ circular motions as you blend.
This technique helps create a soft, diffused effect that looks seamless.
Don’t rush; take your time to achieve the desired look.
Experiment with pressure.
Lightly dragging your finger will give a subtler effect, while applying more pressure can deepen colors.
Adjust as needed to fit your artistic vision.
Using fingers not only provides a personal touch but also engages you with the medium in a unique way.
Embrace the process and enjoy creating beautiful, blended pastel art.
Sgraffito Method
Sgraffito is a fun and unique technique for adding texture and detail to your oil pastel art.
It involves scratching through a top layer of color to reveal a contrasting color underneath.
This creates interesting patterns and effects.
To start, apply a rich layer of oil pastel in one color.
Then, add a second layer in a different color on top.
Once you have your layers, use a tool such as a toothpick or a bent paper clip to scratch into the top layer.
This reveals the color beneath and creates striking designs.
Experiment with different tools and techniques to see what textures you can create.
You can make fine lines or broad strokes, depending on how you use your scratching tool.
Remember, practice makes perfect.
Don’t be afraid to try different color combinations and styles.
It’s all about finding what works for you and enjoying the creative process.
4) Underpainting Approach
Underpainting is a simple yet effective technique that can enhance your oil pastel art.
It sets the foundation for your piece and adds extra depth to your colors.
Begin by choosing a support, like watercolor paper or a primed canvas.
Use a base layer of color to outline your composition.
A monochromatic approach works well; pick a single hue that resonates with your subject.
Once your underpainting is dry, you can layer your oil pastels on top.
This method allows the underlayer to peek through, creating a rich and dynamic effect.
You might also try techniques like a watercolor wash or an alcohol wash to add texture and variation.
These washes create unique backgrounds that interact nicely with the pastel’s creamy texture.
Experimenting with underpainting can lead to unexpected results.
Embrace the process and let your creativity flow.
Using Fixatives

When you’re working with oil pastels, using a fixative can be a game changer.
It helps to preserve your artwork and prevents smudging.
You should choose a fixative that suits the type of pastels you’re using.
Soft pastels, for example, need a fixative that doesn’t dull their vibrant colors.
Hard pastels may require something with a stronger hold.
It’s important to apply fixative in light layers.
Spraying too much at once can saturate the paper and ruin your work.
If your paper becomes too saturated with pastel, that’s when a light layer of fixative can help you add more on top.
Make sure you’re in a well-ventilated area when using fixatives.
The fumes can be strong and you want to avoid inhaling them.
Always test a fixative on a small piece before using it on your main artwork to see how it interacts with your materials.
With the right fixative, you can enhance the longevity of your oil pastel pieces while maintaining their beauty.
Understanding Oil Pastels

Oil pastels are a versatile and fun medium to work with, offering a unique blend of qualities that enhance your artistic expression.
By knowing their characteristics and how to select the right supplies, you can maximize your potential with this medium.
Characteristics of Oil Pastels
Oil pastels consist of pigment mixed with an oil and wax binder.
This mixture gives them a smooth, buttery texture, allowing for easy application.
They differ from traditional pastels; while traditional pastels can be dusty and fragile, oil pastels are more forgiving and versatile.
You can achieve various effects with oil pastels, such as layering, blending, and sgraffito.
Their ability to create rich colors makes them appealing for both detailed work and bold, expressive pieces.
Keep in mind that oil pastels remain somewhat oily even after application, which means they don’t dry completely.
This quality invites exploration but can also require careful handling to avoid smudging.
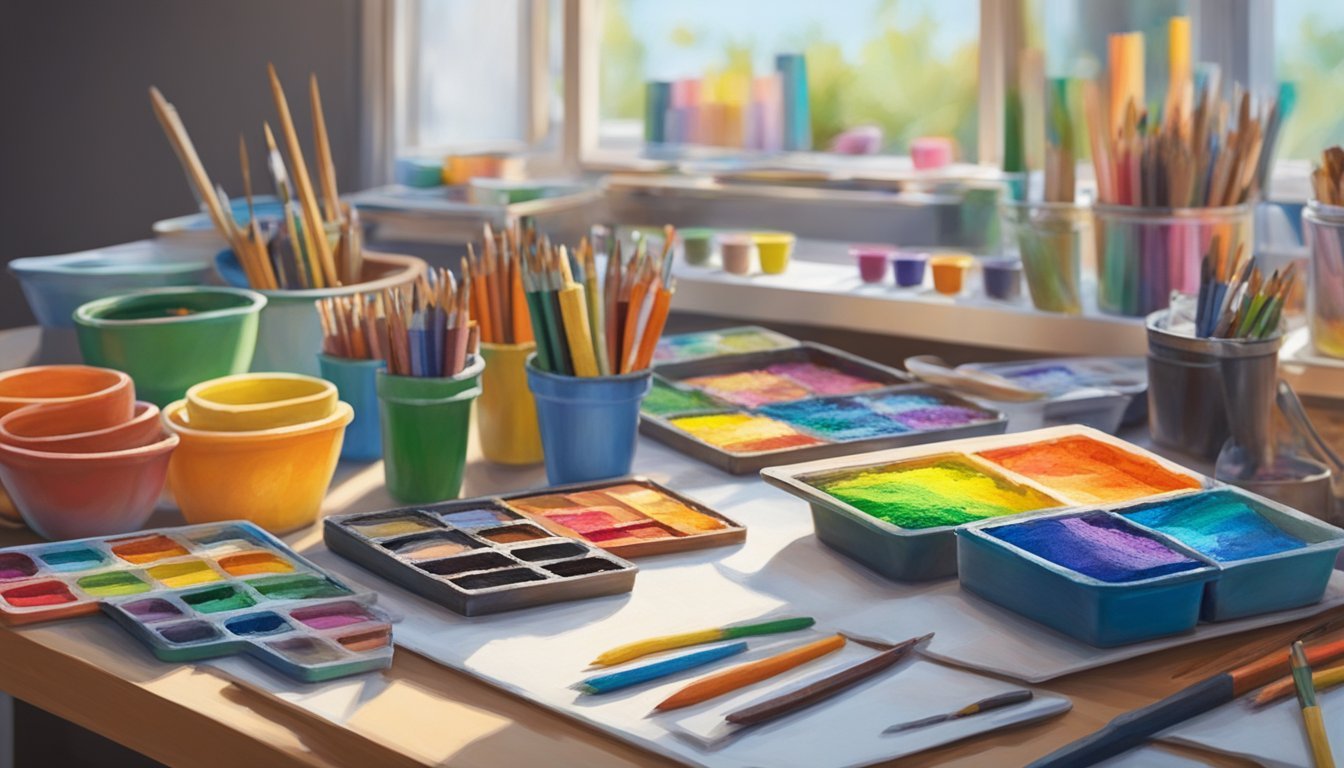
Choosing the Right Supplies
When starting with oil pastels, quality matters.
Look for brands known for their pigmentation and smooth application.
Some popular options include Sennelier, Holbein, and Cray-Pas.
In addition to oil pastels, you should invest in quality paper designed for oil pastels.
A heavier weight paper with some texture will help hold the pastel and allow for better blending.
Essential tools:
- Blending tools: such as tissue or blending stumps.
- Sharpener: to keep your pastels in shape.
- Fixative: to help protect your finished artwork.
Selecting the right supplies will enhance your experience and improve your results, allowing you to create stunning pieces more easily.
Color Theory and Mixing
Color theory is essential when working with oil pastels.
Understanding how colors interact can significantly enhance your artwork.
Mixing and layering colors can help you achieve depth, vibrancy, and a unique visual experience.
Basics of Color Theory
At the heart of color theory are primary, secondary, and tertiary colors.
- Primary Colors: Red, yellow, and blue. These colors cannot be created by mixing others.
- Secondary Colors: Green, orange, and violet. Mix two primary colors to create them.
- Tertiary Colors: Created by mixing a primary and a secondary color.
When using oil pastels, remember that colors may behave differently depending on their brand and formulation.
Your yellow and blue might not produce a pure green.
Testing colors on a scrap piece can prevent surprises.
Tips for Mixing: To create smooth transitions, you can layer your colors gradually.
Start with lighter shades before introducing darker ones to maintain harmony.
Creating Depth with Layering
Layering is a powerful technique with oil pastels.
You can create intriguing effects by applying colors in different sections.
-
Start with Base Colors: Lay down your foundational colors evenly across your canvas or paper.
-
Add Layers: Gradually introduce darker or contrasting colors. This will give a sense of dimension.
-
Blend for Smooth Transitions: Use tools like your fingers or blending stumps. This is effective for creating soft gradients.
-
Experiment with Texture: Different pressure levels while applying pastels can yield various textures and effects. You can also mix oil pastels with your fingers for a more tactile approach.
Layering not only enhances color depth but also brings your artwork to life.
Play around with different combinations and see what resonates with your style.