

Air-dry clay is a versatile and accessible medium for crafters of all skill levels. Learning the right techniques can help you create stunning projects that are both functional and decorative. Whether you’re a beginner or someone looking to refine your crafting skills, mastering these methods will enhance your experience and results.
By understanding how to manipulate air-dry clay effectively, you can unlock a world of creativity.
Experimenting with various techniques allows you to explore unique designs, textures, and finishes, making each project truly one-of-a-kind.
1) Adding Texture with Lace
Using lace to add texture to your air-dry clay projects is a fun and easy technique.
Lace can create beautiful patterns that enhance your designs without requiring advanced skills.
To start, roll out your clay to your desired thickness.
Lay the piece of lace on top of the clay, making sure it covers the area you want to texture.
Gently press down on the lace, ensuring it makes good contact with the clay.
You can use a rolling pin for even pressure, which helps to transfer the lace pattern onto the surface.
After pressing, carefully lift the lace off.
You’ll see a lovely impression left in the clay.
If you want, you can add color or paint to highlight the texture later.
This technique works great for making decorative items like bowls, ornaments, or even jewelry.
Experiment with different lace designs to find your favorites.
You might be surprised at how elegant your creations can look with just this simple step!
Creating Marbled Effects
Marbling air-dry clay is a fun way to add some style to your projects.
This technique allows you to blend colors and create unique patterns that are visually striking.
Start by choosing two or more colors of clay.
Roll each color into a long snake or log shape.
Keep the sizes consistent for the best results.
Next, twist the logs together gently.
Don’t overdo it; you want to retain some separation between colors to see the marbled effect.
Once twisted, roll the combined clay into a ball.
Flatten it slightly to see how the colors blend.
The more you roll and twist, the more intricate your pattern will become.
Just remember, less is more for that perfect marbled look.
You can use tools or even your fingers to manipulate the design further.
Impressing textures can bring even more character to your piece.
After you achieve your desired effect, you can mold it into any shape or form you like.
Let it air dry completely, and you’ll have a beautiful, one-of-a-kind creation!
Incorporating Natural Materials
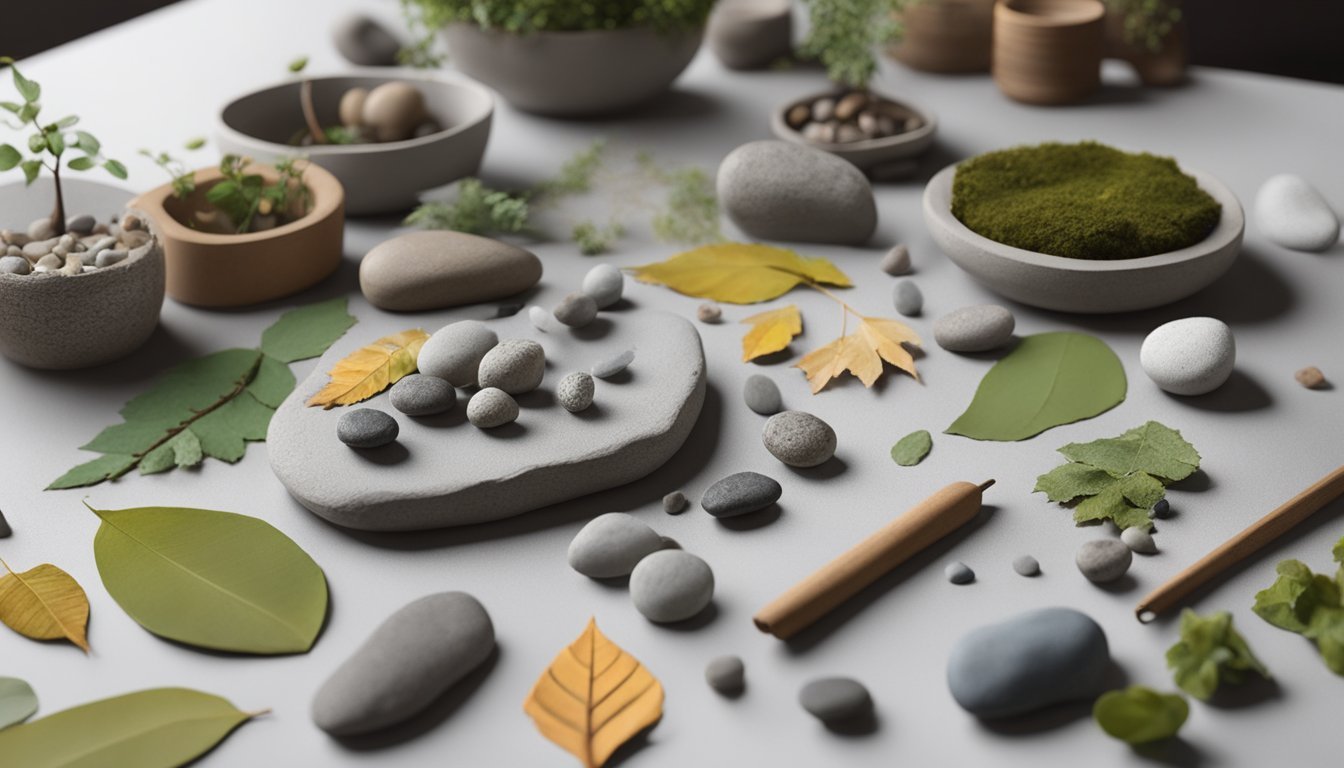
Using natural materials can really elevate your air-dry clay projects.
Consider adding elements like leaves, twigs, or small stones to your designs.
They create unique textures and visual interest.
You can impress leaves onto the clay to transfer their shape and design.
This gives your pieces a beautiful, nature-inspired look.
Just press them firmly into the clay and peel them off gently.
Another option is to embed small twigs or bits of bark into your creations.
This adds depth and a rustic feel.
You might even create a small planter and use stones to decorate the top.
Experimenting with natural materials not only enhances your projects but also connects you with nature.
Don’t be afraid to get creative and find materials in your backyard or local park.
Each piece you make can tell its own story through the natural elements you choose to include.
Using Stamps for Patterns
Stamps are a fun way to add unique patterns to your air-dry clay projects.
You can use store-bought stamps or make your own with everyday objects like bottle caps or sponges.
To start, roll out your clay to the desired thickness.
Make sure it’s smooth; any bumps can affect the stamping process.
Press your stamp firmly into the clay, being careful not to push too hard, which could warp it.
You can experiment with different materials for stamping.
Textured items like lace or leaves can create interesting designs.
Don’t hesitate to try layering stamps for a more complex look.
After stamping, clean your tools immediately to keep them in good condition.
Once your project is finished, let it dry completely before painting or sealing.
This ensures your patterns remain clear and vibrant.
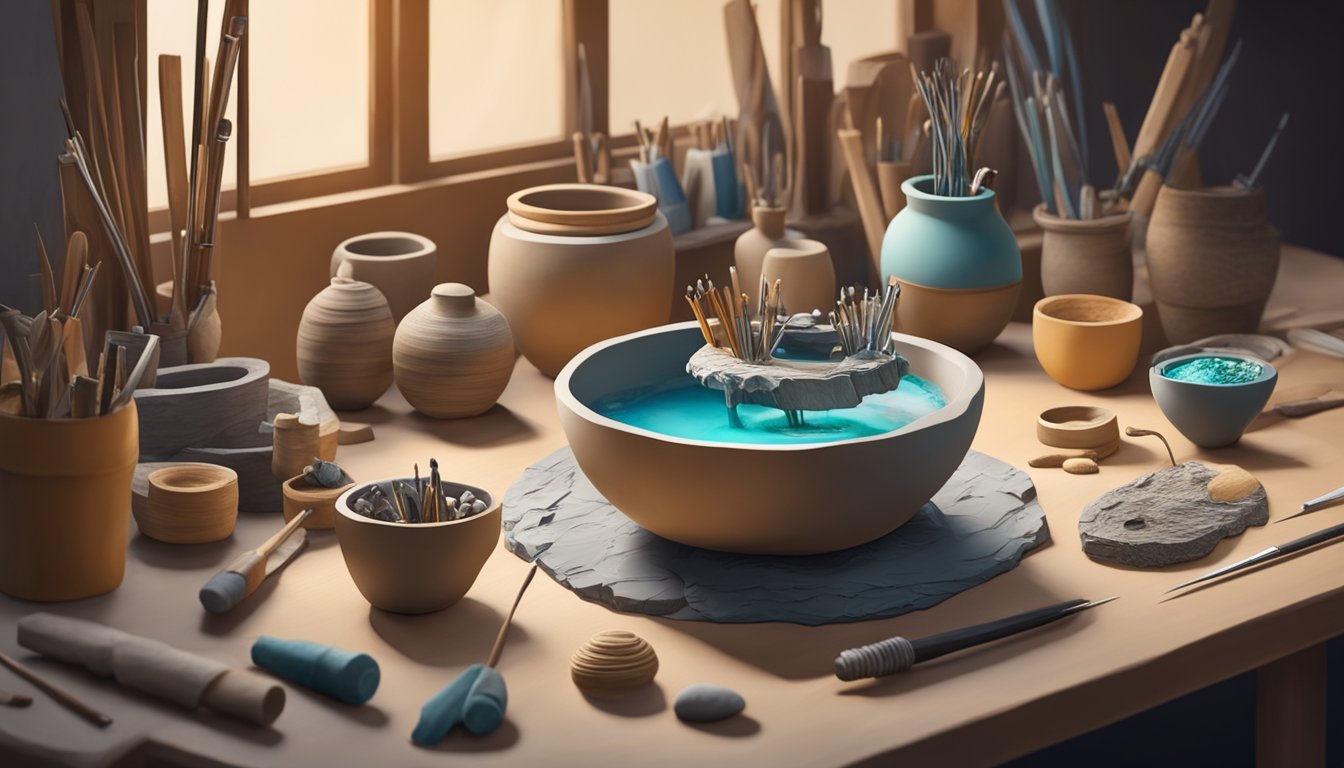
5) Painting with Watercolors

Painting with watercolors is a fun way to add color to your air-dry clay projects.
Begin by sealing the clay first, as air-dry clay is porous.
A good sealant helps the watercolor paint stick better.
Once sealed, you can easily apply watercolor paint.
Use a brush to add layers of color, letting each layer dry before adding more.
This allows for greater control over the final look.
If you want to mix colors, watercolors are great for that.
They blend nicely, and you can create beautiful gradients.
Just remember to work quickly, as watercolors can dry fast.
Make sure to use high-quality watercolors for vibrant results.
Cheaper options may not give you the effect you’re looking for.
Enjoy the creative process, and don’t hesitate to experiment with techniques!
Choosing the Right Air-Dry Clay
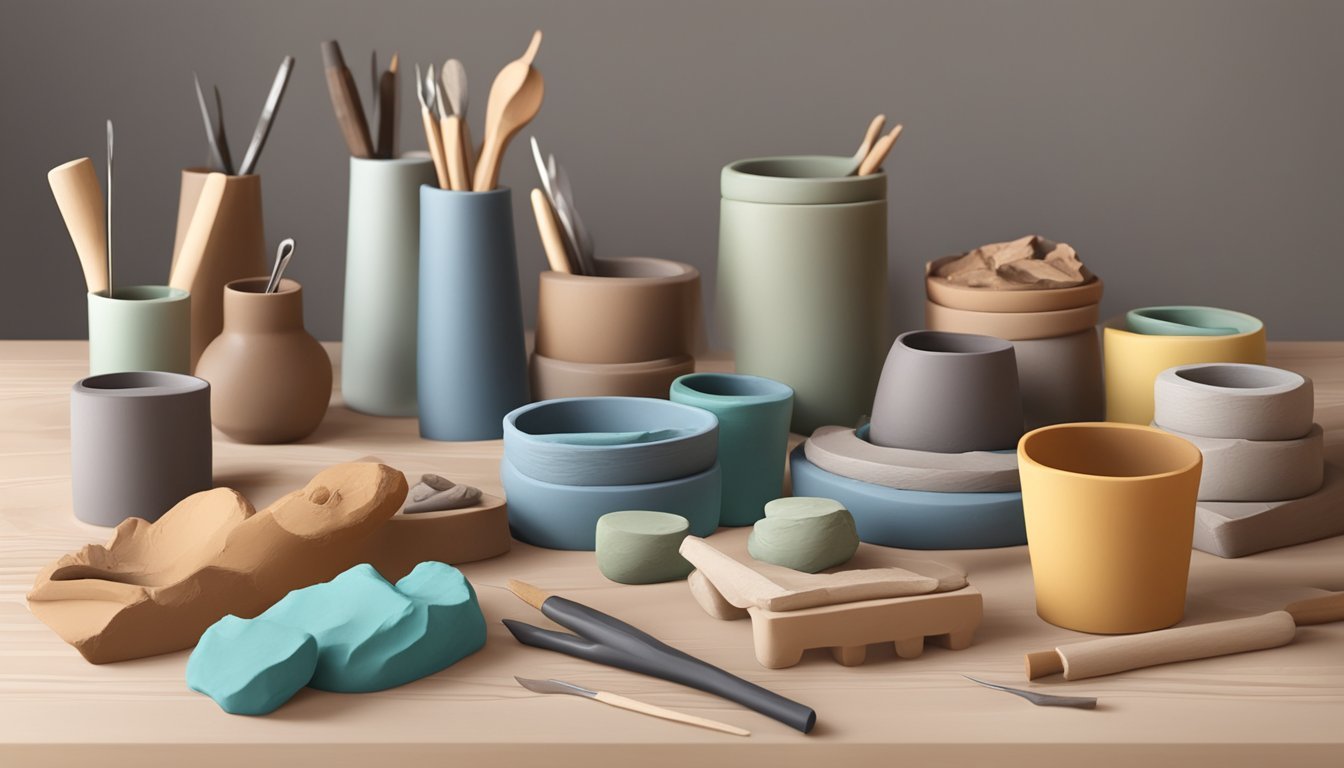
Selecting the right air-dry clay can make a significant difference in your crafting experience.
You’ll want to consider various factors, especially if you’re just starting out or looking for a specific application.
Considerations for Beginners
If you’re new to working with air-dry clay, there are a few key points to keep in mind. Type of clay is crucial.
Some clays are more forgiving and easier to manipulate, while others might be more challenging.
Consider drying time too; some clays dry quickly, while others take longer.
If you’re aiming for detail, a slower-drying clay can give you more time to refine your work.
Also, consider texture.
A smoother clay is generally easier to sculpt and can lead to a more polished finish.
Look for brands labeled as “smooth” or “fine” for a beginner-friendly experience.
Popular Brands to Try
There are several air-dry clay brands that cater to different skill levels and projects.
Here are a few you might find useful:
- Crayola Air-Dry Clay: This is a fantastic option for beginners. It’s non-toxic, easy to work with, and dries consistently.
- Das Air Hardening Modeling Clay: Known for its smooth texture, it’s perfect for detailed work and dries to a hard finish.
- Sculpey Air-Dry Clay: This brand offers a range of colors and is great for both beginners and experienced crafters. It is versatile enough for various projects.
When selecting a clay, think about the specific requirements of your project, such as color or texture you want to achieve.
Basic Techniques for Shaping and Sculpting
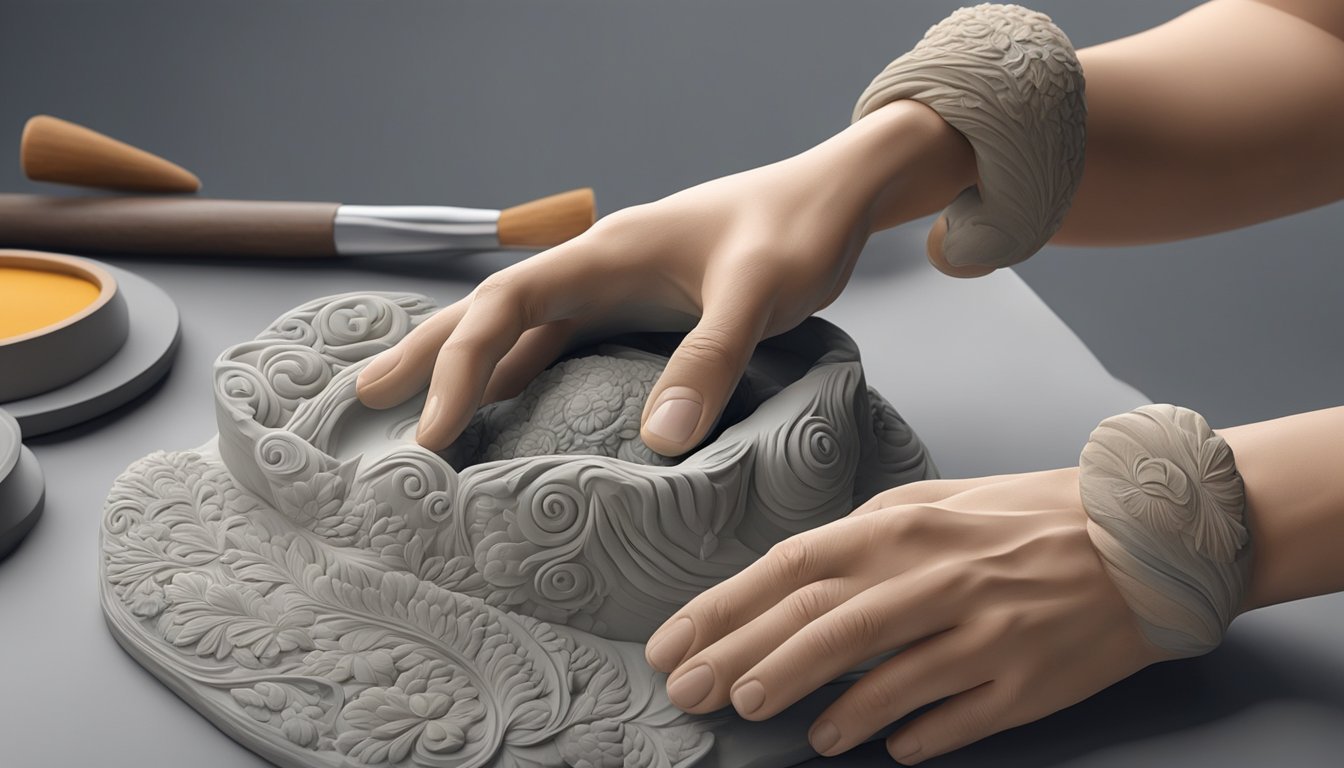
When working with air-dry clay, mastering basic shaping and sculpting techniques can greatly enhance your projects.
Understanding hand-building and utilizing tools will help you achieve more precise and creative outcomes.
Hand-Building Techniques
Hand-building is an exciting way to shape your air-dry clay without needing advanced tools.
This method includes techniques like pinching, coiling, and slab building.
-
Pinching is perfect for creating small bowls or creatures. Start by forming a ball, then pinch the clay between your fingers to create the desired shape.
-
Coiling involves rolling long, thin cylinders of clay and stacking them. It’s great for making vases or pots. Just ensure you blend the coils together to avoid cracks.
-
Slab building is ideal for flat pieces. Roll out the clay into even sheets, then cut shapes using templates.
These techniques allow you to express your creativity and work with the texture of the clay effectively.
Using Tools for Precision
Using tools can enhance your sculpting process, especially for details.
Here are some essential tools you might consider:
-
Sculpting tools help refine shapes and add texture. A basic set usually includes a knife tool, loop tool, and a ribbon tool.
-
Molds can create uniform shapes quickly. For instance, silicone molds are useful for repetitive designs.
-
Rolling pins assist in achieving consistent slab thickness. This helps prevent uneven drying and cracking.
Use tools gently to avoid damaging your project.
Remember that each tool serves a purpose, so choose according to the effect you want to achieve.