

Markers are a versatile tool that can elevate your art to new levels. This article will explore 10 unique ways to use markers that will inspire you to think creatively and push your artistic boundaries. Whether you’re a seasoned artist or just starting, there’s something refreshing about experimenting with colors and techniques.
From personalizing everyday items to creating stunning artwork on various surfaces, there are countless opportunities to express your creativity with markers.
Engaging with these methods can provide new insights into your style and help you discover projects that excite you.
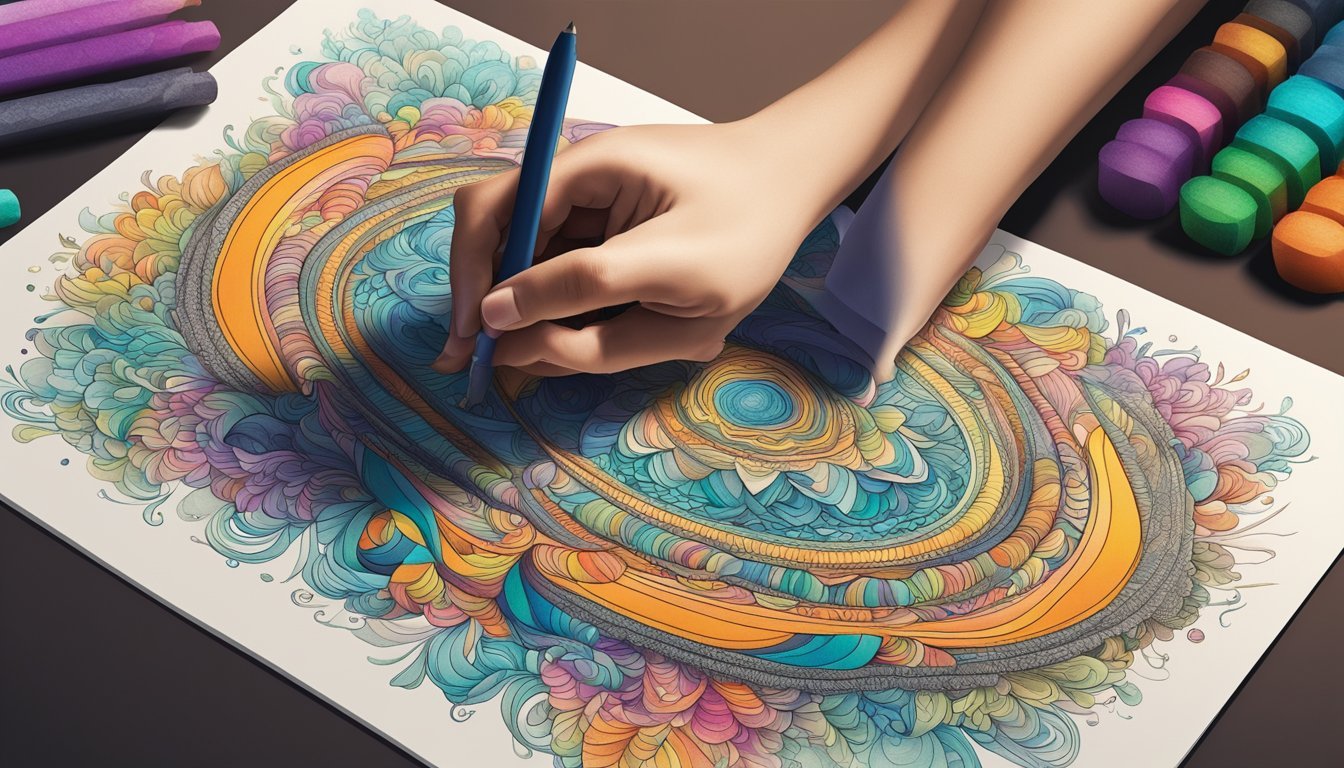
1) Watercolor Marker Overlay
Using watercolor markers can give your art a fresh and vibrant look.
One fun technique is the watercolor marker overlay.
Start by applying your base layer with the markers.
This could be simple shapes or lines in your chosen colors.
Make sure to lay down enough pigment for the next step.
Next, grab a wet brush and gently go over the marker lines.
This will activate the dye and create beautiful blends.
You can experiment with both wet and dry techniques to see which effect you prefer.
For a more opaque look, mix your watercolor marker ink with gesso.
This allows for solid colors that still maintain the watercolor feel.
You can also layer multiple colors to create gradients.
Start with darker colors at the bottom and blend lighter shades up top.
This adds depth and dimension to your artwork.
The key to mastering this technique is practice.
Don’t be afraid to experiment with different paper types, brushes, and water amounts to discover what works best for you.
2) Dot Art with Alcohol Markers
Dot art is a fun and simple way to explore your creativity with alcohol markers.
You can create vibrant designs using just dots, which is perfect for any skill level.
Start by selecting a variety of colors from your alcohol markers.
You can experiment with blending different hues, and the transparent quality of alcohol markers allows for layering.
Use the tip of your marker to create dots of varying sizes.
Try spacing them closely together for a more solid look or further apart for a lighter effect.
This technique opens up endless possibilities for patterns and textures.
If you want to add depth, focus on a specific color scheme.
Create gradients by layering dots from dark to light, which can make your artwork pop.
Dot art works well on different surfaces, from paper to canvas.
This versatility lets you take your projects to the next level.
Plus, it’s a relaxing way to unwind while building your artistic skills.
3) Creating Textures with Brush Markers
Using brush markers is a fun way to add rich textures to your artwork.
Their flexible tips allow for varied line thicknesses, which can create depth and dimension.
Start by experimenting with hatching and cross-hatching techniques.
These involve drawing parallel lines or intersecting lines to build texture in areas like shadows or fabrics.
You can also layer colors to create more complex textures.
Try applying a lighter color first and then adding darker shades on top.
This builds up depth and richness in your artwork.
Another effective method is blending.
Brush markers blend well with each other, so you can achieve smooth gradients.
Use a lighter shade and overlay a darker one, then use a wet brush to smooth the transition.
Don’t forget to incorporate mark-making techniques.
Dots, lines, and squiggles can all add unique textures.
You can be random and intuitive, or follow patterns—whatever suits your style!
Brush markers are perfect for rendering natural elements too.
Whether it’s the bark of a tree or fluffy clouds, you can mimic textures easily with varied strokes.
Enjoy experimenting!
4) Layering Techniques Using Dual-Tip Markers
Using dual-tip markers can really elevate your art.
Start with the lighter tip to create a base layer.
This helps you build colors gradually without overpowering the canvas.
Next, switch to the darker tip to add depth.
Focus on specific areas where shadows naturally occur.
This technique creates a nice contrast between light and dark.
Consider blending with a colorless blender.
Run it over your layer to smooth any harsh lines.
It makes transitions look seamless and polished.
You can also layer different colors by working from light to dark.
This way, you avoid muddying the colors and keep them vibrant.
Try using shades from the same color family for harmonious results.
Don’t forget to experiment.
The beauty of dual-tip markers is in their versatility.
Each layer can add texture and dimension, making your artwork more engaging.
5) Metallic Highlighting for Extra Shine
Using metallic markers can instantly elevate your artwork.
They add a shiny, eye-catching element that draws attention.
Consider incorporating metallic highlights in your drawings.
You can accentuate certain areas or outlines, making your artwork pop.
A simple line of metallic gold or silver along the edges can create a striking contrast.
Dare to experiment with different colors too.
There are various metallic shades available, like vibrant pink and deep blue, allowing for more creativity.
Pair them with your regular markers for added depth.
These metallic accents work well in illuminated letters or mandala designs.
They can serve as a fantastic enhancement, adding an unexpected twist to traditional designs.
Don’t forget to try out metallic gel pens.
They flow smoothly and can provide detailed highlights, making them perfect for journaling or note-taking.
Their shimmering quality can elevate mundane tasks into something special.
6) Shadowing with Cool Gray Markers
Using cool gray markers for shadowing is a fantastic technique to add depth to your artwork.
The subtle tonal range creates a realistic effect that enhances your drawings.
Begin by choosing the appropriate cool gray markers.
Start with a lighter gray to lay down the initial shadow.
This helps define areas without overwhelming your base colors.
Next, apply the darker gray to create more depth.
Focus on areas that naturally experience less light, such as under objects or where overlapping occurs.
Remember to blend your grays smoothly.
This can be achieved by using a lighter shade to soften the edges of the darker areas.
The transition between tones should feel seamless.
Don’t forget about layering! Build your shadows gradually to avoid harsh lines.
This method allows you to control the intensity of the shadows and achieve a more three-dimensional look.
Experiment with various techniques as you practice.
The outcome can vary depending on the pressure applied and the angle at which you use the marker.
Enjoy the process, and let your creativity shine through!
7) Pastel Backgrounds with Soft Tip Markers
Creating pastel backgrounds with soft tip markers is a fun and straightforward process.
These markers blend beautifully with pastel colors, adding depth and interest to your artwork.
Start by selecting your favorite soft pastels.
Use them to create a light background layer on your paper.
Once you have that base, pick out soft tip markers that complement your pastel choices.
Gently layer the markers over the pastels.
You’ll notice that the markers can enhance the texture and provide a smooth finish.
This technique allows for unique color blending that stands out.
Try using both lighter and darker shades to create contrast.
Soft tip markers can add highlights and shadows, making your background more dynamic.
Don’t hesitate to experiment with different techniques.
You can create soft lines or bold strokes depending on the effect you want.
Enjoy the process and let your creativity flow with this combination!
8) Glass Effects with Transparent Markers
Using transparent markers can add stunning effects to your glass art.
These markers allow for vibrant colors that shine through the glass, creating a unique look.
Start by cleaning the glass surface with a glass cleaner to ensure your design sticks well.
Then, choose markers specifically designed for glass.
They provide better adhesion and longevity.
When you’re ready to create, think about layering colors.
Apply one shade, let it dry slightly, and then add another color for depth.
This technique can give a stained glass appearance to your artwork.
You can also use transparent markers for outlining designs before filling them in.
This method helps to keep your artwork neat and defined.
Experiment with different pressure and angles while drawing.
This can affect the opacity and thickness of your lines, contributing to the overall look.
Don’t forget to seal your artwork if it’s exposed to water or heavy handling.
This helps preserve your beautiful glass effects!
9) 3D Lettering with Chisel Tip Markers
3D lettering can add depth and dimension to your artwork.
Using chisel tip markers is a great way to achieve this look thanks to their unique shape.
Start by drawing the base of your letters with a clean line.
Think about the style you want—block or bubble letters work well.
After you have your base, add the drop shadow.
Choose a direction for your shadow, and use the chisel tip for sharp edges.
To create the shadow, hold the marker at an angle.
This gives you the bold lines needed for a striking effect.
You can use different colors for the letters and the shadows to make your artwork pop.
Experiment with various angles to find what feels right for your design.
Practice will help you control the marker better and make those shadows consistent.
This technique not only enhances your lettering but also allows your creativity to flow.
With chisel tip markers, you can elevate your lettering to a whole new level.
Have fun trying out different techniques and styles!
10) Realistic Skin Tones with Skin Tone Markers
Skin tone markers can transform your portraits into lifelike representations.
Start with a basic set that includes a variety of tones.
This allows you to mix and layer colors to achieve natural effects.
To create depth, apply a base layer of mid-tone color.
Then, build up shaded areas with darker shades.
For highlights, use lighter tones to add dimension to the face.
Brands like Copic and Ohuhu offer formulas specifically designed for skin tones.
These markers help capture the subtle variations seen in real skin.
Experiment with different combinations to find what works best for you.
For added realism, incorporate blush by gently blending rosy shades at the edges.
This simple technique can enhance features like cheeks and lips, making them pop.
Don’t shy away from blending colors directly on the paper to achieve softer transitions.
The key is to layer and mix until you reach your desired look.
Enjoy the process and have fun with your art!
Blending Techniques
Blending with markers opens up a world of possibilities in your art.
Mastering layering colors and creating gradients can greatly enhance the depth and richness of your work.
Layering Colors
To effectively layer colors, start with a light base tone.
Apply a gentle touch since a light hand prevents harsh lines.
Gradually add darker shades while focusing on areas where you want more intensity.
Aim for colors within the same hue family for a harmonious look.
Using a colorless blender can also help merge different colors seamlessly, giving you a smooth transition.
Feel free to experiment with adding layers in different sequences.
Sometimes, starting dark then moving lighter can yield unexpected and interesting results.
Just remember to let each layer dry if you’re using a wet medium to avoid muddying the colors.
Creating Gradients
Creating a gradient can really elevate your marker artwork.
Begin by applying your lightest color evenly across the area.
From there, use a darker color at the edges and blend inward.
Control is key here; applying even pressure will yield a smoother gradient.
For larger areas, try using quick strokes to stretch the blend over space.
Less pressure creates softer transitions, while more pressure can define edges.
Mixing techniques, such as flicking or swishing the markers, adds unique textures and effects.
Another tip is to use a Gelly Roll pen for highlights after blending, which can make the gradient pop even more.
Texturizing with Markers
Creating texture with markers can elevate your artwork and bring it to life.
By incorporating techniques like dots, lines, and crosshatching, you can achieve various effects that enhance depth and interest.
Using Dots and Lines
Dotting and lining are simple yet effective techniques for adding texture.
Dots can create patterns or simulate natural elements, like fur or foliage.
Experiment with different sizes and spacing to find what works for your piece.
Tips for Dots:
- Vary the Size: Use small dots for subtle texture and larger dots for bold effects.
- Color Mixing: Layer different colors of dots to create unique shades.
Lines can evoke movement or define shapes.
Try using straight, curved, or zigzag lines to see how they affect your composition.
Line Techniques:
- Thickness Variation: Use thicker lines for emphasis and thinner lines for details.
- Direction Matters: Lines can guide the viewer’s eye throughout your artwork.
Adding Depth with Crosshatching
Crosshatching is a classic method to create depth in your drawings.
You can produce shadows and highlights by layering lines that intersect.
This technique can be particularly effective for creating realistic textures.
Steps for Effective Crosshatching:
- Start Light: Begin with light pressure to build confidence and control.
- Layer Gradually: Add more lines for darker areas, creating a gradient effect.
This method allows you to manipulate light and shadow easily.
Using different angles and spacing will yield varied results, so feel free to experiment.
Mix these texturizing techniques with your creativity, and you’ll see your artwork transform significantly.