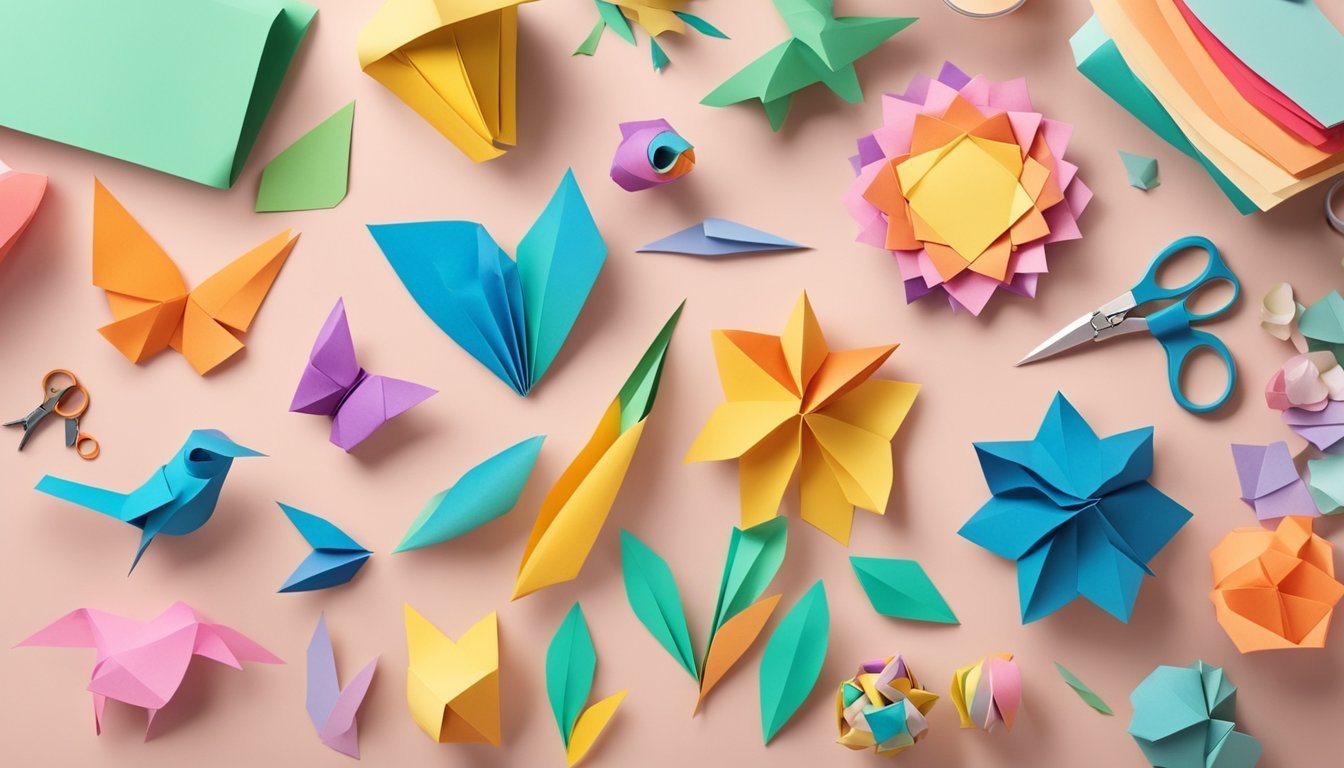
If you’re looking to unleash your creativity, paper crafting is a fantastic way to start.
With just a few basic supplies, you can create fun and exciting projects that are perfect for beginners.
These paper crafts provide an enjoyable way to explore your artistic side while developing new skills.
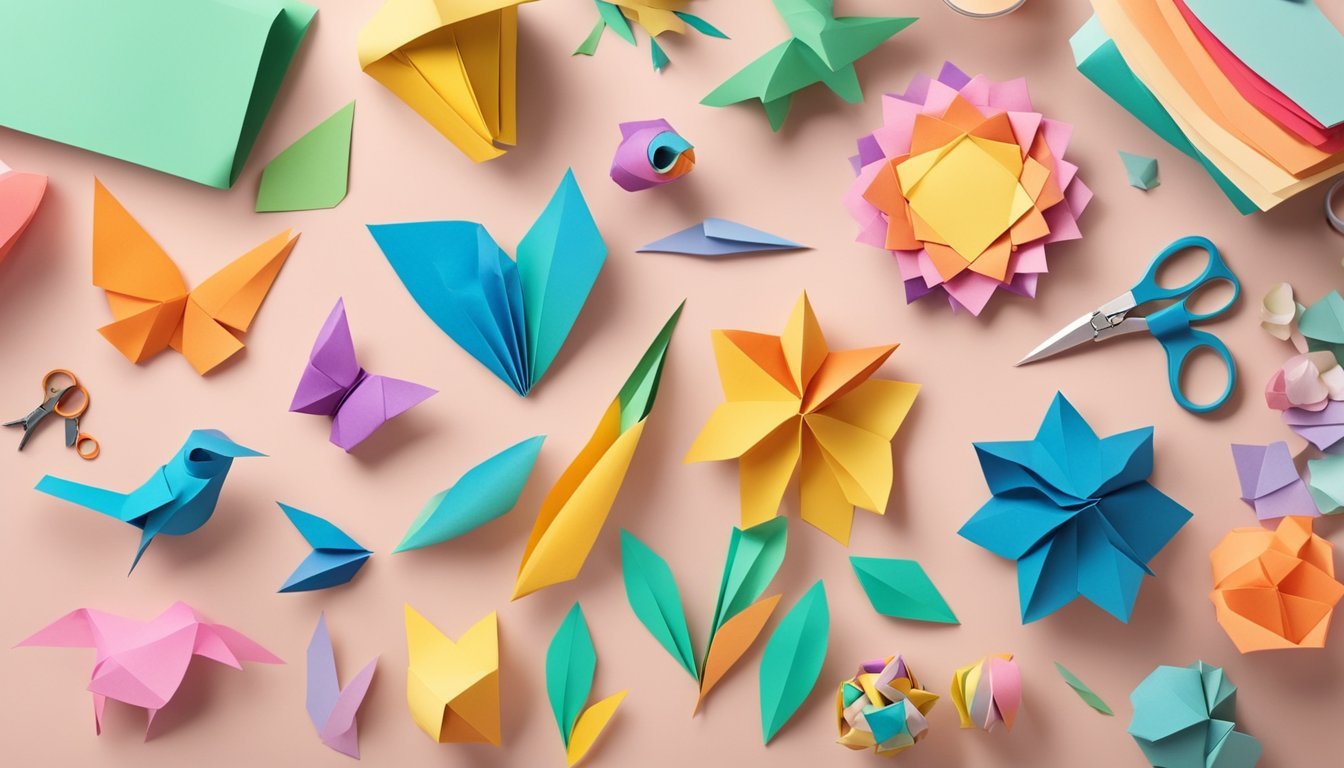
From simple origami figures to vibrant paper decorations, there are countless possibilities to try.
Not only do these activities foster creativity, but they also offer a satisfying way to unwind and express yourself.
Jump into the world of paper crafts and discover how enjoyable making things by hand can be!
1) Origami Crane
Making an origami crane is a fun and relaxing craft.
All you need is a square piece of paper.
Start by finding a flat surface with good lighting.
The crane is a classic origami model that symbolizes peace and hope.
It’s perfect for beginners and those with some folding experience.
After you learn the basic folds, you can customize your crane with different colors and patterns of paper.
Follow step-by-step tutorials available online to guide you through the process.
Remember to be patient.
It may take a few tries to get it just right.
Once you’ve mastered the crane, you can display it as a decoration or give it as a thoughtful gift.
Enjoy the process and happy folding!
2) Paper Mâché Bowls
Making paper mâché bowls is a fun and creative project great for beginners.
You’ll need some newspaper, flour, water, and a bowl to use as a mold.
Start by mixing two parts water with one part flour to create the paste.
Make sure the mixture is smooth; you can use a fork or blender to remove lumps.
Adding salt helps prevent mold.
Tear the newspaper into strips.
Dip each strip into the flour mixture, then remove the excess paste.
Place the strips over your bowl mold, crisscrossing them until the surface is covered.
Let the first layer dry for a couple of hours before adding more.
Aim for at least three layers for durability.
Once it’s fully dry, carefully remove it from the mold.
Now, you can paint your bowl.
A base coat of white acrylic paint helps your chosen colors pop.
Allow it to dry completely before adding any designs or patterns you like.
These bowls can be used for holding small items, decor, or even as gifts.
Enjoy your crafting!
3) Quilled Paper Flowers
Quilled paper flowers are a fun and creative way to dive into paper crafting.
You only need some colorful strips of paper, a quilling tool, and glue to get started.
Begin by rolling the strips of paper into tight coils.
Then, pinch and shape them into petals or leaves.
There are many designs you can try, from simple blooms to more intricate flowers.
If you’re new to quilling, start with basic shapes like circles and teardrops.
These can easily be combined to create a variety of flower designs.
As you gain confidence, consider attempting more complex patterns.
You can also experiment with different colors and sizes for a vibrant look.
These flowers can be used in cards, home decor, or as gifts, making them versatile projects that reflect your style.
With just a bit of practice, you’ll find quilling to be an enjoyable way to express your creativity.
Enjoy the process and let your imagination take the lead!
4) Paper Pinwheels
Making paper pinwheels is a fun and vibrant project that anyone can enjoy.
They’re perfect for decoration or as a simple toy.
Start with a square piece of decorative paper.
A 6-inch square works well, but you can adjust the size to your liking.
Use a paper trimmer or scissors to cut your square.
Next, gently fold the paper in half both ways to create crease lines.
Mark the center with a dot.
Cut from each corner toward the center, stopping about a quarter inch before you reach the dot.
Now, it’s time to assemble.
Bring each corner toward the center and secure them with a brad or a pushpin.
You can use a straw or a pencil to attach the pinwheel.
Simply push the pin through your chosen handle and secure it in place.
Once everything is attached, give your pinwheel a spin! You can customize these pinwheels further by decorating them with markers or stickers.
Enjoy your creative masterpiece as it twirls in the breeze.
5) Accordion Folded Fans
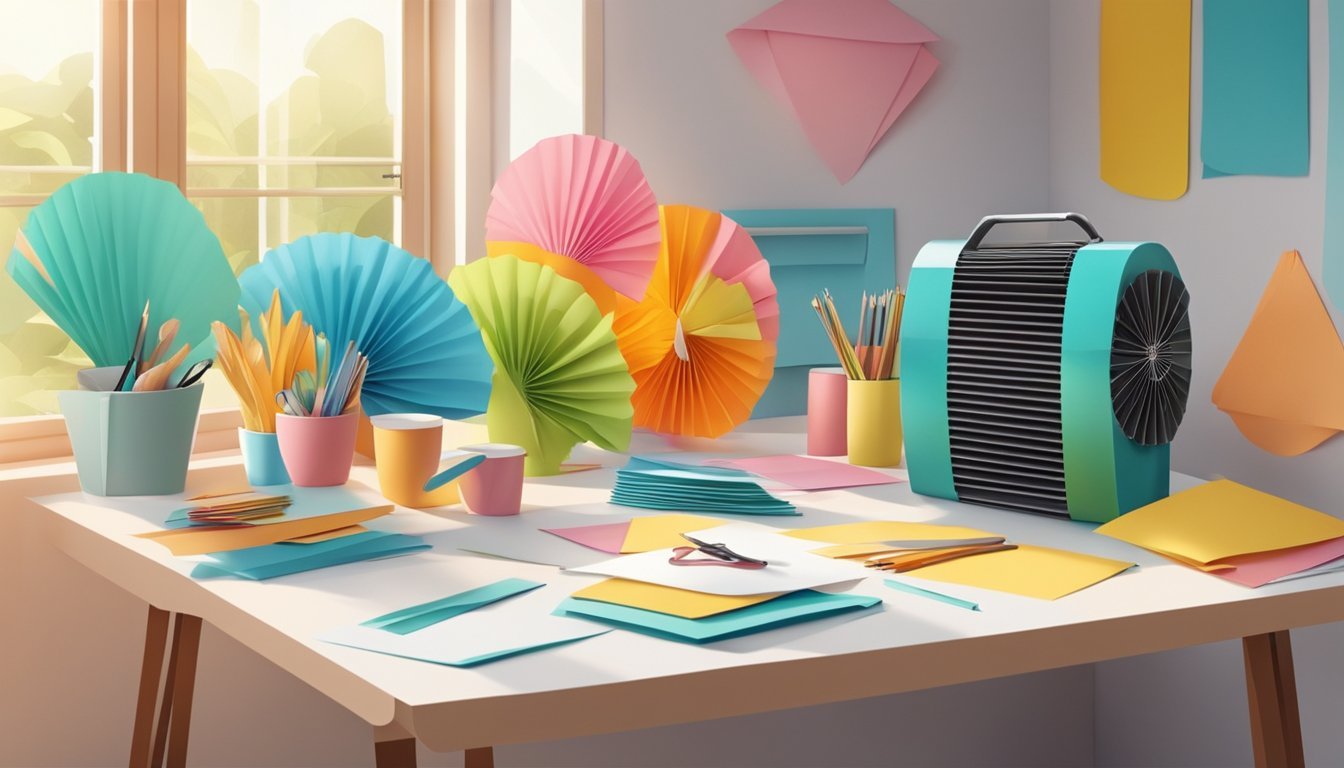
Accordion folded fans are a classic and fun paper craft that’s perfect for beginners.
You’ll love how simple they are to make, and they look great too!
Start by choosing a piece of colorful craft paper.
Cut it to your desired size, usually around 8.5 by 11 inches works well.
Next, fold the paper back and forth in an accordion style, making each fold about 1 inch wide.
Keep going until you’ve folded the entire sheet.
Once you finish folding, hold the paper in the middle and pinch it together.
Secure the center with a small piece of tape or glue.
If you want to add a handle, glue a popsicle stick to the bottom.
This not only makes it easier to hold but also adds a creative touch.
You can decorate your fan with markers, stickers, or patterned washi tape.
Let your creativity shine and personalize your fan as you wish!
This project is great for kids and adults alike, making it a fun option for parties or just a crafty afternoon at home.
6) Paper Beads Jewelry
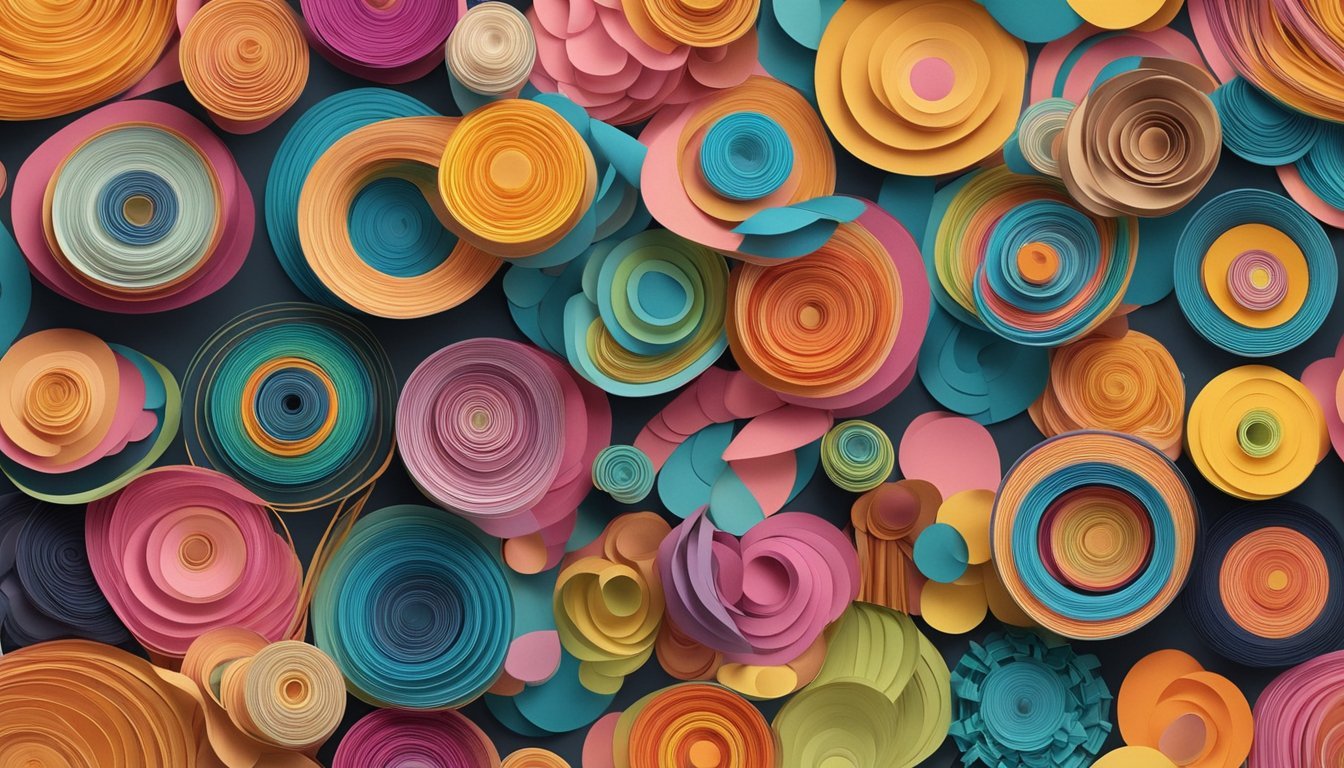
Making paper bead jewelry is a fun and creative project.
You can use scrap paper from old magazines, newspapers, or even junk mail to create unique beads.
Start by cutting strips of paper, ideally about 3/4 inch wide and 12 inches long.
To make different shapes, you can cut them into triangles or other geometrical shapes.
Next, roll the strips around a dowel or similar object.
To hold them together, use a glue stick at the end of each strip as you’re rolling.
Once dry, your beads will be ready.
You can turn your beads into necklaces, bracelets, or earrings.
For earrings, thread your beads onto a headpin, add a loop, and attach them to earring hooks.
Painting or decorating the beads can add a personal touch.
Use acrylic paint or markers for additional designs.
Your paper bead jewelry will be unique and reflect your style!
7) Tissue Paper Pom-Poms
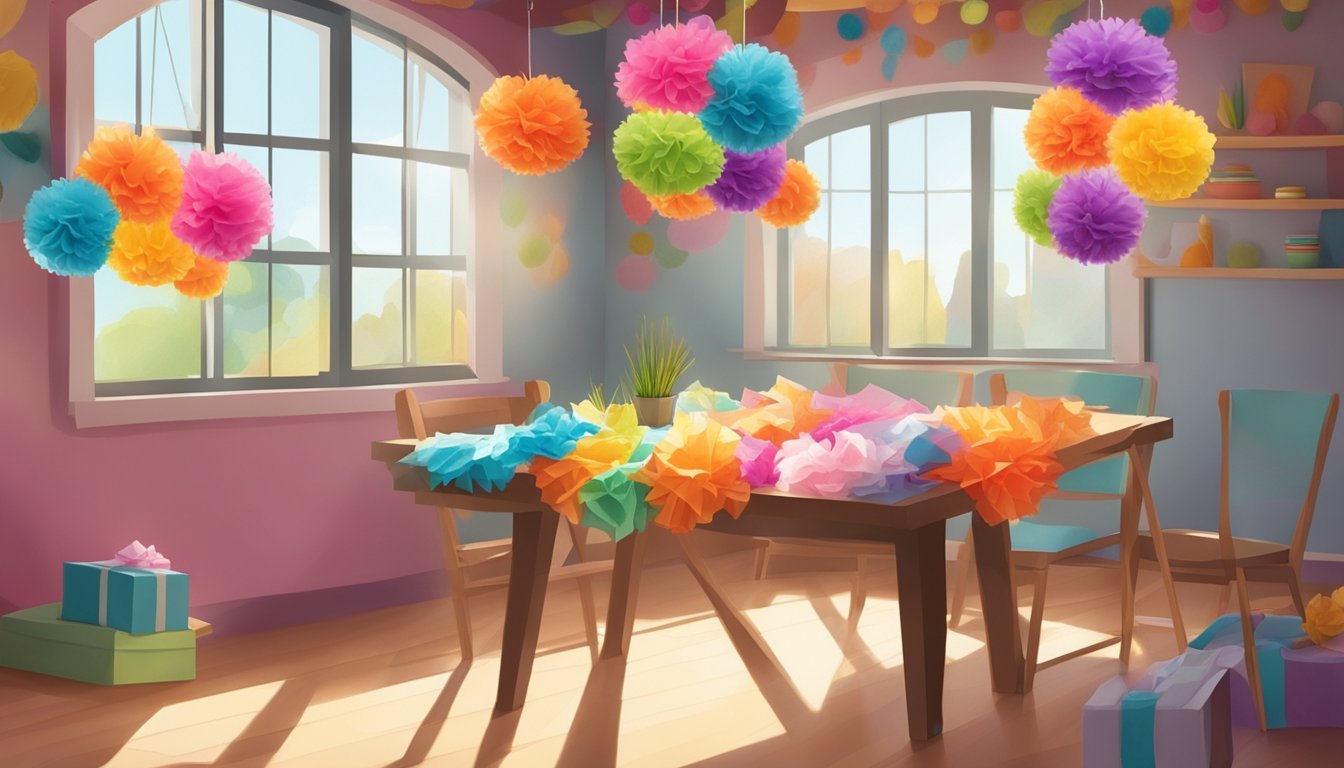
Tissue paper pom-poms are a fun and colorful way to brighten up any space.
They’re simple to make and perfect for various occasions, from parties to home decor.
To get started, gather some tissue paper.
You can find it easily at craft stores or even the dollar store.
Stack several sheets on top of each other, then fold the stack into concertina folds, about an inch wide.
Next, secure the middle with a piece of wire or a string.
Once you’ve done that, gently pull apart each layer of tissue paper.
Fluff them out as you go to create a full, rounded shape.
For a festive look, use different colors of tissue paper.
You might even want to mix and match patterns to create unique designs.
Hang your pom-poms from the ceiling or place them on tables for a playful touch.
With just a few materials and a little time, you’ll have beautiful tissue paper pom-poms that can elevate your crafting skills and add charm to your projects.
8) Construction Paper Mosaic

Creating a construction paper mosaic is a fun and simple project.
You’ll need some colored construction paper and a base, like cardboard or a sturdy paper.
Start by cutting your construction paper into small pieces.
You can make squares, rectangles, or triangles—whatever shapes you prefer.
Once you have your pieces ready, arrange them on your base.
Leave a little space between each piece to mimic an actual mosaic.
This is where your creativity comes in.
Use a glue stick or white school glue to attach the paper pieces.
If you use liquid glue, a paintbrush can help you apply it neatly.
Feel free to experiment with patterns or colors.
You might create a scene, an abstract design, or a favorite character.
This project is great for all ages and can help improve fine motor skills while encouraging artistic expression.
Have fun and let your imagination run wild!
9) Handmade Greeting Cards

Making handmade greeting cards is a fun and rewarding project.
You can create unique designs for any occasion, from birthdays to holidays.
Start by choosing your card size.
Common sizes include A9, which is 5 1/2 x 8 ½ inches, or the square size of 5.5 x 5.5 inches.
Once you’ve decided, fold your chosen cardstock in half.
Gather your materials.
You’ll need cardstock, scissors, embellishments like stickers or washi tape, and any other decorative items you want to use.
Personalizing your card makes it special.
Consider a simple layout.
For instance, you might want to stamp a message in the center and add borders using washi tape.
This creates a neat, colorful edge.
Don’t stress about perfection.
The charm of handmade cards lies in their unique touches.
Your friends and family will appreciate the effort and thought you put into each card.
Enjoy the creative process!
Simple Kirigami Designs
Kirigami is a fun and creative way to craft with paper.
It involves folding and cutting paper to create beautiful designs.
You don’t need a lot of experience to get started.
Begin with simple shapes.
For example, try cutting a five-pointed star or a snowflake.
These are easy and can be made with just a few folds.
Your kids will love making a kirigami Christmas tree.
It’s a great project to celebrate the season.
You can also create a paper chain of dolls or a variation that adds a twist to the classic design.
To level up, attempt a star outline or a Star of David.
These designs are not only attractive but also educational for learning geometric shapes.
You can even create bookmarks with floral or butterfly designs.
These make excellent gifts for book lovers.
Pick some fun colored paper to enhance your creations.
The variety of colors brings your kirigami projects to life.
Gather your materials and get creative! Kirigami offers endless possibilities, so let your imagination run wild.
Selecting the Right Paper
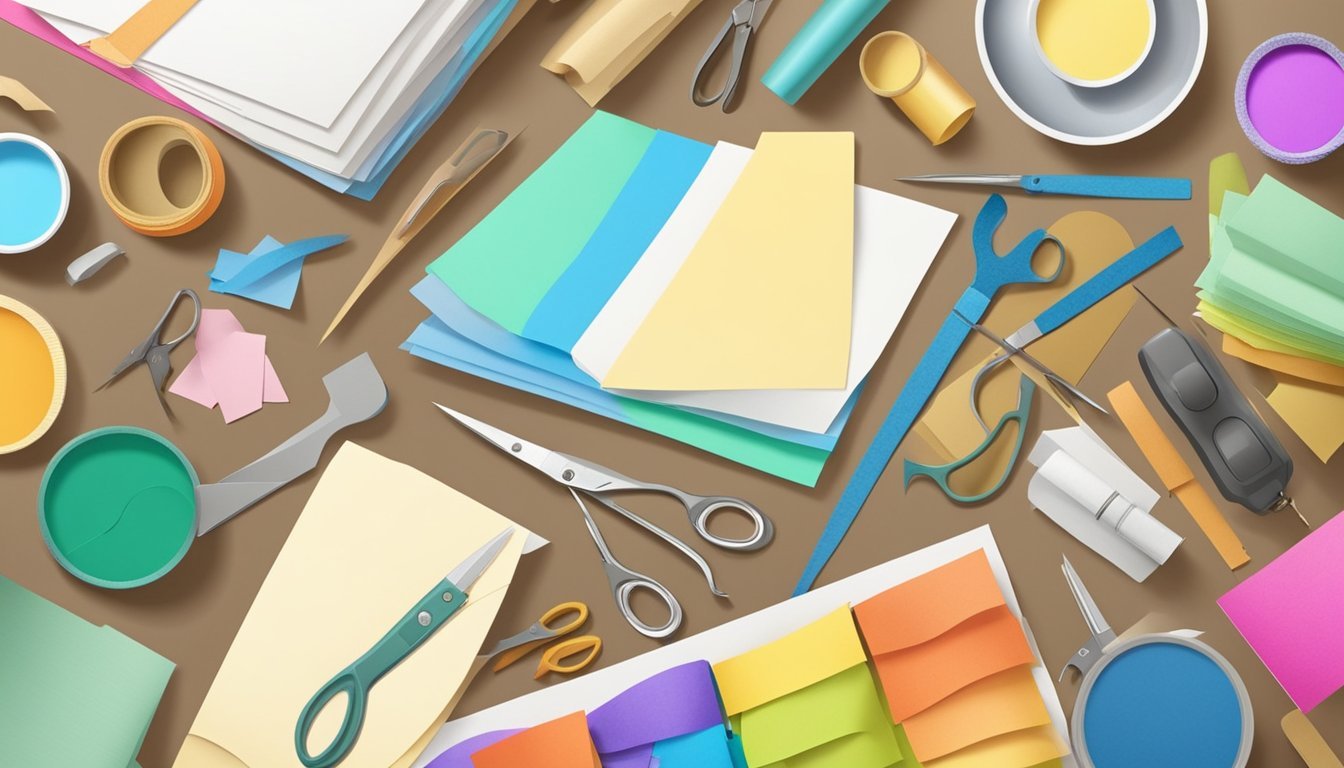
Choosing the right paper is essential for your crafting success.
The type of paper you select can greatly influence your project’s outcome and your overall crafting experience.
Let’s break it down into specific aspects to help you decide.
Exploring Different Paper Types
There are a variety of paper types available, and each serves different purposes.
Here are some common options:
-
Construction Paper: This is thick, comes in many colors, and is great for kids. It’s perfect for basic projects and cutting shapes.
-
Cardstock: Heavier than regular paper, cardstock adds durability. It’s excellent for cards, scrapbooking, and detailed projects.
-
Origami Paper: Typically lightweight and square, it comes in various colors and patterns, making it ideal for folding projects.
-
Tissue Paper: Delicate and lightweight, tissue paper can add texture and color. It’s often used for layering or in paper mâché.
-
Printer Paper: Standard weight and smooth, it’s versatile and suitable for everything from printing templates to basic crafts.
Each type has unique attributes, so consider what you’re creating to select the best fit.
Understanding Paper Weight and Texture
Paper weight is measured in grams per square meter (GSM).
The higher the GSM, the thicker and heavier the paper.
Here’s a general breakdown:
-
Lightweight (70-100 GSM): Suitable for lightweight projects like origami and collages.
-
Medium (100-200 GSM): Works well for cards and general crafts. It strikes a balance between flexibility and sturdiness.
-
Heavyweight (200+ GSM): Ideal for projects requiring strength, like boxes or photo albums.
Texture also matters.
Smooth papers are great for clean finishes, while textured papers can add depth to your projects.
Choosing the right combination of weight and texture will enhance your crafting experience and results.
Essential Tools and Materials

To kickstart your paper crafting adventure, you’ll need a few essential tools and materials.
These items will help you bring your creative ideas to life while ensuring a smooth crafting experience.
Tools You Need to Get Started
Here’s a list of must-have tools for your paper crafting toolkit:
-
Cutting Mat: A self-healing cutting mat protects your surfaces from knives and blades. It’s indispensable for making clean cuts.
-
Scissors: Invest in a good pair of sharp scissors for precise cutting. Consider getting several types, like large and precision scissors.
-
Adhesives: Double-sided tape, glue sticks, and liquid glue each serve unique purposes for bonding paper. Choose depending on your project’s needs.
-
Ruler and Craft Knife: A metal ruler helps in measuring and cutting straight lines. A craft knife offers precision for intricate cuts.
-
Pencil and Eraser: Sketching designs before cutting can save you from errors. An eraser is essential for quick corrections.
Having these tools will set you up for success in your projects.
Optional Materials for Added Flair
Once you have the basics, you might want to explore additional materials to enhance your creations:
-
Cardstock: You can get it in various colors and weights, and it provides a sturdy base for your projects.
-
Patterned Paper: This adds visual interest and depth, making even simple projects pop.
-
Embellishments: Stickers, washi tape, and decorative scissors can add unique details to your work.
-
Craft Foam: It is lightweight and comes in many colors. Use it for a 3D effect in your designs.
-
Markers and Inks: These are ideal for adding designs, writing, or coloring. Get a mix of colors for versatility.
With these optional materials, you can personalize your projects and have fun experimenting.


