

Adding dimension to your drawings can elevate them from flat images to engaging pieces of art.
In this article, you will discover ten easy ways to bring depth and life to your sketches, no matter your skill level.
Whether you’re a beginner or more experienced artist, these strategies are simple and effective for anyone looking to enhance their work.
From layering techniques to understanding perspective, small adjustments can make a significant impact.
You’ll find that incorporating these tips into your practice can lead to more dynamic and interesting compositions, helping your artwork stand out.
1) Explore Light Sources
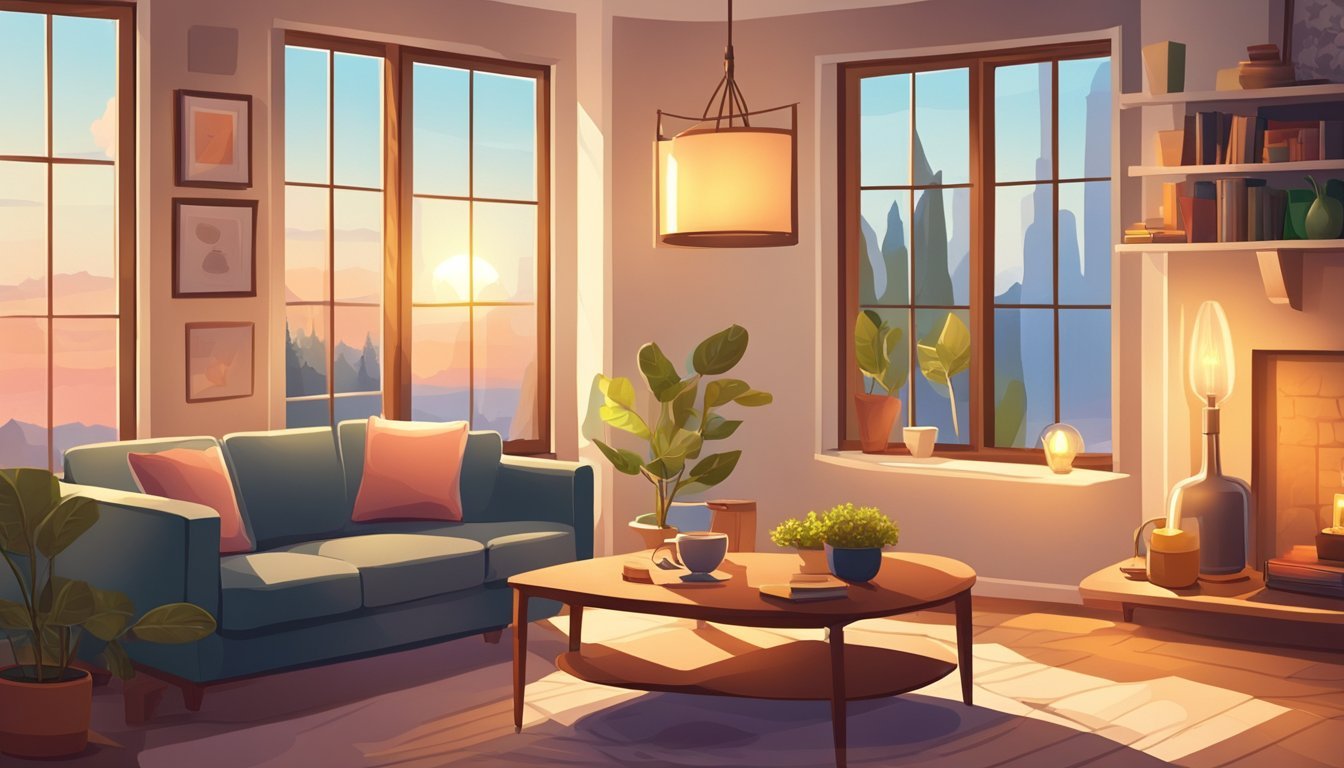
Understanding light sources is key to adding dimension to your drawings.
Light defines how objects appear by creating highlights and shadows.
Start by identifying the light source in your scene.
It can be natural, like sunlight, or artificial, like a lamp.
Each light source produces different effects.
Observe how light interacts with your subject.
Notice where it hits and where shadows fall.
This helps you establish depth.
Incorporate various tones in your work.
Use highlights for the areas directly lit and darker tones for the shadowed parts.
Reflective light can also add complexity, so don’t forget those subtle details.
Experiment with different light angles and intensities.
This can drastically change the mood and dimension of your drawing.
Play around until you find what works for you.
2) Use Cross-Hatching
Cross-hatching is a popular technique that can really add depth to your drawings.
By layering lines in different directions, you create various values and shadows.
Start by drawing a basic shape, like a circle.
Use parallel lines to shade one side lightly.
Then, add another layer of lines on top, going in the opposite direction.
This builds richness in your shading.
You can vary the density of your lines to control the darkness of the value.
For darker areas, increase the number of lines close together.
For lighter areas, keep them spaced out.
Following the contour of your object can make your drawing feel more three-dimensional.
Instead of just drawing straight lines, try to mimic the curves and edges of what you’re illustrating.
This approach will give your drawing a more lifelike quality.
Practice adding different values with cross-hatching, ranging from light to dark.
This technique is versatile and can be applied to a wide range of subjects, enhancing the overall appearance of your work.
Keep practicing, and you’ll see improvement in no time!
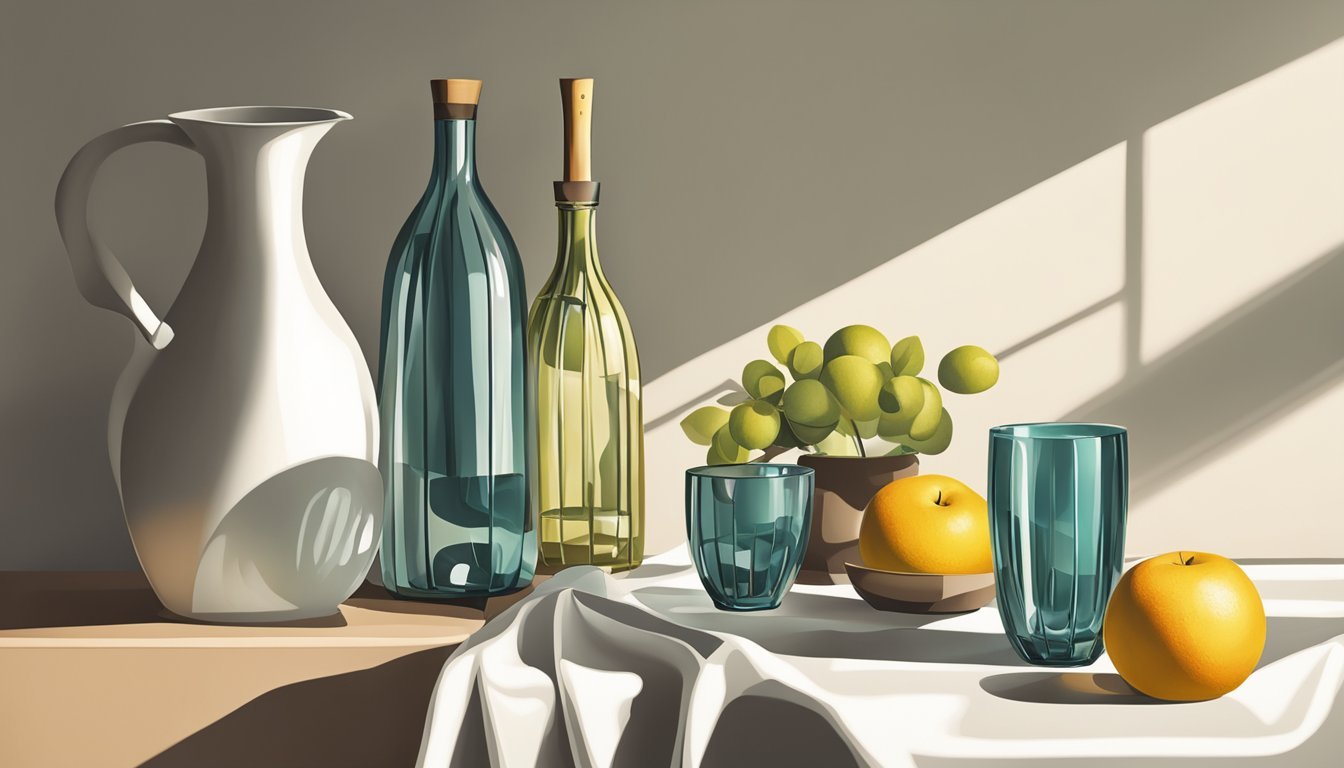
3) Add Contrasting Colors
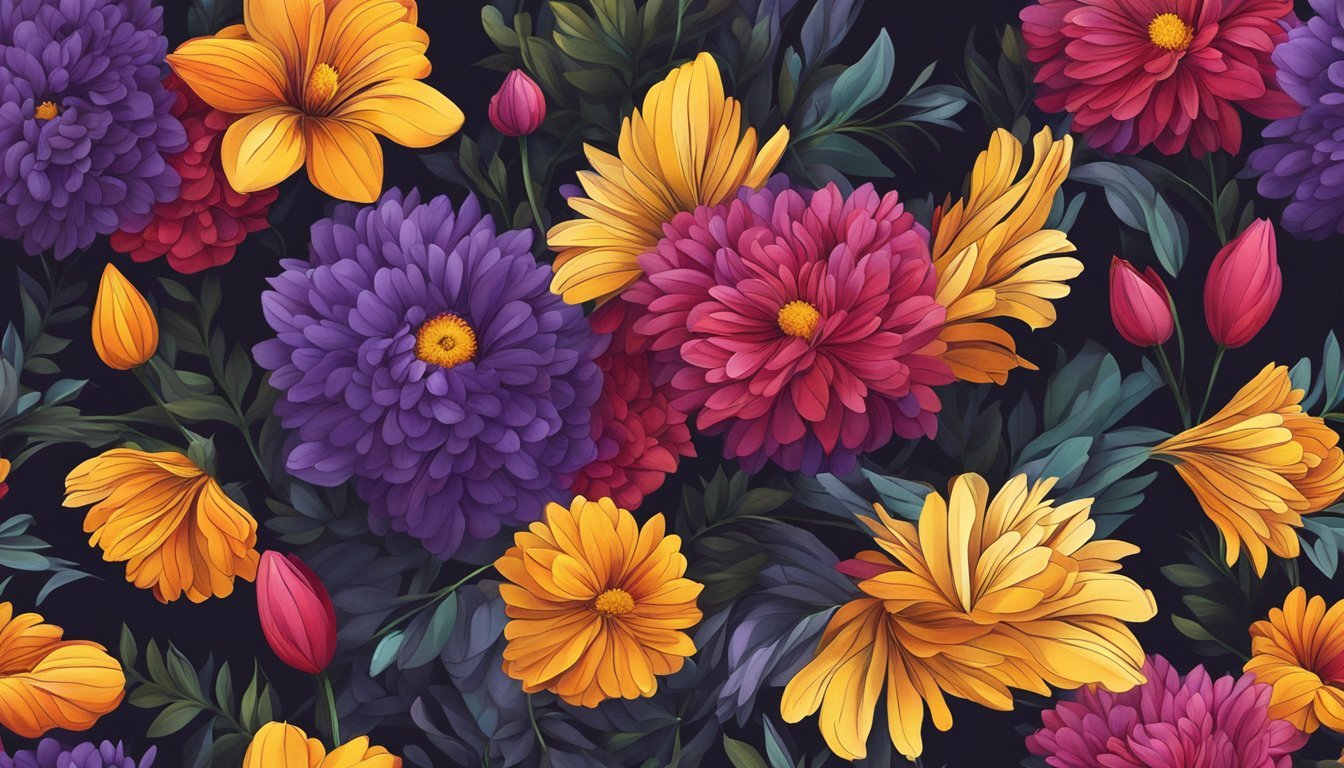
Using contrasting colors can significantly boost the dimension of your drawings.
By placing complementary colors next to each other, you create a visual pop that draws the eye.
Start by identifying the dominant color in your subject.
From there, find its complement on the color wheel.
This strategy helps to highlight specific elements, making them stand out.
For instance, if your drawing features a lot of blue, adding orange can bring warmth and contrast.
This contrast not only enhances depth but also creates visual interest.
Consider how light affects color as well.
Brighter areas can appear closer, while darker shades can recede, adding to the three-dimensional effect.
Experiment with various shades and tints to find the right balance that works for your piece.
Remember, the goal is to create a harmonious yet dynamic composition.
Contrasting colors can help guide the viewer’s eye through the drawing while adding a playful element.
4) Experiment with Perspective
Trying out different perspectives can transform your drawings significantly.
Start with one-point perspective for simple scenes.
This technique focuses on a single vanishing point, making it easier to create depth.
As you get comfortable, branch out to two-point perspective.
It introduces more complexity by using two vanishing points.
This method is great for drawing structures like buildings.
Don’t shy away from experimenting with angles.
A low or high viewpoint can change how your subject feels on the page.
It adds drama and interest to everyday scenes.
Consider adding elements like diagonal lines to guide the viewer’s eye through your artwork.
This helps create a sense of movement and invites the audience to explore the drawing.
Think about the horizon line too.
Placing it at different heights can affect how viewers perceive the space.
A lower horizon line can create an imposing feel, while a higher one can make the scene seem vast.
5) Layer Textures
Layering textures can bring your drawings to life.
Start by applying a base layer to establish the overall feel.
You can use techniques like hatching or stippling, which add depth.
Next, consider using masking tape.
Apply pieces to your drawing and then paint or draw around them.
Once dry, peel off the tape to reveal interesting layers beneath.
Experiment with different pressures while drawing.
Light pressure can create subtle textures, while firmer pressure can add boldness.
This variety enhances the visual appeal of your work.
You can also combine different materials.
For instance, using watercolor and colored pencils together will yield unique textures.
This mix helps in creating an engaging visual experience.
Lastly, don’t be afraid to build on existing textures.
Add layers gradually and assess how they interact.
This process fosters a richer, more dynamic outcome in your artwork.
6) Try Different Shading Techniques
Experimenting with various shading techniques can really elevate your drawings.
Each technique brings its own character and feel, so don’t hesitate to play around.
Start with basic methods like hatching and cross-hatching.
These are great for creating depth and texture.
You can also try stippling, which involves using tiny dots for shading.
It takes time but produces interesting effects.
Blending is another technique you’ll want to explore.
It smooths out transitions between dark and light areas, giving a more realistic look.
Scumbling offers a different texture, allowing you to create softer edges.
Consider your light source when shading.
It helps in determining where to place your shadows and highlights.
Playing with values can add contrast, making your drawings pop.
Study the work of other artists for inspiration.
Notice how they use shading to convey form and depth.
Combining techniques may unlock new styles you didn’t know you could achieve.
The key is to keep experimenting until you find what suits your style best.
Incorporate Highlights
Adding highlights is a simple yet impactful way to give your drawings more dimension.
Highlights create contrast that helps objects appear three-dimensional.
Think about where the light hits your subject.
Use a lighter tone or color to represent these areas.
This technique helps to define shapes and brings them to life.
You don’t need intricate tools for this.
Just a reliable pencil or a digital brush can work wonders.
Focus on the edges of shapes for that pop!
When highlighting, consider the material you are depicting.
Shiny surfaces like glass or metal will have sharper, more pronounced highlights.
Softer materials, like cloth, will have subtler highlights.
Experiment with layering your highlights for added depth.
A gentle stroke can gradually build up brightness, allowing for a more natural look.
Lastly, remember that less can be more.
A few well-placed highlights often make a bigger impact than overwhelming the drawing with too many.
Keep it balanced!
8) Play with Negative Space

Using negative space is a game-changer for adding dimension to your drawings.
It’s about the space around and between your subjects, which can frame them beautifully.
When you focus on negative space, you start noticing shapes and forms that you might have overlooked.
This can help clarify the composition and make your main subject pop.
Try drawing the outlines of the negative space instead of the object itself.
This technique can improve your understanding of proportions and perspective.
It’s like seeing the world from a different angle.
Pay attention to how negative space interacts with your subject.
A well-placed background can enhance depth and draw the viewer’s eye right where you want it.
Experiment with different values in your negative space.
Darkening these areas can create a striking contrast, making your subjects stand out even more.
9) Blend with Smudging Tools

Smudging tools can elevate your drawing and add a softer, more natural look.
You can use your fingers, blending stumps, or even cotton swabs for this technique.
Finger smudging is a quick way to blend larger areas.
It allows you to seamlessly mix colors while keeping your tool handy.
Blending stumps, also known as tortillons, offer more precision.
They’re rolled paper tools that help you control the blending without getting your hands messy.
Cotton swabs are great for softer textures, especially in small areas.
They can easily navigate tight spaces and provide a gentle blend.
When using these tools, be mindful of pressure.
Too much can damage your paper, while too little might not achieve the desired effect.
Experiment with different tools to see which ones you prefer.
Each will provide a unique finish to your artwork, enhancing the overall dimension of your drawings.
10) Experiment with Line Thickness
Varying line thickness in your drawings can significantly impact their appearance.
Different line weights create depth and bring your artwork to life.
Start with lighter lines for subtle details and use thicker lines to emphasize focal points.
This contrast helps guide the viewer’s eye around your piece.
Don’t hesitate to experiment.
Try out different tools, like fine liners or brushes, to see how they affect the line weight.
Think about the mood you want to convey.
Thicker lines can suggest strength or boldness, while thinner lines often feel delicate or soft.
Also, consider layering your lines.
Overlapping various thicknesses can add even more dimension to your work.
As you practice, you’ll develop a sense of how line thickness can change the entire feel of your drawings.
Enjoy the process and let your creativity flow!
Understanding Dimension in Art
Artists create dimension by making a flat surface look like it has space and depth.
They can use different techniques to manipulate perception and use light effectively.
Elements That Affect Perception
Several key elements impact how viewers perceive depth in your drawings. Perspective is foundational; it guides how you represent objects relative to one another.
Techniques like one-point and two-point perspective help create a sense of scale and distance.
Proportion also plays a vital role.
Items closer to the viewer appear larger, while those further away seem smaller.
Additionally, overlapping shapes can enhance depth.
By layering objects, you visually establish which elements are foremost.
Color impacts depth, too.
Warmer colors tend to come forward, while cooler colors recede.
Use these principles in harmony to craft a more dimensional piece.
Role of Light and Shadow
Light and shadow are critical for creating realistic dimensions in your artwork.
Understanding how light interacts with objects can profoundly influence depth perception. Highlights indicate where light hits a surface, while shadows show where it does not.
To effectively create dimension, think about the light source in your scene.
This will inform where to place highlights and shadows.
Chiaroscuro, or strong contrasts between light and dark, can enhance form and create a three-dimensional feel.
Soft shadows tend to suggest a rounded surface, while sharper shadows can indicate flatness.
Techniques to Enhance Depth

Adding depth to your drawings can significantly elevate their realism.
Two effective techniques are overlapping objects and incorporating perspective.
Both strategies can create a sense of space and dimension in your artwork.
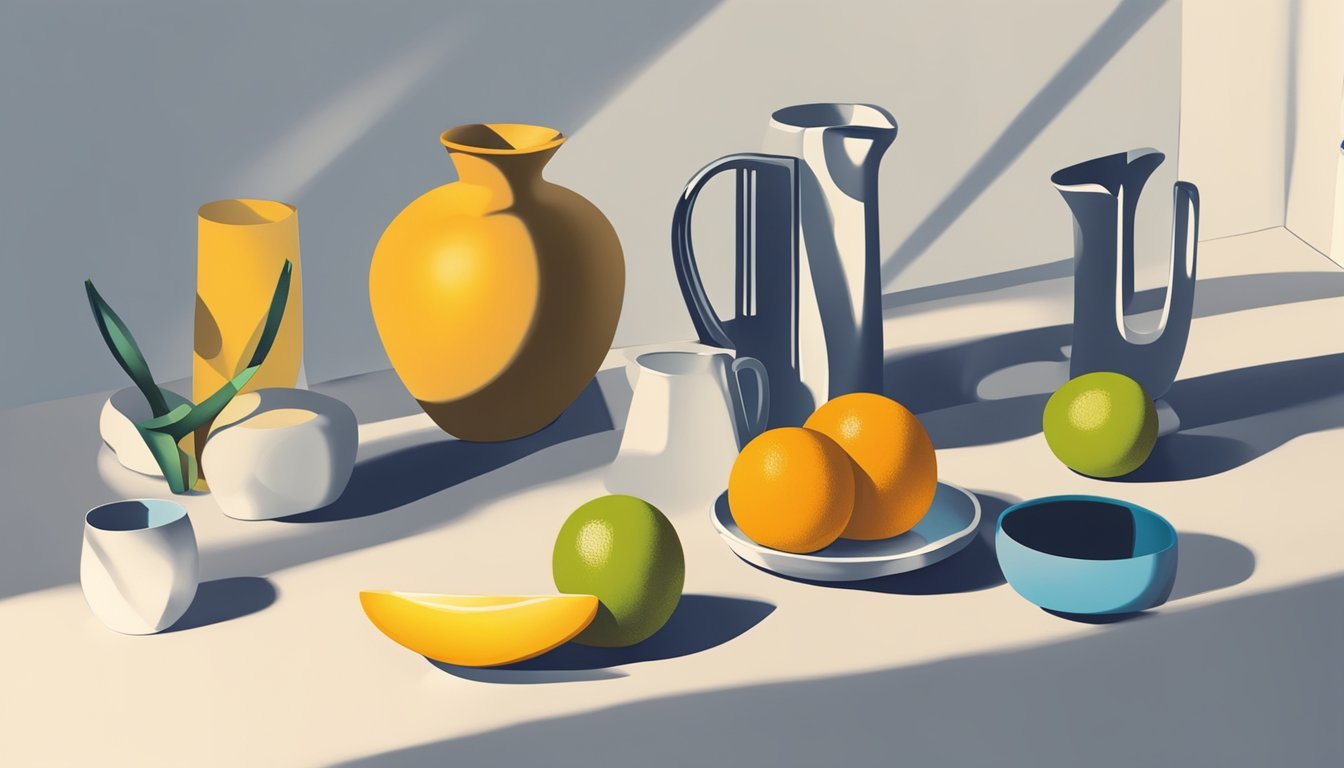
Using Overlapping Objects
Overlapping is a straightforward yet powerful technique to suggest depth.
When you position one object in front of another, it creates a visual hierarchy.
This arrangement helps the viewer understand which element is closer and which is farther away.
Tips for Overlapping:
- Layer objects: Place smaller or less detailed items in the background.
- Vary sizes: Larger objects appear closer, while smaller ones recede into the distance.
- Adjust edges: Soften the edges of background elements to enhance depth.
By effectively using overlapping, you can guide the viewer’s eye through your composition.
Incorporating Perspective
Creating a realistic three-dimensional effect requires perspective.
It allows you to translate 3D space onto a flat surface.
Types of Perspective:
- One-point perspective: Focuses on a single vanishing point, perfect for roads or hallways.
- Two-point perspective: Uses two vanishing points, ideal for drawing buildings and complex scenes.
Placing your horizon line and vanishing points correctly is part of practicing perspective.
This simple adjustment can vastly improve the spatial quality of your drawings.
Mastering these techniques can significantly enhance the depth and overall impact of your artwork.